• Skip to main content
  • Skip to primary sidebar
  • Skip to secondary sidebar

Sixth Street Sundries

Emily Midgett

  • Home
  • About Me
  • Contact
  • OLO Marker Color Swatch Chart
  • Shop

big holiday words

Christmas in July Finale: Christmas Tree Trio with Simon Says Stamp + SALE!

July 25, 2025

This post was sponsored by Simon Says Stamp. Thanks, Simon!

Hi friends! For my last Christmas in July post, I thought I would share a pretty Christmas Tree Trio made using three different Christmas tree stamp sets from Simon Says Stamp! Nothing screams “Christmas” quite like a Christmas tree, right? Each of the stamp sets that I’ve chosen to use today have very different styles, and I paired them with a beautifully traditional green, gold, and white color palette to create this trio of projects that work nicely as a set or as individual pieces. Let’s get started with the details!

*I have gathered links to all of the products used at the bottom of the post for your convenience, using affiliate links. Thank you for shopping with my links! I truly appreciate your support for my work!*

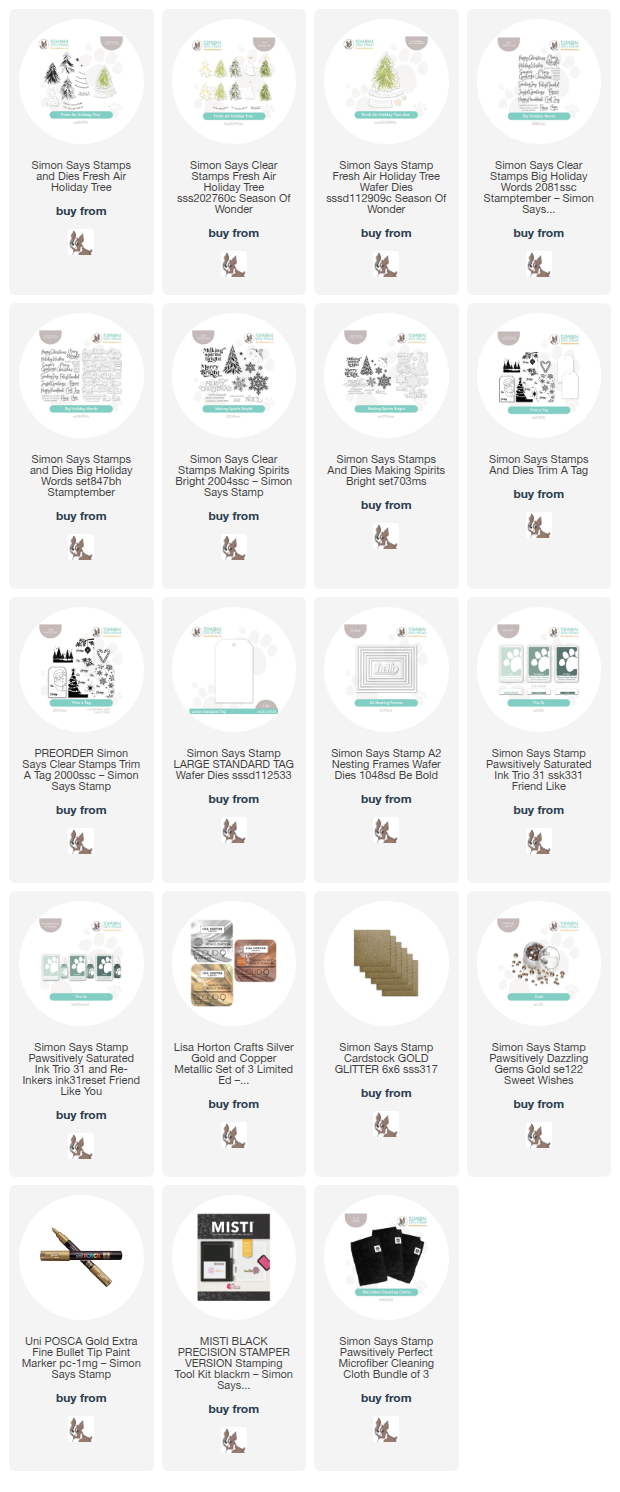
For all of my projects today, I use the gorgeous, muted greens from the Simon Says Stamp Ink Trio 31. This trio of muted greens is utterly luscious, and they are each as beautiful alone as they are when they are all working together! I added some glitzy gold accents to each project for an elegant touch, leaving lots of crisp white to make these tags and card as clean and elegant as possible.

To begin, I stamped the Fresh Air Holiday Tree using the lovely greens in Ink Trio 31: Jade, Eucalyptus, and Juniper. I did find it easier to stamp the three layers if I used the negative space of the die cut as my guide. I simply die cut a blank panel of white cardstock using the Christmas tree die from Fresh Air Holiday Tree, then placed the negative (the area around the tree die cut) in my MISTI, and used the negative space to line up each layer perfectly! The color guide on the back of the stamp packaging was also super helpful to know which color worked best with which layer, but honestly, the sketchy, simplistic nature of the finished image is super user-friendly. The first tree that I stamped ended up not being quite right with the die, but it still looked lovely, so I fussy cut it with scissors and then created a second tree using the method that I described above. If you have difficulty lining up your dies to stamped images, sometimes it can be very helpful to die cut first and stamp after!

To add some pretty shimmering accents to the card, I die cut the A2 Nesting Frames from some gold glitter cardstock and layered one on my A2 card front. I also stamped the star and sentiment banner from Fresh Air Holiday Tree using Lisa Horton Metallic Gold Pigment Ink, die cutting them with their coordinating dies. I added some touches of gold paint pen for baubles on the tree, as well as some Gold Pawsitively Dazzling Gems. I popped up the tree in the center of the glittery gold frame using foam adhesive, then added the sentiment banner over the top and the star with a double layer of foam adhesive! A simple but oh-so-elegant holiday card that I think would be super easy to mass produce!

To create my little trio, I also decided to create two coordinating tags using two more completely different tree images from Simon Says Stamp’s holiday collection. For the first tag, I stamped the elegant stylized tree image from Making Spirits Bright using an ombré stamping method. I inked up the top part of the tree with Jade ink, tapping the edges of the inked area with my microfiber cloth to blur them a bit and make the edge a bit less harsh, stamped it with my MISTI, then again to make sure that the top of the tree had great coverage. I cleaned the top 1/3 of the tree, then inked up the middle section with Eucalyptus ink, again blurring the harsh edges with my cloth to make the transition to each color smoother. Finally, I finished inking the entirety of the image with Juniper ink. I also stamped a gold sentiment from Big Holiday Words. I die cut each image with it’s coordinating die, then added some gold paint dots and gold gems for sparkle. I popped the tree and sentiment up with foam adhesive on a white pearlescent tag, cut using the Large Standard Tag die, then added some twine for a loop and bow!

For the simpler tag, I began by die cutting the Large Standard Tag from plain white cardstock. I used Juniper ink to stamp the tree from Trim A Tag, doing some creative masking to stamp the tree in green and the to/from in gold. I also added some Jade stars in the corner, adding subtle interest behind the tree. To add some sparkle, I used the gold paint pen for the baubles and added some small Gold Pawsitively Dazzling Gems for a little extra texture and shimmer! Finally, I finished everything off with a simple twine loop.

Well, that’s all for my projects today and for my Christmas in July series. It’s such fun to be able to pull out my holiday goodies after them sitting forlornly in my bins for months!

Now for the fun sale part!! Simon Says Stamp is running an absolutely fabulous sale on tons of holiday and non-holiday goodies in their Steals and Deals category. All you have to do is add items from this category into your cart and input code DEALZ at checkout to receive 50% off everything from that catgory! I just checked, and there are so many fantastic holiday crafty items left, but things are moving quickly, so don’t hesitate if you see something that you want! You can click on the graphic to go directly to the sale page or click HERE to see what’s left!

Thanks so much for stopping by today, and have a marvelous day!
Filed Under: simon says stamp, Uncategorized Tagged With: A2 nesting frames, big holiday words, christmas card, fresh air holiday tree, holiday card, making spirits bright, pawsitively saturated ink, tag, trim a tag

Shaped Snowflake Card Two-fer with New Simon Says Stamp!

December 12, 2024

This post was sponsored by Simon Says Stamp. Thanks, Simon!

Hi friends! Do you save your scraps and die cut leftovers? I am so bad about saving so many scraps (or maybe so good…. depends on your perspective, I guess) but sometimes I find the perfect use for a leftover die cut. I created THIS card using the beautiful Starburst cover plate die from the new DieCember release to to create a patterned frame with the negative die cut for my shaker card, but I made sure to keep the die cut itself to use on a future project! Let’s get started on the details for part two of my two-fer project!

*I have gathered links to all of the products used at the bottom of the post for your convenience, using affiliate links. Thank you for shopping with my links! I truly appreciate your support for my work!*

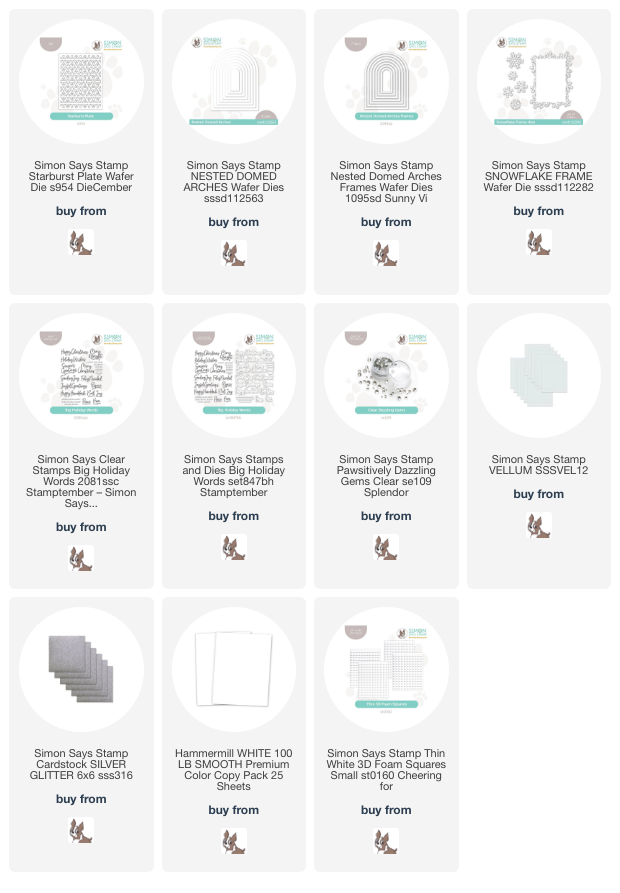
For the part one of my two-fer, I began by die cutting the new Starburst Plate from plain white cardtsock, then used a Nested Domed Arches die to cut a window from the center of the patterned die cut panel. I used that patterned negative frame to create a decorative window around my snowman for the post linked above, but I reserved the die cut itself for this shaped card! I used the same size Nested Domed Arches die to cut a piece of Simon Says Stamp Vellum, which I layered behind the patterned arch piece with some liquid adhesive. I also used Simon Says Stamp Silver Glitter Paper to die cut one of the Nested Domed Arches Frames dies, slightly smaller than my patterned background die cut. I layered that frame over the top of my patterned piece with some more liquid adhesive. The vellum helps to add a softness behind the patterned piece, as well as adding some additional stability to the intricately detailed die cut.

To create the shaped card, I simply placed the largest size of the Nested Domed Arches dies on a folded A2 card, making sure to placed the die over the edge of the fold so that the folded card would remain intact. The I think this is such a unique look for a holiday card; it reminds me of a stained glass window at church! I layered the snowflake, vellum, and glitter piece in the center of the shaped card base, adhering it with some thin foam adhesive squares for a touch of extra dimension.

After I had created my card base and background, I used the marvelous Big Holiday Words stamp and coordinating die set to create my greeting. I heat embossed the large “Merry Christmas” and “& Happy New Year” sentiments onto more white cardstock using silver embossing powder, then die cut the finished sentiments with their coordinating dies. I popped them up in the center of the die cut panel using some more thin foam adhesive squares, creating lots of different levels of height and keeping the monochromatic card interesting! To add a touch of wintry sparkle to the somewhat plain card, I die cut some individual snowflakes using the Snowflake Frame dies and more silver glitter cardstock. I arranged them around the top of my arch in a little snowflake swag, embellishing the center of each snowflake with some Clear Pawsitively Dazzling Gems for extra holiday glitz!

Well, that’s all for today’s project. I love when you can get multiple uses from one die cut; it makes me feel better about not wanting to throw away my scraps!! (I know I’m not the only one who does that!) Thanks so much for stopping by today, and Happy DieCember!

Filed Under: simon says stamp Tagged With: big holiday words, christmas card, die cutting, diecember, holiday card, nested domed arches, snowflake frame, starburst plate

More Colorblock Christmas with Simon Says Stamp!

September 30, 2024

This post was sponsored by Simon Says Stamp. Thanks, Simon!

Hi friends! I have some more holiday inspiration to share with you today using goodies from the Simon Says Stamp STAMPtember release. I am a huge fan of non-traditional color combinations for Christmas, color palettes that are just a few ticks off of a traditional color palette. For today’s card and gift bag set, I selected a unique coral, cranberry, plum, and navy color palette, counting on the cranberry red, sparkles, and the snowflake images to convey the holiday theme. Let’s get started with the details!

*I have linked all of the products used at the bottom of the post for your convenience using affiliate links. Thank you for shopping with my links! I truly appreciate your support for my work!*

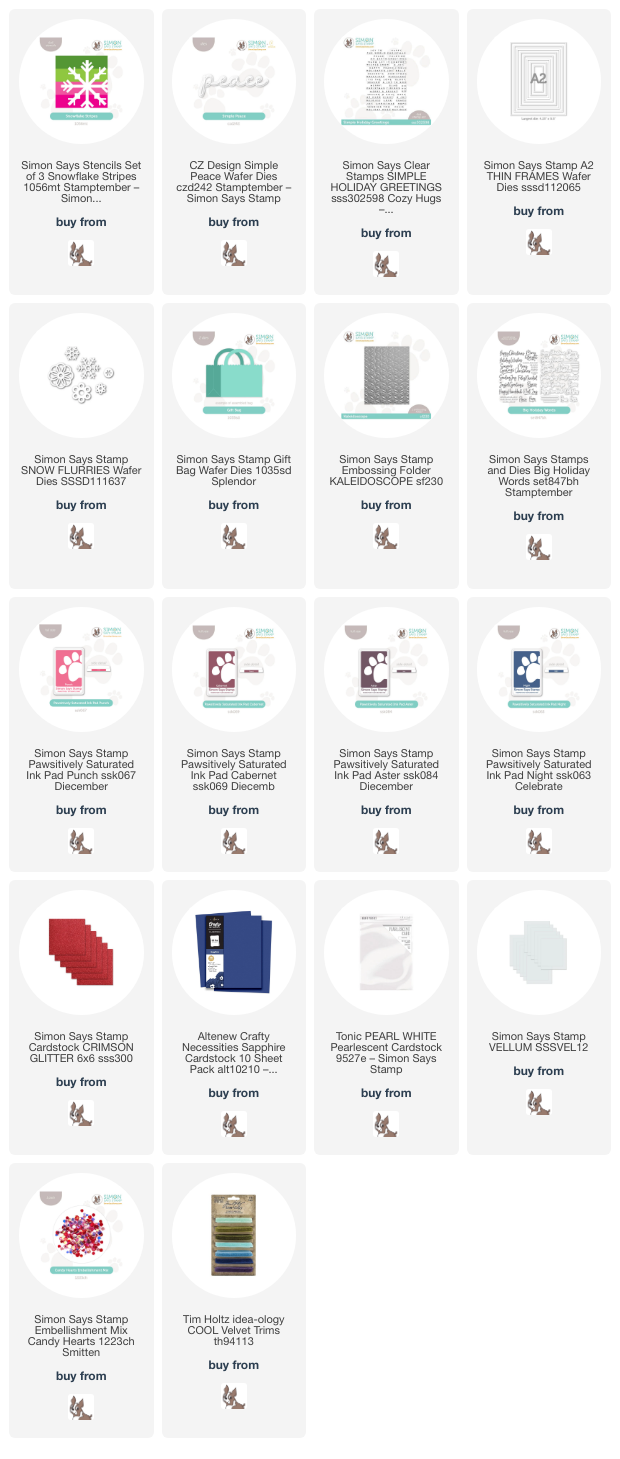
The colorblocked imagery began with the new Snowflake Stripes Stencil from the STAMPtember product release. I have been loving the clean look of color blocking lately; you can see some more inspiration using this technique HERE. For today’s card, I selected several inks from the Pawsitively Saturated Ink line: Punch, Cabernet, Aster, and Night. I used blending brushes to blend them on the new Snowflake Stripes Stencil set on a panel of white cardstock. These ink colors work so nicely together, blending in a gradient from coral to navy beautifully!

After I had finished stenciling the color blocked snowflake, I trimmed the A2 panel down and created a shaker pocket with some leftover stamp packaging, filling it with some Candy Hearts sequins to create a flat shaker card. I nestled the shaker panel in the upper left hand corner of an A2 panel of Altenew’s Sapphire cardstock, allowing the deep blue to peek out from the bottom right hand corner.

For the greeting, I die cut the new Simple Peace die from some more deep blue cardstock, backing the detail layer with a vellum shadow layer. I also white embossed a coordinating sentiment from Simple Holiday Greetings onto some more deep blue cardstock. To embellish my shaker front, I added some pearlescent white snowflakes cut using the Snow Flurries die set as well as a glittery red frame cut using the A2 Thin Frames and Crimson glitter cardstock, all from Simon Says Stamp. I popped up the sentiment pieces with dimensional clear adhesive, then added the snowflakes in a swag down the front of the card.

I created a coordinating gift bag using the ever-versatile Gift Bag Die. This die is quickly becoming a favorite of mine; it’s the perfect size for all sorts of goodies like lip gloss, candy, gift cards, and so much more! I created the bag itself by die cutting the bag twice from more of the Sapphire cardstock and adhering it with super strong double sided tape. I continued the color blocked theme and embellished the front of the bag with strips of coordinating colored cardstock, one of which was embossed using the Kaleidescope Embossing Folder. I cut the strips down and adhered them to the front of the bag with strong double sided tape, embellishing the front of the bag with more snowflakes from the Snow Flurries die set and a greeting from the new Big Holiday Words sentiment set. A velvet bow and some tissue paper finished this gift bag off, ready to be filled with treats and gifted to a friend!

Well, that’s all for my projects today! Tomorrow is October 1, and I am thrilled to be able to share as much Christmas and holiday inspiration as my little heart desires. So many wonderful things are coming, friends! I am excited to share them with you. Thanks so much for stopping by, and have a marvelous day!

Filed Under: simon says stamp Tagged With: A2 thin frames, big holiday words, christmas, christmas card, die cutting, embossing folder, gift bag, holiday, holiday card, ink blending, kaleidescope, shaker card, simple holiday greetings, snow flurries, snowflake stripes

Color Drenched Ruby Red Holiday Cards with Simon Says Stamp!

September 21, 2024

This post was sponsored by Simon Says Stamp. Thanks, Simon!

Hi friends! I have some more color-drenched projects to share with you today featuring some new and old goodies from Simon Says Stamp. The Simon-branded STAMPtember release from the beginning of the month featured some absolutely beautiful new 3D Embossing Folders. The amount of detail that you can achieve with Simon’s 3D embossing folders is absolutely spectacular, and I love pairing them with shining foil mirror cardstock. The coating on the foil cardstock helps make the details that much crisper and more intense. I created a pair of color-drenched ruby red cards today featuring the new Poinsettia Sprays Embossing Folder and the incredibly versatile Thread Plaid embossing folder (which is currently out of stock, but you can always sign up to be notified when it is back in stock!).

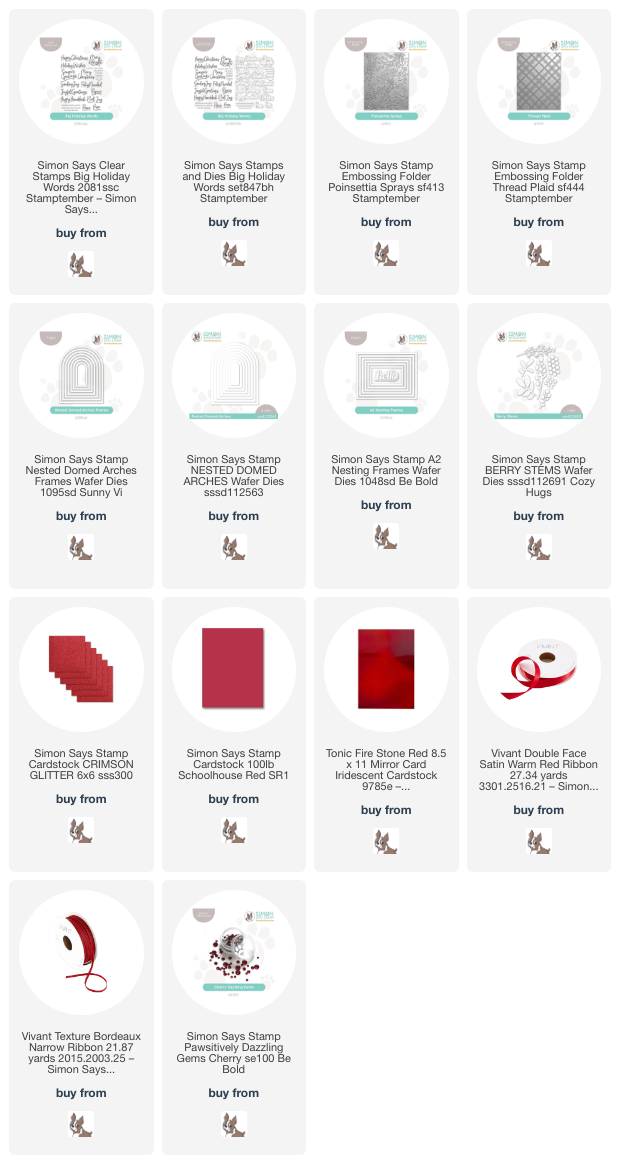
Whenever I am working with a color-drenched color palette, my goal is to add as many different textures to the card front as possible. To accomplish this, I went to my cardstock stash and pulled several different types of red cardstock: Crimson glitter cardstock, Schoolhouse Red cardstock, and luxurious Firestone Red mirror cardstock from Tonic. The combination of these three unique cardstocks layered together creates multiple elements of texture, the contrast of which helps keep the differentiation between the different layers.

For my first project, I die cut a large Nested Domed Arches die cut using the Firestone Red mirror cardstock, then ran it through my die cutting machine using the new Poinsettia Sprays Embossing Folder, embossing some gorgeous pattern and texture into the shining cardstock. I also die cut some Nested Domed Arches Frames from Crimson glitter cardstock and layered a glittery frame that was slightly smaller than the embossed mirror panel. The combination of the two different textures in the same vibrant red is so elegant!

I love the generously-sized sentiments in the new Big Holiday Words stamp and die set, so I decided to use that as my focal point for the card by embossing the “joyful greetings” sentiment onto some Schoolhouse Red cardstock with white embossing powder so that it would pop from the red background beautifully! The botanical embossed background lent itself beautifully to some foliage die cuts, so I accented the sentiment with some Berry Stems dies, cut from more Lipstick Red cardstock and accented with Cherry Pawsitively Dazzling Gems. I popped up the sentiment die cut with some foam adhesive and tucked the berry sprigs behind it, accenting everything with a festive bow tied using Vivant Bordeaux Narrow Ribbon. So festive and intense!

For my second project, I used the same Firestone Red mirror cardstock to emboss the Thread Plaid embossing folder, creating lovely, festive texture with the coated mirror cardstock. I repeated the framed theme by die cutting the A2 Nesting Frames dies from more Crimson glitter cardstock, adhering a slightly smaller frame to the embossed mirror panel.

I wanted to put several of the sentiments from Big Holiday Words to use, so I heat embossed “joy, hope, peace” and “sending love & light” onto more Schoolhouse Red cardstock using white embossing powder and die cut them with the coordinating dies. I arranged them from smallest to largest, creating a Christmas tree shape and accenting the images with Cherry Pawsitively Dazzling Gems for added sparkle. Finally, I created a “tree topper” with a fluffy bow tied with Vivant Warm Red Satin Ribbon. These Vivant ribbons are so luxurious!

Well, that’s all for my projects today! I am obsessed with color drenching these days. There’s something so luxurious and elegant about these monochromatic projects, especially for Christmas. I encourage you to give it a try! Thanks so much for stopping by today, and have a marvelous day!

Filed Under: simon says stamp Tagged With: 3D embossing folder, A2 Nesting Frames dies, berry stems, big holiday words, christmas card, color drenched, die cutting, embossing folder, holiday card, nested domed arches, thread plaid

Primary Sidebar

  • Facebook
  • Instagram
  • Pinterest
  • YouTube

Favorite Shops

Secondary Sidebar

Subscribe

Enter your email address to subscribe to this blog and receive notifications of new posts by email.

Instagram
Something is wrong.
Instagram token error.
Follow
Load More

Archives

Tags

3D embossing folder alcohol markers better press birthday birthday card blog hop card kit christmas christmas card christmas tag colored pencil copic copic coloring Daniel Smith die cutting embossing folder embroidery felt giveaway holiday holiday card hot foil ink blending karin brushmarker pro layered stencil masculine my monthly hero new release no line coloring no line watercolor OLO marker olo markers original illustration pawsitively saturated rainbow shaker card slimline stamping stamptember stencil thank you thinking of you valentine's day video watercolor

Popular Posts

Simon Says Stamp Sending Cheer Release: Now Available!
Joyful Snowman with New Simon Says Stamp Sending Cheer Release!
Autumn Legs with Colorado Craft Company and Catherine Pooler!
February 2018 My Monthly Hero Blog Hop!
Altenew Paint A Flower: Carnation Blog Hop+Giveaway!
Altenew March 2020 Release Blog Hop+Giveaway!
Special Release: Simon Says Stamp Limited Edition STAMPtember Christmas Card Kit!
Pinkfresh Studios June Washi and Stamp Release Blog Hop!
Pinkfresh Studio 5th Birthday!
2018 Autism Awareness Hop!

Disclosure

Some affiliate links are used in my posts. This means that, should you click on one of my links and purchase something from that company, I will receive a small portion of the sale at no extra cost to you. I use the money earned from these sales to help maintain my blog. I so appreciate you visiting and, if you do choose to use one of my affiliate links, thank you so much for your support!
Copyright © 2026 ·Brunch Pro Theme · Genesis Framework by StudioPress · WordPress · Log in
Loading Comments...