• Skip to main content
  • Skip to primary sidebar
  • Skip to secondary sidebar

Sixth Street Sundries

Emily Midgett

  • Home
  • About Me
  • Contact
  • OLO Marker Color Swatch Chart
  • Shop

splendid sentiments

A Splendid Rainbow Birthday with Simon Says Stamp!

May 27, 2025

This post was sponsored by Simon Says Stamp. Thanks, Simon!

Hi friends! I have a project featuring lots of white on white with pops of bold color to share with you today. Sometimes, when I am trying to decide with which products I want to work, I look to the products that I’ve not yet used, and the Postage Collage Cover was something that I’d intended to play with but never had! I pulled out another set that hadn’t seen much love from me, the Simple Flowers die set, and decided that I would create a relatively clean and simple project with lots of white space, texture, and pops of vibrant color. Let’s get started on the details for my project!

*I have gathered links to all of the products used at the bottom of the post for your convenience, using affiliate links. Thank you for shopping with my links! I truly appreciate your support for my work!*

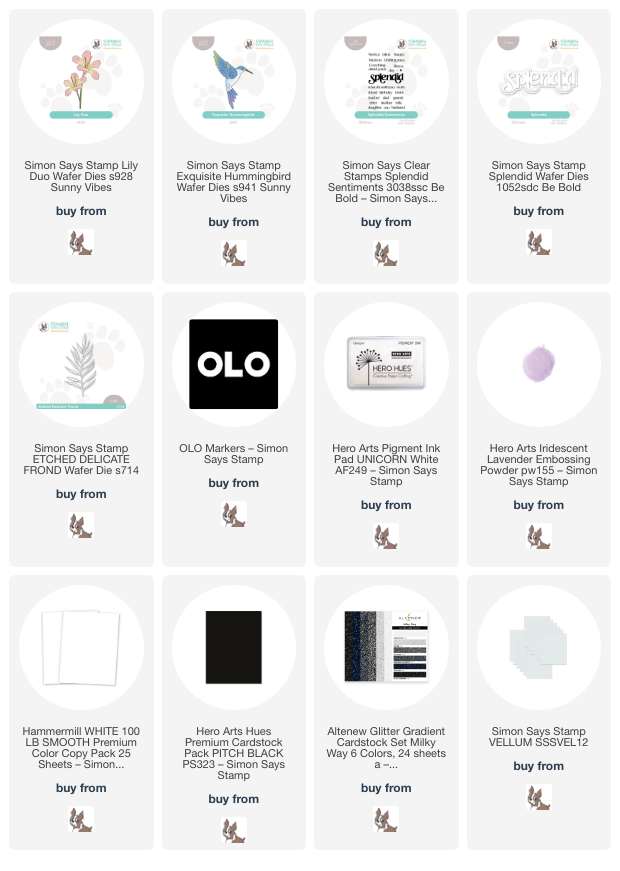
To begin, I die cut the Postage Collage Cover die from some plain white cardstock and layered it on a panel of white A2 cardstock. I used thin foam adhesive squares to pop the die cut up on the card front, which helps to create texture and ensure that the white-on-white die cut remains visible. I also die the Simple Flowers from plain white cardstock, as well.

To add that lovely pop of color to my card front, I used my OLO Markers to add color to each flower, adding a darker shade for the solid flower and a slightly lighter shade to the top flower, creating a touch of contrast. After I had colored each layer, I used liquid adhesive to adhere each layer together, then used the thicker foam adhesive squares to adhere each flower in ROYGBIV order in the center of each frame opening.

For the greeting, I used the Splendid Sentiments product suite to die cut the detailed Splendid die from So Very Black cardstock, then stamped the coordinating sentiment strips with Nocturne Versafine Ink and added clear embossing powder over the top. I adhered the sentiment pieces on the center of the card front with more foam adhesive. For the center of each flower, I added some small Prism Pawsitively Dazzling Gems for additional rainbow sparkle!

Well, that’s all for my project today! This card is a bit different than my usual over-the-top florals, but I am loving the vibrant pops of color on the white background! Thanks so much for stopping by today, and have a marvelous day!
Filed Under: simon says stamp Tagged With: die cutting, olo markers, postage collage cover, simple flowers, splendid die, splendid sentiments

Vibrant Tropical Scene with Simon Says Stamp Sunny Vibes!

June 28, 2024

This post was sponsored by Simon Says Stamp. Thanks, Simon!

Hi friends! I am back with another project using the new Simon Says Stamp Sunny Vibes release, which is full of gorgeous flora and fauna dies. My mind immediately paired the new Exquisite Hummingbird die with the Lily Duo die to create a lovely and vibrant tropical scene. I used some marvelous new markers from OLO marker, as well, to create these vivid layered die cuts, adding a hint of sparkle and shimmer with handmade glitter watercolors. Let’s get started with the details on my project!

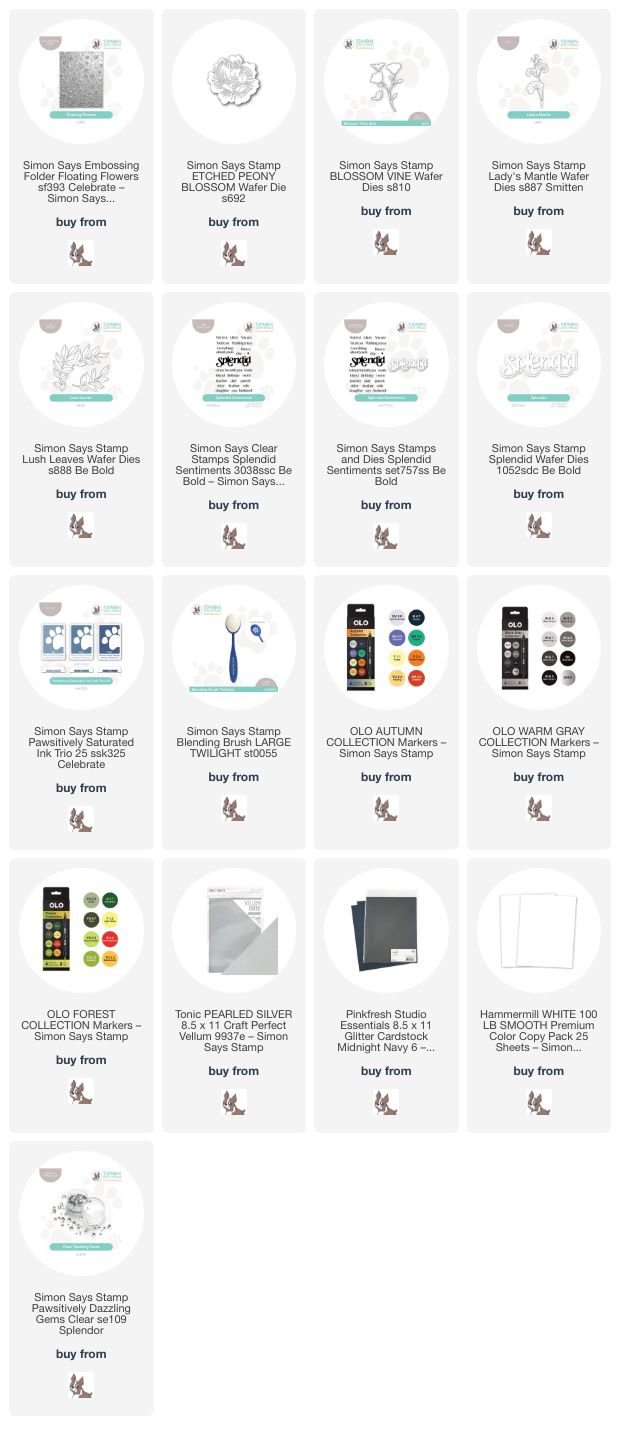
To begin, I die cut the components for the Lily Duo die, the Exquisite Hummingbird die, and the Etched Delicate Frond die from Hammermill cardstock. I then selected super bright colors from OLO marker to add tons of dimension and vibrancy, creating a tropical feel for these gorgeous images. I used the printed guide on the envelopes of the hummingbird and lily dies for guidance on how best to add the colors and shading for the layered die cuts, keeping the colors vivid and cool and adding some pink and aqua “glazing” to the images to keep the color palette cohesive throughout all of the die cuts. (“Glazing” is a watercolor term for adding subtle wash of diluted color over your finished area. I apply it to alcohol markers when I add very subtle color over the top of my finished colored image to help change the tones or add colorful highlights.)

For the background, I wanted to make sure that those incredibly bright colored images popped, so I trimmed down an A2 panel of Pitch Black cardstock and splattered it with some iridescent glitter watercolors from my stash. Adding splatters to a solid background is a great way to add a bit of interest and texture to the background without complicating things so much that the eye is drawn away from the focal point. I arranged the hummingbird, lilies, and foliage on the card front, adhering the foliage fronds with liquid adhesive, a single layer of foam adhesive for the flowers, and a double layer for the hummingbird to make sure that it had a bit extra height!

I find the iridescent sheen on hummingbirds absolutely exquisite, so I tried to capture that shimmer with some sparkling glitter watercolors! I decided to “gild” the edges of my lilies and the wings on my hummingbird with handmade iridescent watercolors from my stash. Difficult to capture in a photo, but so sparkly and luxurious in real life!

After I had arranged the flowers, it was time to work on the sentiment. I stamped a greeting from Splendid Sentiments on strips of black cardstock using Unicorn White pigment ink, then stamped directly over the top with embossing ink and added Iridescent Lavender embossing powder. The resulting combination is a pretty iridescent lavender greeting that shows up beautifully on the black cardstock! I die cut the detail layer of the Splendid die from some Altenew Milky Way Glitter Gradient cardstock pack and the shadow layer from vellum, adhering the two together with liquid adhesive. I flipped the greeting over and added some foam adhesive behind the solid die cuts to hide them effectively, then tucked all of the greeting components amongst the flowers. Finally, I added some sparkly iridescent gems!

Well, that’s all for my project today! I am in shock that we are halfway through the year. Time flies when you’re having fun and are crazy busy, I guess! I have some fun things planned for Christmas In July, and have been working on some videos for my YouTube channel, so stay tuned. Thanks so much for stopping by today, and have a marvelous day!

Filed Under: simon says stamp Tagged With: die cutting, etched delicate frond, exquisite hummingbird, lily duo, OLO marker, splendid die, splendid sentiments

Extra Large Blue Ombré with New Simon Says Stamp Celebrate!

April 26, 2024

This post was sponsored by Simon Says Stamp. Thanks, Simon!

Hi friends! I am back today with an extra large project featuring some extra large dies from Simon Says Stamp’s new Celebrate release. If you’ve followed my blog for any length of time, you will most likely have seen me use frames on my cards. I think die cut frames are the most perfect back drop upon which you can build a floral bouquet. They’re also marvelous for scene-building; I find building scenes with critters and such rather intimidating, lacking much imagination for creating tableaus for the stamped creatures, and so minimizing the amount of space that I have to cover by containing my scene within a frame helps to make that process infinitely simpler. I love the nested frame dies that Simon Says Stamp has recently released, first in A2 Nesting size and most recently in A7 Nesting size. I created this mammoth card with lots and lots of floral and foliage dies to create a beautiful bouquet backed by a textured frame. Let’s get started with the details!

I started my project by trimming down a panel of A7 Hammermill cardstock, then used a blending brush to blend the new Pawsitively Saturated Ink Trio 25 in a vibrant ombré down the front of the card. I tend to do at least two layers of color whenever I am blending an ombré background like this to ensure that the individual colors blend smoothly into each other.

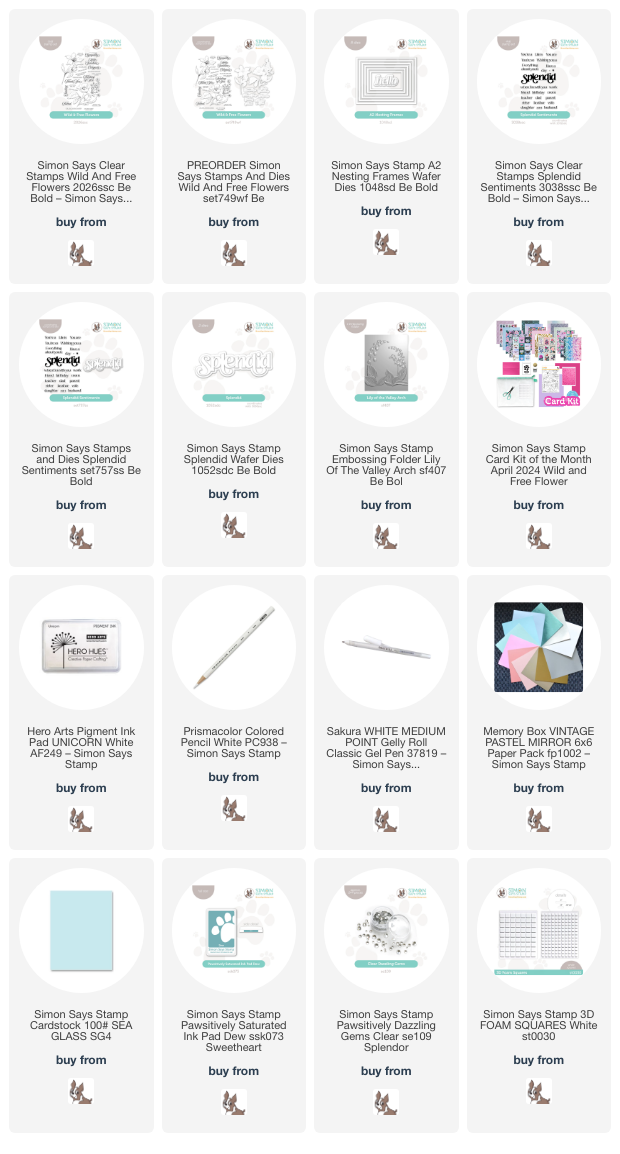
I knew that I wanted to create an ethereal, textured background featuring the new Floating Flowers Embossing Folder and the new A7 Nesting Frames dies. I die cut the A7 Nesting Frames from some super sparkly navy blue glitter paper, then ran a panel of silver pearl vellum through my die cutting machine with the Floating Flowers Embossing Folder. I selected one of the sparkly frames and trimmed the vellum down to be proportionally similar to the frame, allowing it to be slightly larger than the frame. I adhered the frame in the center of the blended card, hiding the adhesive on the back of the solid frame die cut so that it did not mar the sheer pearlescent vellum.

To adorn my frame and textured background, I die cut the Etched Peony Blossom, Blossom Vine, Lady’s Mantle, and Lush Leaves die from Hammermill cardstock, then used OLO Markers to add color to the individual die cuts, keeping the colors nice and cool to complement the vibrant blue ombré background. For the “white” peony, I used a pale BV marker to add some shadows, then used the colorless Zero marker to blend out the harsh edges. This method adds just a hint of shadow to the individual petals, creating some contrast between the shadowed areas and the white petals.

For the greeting, I heat embossed some of the sentiments from Splendid Sentiments onto deep navy blue cardstock using white embossing powder and trimmed them down with my trimmer. I also die cut the Splendid die from some more navy blue glitter paper, tucking the sentiment pieces amongst my floral bouquet. A smattering of sparkling

finished the project off!

Well, that’s all for my project today! I love creating super sized projects like this. It’s fun to get out of the A2 box sometimes, right? Thanks so much for stopping by today, and have a marvelous day!

Filed Under: simon says stamp Tagged With: 3D embossing folder, A7 nesting frames, blossom vine, die cut, etched peony, floating flowers embossing folder, floral, lush leaves, no line coloring, OLO marker, splendid sentiments

Simon Says Stamp Be Bold Blog Hop-Day 2 + Giveaway!!

March 23, 2024

This post was sponsored by Simon Says Stamp. Thanks, Simon!

Hi friends! I’m hopping along with Simon Says Stamp today to share some fun inspiration using their new Be Bold Collection. You should have arrived here from Debby Hughes, and your next stop is Mindy Eggen. You can also start back at the beginning at the Simon Says Stamp Blog! My brain has switched into “flower mode,” aka all flowers… all the time. Ha! So you know that I was thrilled when I opened the new Be Bold goodies and saw tons of gorgeous flowers. I have two projects to share with you today with lots of crisp white accenting beautiful green and blue cardtock, so let’s get started with the details!

You all know that I love a pretty flower, and the delicate, open blooms in the new Wild & Free Flowers (which was released last week as part of the March Card Kit of the Month) are just so very gorgeous! I have seen lots of posts with gorgeous coloring from the Simon team, so I wanted to try something a little different for my project with this beautiful set. I follow lots of cookie and cake artists on Instagram and garner lots of inspiration from their artistry. One of the techniques that I wanted to try to apply to cardmaking is called “royal icing brush embroidery.” Basically, you lay a concentrated layer of white around the edge of your image, then use a clean brush to pull that color out and create your details and highlights. I have plans to try this with white gouache, but wanted to see if I could create a similar look using a white colored pencil, too!

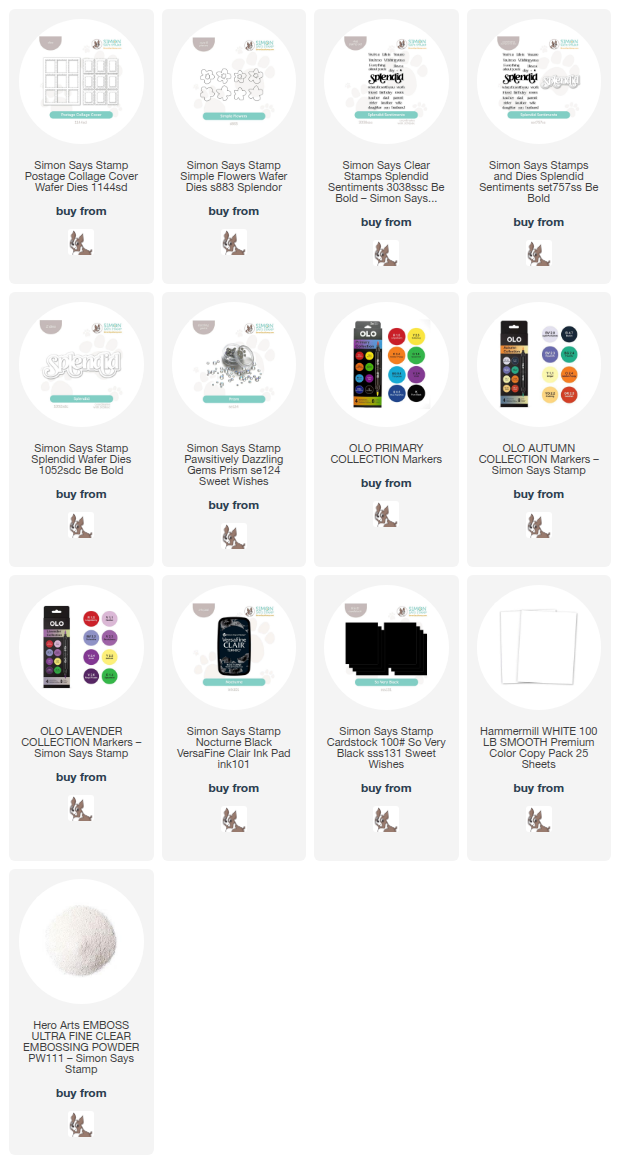
To start, I stamped the large, pretty blossom from Wild & Free Flowers onto some beautiful jade green cardstock using white pigment ink. I used the same idea as the brush embroidery, concentrating the white along the outside of the image, intensifying the pressure on the white colored pencil a bit more around the edges of the petals and slackening the pressure as I neared the center of the flower. This is almost a reverse of my normal coloring technique; it allows the colored cardstock to do the work of creating the “shadows.” I am eager to try this out with white gouache, too! I used a white gel pen to add some details, like on the flower veins and stamens. I die cut the finished image with the coordinating die, which makes this detailed flower look so much cleaner and even more delicate.

For the card base, I die cut the new A2 Nesting Frames dies from some iridescent white mirror cardstock. You all know that I absolutely love a good frame die, because I think they’re the perfect accents for flowers in so many ways, and I love that these frames nestle into each other so that you can layer them as I’ve done here. I selected two different sizes, creating a double frame, and adhered them to the same jade green cardstock that I used for the flower using liquid adhesive. I popped up the flower with some foam sqaures, then added the simple “hello” sentiment from the center of the A2 Nesting Frames die set. The final touch was to add a few sparkling Clear Pawsitively Dazzling Gems. The sparkle on these glass gems is unreal, friends!

For my second card, I used the truly gorgeous new Lily of the Valley Arch Embossing Folder. I initially leaned towards coloring the flowers with alcohol markers, but I wanted to do something that was a little more versatile for people who maybe don’t love coloring like I do. I started by embossing the new Lily of the Valley Arch Embossing Folder on a panel of Sea Glass cardstock. I trimmed the panel down 1/8″ on all sides, so that I could mount it on a full size A2 panel of cardstock, creating a thin mat around the edge of the image. I used a blending brush to blend Dew Pawsitively Saturated Ink around the edges, which creates interest and also helps to enhance some of those debossed lines and bring out the beautiful details.

After ink blending around the edges, I also swiped a white pigment ink pad over the raised areas of the embossed images, helping enhance the details even more. I wanted to add some sparkle, so I added some super shimmery handmade glitter watercolor on the edges of the flowers and foliage, and you can see how beautifully sparkly the card looks at an angle in the photo below. I popped the finished background up on a full size A2 Sea Glass card front using foam squares.

For the greeting, I heat embossed a couple of sentiments from the new Splendid Sentiments stamp set onto some strips of Sea Glass cardstock with white embossing powder. I also die cut the new Splendid die from some white glitter paper and popped all of the sentiment pieces up on the glittering card front with some more foam adhesive. Finally, I added some more Clear Pawsitively Dazzling Gems for one last bit of shine and texture!

Well, that’s all for my projects today! Now for some fun giveaway information:

To celebrate the Be Bold release and blog hops, Simon Says Stamp is giving away a $25 gift certificate to one commenter from each stop on the hop. To receive the maximum entries, be sure to leave a comment on each stop on the hop on both days! Winners will be selected and posted on the Simon Says Stamp blog on March 27th.

Simon Says Stamp is also offering a fabulous coupon code for the blog hop. Simply add code GREEN at checkout to get $7 off of your purchase of $40 or more. You can find all of the details in the graphic at the top of the post!

Your next stop is Mindy Eggen. Thanks so much for stopping by today, and happy hopping!

Filed Under: simon says stamp Tagged With: 3D embossing folder, A2 Nesting Frames dies, be bold, colored pencil, embossing folder, splendid, splendid sentiments, wild & free flowers

Primary Sidebar

  • Facebook
  • Instagram
  • Pinterest
  • YouTube

Favorite Shops

Secondary Sidebar

Subscribe

Enter your email address to subscribe to this blog and receive notifications of new posts by email.

Instagram
Something is wrong.
Instagram token error.
Follow
Load More

Archives

Tags

3D embossing folder alcohol markers better press birthday birthday card blog hop card kit christmas christmas card christmas tag colored pencil copic copic coloring Daniel Smith die cutting embossing folder embroidery felt giveaway holiday holiday card hot foil ink blending karin brushmarker pro layered stencil masculine my monthly hero new release no line coloring no line watercolor OLO marker olo markers original illustration pawsitively saturated rainbow shaker card slimline stamping stamptember stencil thank you thinking of you valentine's day video watercolor

Popular Posts

Simon Says Stamp Sending Cheer Release: Now Available!
Joyful Snowman with New Simon Says Stamp Sending Cheer Release!
Autumn Legs with Colorado Craft Company and Catherine Pooler!
February 2018 My Monthly Hero Blog Hop!
Altenew Paint A Flower: Carnation Blog Hop+Giveaway!
Altenew March 2020 Release Blog Hop+Giveaway!
Special Release: Simon Says Stamp Limited Edition STAMPtember Christmas Card Kit!
Pinkfresh Studios June Washi and Stamp Release Blog Hop!
Pinkfresh Studio 5th Birthday!
2018 Autism Awareness Hop!

Disclosure

Some affiliate links are used in my posts. This means that, should you click on one of my links and purchase something from that company, I will receive a small portion of the sale at no extra cost to you. I use the money earned from these sales to help maintain my blog. I so appreciate you visiting and, if you do choose to use one of my affiliate links, thank you so much for your support!
Copyright © 2026 ·Brunch Pro Theme · Genesis Framework by StudioPress · WordPress · Log in
Loading Comments...