• Skip to main content
  • Skip to primary sidebar
  • Skip to secondary sidebar

Sixth Street Sundries

Emily Midgett

  • Home
  • About Me
  • Contact
  • OLO Marker Color Swatch Chart
  • Shop

etched delicate frond

So Lovely to See You In Sunny Yellow with Simon Says Stamp!

January 22, 2025

This post was sponsored by Simon Says Stamp. Thanks, Simon!

Hi friends! We are at the end of another stretch of bitterly cold weather, as most of the country is, I think, and I thought I’d brighten things up with a tropical-themed card using some warm greens and yellows! I’ve been to Mexico a few times, and I am always astounded by the vibrancy of the colors everywhere, from the flora to the fabrics to the decor…. it’s a visual feast! I channeled some of that into this project using some dies that I had not yet had a chance to use, along with the blackout technique on the Feathery Fronds embossing folder, so let’s get started with the details!

*I have gathered links to all of the products used at the bottom of the post for your convenience, using affiliate links. Thank you for shopping with my links! I truly appreciate your support for my work!*

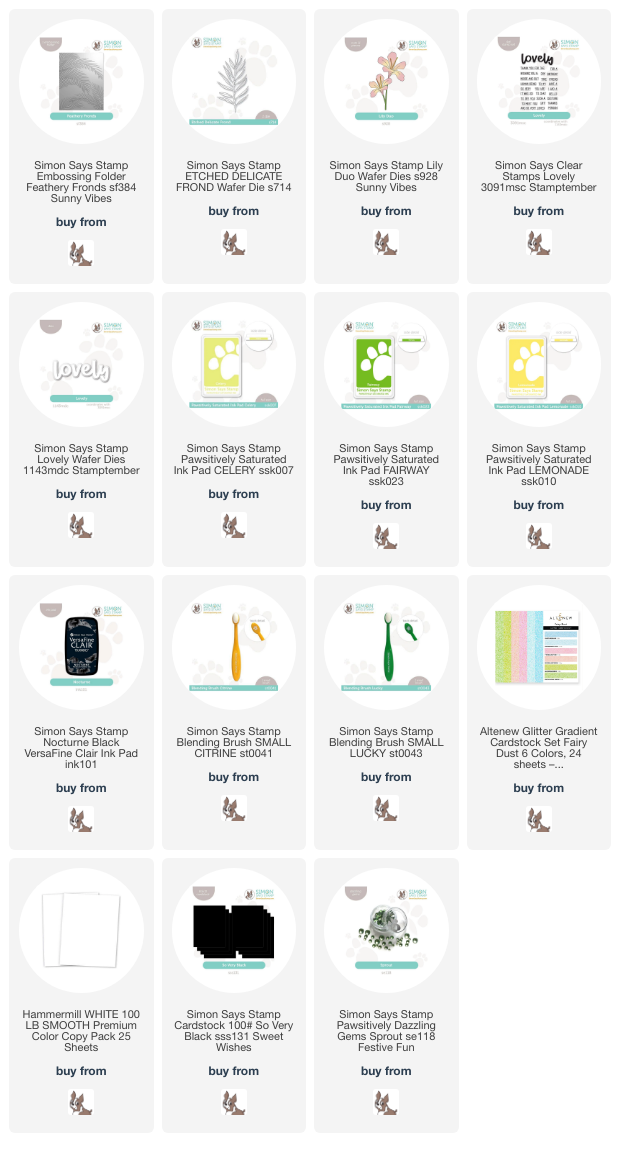
I began by running an A2 panel of white cardstock through my die cutting machine using the Feathery Fronds embossing folder, then flipping the cardstock over so that the debossed side was facing up. I used blending brushes to blend Celery and Fairway inks over the debossed foliage, concentrating the darker green in the center and brushing the tips of the fronds with the lighter green to create a bit of gradation and interest on the foliage. After I had finished blending, I put the Nocturne Pigment Ink pad directly to the cardstock and gently swiped the black ink over the raised areas, highlighting the debossed pattern while still allowing the ink blending to peek through. I love the dramatic effect this creates!

For my focal point, I die cut the Lily Duo die and the Etched Delicate Frond die sets from white cardstock, then used blending brushes with Celery, Fairway, and Lemonade Pawsitively Saturated Inks to blend some beautiful and vivid color on the individual die cuts. I don’t frequently use yellow for a focal point, so it was fun to step outside of my color comfort zone for this card!

For the greeting, I stamped the coordinating sentiment strips onto some black cardstock using the Lovely stamp set, then die cut the large scale coordinating sentiment die from some sparkling lime green Altenew Fairy Dust Glitter Cardstock, adding the shadow layer with some more black cardstock. I arranged the flowers and foliage on the debossed and blended card front using both liquid and foam adhesive, then tucked the sentiment pieces amongst the arrangement with a double layer of foam adhesive to give it some extra height. Finally, I added some extra shimmer to the card with a few Sprout Pawsitively Dazzling Gems.

Well, that’s all for my project today! While it is frigid outside, I am dreaming of a warm tropical paradise with drinks decorated with little umbrellas, delicious fresh fruit, sunglasses, and sparkling pool waters. Thanks so much for stopping by today, and have a marvelous day! Stay warm, friends!
Filed Under: simon says stamp Tagged With: blackout technique, die cutting, etched delicate frond, feathery frond, ink blending, ink swiping, lily duo, lovely, tropical

Vibrant Tropical Scene with Simon Says Stamp Sunny Vibes!

June 28, 2024

This post was sponsored by Simon Says Stamp. Thanks, Simon!

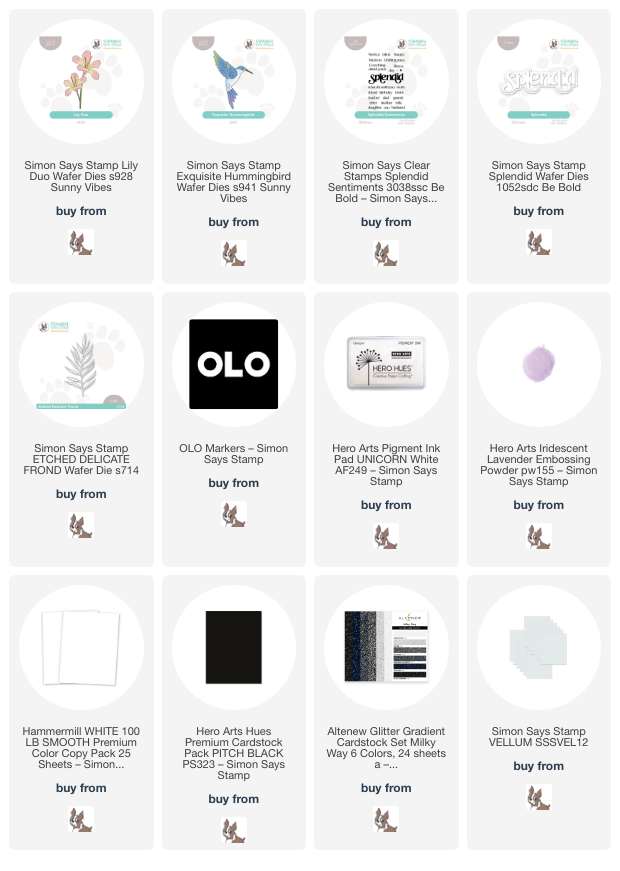
Hi friends! I am back with another project using the new Simon Says Stamp Sunny Vibes release, which is full of gorgeous flora and fauna dies. My mind immediately paired the new Exquisite Hummingbird die with the Lily Duo die to create a lovely and vibrant tropical scene. I used some marvelous new markers from OLO marker, as well, to create these vivid layered die cuts, adding a hint of sparkle and shimmer with handmade glitter watercolors. Let’s get started with the details on my project!

To begin, I die cut the components for the Lily Duo die, the Exquisite Hummingbird die, and the Etched Delicate Frond die from Hammermill cardstock. I then selected super bright colors from OLO marker to add tons of dimension and vibrancy, creating a tropical feel for these gorgeous images. I used the printed guide on the envelopes of the hummingbird and lily dies for guidance on how best to add the colors and shading for the layered die cuts, keeping the colors vivid and cool and adding some pink and aqua “glazing” to the images to keep the color palette cohesive throughout all of the die cuts. (“Glazing” is a watercolor term for adding subtle wash of diluted color over your finished area. I apply it to alcohol markers when I add very subtle color over the top of my finished colored image to help change the tones or add colorful highlights.)

For the background, I wanted to make sure that those incredibly bright colored images popped, so I trimmed down an A2 panel of Pitch Black cardstock and splattered it with some iridescent glitter watercolors from my stash. Adding splatters to a solid background is a great way to add a bit of interest and texture to the background without complicating things so much that the eye is drawn away from the focal point. I arranged the hummingbird, lilies, and foliage on the card front, adhering the foliage fronds with liquid adhesive, a single layer of foam adhesive for the flowers, and a double layer for the hummingbird to make sure that it had a bit extra height!

I find the iridescent sheen on hummingbirds absolutely exquisite, so I tried to capture that shimmer with some sparkling glitter watercolors! I decided to “gild” the edges of my lilies and the wings on my hummingbird with handmade iridescent watercolors from my stash. Difficult to capture in a photo, but so sparkly and luxurious in real life!

After I had arranged the flowers, it was time to work on the sentiment. I stamped a greeting from Splendid Sentiments on strips of black cardstock using Unicorn White pigment ink, then stamped directly over the top with embossing ink and added Iridescent Lavender embossing powder. The resulting combination is a pretty iridescent lavender greeting that shows up beautifully on the black cardstock! I die cut the detail layer of the Splendid die from some Altenew Milky Way Glitter Gradient cardstock pack and the shadow layer from vellum, adhering the two together with liquid adhesive. I flipped the greeting over and added some foam adhesive behind the solid die cuts to hide them effectively, then tucked all of the greeting components amongst the flowers. Finally, I added some sparkly iridescent gems!

Well, that’s all for my project today! I am in shock that we are halfway through the year. Time flies when you’re having fun and are crazy busy, I guess! I have some fun things planned for Christmas In July, and have been working on some videos for my YouTube channel, so stay tuned. Thanks so much for stopping by today, and have a marvelous day!

Filed Under: simon says stamp Tagged With: die cutting, etched delicate frond, exquisite hummingbird, lily duo, OLO marker, splendid die, splendid sentiments

Primary Sidebar

  • Facebook
  • Instagram
  • Pinterest
  • YouTube

Favorite Shops

Secondary Sidebar

Subscribe

Enter your email address to subscribe to this blog and receive notifications of new posts by email.

Instagram
Something is wrong.
Instagram token error.
Follow
Load More

Archives

Tags

3D embossing folder alcohol markers better press birthday birthday card blog hop card kit christmas christmas card christmas tag colored pencil copic copic coloring Daniel Smith die cutting embossing folder embroidery felt giveaway holiday holiday card hot foil ink blending karin brushmarker pro layered stencil masculine my monthly hero new release no line coloring no line watercolor OLO marker olo markers original illustration pawsitively saturated rainbow shaker card slimline stamping stamptember stencil thank you thinking of you valentine's day video watercolor

Popular Posts

Simon Says Stamp Sending Cheer Release: Now Available!
Joyful Snowman with New Simon Says Stamp Sending Cheer Release!
Autumn Legs with Colorado Craft Company and Catherine Pooler!
February 2018 My Monthly Hero Blog Hop!
Altenew Paint A Flower: Carnation Blog Hop+Giveaway!
Altenew March 2020 Release Blog Hop+Giveaway!
Special Release: Simon Says Stamp Limited Edition STAMPtember Christmas Card Kit!
Pinkfresh Studio 5th Birthday!
Pinkfresh Studios June Washi and Stamp Release Blog Hop!
Studio Katia September Release Blog Hop!

Disclosure

Some affiliate links are used in my posts. This means that, should you click on one of my links and purchase something from that company, I will receive a small portion of the sale at no extra cost to you. I use the money earned from these sales to help maintain my blog. I so appreciate you visiting and, if you do choose to use one of my affiliate links, thank you so much for your support!
Copyright © 2026 ·Brunch Pro Theme · Genesis Framework by StudioPress · WordPress · Log in
Loading Comments...