• Skip to main content
  • Skip to primary sidebar
  • Skip to secondary sidebar

Sixth Street Sundries

Emily Midgett

  • Home
  • About Me
  • Contact
  • OLO Marker Color Swatch Chart
  • Shop

floral

Rainbow of Daisies with New Simon Says Stamp + SALE!

March 6, 2026


This post was sponsored by Simon Says Stamp. Thanks, Simon! *I have gathered links to all of the products used at the bottom of the post for your convenience, using affiliate links at no extra cost to you. Thank you for shopping with my links! I truly appreciate your support for my work!*

Hi friends! We are currently enjoying some “faux spring” weather over the next several days, and I am doing my part to bring springtime sunshine and flowers with projects using the the new Beautiful Moments release from Simon Says Stamp! (Check out the full Beautiful Moments release HERE!). I created THIS project using the fabulous new Wildflower Bucket. Whenever I am working with small die cuts that I plan to use to create a full arrangement, I always cut a ton to make sure that I have a sufficient amount to create my lush floral arrangement. Luckily, this usually means that I have lots of extras that I can use on another project! Let’s get started with the details.

I had created an ombré of flower buckets with coral, pink, and lavender, so I wanted to create another ombré rainbow using the leftovers from my Wildflower Bucket die cutting spree. Rather than clustering the flowers together in an arrangement, I decided to die cut two Dainty Floral Vine foliage die cuts. This takes care of two design details for me: the pop of green needed from the foliage as well as the basic layout of my card!

I used thin foam adhesive squares to add the vines to a peachy A2 card front, then used thicker foam adhesive to add the blooms. I maintained the ombré aesthetic, shifting the from one color family to the next seamlessly with the daisies that I’d already cut. I added in some of the smaller hydrangea blooms as well, filling in any blank areas left after using up the larger daisy images.

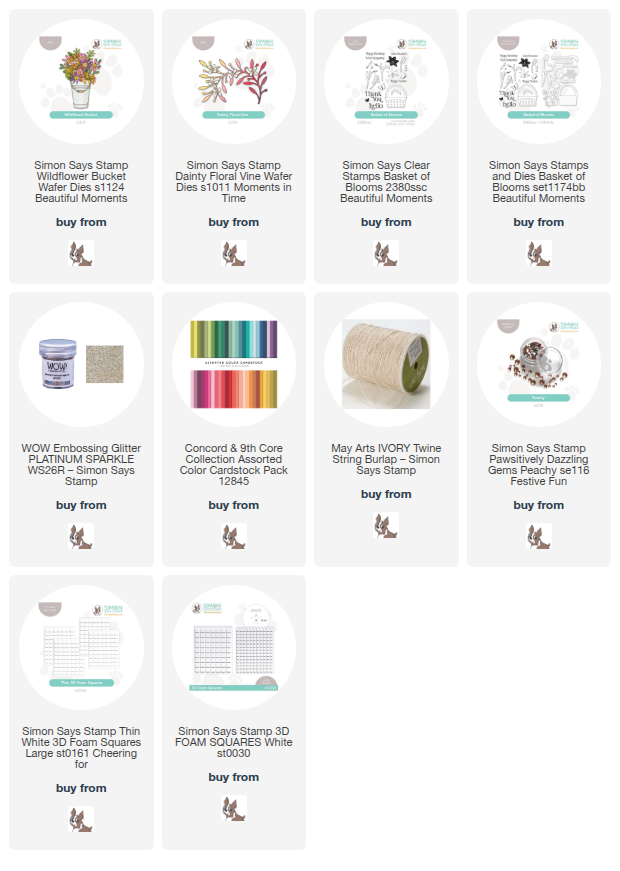
Once I had adhered all of the foliage and blooms to my card front, I created a simple “hello” greeting by stamping the pretty sentiment from Basket of Blooms onto some more peachy cardstock using embossing ink and adding Platinum Sparkle embossing powder. I die cut the finished sentiment with it’s coordinating die, then used a double layer of foam adhesive to pop it up in the center of my rainbow wreath. I added a few small Peachy Pawsitively Dazzling Gems to the center of the small hydrangea blooms, then added one final touch of texture with a twine bow tucked beneath the sentiment. I love the homey texture that this adds to the card!

Well, that’s all for my project today! Now for some fabulous sale information:
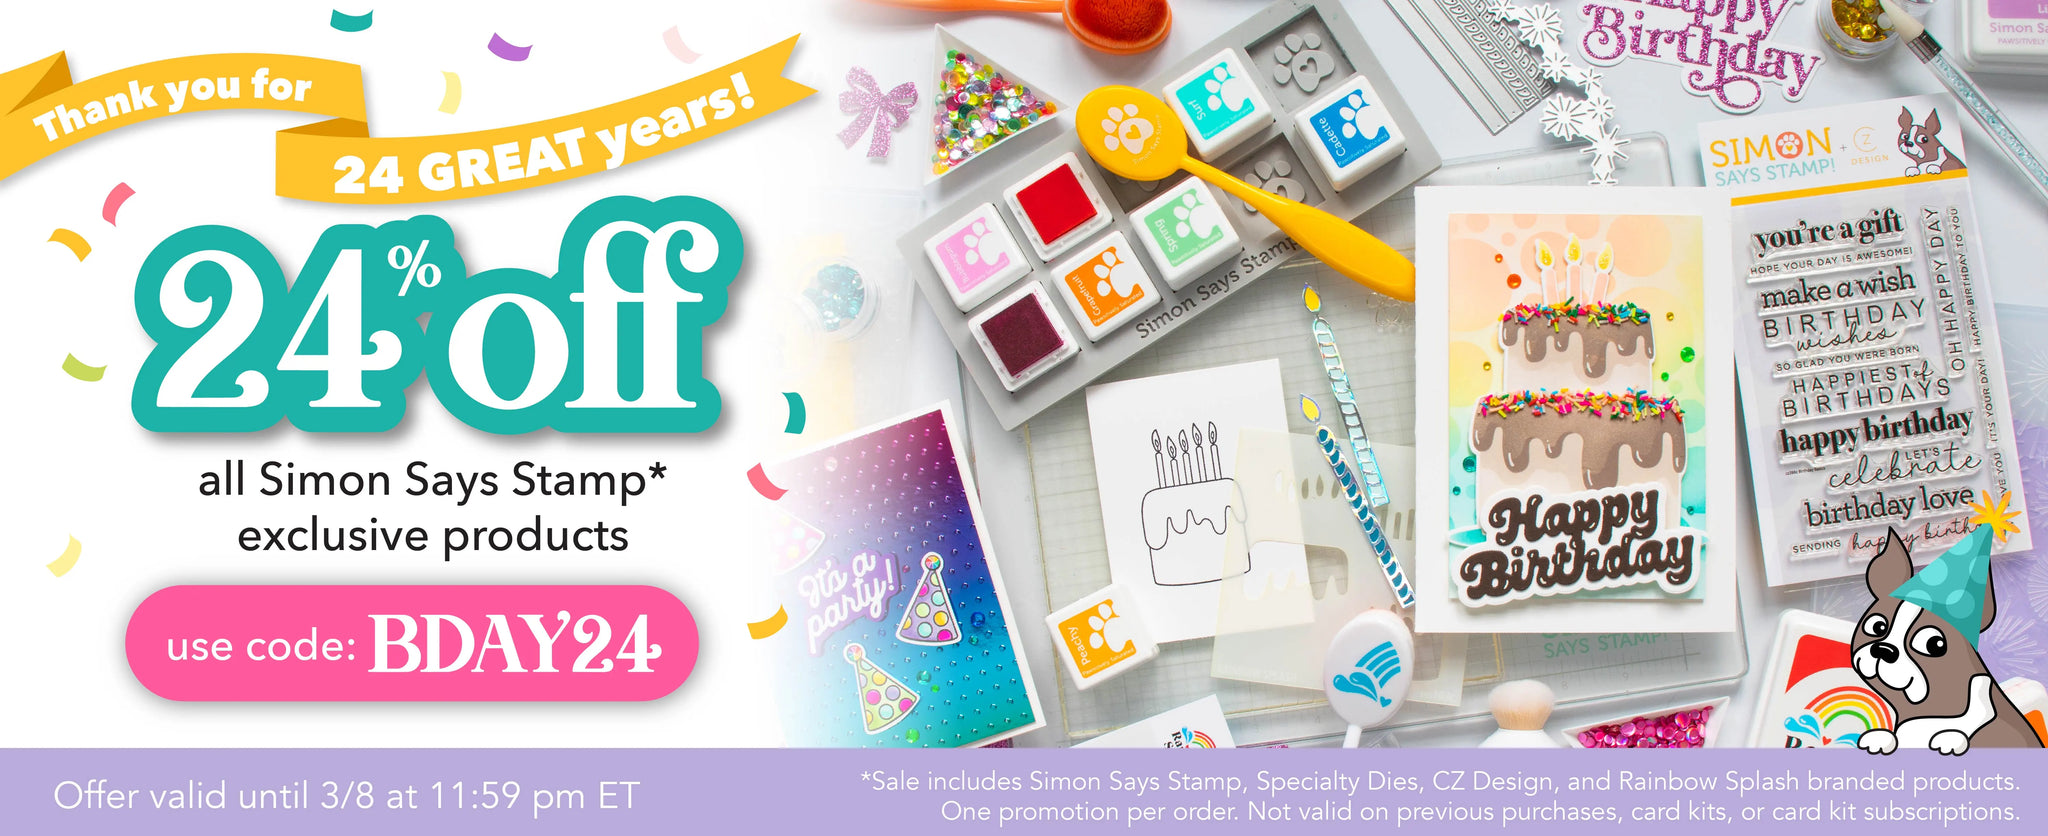
To celebrate their 24th birthday, you can receive 24% off of your entire Simon Says Stamp-branded order! This includes their marvelous Pawsitively Saturated Inks, accessories, stencils, embossing folders, and of course, stamps and dies… so many amazing products at such an amazing discount!! Simply click the photo above or HERE to shop and then use code BDAY24 at checkout to receive your discount!!

Thanks so much for stopping by today, and have a marvelous day! Happy Birthday to Simon Says Stamp!
Filed Under: simon says stamp, Uncategorized Tagged With: basket of blooms, die cutting, floral, floral vine, hello, rainbow, wildflower bucket

Extra Large Blue Ombré with New Simon Says Stamp Celebrate!

April 26, 2024

This post was sponsored by Simon Says Stamp. Thanks, Simon!

Hi friends! I am back today with an extra large project featuring some extra large dies from Simon Says Stamp’s new Celebrate release. If you’ve followed my blog for any length of time, you will most likely have seen me use frames on my cards. I think die cut frames are the most perfect back drop upon which you can build a floral bouquet. They’re also marvelous for scene-building; I find building scenes with critters and such rather intimidating, lacking much imagination for creating tableaus for the stamped creatures, and so minimizing the amount of space that I have to cover by containing my scene within a frame helps to make that process infinitely simpler. I love the nested frame dies that Simon Says Stamp has recently released, first in A2 Nesting size and most recently in A7 Nesting size. I created this mammoth card with lots and lots of floral and foliage dies to create a beautiful bouquet backed by a textured frame. Let’s get started with the details!

I started my project by trimming down a panel of A7 Hammermill cardstock, then used a blending brush to blend the new Pawsitively Saturated Ink Trio 25 in a vibrant ombré down the front of the card. I tend to do at least two layers of color whenever I am blending an ombré background like this to ensure that the individual colors blend smoothly into each other.

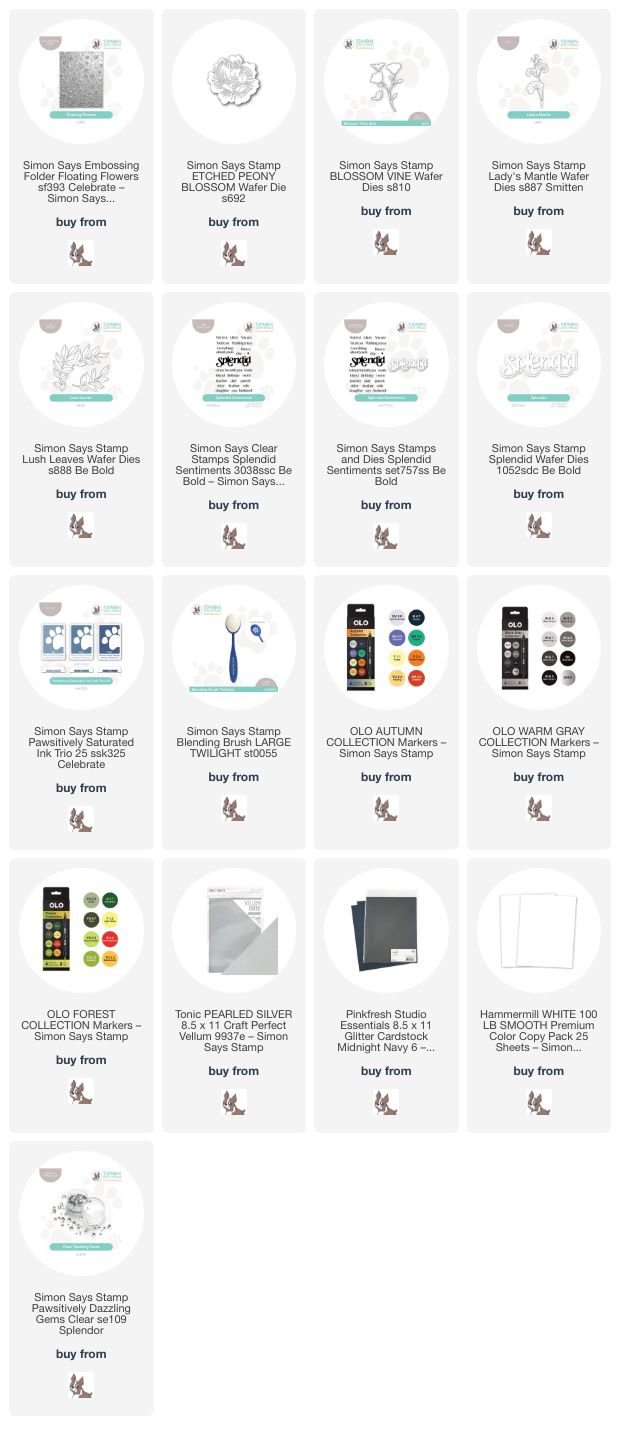
I knew that I wanted to create an ethereal, textured background featuring the new Floating Flowers Embossing Folder and the new A7 Nesting Frames dies. I die cut the A7 Nesting Frames from some super sparkly navy blue glitter paper, then ran a panel of silver pearl vellum through my die cutting machine with the Floating Flowers Embossing Folder. I selected one of the sparkly frames and trimmed the vellum down to be proportionally similar to the frame, allowing it to be slightly larger than the frame. I adhered the frame in the center of the blended card, hiding the adhesive on the back of the solid frame die cut so that it did not mar the sheer pearlescent vellum.

To adorn my frame and textured background, I die cut the Etched Peony Blossom, Blossom Vine, Lady’s Mantle, and Lush Leaves die from Hammermill cardstock, then used OLO Markers to add color to the individual die cuts, keeping the colors nice and cool to complement the vibrant blue ombré background. For the “white” peony, I used a pale BV marker to add some shadows, then used the colorless Zero marker to blend out the harsh edges. This method adds just a hint of shadow to the individual petals, creating some contrast between the shadowed areas and the white petals.

For the greeting, I heat embossed some of the sentiments from Splendid Sentiments onto deep navy blue cardstock using white embossing powder and trimmed them down with my trimmer. I also die cut the Splendid die from some more navy blue glitter paper, tucking the sentiment pieces amongst my floral bouquet. A smattering of sparkling

finished the project off!

Well, that’s all for my project today! I love creating super sized projects like this. It’s fun to get out of the A2 box sometimes, right? Thanks so much for stopping by today, and have a marvelous day!

Filed Under: simon says stamp Tagged With: 3D embossing folder, A7 nesting frames, blossom vine, die cut, etched peony, floating flowers embossing folder, floral, lush leaves, no line coloring, OLO marker, splendid sentiments

Papertrey Ink July 2023 Release-Guest Post!

July 26, 2023

Hi friends! I have a post today that is so very exciting for me. When I was first starting out as a stamper, the new releases each month at Papertrey Ink were almost an obsession for me. I waited impatiently each month for the sneak peeks to start, waited impatiently for that moment when the release went live, waited impatiently for my package to arrive so that I could start creating with the elegant goodies so lovingly packaged… After a couple of years, I began working with other companies as well, then began working for those companies, and so as our family grew and as my work increased, my available playtime kept getting diminishing. You can imagine how incredibly thrilled I was when the ladies at Papertrey Ink asked me to do some guest work for them this month! My mom said it was like coming full circle for me. Such an honor to help introduce some of their newest products! I created four different cards for their July 2023 release, two of which I’ll share with you today. Let’s get started with the details!

I cannot get enough of layered flower dies as a general rule, and the stunning new Into the Blooms: Poppies are so beautifully detailed that I couldn’t resist creating a project with them as the star! I used a Smokey Shadow cardstock base for both of my projects, allowing the layered flower dies to really pop from the dark neutral background, adding crisp white embossed sentiments for a super bold look. Let’s get started with the details!

My first project features the beautiful new Into the Blooms: Poppies and the versatile new Love To Layer: Alluring Brackets dies. This is my second Love To Layer die set; you can find another card using these marvelous dies HERE. They work together so beautifully, either die cutting multiple dies at once to create a frame die cut, perfect for encircling with florals, or you can cut them individually as I’ve done here to create a layered look with lots of textures and heights. I die cut the Alluring Brackets dies from some more Smokey Shadow cardstock, then heat embossed one of the large greetings from the new Garden Blessings stamp set with crisp white embossing powder. The contrast between the white embossing and the deep gray background is just marvelous!

To accent these beautiful frames, I die cut the Into the Blooms: Poppies from some Pure Poppy cardstock. I then used a small blending brush to blend some deep cranberry ink on each of the individual petal die cuts to create some extra dimension on these flowers. I cut the foliage from Simply Chartreuse cardstock and blended some coordinating green ink around the edges to add some extra interest to the flat die cuts. For the flower centers, I cut them from more Smokey Shadow cardstock and accented the tips with some white gel pen. I adhered the Love To Layer: Alluring Brackets die cuts to the Smokey Shadow A2 card base using foam adhesive, then tucked the flowers and foliage around the bracket die cuts and adhered them with a single and double layers of foam tape and liquid adhesive for lots of different heights. Finally, I added a few iridescent white pearls for sparkle!

For my second project, I paired the beautiful new Psalm Reflections: July stamp and coordinating die set with the older Into The Blooms: Gardenia layering die set. I first die cut and heat embossed the Psalm Reflections: July stamp and coordinating die set using more Smokey Shadow cardstock and white embossing powder. I love that this die can be used with or without the stamp set; it’s such a beautiful shape, and the little debossed details around the edges are so delicate and lovely! After heat embossing, I popped the sentiment die cut up on my A2 Smokey Shadow card base using foam adhesive.

To accent the lovely greeting, I die cut the components of the Into The Blooms: Gardenia layering die set from some plain white cardstock. I used blending brushes to lightly blend pale peach and jade green inks on the individual die cuts before adhering the pieces together. I kept the blending extremely light on the flower petals, as I wanted the gardenias to be as white as possible. The pale peach blending helps create some contrast between the individual petals while also allowing the flower to glow a little! I adhered the pieces together using liquid adhesive, then added some swipes of my sparkle pen to add some extra interest and shimmer. I had die cut the Elegant Edges: Spring Flowers for a different project and saved some of the die cut sprigs. I tucked those amongst the gardenia arrangement and added some sparkle pen to them, as well, filling in some of the bare spots with a little extra shimmer and texture.

Well, that’s all for these projects! I have two more to share with you using the new Papertrey Ink July 2023 Release, so be sure to check back later this week. Thanks so much for stopping by today, and have a marvelous day!

Filed Under: Papertrey Ink Tagged With: encouragement, floral, garden blessings, into the blooms: gardenia, into the blooms: poppies, layered die cuts, psalm reflections, religious

Encouragement with Blissful Bouquet!

June 6, 2023

This post was sponsored by Simon Says Stamp. Thanks, Simon!

Sometimes, a card can be super involved with lots of elements and details and layers and foam tape and techniques…. and sometimes all you need are a few pretty flowers and a big chunky sentiment to make a big impact on a card! When I was designing the Blissful Bouquet (which should be back in stock very soon-be sure to sign up to be notified for when it’s back in stock!) set for Simon Says Stamp, I wanted to make sure that the flowers were large enough to be a joy to color but also would work well on a card front. For today’s card, I kept things simple with a few flowers from Blissful Bouquet, adding in a big chunky sentiment. Let’s get started with the details!

To start, I stamped the large peony bloom, bud, sweet pea, and delphinium blossoms from Blissful Bouquet on some Hammermill cardstock using Intens-ified Black ink. I used Copic markers to do some quick coloring on the stamped flowers, creating a cool coral pink peony and some blue filler flowers for contrast.

Tip: Use a medium gray marker to intensify your shadows for your larger blooms. A tiny bit is all you need; it’s easy to add too much, but very difficult to blend it out if you add more than you intended- just a small amount on the area of the petals that are tucked more deeply into the base of the flower and are really in the shadows. Because the markers are transparent, the gray will pick up the reddish hues in the other markers and create a dramatic gradient.

After I finished coloring the blooms and die cutting them, I stamped a greeting from the XL Stacked Greetings stamp set using black pigment ink and clear embossing over the top. I find that the combination of the black pigment ink with the clear embossing really intensifies the crisp black lines. I die cut the sentiment with the coordinating die, then arranged my bouquet around it and adhered all of the pieces with foam tape. To accent the crisp black lines on all of my die cuts, I added some black gems for one last element of shine!

Well, that’s all for my project today. Thanks so much for stopping by, and have a marvelous day!

Filed Under: original illustrations, simon says stamp Tagged With: blissful bouquet, copic coloring, floral, original illustration, xl stacked greetings

Non-Traditional Holiday Colors with New Honey Bee Stamps Make It Merry!

October 27, 2022

Hi there! I’m back again today with another pair of projects featuring some of the beautiful new products from the Honey Bee Stamps Make It Merry release! While my projects yesterday felt fairly traditional, today’s projects change up the color schemes a bit, with lots of neutrals, metallics, and a pop of muted pink. I love traditional color schemes for holiday cards, but I love unique holiday color palettes just as much. The beautiful new products lend themselves so well to both!

I have two projects today, both of which feature the gorgeous Lovely Layers Winter Greenery to help accent the focal points on the cards. I also used more greetings from the Foil Script: Holiday Hot Foil Plate and Dies. I like to sit down with my foil machine and foil lots of greetings in different shades of foil and on different colors of cardstock so that I have tons of options when I start creating. Let’s get started with the details!

For my first card, I started by creating the finch from the sweet little birds in the Lovely Layers Winter Birds Honey Cuts set. I kept the colors traditional, with creamy and crisp white, grays, and black. It was super simple to put together! I also matched the shades of gray to the warm gray foil that I used for the greeting, foiled using the Foil Script: Holiday Hot Foil Plate and Dies, the Pinkfresh Studio Solid Hot Foil Plate, and some matte pewter foil. I used those two elements as the basis for the rest of my color scheme!

Because I wanted to create a little scene with the fairly large Bird House A2 Card Base Honey Cuts, I cut a 5×7 card front from some plain white cardstock, then masked the edges to create a 1″ white frame around the edge. This 4×6 inch opening created the perfect space for the Nordic Winter Stencil. Using a blending brush, I blended some medium gray ink over the stencil to create the subtle pattern, then removed the stencil and lightly blended around the edge of the opening with the same shade of gray to create a framed area to ground the rest of my images. I find that creating a smaller blended area as a focal point on my card fronts helps to keep the large clean card front from being intimidating when building a scene!

I created a little bird house using similar colors from the Bird House A2 Card Base Honey Cuts, adding a little pop of pale blush pink to the scallops on the roof. I die cut a few elements from the Lovely Layers Winter Greenery, with super dark green pine boughs and some muted melon pink berries. The foliage is the perfect spot to rest my little bird! I adhered the bird house using foam adhesive, then arranged my foliage and berries beneath it, finally nestling my little finch on top and adhering with another layer of foam adhesive to create lots of height and dimension.

I popped up the greeting from the Foil Script: Holiday Hot Foil Plate and Dies and added a heat embossed sentiment strip using a greeting from Bitty Buzzwords: Holiday, both with a double layer of foam tape. Finally, I accented the project with a few sparkling Winter Wonder Gem Stickers! Lots of dimension in this card. Definitely saving this for a super special friend!

My second project uses the same blush pink cardstock that I used in the first project as an accent, but this time it’s the focal point! I had creating some greetings using the Foil Script: Holiday Hot Foil Plate and Dies on this blush pink cardstock using some matte rose gold foil and decided to use that as my starting point for the color scheme for this card.

I die cut the layers from the Lovely Layers: Anemone from the blush cardstock, then used some slightly darker pink ink to lightly blend around the edges and add a bit of extra dimension to the die cuts. I adhered them all together, adding a black and gray center, using liquid adheisve. I also die cut several elements from the Lovely Layers Winter Greenery in a few shades of deep green, as well as some more of the muted melon colored berries, the shade of which coordinated beautifully with the ink on the edge of the anemone.

For the card base, I ran the Winter Gems Cover Plate through my die cut machine with some crisp white cardstock. I love the subtle texture that this cover plate adds to the background; I can’t wait to try this plate with hot foil! I adhered a glittery rose gold frame cut from the Sentiment Frames Honey Cuts die set in the bottom corner of the debossed card front, then arranged my holiday flora in a swag, adhering the components with liquid and dimensional foam adhesive for tons of dimension. I added the foiled blush and gold greeting with a double layer of foam tape, then finished the project with a few iridescent hunter green gems from the Make It Merry Sticker Gem set.

Well, that’s all for these projects. These non-traditional color schemes are some of my favorites, but the images themselves are undeniably holiday! Thanks so much for reading today, and have a marvelous day!

Filed Under: Honey Bee Stamps Tagged With: bird house, bitty buzzwords, christmas card, die cutting, floral, glimmer hot foil, holiday card, hot foil, lovely layers anemone, lovely layers winter birds, lovely layers winter greenery, nordic winter, stencil, winter gems

  • Page 1
  • Page 2
  • Page 3
  • Interim pages omitted …
  • Page 5
  • Go to Next Page »

Primary Sidebar

  • Facebook
  • Instagram
  • Pinterest
  • YouTube

Favorite Shops

Secondary Sidebar

Subscribe

Enter your email address to subscribe to this blog and receive notifications of new posts by email.

Instagram
Something is wrong.
Instagram token error.
Follow
Load More

Archives

Tags

3D embossing folder alcohol markers better press birthday birthday card blog hop card kit christmas christmas card christmas tag colored pencil copic copic coloring Daniel Smith die cutting embossing folder embroidery felt giveaway holiday holiday card hot foil ink blending karin brushmarker pro layered stencil masculine my monthly hero new release no line coloring no line watercolor OLO marker olo markers original illustration pawsitively saturated rainbow shaker card slimline stamping stamptember stencil thank you thinking of you valentine's day video watercolor

Popular Posts

Simon Says Stamp Sending Cheer Blog Hop- Day 2 + Freebie + Giveaway!
Altenew October 2026 Release Blog Hop + Giveaway!
Rustic Monochromatic Stars for Christmas with Rainbow Splash!
Waffleflower July Release Blog Hop!
Hero Arts Partners Blog Hop: Lawn Fawn!
March 2020 Essentials By Ellen Blog Hop+Giveaway!
December 2018 My Monthly Hero Blog Hop + Giveaway!
The Ton Stamps Summer Release: Day 1
The Ton Anniversary Release: Day 1!
Altenew Paint A Flower: Carnation Blog Hop+Giveaway!

Disclosure

Some affiliate links are used in my posts. This means that, should you click on one of my links and purchase something from that company, I will receive a small portion of the sale at no extra cost to you. I use the money earned from these sales to help maintain my blog. I so appreciate you visiting and, if you do choose to use one of my affiliate links, thank you so much for your support!
Copyright © 2026 ·Brunch Pro Theme · Genesis Framework by StudioPress · WordPress · Log in
Loading Comments...