• Skip to main content
  • Skip to primary sidebar
  • Skip to secondary sidebar

Sixth Street Sundries

Emily Midgett

  • Home
  • About Me
  • Contact
  • OLO Marker Color Swatch Chart
  • Shop

blossom vine

Extra Large Blue Ombré with New Simon Says Stamp Celebrate!

April 26, 2024

This post was sponsored by Simon Says Stamp. Thanks, Simon!

Hi friends! I am back today with an extra large project featuring some extra large dies from Simon Says Stamp’s new Celebrate release. If you’ve followed my blog for any length of time, you will most likely have seen me use frames on my cards. I think die cut frames are the most perfect back drop upon which you can build a floral bouquet. They’re also marvelous for scene-building; I find building scenes with critters and such rather intimidating, lacking much imagination for creating tableaus for the stamped creatures, and so minimizing the amount of space that I have to cover by containing my scene within a frame helps to make that process infinitely simpler. I love the nested frame dies that Simon Says Stamp has recently released, first in A2 Nesting size and most recently in A7 Nesting size. I created this mammoth card with lots and lots of floral and foliage dies to create a beautiful bouquet backed by a textured frame. Let’s get started with the details!

I started my project by trimming down a panel of A7 Hammermill cardstock, then used a blending brush to blend the new Pawsitively Saturated Ink Trio 25 in a vibrant ombré down the front of the card. I tend to do at least two layers of color whenever I am blending an ombré background like this to ensure that the individual colors blend smoothly into each other.

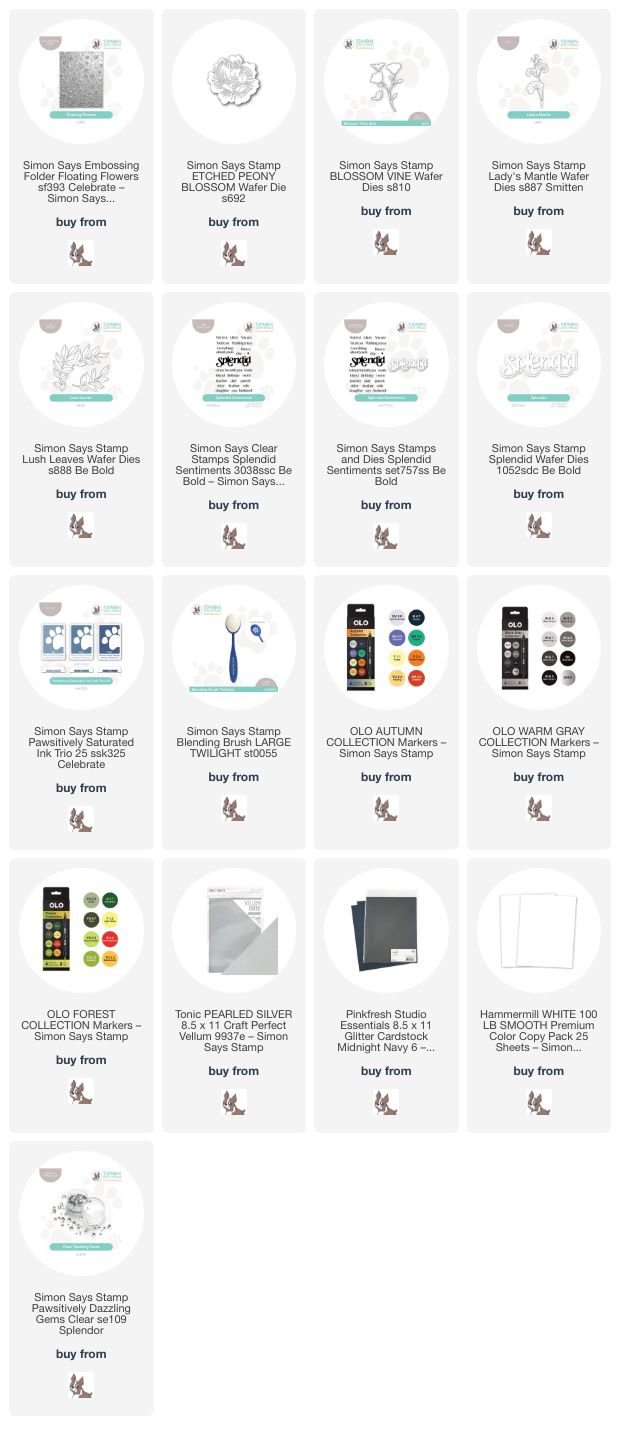
I knew that I wanted to create an ethereal, textured background featuring the new Floating Flowers Embossing Folder and the new A7 Nesting Frames dies. I die cut the A7 Nesting Frames from some super sparkly navy blue glitter paper, then ran a panel of silver pearl vellum through my die cutting machine with the Floating Flowers Embossing Folder. I selected one of the sparkly frames and trimmed the vellum down to be proportionally similar to the frame, allowing it to be slightly larger than the frame. I adhered the frame in the center of the blended card, hiding the adhesive on the back of the solid frame die cut so that it did not mar the sheer pearlescent vellum.

To adorn my frame and textured background, I die cut the Etched Peony Blossom, Blossom Vine, Lady’s Mantle, and Lush Leaves die from Hammermill cardstock, then used OLO Markers to add color to the individual die cuts, keeping the colors nice and cool to complement the vibrant blue ombré background. For the “white” peony, I used a pale BV marker to add some shadows, then used the colorless Zero marker to blend out the harsh edges. This method adds just a hint of shadow to the individual petals, creating some contrast between the shadowed areas and the white petals.

For the greeting, I heat embossed some of the sentiments from Splendid Sentiments onto deep navy blue cardstock using white embossing powder and trimmed them down with my trimmer. I also die cut the Splendid die from some more navy blue glitter paper, tucking the sentiment pieces amongst my floral bouquet. A smattering of sparkling
finished the project off!

Well, that’s all for my project today! I love creating super sized projects like this. It’s fun to get out of the A2 box sometimes, right? Thanks so much for stopping by today, and have a marvelous day!

Filed Under: simon says stamp Tagged With: 3D embossing folder, A7 nesting frames, blossom vine, die cut, etched peony, floating flowers embossing folder, floral, lush leaves, no line coloring, OLO marker, splendid sentiments

Simon Says Stamp Hugs & Kisses Release Blog Hop + Giveaway!

January 20, 2023

Hi there! I am thrilled to be a stop on Day 1 of the Hugs & Kisses Release Blog Hop! You should have arrived here from Alberto Gava, and your next stop is Vicky Papaioannou. You can also start back at the beginning at the Simon Says Stamp Blog. After a little holiday break, we are celebrating both the Simon Says Stamp Hugs release from December 2022 and the brand new Kisses release from January 2023! Both of these releases are love-themed, and many of the products work beautifully together. I have two blushing projects to share with you today, so let’s get started with the details!

Every few weeks, we get little glimpses of springtime with some lovely mild temperatures, and I was channeling those memories of pleasant spring days when I worked on these projects. I realized after I created them that the color palette was very similar to my projects from the November Holiday Sparkle Blog Hop, this time with a floral springtime vibe! I can’t seem to get enough of that blushy cardstock paired with metallic accents, and both of these cards feature that soft pink, this time paired with the new Champagne Matte Cardstock and a ton of new and old goodies!

My first card features the Heart Panes die from the Hugs release, die cut from the new Champagne Matte Cardstock. The heart opening in the center is the perfect size to fit the “sending love” greeting from the new From the Heart Messages stamp set. I cut a piece of blush colored cardstock down to A2 size, then arranged my champagne cover plate die cut over the top of the blush background and placed the entire panel inside my MISTI. I placed the stamp from the From the Heart Messages set in the center and closed the door, then removed the die cut.

I heat embossed the greeting using Metallic Platinum Sparkle embossing powder, which was a near-perfect match for the Champagne Matte Cardstock. After I had embossed the greeting in the center, I lightly blended some Cheeky ink around the edges to add a little extra dimension to the background. I adhered the cover plate die over the top of the blended, embossed background panel.

To accent the heart, I wanted to add some simple die cut flowers from that same blush cardstock. I die cut the Etched Magnolia Blossom and Blossom Vine dies from the blush cardstock, then die cut some foliage from the leftover panes of Champagne cardstock using the Privet Branch die. I lightly blended some more Cheeky ink around the edges of the die cut magnolia pieces using a small blending brush and adhered the pieces using both liquid and foam adhesive for lots of dimension. I arranged the die cuts in a swag around the foil heart and sentiment, adding a sentiment strip and some Champagne Glitter Drops for some more sparkle!

My second card features the same color scheme, this time using the Flourishing Bloom cover plate die to create a lovely floral background! I began with another A2 panel of the blush cardstock, blended around the edges with Cheeky ink to add some extra interest to the background. I then die cut the Flourishing Bloom cover plate die from the Champagne Matte Cardstock and mounted it on the blush background using liquid adhesive.

To accent the foiled foliage, I die cut the Flourishing Bloom cover plate from another panel of the blush cardstock, then used my sharp scissors to trim each of the individual flowers off of the large die cut. I used the same small blending brush with Cheeky ink to add some extra dimension to the blooms. This helps them pop from the background a bit! I adhered all of the die cut blooms to the floral background using foam tape to help give them even more interest and dimension.

For the greeting, I used the brand new Hi There sentiment die set. I die cut the background layer from some heavyweight vellum, then adhered the detail layer cut from some Champagne Matte Cardstock. I popped the sentiment up with some thin strips of foam tape, hidden behind the solid portion of the die cuts to keep it from showing through the semi-transparent vellum! I also added some Champagne Glitter Drops to the center of the flowers. Lots of height and texture on this card’s background!

Well, that’s all for my projects today! Now for some fun giveaways and freebie information!

Simon Says Stamp is giving away a $25 coupon to each stop on the hop. The winner will be selected from the comments and announced on the Simon Says Stamp blog on January 25, 2023! To be entered to win, simply leave a comment on each blog across the hop. The more comments you leave, the more chances you have to win!

Simon Says Stamp is also adding a sweet little freebie with purchase. Simply add code RBW23 at checkout to receive the Rainbow 3×4 stamp set with your order!

Your next stop is Vicky Papaioannou Thanks so much for stopping by today, and happy hopping!

Filed Under: simon says stamp Tagged With: blossom vine, champagne matte cardstock, etched magnolia, flourishing bloom, from the heart messages, heart panes cover plate, hi there, ink blending, privet branch

Primary Sidebar

  • Facebook
  • Instagram
  • Pinterest
  • YouTube

Favorite Shops

Secondary Sidebar

Subscribe

Enter your email address to subscribe to this blog and receive notifications of new posts by email.

Instagram
Something is wrong.
Instagram token error.
Follow
Load More

Archives

Tags

3D embossing folder alcohol markers better press birthday birthday card blog hop card kit christmas christmas card christmas tag colored pencil copic copic coloring Daniel Smith die cutting embossing folder embroidery felt giveaway holiday holiday card hot foil ink blending karin brushmarker pro layered stencil masculine my monthly hero new release no line coloring no line watercolor OLO marker olo markers original illustration pawsitively saturated rainbow shaker card slimline stamping stamptember stencil thank you thinking of you valentine's day video watercolor

Popular Posts

Simon Says Stamp Sending Cheer Blog Hop- Day 2 + Freebie + Giveaway!
Altenew October 2026 Release Blog Hop + Giveaway!
Rustic Monochromatic Stars for Christmas with Rainbow Splash!
December 2018 My Monthly Hero Blog Hop + Giveaway!
March 2020 Essentials By Ellen Blog Hop+Giveaway!
The Ton Stamps Summer Release: Day 1
Hero Arts Partners Blog Hop: Lawn Fawn!
Waffleflower July Release Blog Hop!
Simon Says Stamp STAMPtember Tim Holtz Collaboration: Festive Holidays!
Honey Bee Stamps Autumn Blessings Blog Hop-Day 2!

Disclosure

Some affiliate links are used in my posts. This means that, should you click on one of my links and purchase something from that company, I will receive a small portion of the sale at no extra cost to you. I use the money earned from these sales to help maintain my blog. I so appreciate you visiting and, if you do choose to use one of my affiliate links, thank you so much for your support!
Copyright © 2026 ·Brunch Pro Theme · Genesis Framework by StudioPress · WordPress · Log in
Loading Comments...