This post was sponsored by Simon Says Stamp. Thanks, Simon!
Hi friends! I am back today using some of the fun foil transfer cards from the Simon Says Stamp Cheering For You release! I love that Simon is coming out with these cards that you can use with your laminator or Minc machine. These toner foil cards have such a low storage footprint and can be customized to work with your color palette so easily! I used two different sets of these foil transfer cards for my project today, creating a fun clear birthday card with lots of sparkle and shine. Let’s get started with the details!

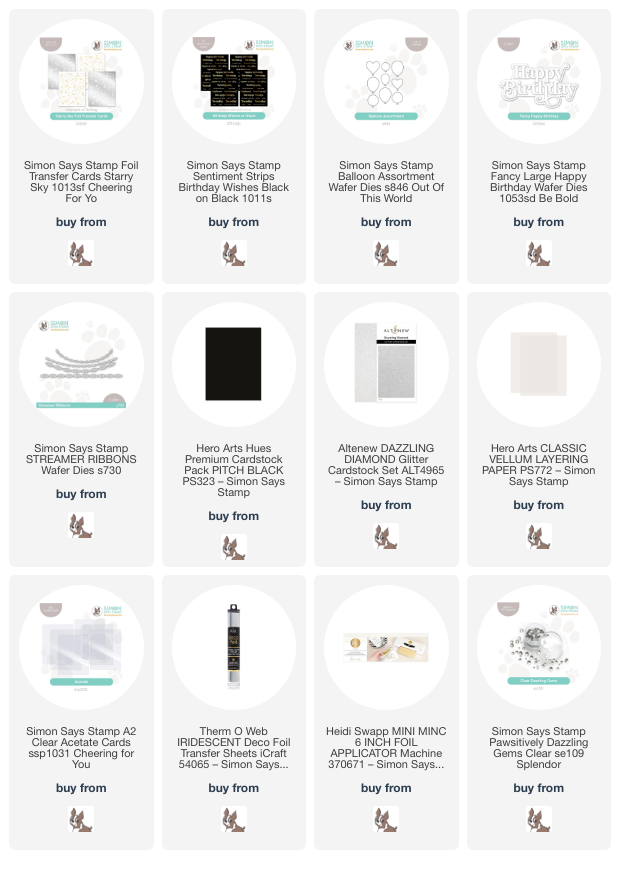
To start my card, I heated up my Minc machine to do some foiling with the new Starry Sky Foil Transfer Cards and Birthday Wishes Sentiment Strips. To use these toner foil cards, I find that I get the best results when I allow my Minc to heat up for quite a long time; the light turns green very quickly, but if you allow the machine to continue to heat for at least 15-20 minutes after that, the foil adheres to the toner cards very smoothly. It is also important to note that the type of foil that you are using is extremely important. Hot foil rolls like those from Spellbinders or Crafter’s Companion are specifically made for hot foiling plates, NOT for toner. I know it can be a little confusing to figure out which kind to use for which purpose! I like to use Thermoweb DecoFoil, Cheerfoil from Pink & Main, and Picket Fence Studio Toner Foil Rolls with my Minc machine. (Be sure to check each of these brands out if you’re interested in toner foiling; the array of available colors is absolutely amazing!!!)

After hot foiling the background and sentiment pieces using iridescent toner foil, I began die cutting the focal point on my shiny, celestial birthday card. I die cut the Balloon Assortment dies from some of Altenew’s Dazzling Diamonds glitter cardstock. This die set is great because it gives you multiple balloon shapes and sizes to mix and match as you like! I also die cut the large-scale and fabulous Fancy Happy Birthday die, cutting the detail layer from Pitch Black cardstock and the shadow from vellum. I also die cut a few Streamer Ribbons from some iridescent white foil cardstock that I found in my stash… so much sparkle and shine on this card!

After creating all of the components for the card, it was time to assemble it. I trimmed the starry foiled background panel down and adhered it in the center of one of the new clear acetate card base from Simon Says Stamp, as well as a plain white panel of the same size for the interior, leaving a space to write a message! I adhered the sentiment die cuts and balloons using adhesive foam squares, tucking the streamers in the corner with some liquid adhesive. I also added some balloon “strings” with a Sharpie. Finally, I added one last touch of sparkle (because you can never have enough sparkle!) with a smattering of Clear Pawsitively Dazzling Gems.
I absolutely love how impactful this card is with the shining foil elements and the clear card base… I think it is so unique and incredibly festive, perfect for a special birthday card! If you’ve never used acetate card bases before, I encourage you to try it out… they’re great fun. Thanks so much for stopping by today, and have a marvelous day!