• Skip to main content
  • Skip to primary sidebar
  • Skip to secondary sidebar

Sixth Street Sundries

Emily Midgett

  • Home
  • About Me
  • Contact
  • OLO Marker Color Swatch Chart
  • Shop

vintage bunnies

Easter Greetings with Simon Says Stamp!

April 5, 2026

This post was sponsored by Simon Says Stamp. Thanks, Simon! *I have gathered links to all of the products used at the bottom of the post for your convenience, using affiliate links at no extra cost to you. Thank you for shopping with my links! I truly appreciate your support for my work!*

Happy Easter, my friends! Today, we are celebrating with family, and I am so thankful to be able to create these wonderful memories for our kiddos, filled with a lovely church service, laughter, family time, and even some yummy treats. I hope that you are able to celebrate with your own family today, as well! I have an Easter two-fer to share with you today, featuring a fabulous new die from the Simon Says Stamp In My Heart release! (Click HERE to see the entire new release!) I love being able to get two cards from one die cut, and the new Embellished Bunny die is perfect for this positive/negative space twofer. Let’s get started with the details on my projects!

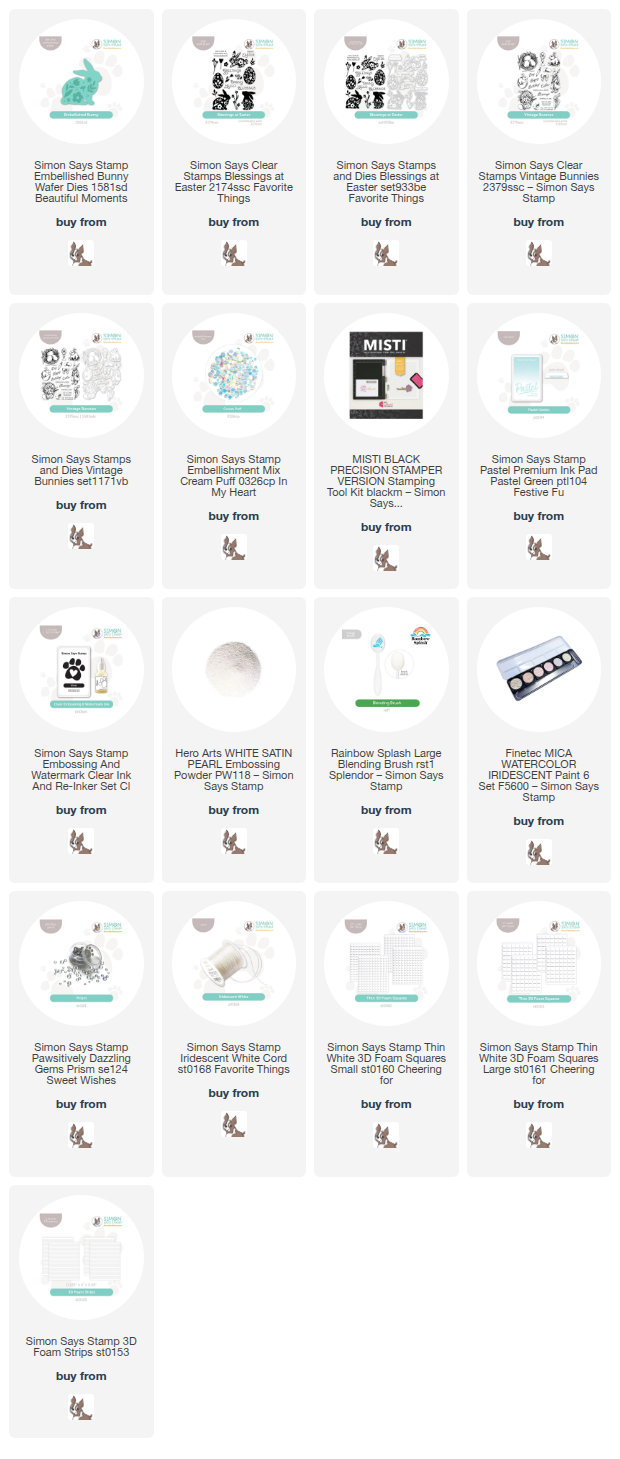
The linchpin for both cards is the new Embellished Bunny die set, which features a solid bunny silhouette as well as a separate die that debosses a lovely floral pattern into the bunny. By carefully placing the bunny die in the center of my A2 panel, I was able to use the negative space surrounding my bunny die cut to create a shaker card as well as using the positive die cut itself to create a second card!

I began by placing just the bunny silhouette die in the center of my A2 panel of white cardstock, then running the panel through my die cutting machine. I reserved the die cut itself, then backed the negative space with some clear acetate to create a clear window. I trimmed 1/8″ from each edge of the panel to create a thin border around the edges. To create a bit of interest behind my shaker window, I used one of the flower stamps from the older Blessings at Easter stamp set, which has a similar whimsical aesthetic. I stamped a row of blooms using Simon Says Stamp’s Pastel Green Pigment Ink in approximately where the window opening would be.

After I had created my window and decorated behind it, I used Simon Says Stamp Foam Strips to create a continuous border around the edges of the window on the back, creating a pocket in which my sequins could move freely. I filled the shaker pocket with Cream Puff sequins and sealed everything up, centering the slightly-smaller-than-A2 card front on my full sized A2 card front, creating a slim frame around the edges. For the greeting, I stamped a sentiment from Blessings at Easter using the same Pastel Green Pigment Ink, then stamped again over the top with sticky embossing ink and added some White Satin Pearl embossing powder. The combination of this pearlescent sheer embossing powder plus the minty green stamped greeting creates a soft, super springy sentiment! I die cut the finished greeting with its coordinating dies, then popped the die cuts up beneath my bunny window using thin foam adhesive. Finally, I added the cutest little white silk bow to the bunny’s neck to finish the project off!

For my second project, I used the leftover bunny die cut from the Embellished Bunny set, running it through my die cutting machine again with the debossed floral pattern die, impressing the pretty details down into the solid bunny die cut. To enhance the impressed pattern, I used a matching minty green alcohol marker to add some color to the pattern. I also added a few sparkling Prism Pawsitively Dazzling Gems to some of the details!

On the card front, I wanted to create a simple pop of coordinating color behind my bunny, so I blended the Pastel Green Pigment Ink using a blending brush on my white A2 card front, then splattered some iridescent glitter watercolors on the background. For the greeting, I stamped two individual sentiments from the Vintage Bunnies set, again using Pastel Green Pigment Ink, stamping the color first and then stamping embossing ink directly over the top (made much simpler with my MISTI!) and adding more White Satin Pearl embossing powder to create that pearlescent shimmer on my sentiment. I used sharp scissors to cut the sentiment strip, but used the coordinating die for the larger Easter script sentiment. I popped up the bunny on the blended background using thin foam adhesive squares, then used a double layer of foam adhesive to add the sentiment pieces, creating a bit more height on the greeting so that it would stand out from the background. Finally, I tucked a bow created using Iridescent White Cord beneath the greeting, adding one final touch of shimmer and texture to this simple card!

Well, that’s all for my projects today! I hope you’ve had a lovely Easter day with your family, if you celebrate. Thanks so much for stopping by today, and have a marvelous day!
Filed Under: simon says stamp Tagged With: clean and simple, die cutting, easter, embellished bunny, ink blending, shaker card, twofer, vintage bunnies

Vintage Easter Bunnies with Simon Says Stamp!

April 3, 2026

This post was sponsored by Simon Says Stamp. Thanks, Simon! *I have gathered links to all of the products used at the bottom of the post for your convenience, using affiliate links at no extra cost to you. Thank you for shopping with my links! I truly appreciate your support for my work!*

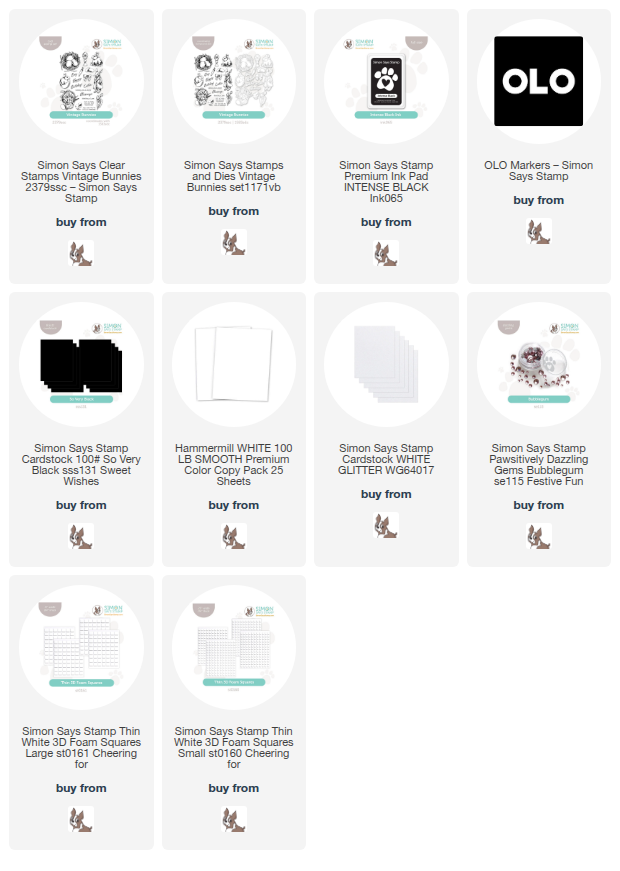
Hi friends! We’ve had a super busy week this week. Not only is it Easter, but my littlest boys turn 6 tomorrow! We’ve been prepping and celebrating amongst our house renovations, so I am a little later in sharing a few Easter proejcts that I’ve prepared using the new Simon Says Stamp In My Heart release! (Click HERE to see the entire new release!) The Vintage Bunnies stamp set was actually part of the limited edition Easter kit, which has now sold out, but luckily, the folks at Simon Says Stamp are always looking to make your shopping experience exciting, and so make it possible for you to purchase the individual products even after the kits have sold out. I have a vintage pastel Easter card to share with you today, a bit outside of my typical color palette with the bold black and white accompanied by some pale pastels. Let’s get started with the details on my project!

The new Vintage Bunnies stamp set features a plethora of springtime and Easter imagery, containing plenty of details and shading so that coloring is simplified or not even necessary, depending on the technique used! I decided to add some super subtle pastel marker coloring to the images after stamping them using Simon Says Stamp Intense Black ink. I selected a few super pale pastel shades along with a pale gray marker so that I could add some subtle color to the images, almost like when they colorized black and white movies using chalk! I used OLO Markers to add these pale colors, juxtaposing the crisp, intense black lines with those pale springtime colors.

After I had finished coloring the images, I used the coordinating dies to die cut all of the images. I also decided to add a little garden of pink tulips on the card front, providing a springy background for my basket, bunny, and chick die cuts. I stamped the tulips at various heights on my white card front, again with Intense Black ink, then added some simple pale pink and minty green coloring. I arranged the bunny and basket on the card front, nestling them amongst the tulips and adhering them with a single and double layer of thin foam adhesive to add extra dimension.

For the greeting, I stamped three separate sentiment stamps from the Vintage Bunnies stamp set, die cutting the Easter sentiment with its coordinating die and trimming the other two using my guillotine trimmer. I added the sentiments to the cluster of colored images using more foam adhesive, then snuggled my chick die amongst the greetings, creating a visual ping pong down the front of the card. I trimmed off the bottom of the A2 card panel, then tucked a strip of Simon Says Stamp So Very Black cardstock and a thinner strip of white glitter cardstock to add some additional textural variety on the card front. Finally, I added a smattering of Bubblegum Pawsitively Dazzling Gems to add some pastel sparkle to the card!

Well, that’s all for my project today! I can’t believe Easter is almost here… and that my little boys are six! They were born right at the beginning of Covid, and it simultaneously doesn’t feel possible that they are already six but also that it has been some of the longest years ever, ha! I hope that if you’re preparing for Easter celebrations this weekend, your plans are cooperating and you enjoy the family time that Easter can bring! Thanks so much for stopping by today, and have a marvelous day!

Filed Under: simon says stamp Tagged With: alcohol marker, bunnies, die cutting, easter, easter card, olo markers, vintage bunnies

Primary Sidebar

  • Facebook
  • Instagram
  • Pinterest
  • YouTube

Favorite Shops

Secondary Sidebar

Subscribe

Enter your email address to subscribe to this blog and receive notifications of new posts by email.

Instagram
Something is wrong.
Instagram token error.
Follow
Load More

Archives

Tags

3D embossing folder alcohol markers better press birthday birthday card blog hop card kit christmas christmas card christmas tag colored pencil copic copic coloring Daniel Smith die cutting embossing folder embroidery felt giveaway holiday holiday card hot foil ink blending karin brushmarker pro layered stencil masculine my monthly hero new release no line coloring no line watercolor OLO marker olo markers original illustration pawsitively saturated rainbow shaker card slimline stamping stamptember stencil thank you thinking of you valentine's day video watercolor

Popular Posts

Simon Says Stamp Joy For You Blog Hop- Day 1!
Simon Says Stamp Joy For You Release-Now Available!
Frozen Fractals All Around with New Simon Says Stamp Joy For You Release!
Shaped Holiday Shaker Card with New Simon Says Stamp Jolly Season Card Kit of the Month!
Holiday Postage with New Simon Says Stamp!
Simon Says Stamp Glory to the Newborn King Holiday Kit-Part II!
Altenew Build A Flower: Fuchsia Blog Hop+Giveway!
Holiday Joy in Pink and Green with New Simon Says Stamp DieCember!
Pinkfresh Studio 5th Birthday!
Honey Bee Stamps September Release Blog Hop!

Disclosure

Some affiliate links are used in my posts. This means that, should you click on one of my links and purchase something from that company, I will receive a small portion of the sale at no extra cost to you. I use the money earned from these sales to help maintain my blog. I so appreciate you visiting and, if you do choose to use one of my affiliate links, thank you so much for your support!
Copyright © 2026 ·Brunch Pro Theme · Genesis Framework by StudioPress · WordPress · Log in
Loading Comments...