• Skip to main content
  • Skip to primary sidebar
  • Skip to secondary sidebar

Sixth Street Sundries

Emily Midgett

  • Home
  • About Me
  • Contact
  • OLO Marker Color Swatch Chart
  • Shop

easter card

Vintage Easter Bunnies with Simon Says Stamp!

April 3, 2026

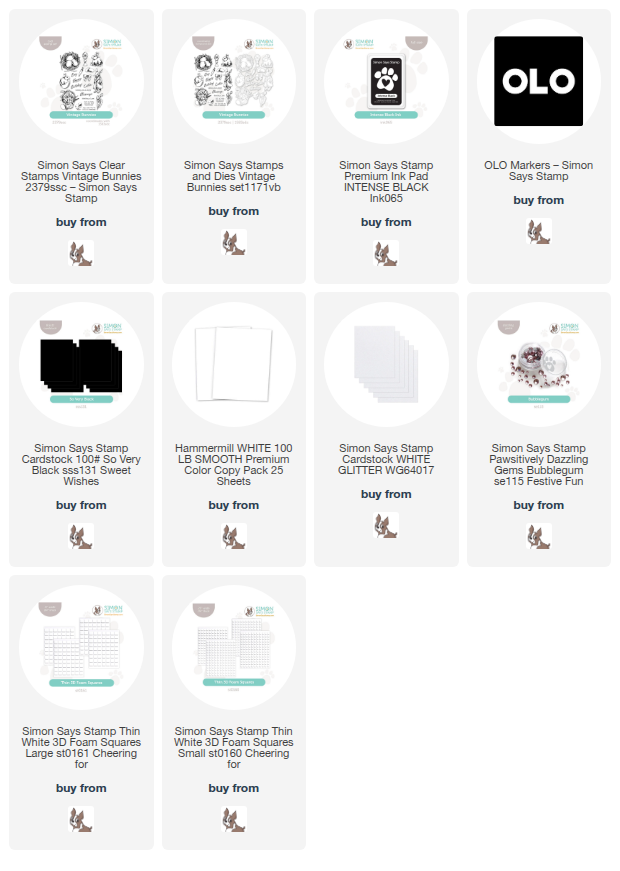
This post was sponsored by Simon Says Stamp. Thanks, Simon! *I have gathered links to all of the products used at the bottom of the post for your convenience, using affiliate links at no extra cost to you. Thank you for shopping with my links! I truly appreciate your support for my work!*

Hi friends! We’ve had a super busy week this week. Not only is it Easter, but my littlest boys turn 6 tomorrow! We’ve been prepping and celebrating amongst our house renovations, so I am a little later in sharing a few Easter proejcts that I’ve prepared using the new Simon Says Stamp In My Heart release! (Click HERE to see the entire new release!) The Vintage Bunnies stamp set was actually part of the limited edition Easter kit, which has now sold out, but luckily, the folks at Simon Says Stamp are always looking to make your shopping experience exciting, and so make it possible for you to purchase the individual products even after the kits have sold out. I have a vintage pastel Easter card to share with you today, a bit outside of my typical color palette with the bold black and white accompanied by some pale pastels. Let’s get started with the details on my project!

The new Vintage Bunnies stamp set features a plethora of springtime and Easter imagery, containing plenty of details and shading so that coloring is simplified or not even necessary, depending on the technique used! I decided to add some super subtle pastel marker coloring to the images after stamping them using Simon Says Stamp Intense Black ink. I selected a few super pale pastel shades along with a pale gray marker so that I could add some subtle color to the images, almost like when they colorized black and white movies using chalk! I used OLO Markers to add these pale colors, juxtaposing the crisp, intense black lines with those pale springtime colors.

After I had finished coloring the images, I used the coordinating dies to die cut all of the images. I also decided to add a little garden of pink tulips on the card front, providing a springy background for my basket, bunny, and chick die cuts. I stamped the tulips at various heights on my white card front, again with Intense Black ink, then added some simple pale pink and minty green coloring. I arranged the bunny and basket on the card front, nestling them amongst the tulips and adhering them with a single and double layer of thin foam adhesive to add extra dimension.

For the greeting, I stamped three separate sentiment stamps from the Vintage Bunnies stamp set, die cutting the Easter sentiment with its coordinating die and trimming the other two using my guillotine trimmer. I added the sentiments to the cluster of colored images using more foam adhesive, then snuggled my chick die amongst the greetings, creating a visual ping pong down the front of the card. I trimmed off the bottom of the A2 card panel, then tucked a strip of Simon Says Stamp So Very Black cardstock and a thinner strip of white glitter cardstock to add some additional textural variety on the card front. Finally, I added a smattering of Bubblegum Pawsitively Dazzling Gems to add some pastel sparkle to the card!

Well, that’s all for my project today! I can’t believe Easter is almost here… and that my little boys are six! They were born right at the beginning of Covid, and it simultaneously doesn’t feel possible that they are already six but also that it has been some of the longest years ever, ha! I hope that if you’re preparing for Easter celebrations this weekend, your plans are cooperating and you enjoy the family time that Easter can bring! Thanks so much for stopping by today, and have a marvelous day!
Filed Under: simon says stamp Tagged With: alcohol marker, bunnies, die cutting, easter, easter card, olo markers, vintage bunnies

Have a Happy Easter!

April 20, 2025

This post was sponsored by Simon Says Stamp. Thanks, Simon!

Hi friends! I am back with a project featuring some sweet Easter products from Simon Says Stamp, hoping to wish you all a very happy Easter (if you celebrate!). I pulled out lots of different pastel cardstock shades to work with some sweet dies and a lovely sentiment from some of Simon Says Stamp’s Sentiment cards. Let’s get started with the details on my project!

*I have gathered links to all of the products used at the bottom of the post for your convenience, using affiliate links. Thank you for shopping with my links! I truly appreciate your support for my work!*

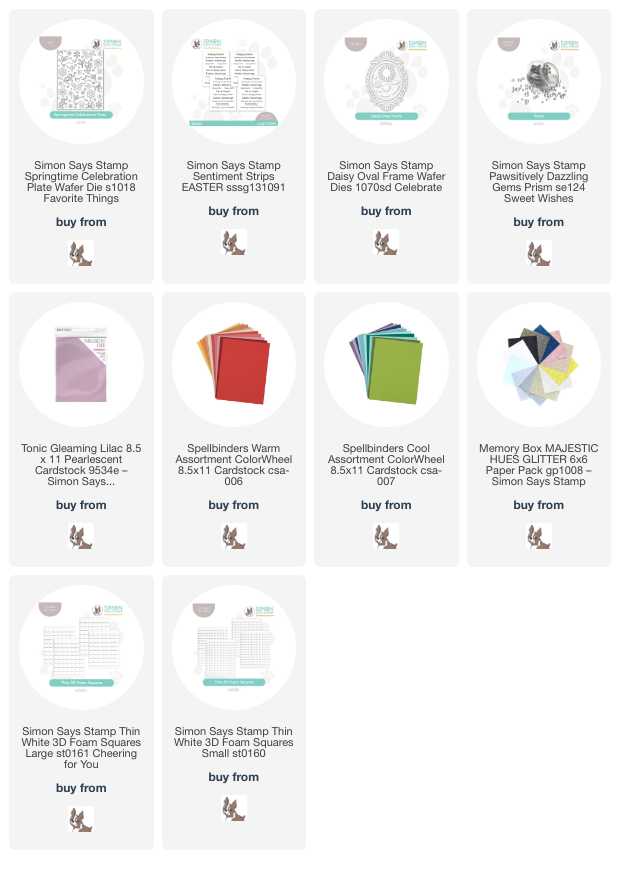
To begin, I die cut the gorgeous Springtime Celebration Plate from some pearlescent lavender cardstock. The details on this intricate cover plate work beautifully with the coated pearlescent cardstock; each individual image cut absolutely perfectly! One of my favorite things about this die is that you can use both the positive die cut images as well as the negative patterned cover plate die cut, making it an ideal “twofer” product that definitely gives plenty of bang for your buck! I backed the cover plate die cut with some white glitter cardstock to create even more festive sparkle and shimmer for my card front.

After creating my card front, I used the same Springtime Celebration Plate with some pastel scraps in shades of peach and aqua to die cut a few more little accent images. I adhered a scalloped frame to the card base, a leftover from THIS card that I created with the Daisy Oval Frame, then began arranging these floral die cuts and my sentiment.

I adhered the greeting, quickly trimmed using the Easter Sentiment Strips and my new Gina K. Designs Guillotine Trimmer, using foam adhesive squares. I then arranged the butterflies and floral die cuts in a visual cascade on my card front, arranging them around the sentiment strips and adhering them with both liquid and foam adhesives. Finally, I used Prism Pawsitively Dazzling Gems to add a touch of sparkle and shimmer and to fill in some of the blank spaces in my arrangement.

Well, that’s all for my project today! This year has felt tumultuous in so many ways, with some days feeling exceptionally bleak, but I think that celebrating the rising of Jesus today can help remind us all to follow his example more closely: exceptional kindness even in the face of cruelty, generosity of spirit to the meek, and a refusal to pass judgment on others. I am reminded of the text of the Prayer of St. Francis:

Lord, make me an instrument of your peace.
Where there is hatred, let me bring love.
Where there is offence, let me bring pardon.
Where there is discord, let me bring union.
Where there is error, let me bring truth.
Where there is doubt, let me bring faith.
Where there is despair, let me bring hope.
Where there is darkness, let me bring your light.
Where there is sadness, let me bring joy.
O Lord, grant that I may not so much seek
to be consoled as to console,
to be understood as to understand,
to be loved as to love,
for it is in giving that one receives,
it is in self-forgetting that one finds,
it is in forgiving that one is forgiven,
it is in dying that one awakens to eternal life.

Thanks so much for stopping by today, and happy Easter!

Filed Under: simon says stamp Tagged With: daisy oval frame, diasy oval frame, die cutting, easter, easter card, sentiment strips easter

Peachy Happy Easter with Simon Says Stamp!

April 17, 2025

This post was sponsored by Simon Says Stamp. Thanks, Simon!

Hi friends! We are nearing Easter Sunday, and I have a couple more Easter projects to share with you before then! I was at a retreat this weekend and worked on a couple of projects that are almost entirely die cutting-no stamping at all! Sometimes my brain just enjoys working with die cuts by themselves, coming up with interesting and saturated color palettes, other times using the detailed textures and solid blocks of color to make a big statement on my card. For today’s Easter card, I used a couple of different shades of peach with sparkling white glitter paper, lots of texture, and lots of different heights to create this elegant project. Let’s get started with the details!

*I have gathered links to all of the products used at the bottom of the post for your convenience, using affiliate links. Thank you for shopping with my links! I truly appreciate your support for my work!*

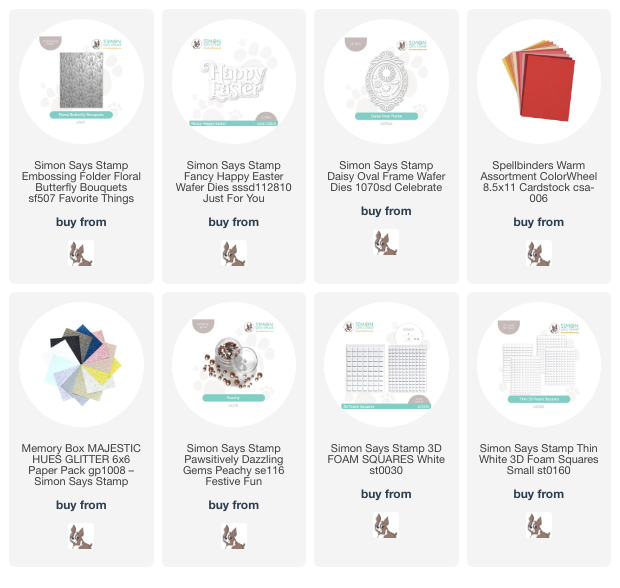
To begin, I used the exquisitely detailed Floral Butterfly Bouquet embossing folder to create my background, pairing it with some pearlescent peach cardstock that I found in my stash. I tend to hoard my “special” papers, so I am making an effort to use them on special projects! The coating on these specialty papers make them especially fabulous for use with 3D embossing folders; the details on the embossed images are so much crisper because of that specialty coating!

To create the focal point for my beautifully detailed background, I decided to die cut the Daisy Oval Frame from a slightly darker shade of peach cardstock and some white glitter cardstock for the daisies. I adhered the frame to the center of my embossed background with liquid adhesive, then added the daisy details with some thin foam adhesive squares for a bit of added dimension.

For the greeting, I die cut the layers of the Fancy Happy Easter die set from pale peach and more whit glitter cardstock, adhering the two layers with liquid adhesive. I popped up the greeting with some thicker squares of foam adhesive for a bit of added height, allowing the tone-on-tone greeting to stand out from the nearly monochromatic background. Finally, I added a few Peachy Pawsitively Dazzling Gems around the frame for a bit of added texture and sparkle!

Well, that’s all for my project today. Such pretty shades of peach work beautifully with this elegant Easter card, but this card design would work nicely in mint, lavender, pale pink, or pretty much any other pastel shade. How pretty would this be at an Easter table for place cards in a pastel rainbow?! Thanks so much for stopping by today, and have a marvelous day!

Filed Under: simon says stamp, Uncategorized Tagged With: 3D embossing folder, daisy oval frame, die cutting, easter, easter card, embossing folder, fancy happy easter, floral butterfly bouquets, peach

New Simon Says Stamp Rain or Shine Release-Now Available!

March 19, 2025

This post was sponsored by Simon Says Stamp. Thanks, Simon!

Hi friends! The new Simon Says Stamp Rain or Shine release is now available, and my gosh does it have some absolutely darling new products!! From sweet little bunnies to flowers to farm critters to elegant embossing folders, this release truly has such a wide variety that there’s something for everybody! I am a sucker for gorgeous silhouette images with intricate patterns inlaid in them, which remind me of Scandinavian artwork and are so elegant. The bunnies in the super affordable new Hoppy Birthday mini stamp set are just precious, with an air of elegant simplicity that makes for a super cute card. Let’s get started with the details on my project!

*I have gathered links to all of the products used at the bottom of the post for your convenience, using affiliate links. Thank you for shopping with my links! I truly appreciate your support for my work!*

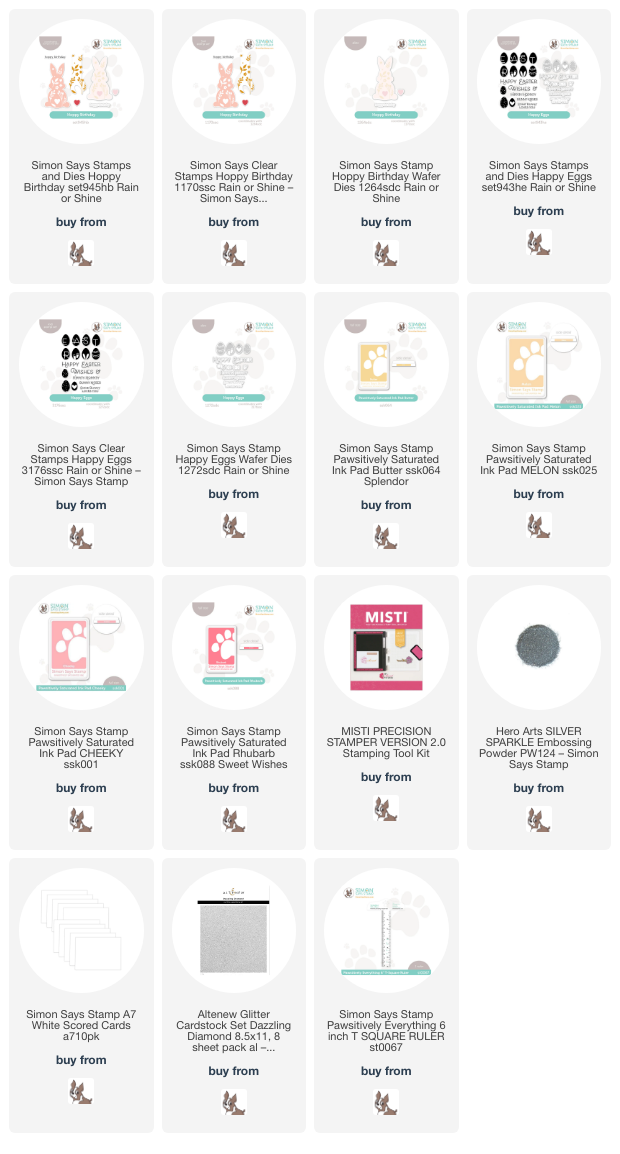
To begin my project, I wanted to channel my inner Laura Bassen and stamp a row of bunnies from Hoppy Birthday in a warm rainbow, so I stamped the bunny silhouettes in Butter, Melon, Cheeky, and Rhubarb Pawsitively Saturated Inks, using a MISTI to get extra vibrant and crisp stamped images. After I had finished stamping all of the bunnies, I used the coordinating die to die cut them. The stamp set comes complete with an “insert” stamp so that you can have a multicolored image, but I was going for crisp white with a pop of warm colors, so I left the pattern blank and allowed the bright white cardstock to do the work for me!

Because these bunnies are generously-sized, I increased the size of my card base to an A7 in order to accommodate them all in a horizontal line. I trimmed down a 4″x6″ panel of white cardstock, then used the Simon Says Stamp 6″ T-square ruler to line the bunnies up perfectly straight, adhering them with thin foam adhesive squares. I matted the 4″x6″ bunny panel with an ever-so-slightly larger piece of Dazzling Diamond Glitter Cardstock from Altenew, adding a teeny bit of sparkle.

For the greeting, I stamped several of the sentiment components from the new Happy Eggs stamp set and heat embossed them with silver glitter embossing powder. I die cut the finished embossed sentiments with their super-detailed dies and arranged them beneath the line of bunnies. Finally, I adhered the glitter-matted bunny panel to an A7 card base with some Tear-rifically Tacky Tape!

Well, that’s all for my project today. Be sure to check out the rest of the new Simon Says Stamp Rain or Shine release and check back here later this week for even more inspiration using these beautiful new products! Thanks so much for stopping by today, and have a marvelous day!

Filed Under: simon says stamp, Uncategorized Tagged With: A7 card, easter, easter card, happy eggs, hoppy birthday, pawsitively saturated

Pastel Easter Egg Frame with Simon Says Stamp + Free Happy Birthday Gift!

March 18, 2025

This post was sponsored by Simon Says Stamp. Thanks, Simon!

Hi friends! I have some more Easter inspiration to share with you today using some pretty new stamps from the new Simon Says Stamp Favorite Things release. I found a gold mine at my local dollar store with some unfinished wooden frames, and so I bought several to use to create fun, inexpensive decor pieces with stamps, dies, and inks. I used the beautiful new Blessings At Easter stamp set with some older products and one of the unfinished frames to create some custom Easter decor, perfect for a desk at work, mantel, or even a piano! Let’s get started with the details on my project!

*I have gathered links to all of the products used at the bottom of the post for your convenience, using affiliate links. Thank you for shopping with my links! I truly appreciate your support for my work!*

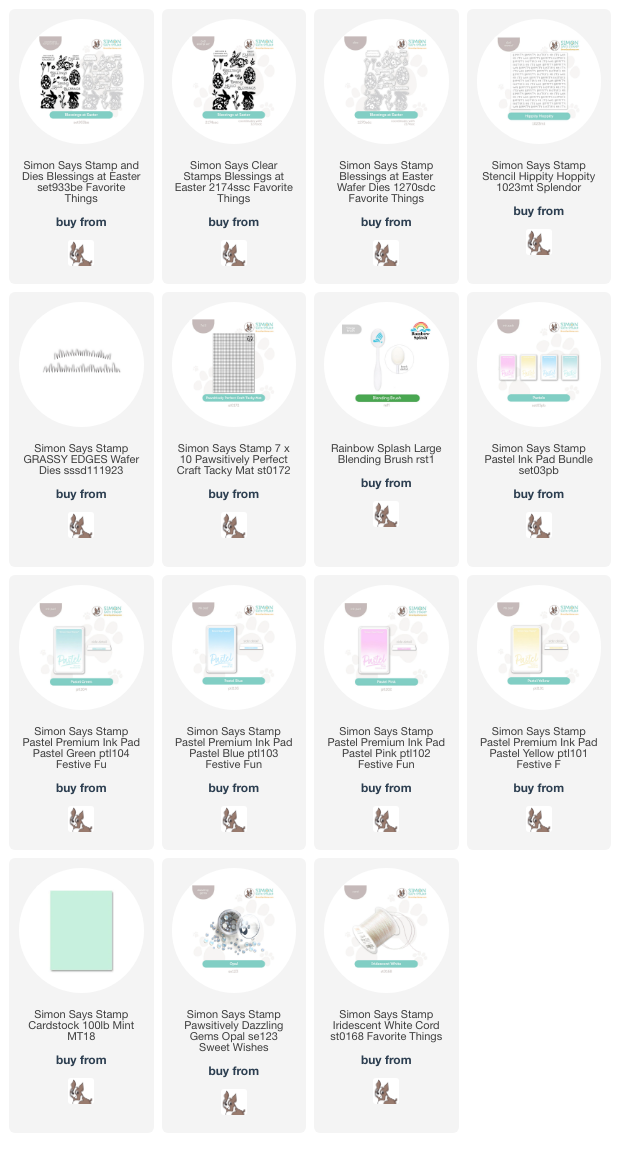
To begin, I used some pearlescent blue acrylic paint to paint the edge of the unfinished frame and set it aside to dry. I used my T-square to measure the interior panel and trimmed down a panel of white cardstock to fit inside. I adhered my white panel to the Simon Says Stamp Craft Tacky Mat and used the Hippity Hoppity Stencil with Simon Says Stamp Blue Pastel Pigment Ink and a blending brush to blend a subtle background on the white background. I also blended a blue haze around the top edges of the white panel, creating a lightly textured “sky” upon which I could build my Easter scene.

To create my scene, I stamped Easter eggs, flowers, and foliage from the Blessings At Easter stamp set using the Simon Says Stamp Pastel Pigment Inks and used the coordinating dies to die cut them. These Pastel Pigment Inks are perfect for use with Easter projects; they stamp beautifully and still maintain the subtle pastel hue no matter how many times you might re-stamp with your MISTI!

Before arranging my scene, I adhered the stenciled panel to the now-dry frame using Tear-rifically Tacky Tape To add some grass to my little Easter scene, I die cut the Grassy Edges from Simon Says Stamp Mint Cardstock in two widths to create grass in both the foreground and the background. I adhered the background grass to the stenciled panel with liquid adhesive, then added my eggs and flowers and foliage with liquid and foam adhesive, then added thin strips of foam adhesive to the foreground grass and adhered it in the front of the stamped images. Finally, I added a shimmery Iridescent White Cord bow and a few Opal Pawsitively Dazzling Gems to the frame. I think this would be so cute adorning a work desk, mantel, or even on the back of an upright piano! (I used to diligently decorate my piano for every season, but then I had kids and now I’m just glad to get my Christmas decorations down before Easter, ha!)

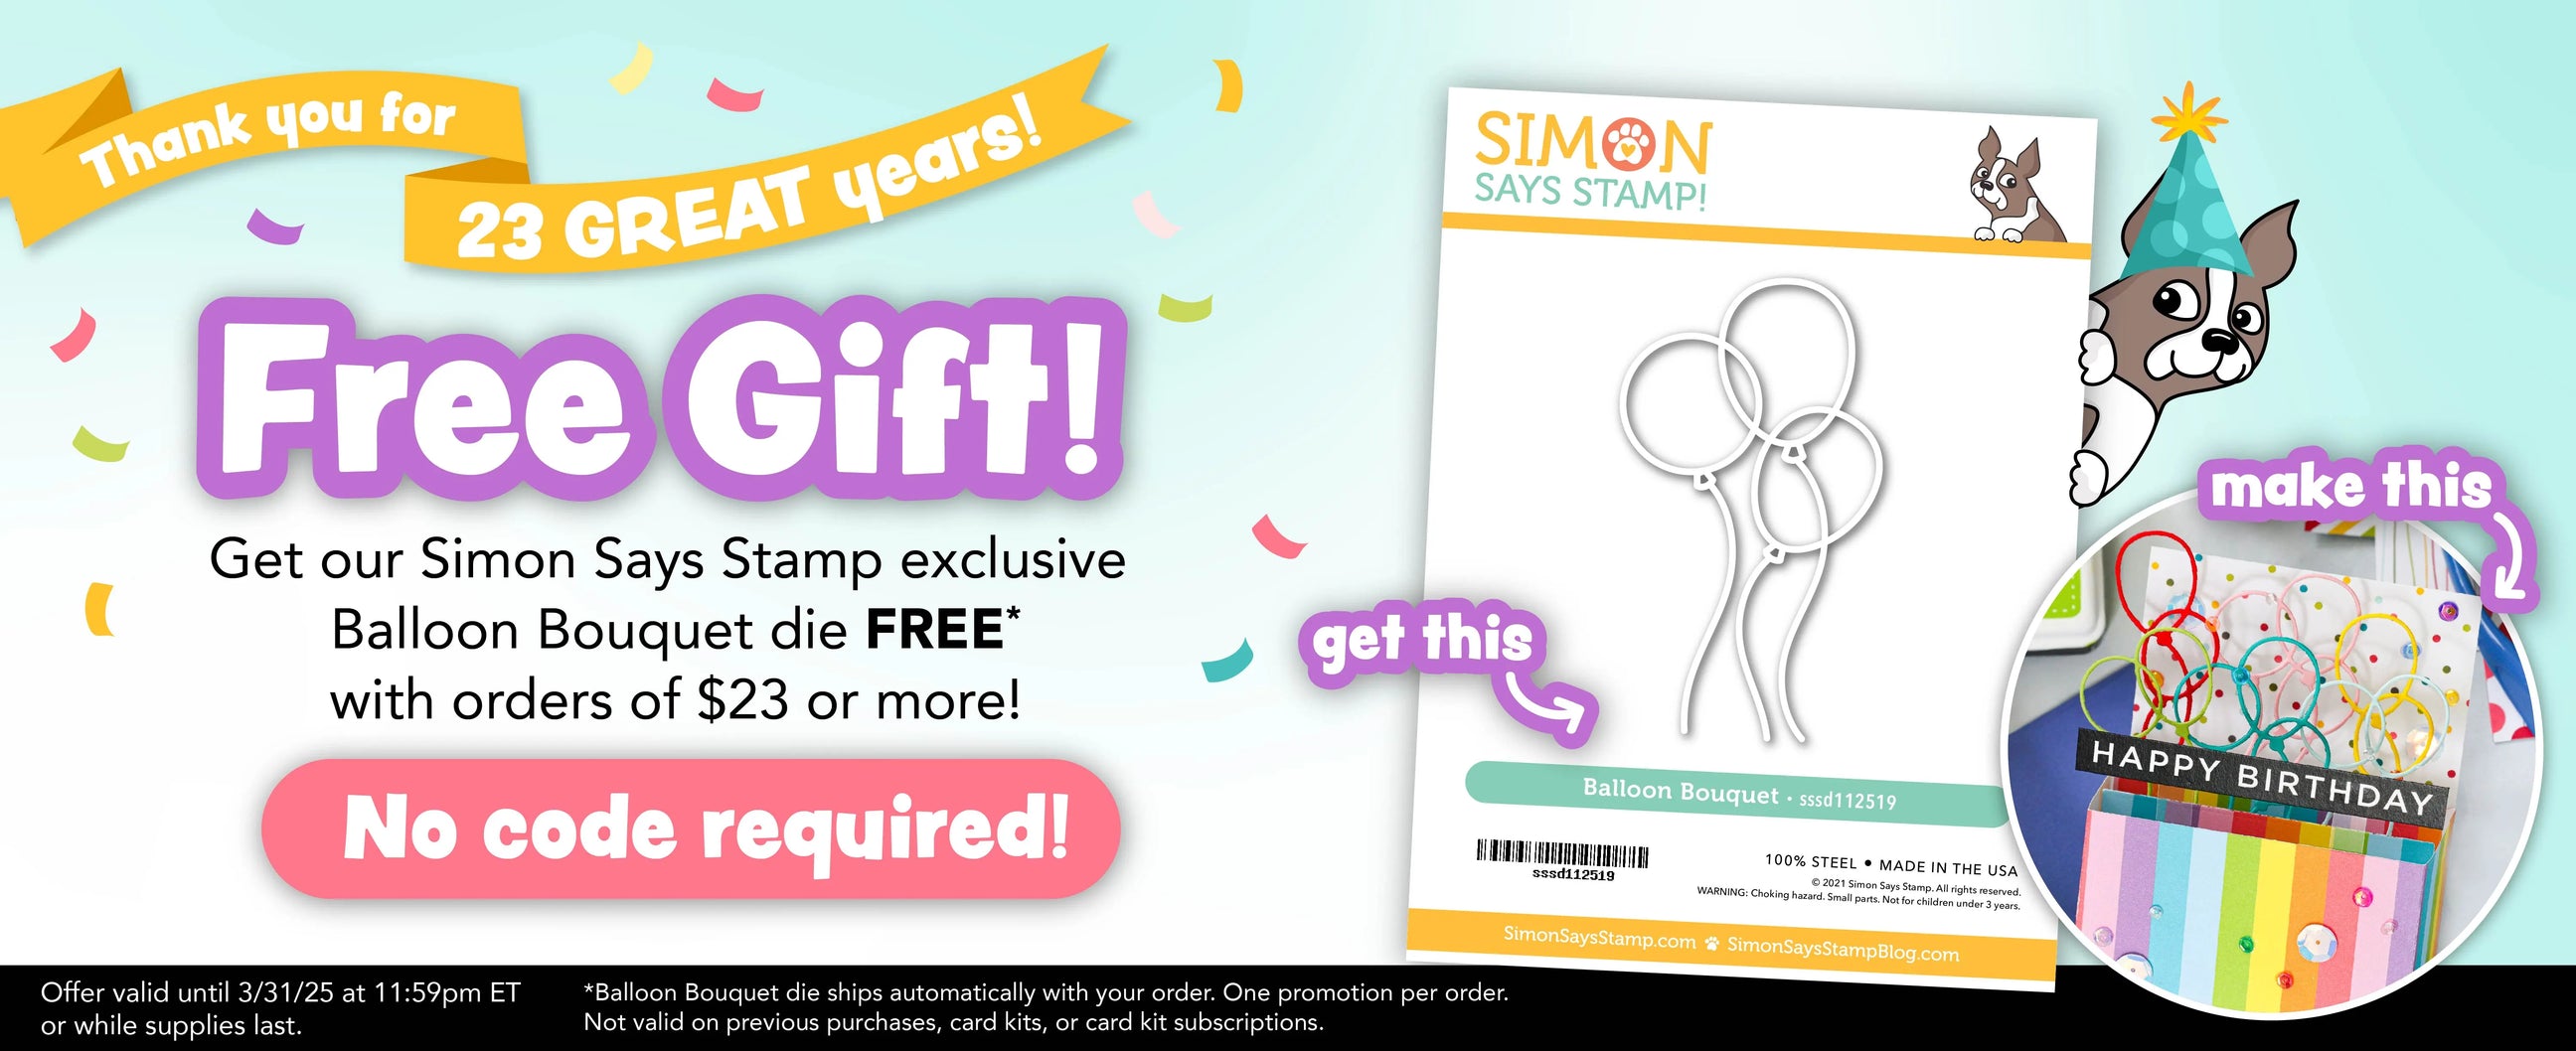
Well, that’s all for my project today! Simon Says Stamp has a fun freebie available to celebrate 23 fabulous years of crafty fun!

Simply spend $23 at Simon Says Stamp and receive this fabulous birthday balloon die totally free-no code required! Happy 23rd birthday, Simon!! Offer is valid until 3/31/25 or while supplies last.

Thanks so much for stopping by today, and have a marvelous day!
Filed Under: simon says stamp Tagged With: blessings at easter, decor, die cutting, easter, easter card, frame, grassy edges, hippity hoppity, ink blending, pastel pigment ink, pawsitively perfect craft tacky mat

  • Page 1
  • Page 2
  • Go to Next Page »

Primary Sidebar

  • Facebook
  • Instagram
  • Pinterest
  • YouTube

Favorite Shops

Secondary Sidebar

Subscribe

Enter your email address to subscribe to this blog and receive notifications of new posts by email.

Instagram
Something is wrong.
Instagram token error.
Follow
Load More

Archives

Tags

3D embossing folder alcohol markers better press birthday birthday card blog hop card kit christmas christmas card christmas tag colored pencil copic copic coloring Daniel Smith die cutting embossing folder embroidery felt giveaway holiday holiday card hot foil ink blending karin brushmarker pro layered stencil masculine my monthly hero new release no line coloring no line watercolor OLO marker olo markers original illustration pawsitively saturated rainbow shaker card slimline stamping stamptember stencil thank you thinking of you valentine's day video watercolor

Popular Posts

Simon Says Stamp Sending Cheer Release: Now Available!
Joyful Snowman with New Simon Says Stamp Sending Cheer Release!
Autumn Legs with Colorado Craft Company and Catherine Pooler!
February 2018 My Monthly Hero Blog Hop!
Altenew Paint A Flower: Carnation Blog Hop+Giveaway!
Altenew March 2020 Release Blog Hop+Giveaway!
Special Release: Simon Says Stamp Limited Edition STAMPtember Christmas Card Kit!
Pinkfresh Studios June Washi and Stamp Release Blog Hop!
Pinkfresh Studio 5th Birthday!
2018 Autism Awareness Hop!

Disclosure

Some affiliate links are used in my posts. This means that, should you click on one of my links and purchase something from that company, I will receive a small portion of the sale at no extra cost to you. I use the money earned from these sales to help maintain my blog. I so appreciate you visiting and, if you do choose to use one of my affiliate links, thank you so much for your support!
Copyright © 2026 ·Brunch Pro Theme · Genesis Framework by StudioPress · WordPress · Log in
Loading Comments...