• Skip to main content
  • Skip to primary sidebar
  • Skip to secondary sidebar

Sixth Street Sundries

Emily Midgett

  • Home
  • About Me
  • Contact
  • OLO Marker Color Swatch Chart
  • Shop

blessings at easter

Pastel Easter Egg Frame with Simon Says Stamp + Free Happy Birthday Gift!

March 18, 2025

This post was sponsored by Simon Says Stamp. Thanks, Simon!

Hi friends! I have some more Easter inspiration to share with you today using some pretty new stamps from the new Simon Says Stamp Favorite Things release. I found a gold mine at my local dollar store with some unfinished wooden frames, and so I bought several to use to create fun, inexpensive decor pieces with stamps, dies, and inks. I used the beautiful new Blessings At Easter stamp set with some older products and one of the unfinished frames to create some custom Easter decor, perfect for a desk at work, mantel, or even a piano! Let’s get started with the details on my project!

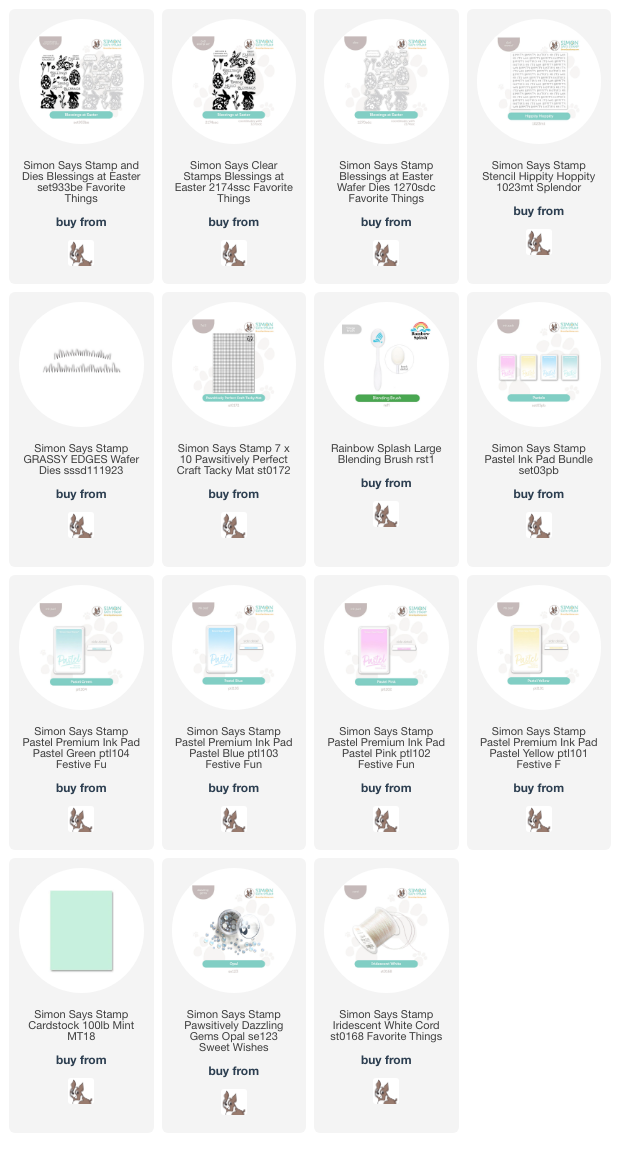
*I have gathered links to all of the products used at the bottom of the post for your convenience, using affiliate links. Thank you for shopping with my links! I truly appreciate your support for my work!*

To begin, I used some pearlescent blue acrylic paint to paint the edge of the unfinished frame and set it aside to dry. I used my T-square to measure the interior panel and trimmed down a panel of white cardstock to fit inside. I adhered my white panel to the Simon Says Stamp Craft Tacky Mat and used the Hippity Hoppity Stencil with Simon Says Stamp Blue Pastel Pigment Ink and a blending brush to blend a subtle background on the white background. I also blended a blue haze around the top edges of the white panel, creating a lightly textured “sky” upon which I could build my Easter scene.

To create my scene, I stamped Easter eggs, flowers, and foliage from the Blessings At Easter stamp set using the Simon Says Stamp Pastel Pigment Inks and used the coordinating dies to die cut them. These Pastel Pigment Inks are perfect for use with Easter projects; they stamp beautifully and still maintain the subtle pastel hue no matter how many times you might re-stamp with your MISTI!

Before arranging my scene, I adhered the stenciled panel to the now-dry frame using Tear-rifically Tacky Tape To add some grass to my little Easter scene, I die cut the Grassy Edges from Simon Says Stamp Mint Cardstock in two widths to create grass in both the foreground and the background. I adhered the background grass to the stenciled panel with liquid adhesive, then added my eggs and flowers and foliage with liquid and foam adhesive, then added thin strips of foam adhesive to the foreground grass and adhered it in the front of the stamped images. Finally, I added a shimmery Iridescent White Cord bow and a few Opal Pawsitively Dazzling Gems to the frame. I think this would be so cute adorning a work desk, mantel, or even on the back of an upright piano! (I used to diligently decorate my piano for every season, but then I had kids and now I’m just glad to get my Christmas decorations down before Easter, ha!)

Well, that’s all for my project today! Simon Says Stamp has a fun freebie available to celebrate 23 fabulous years of crafty fun!
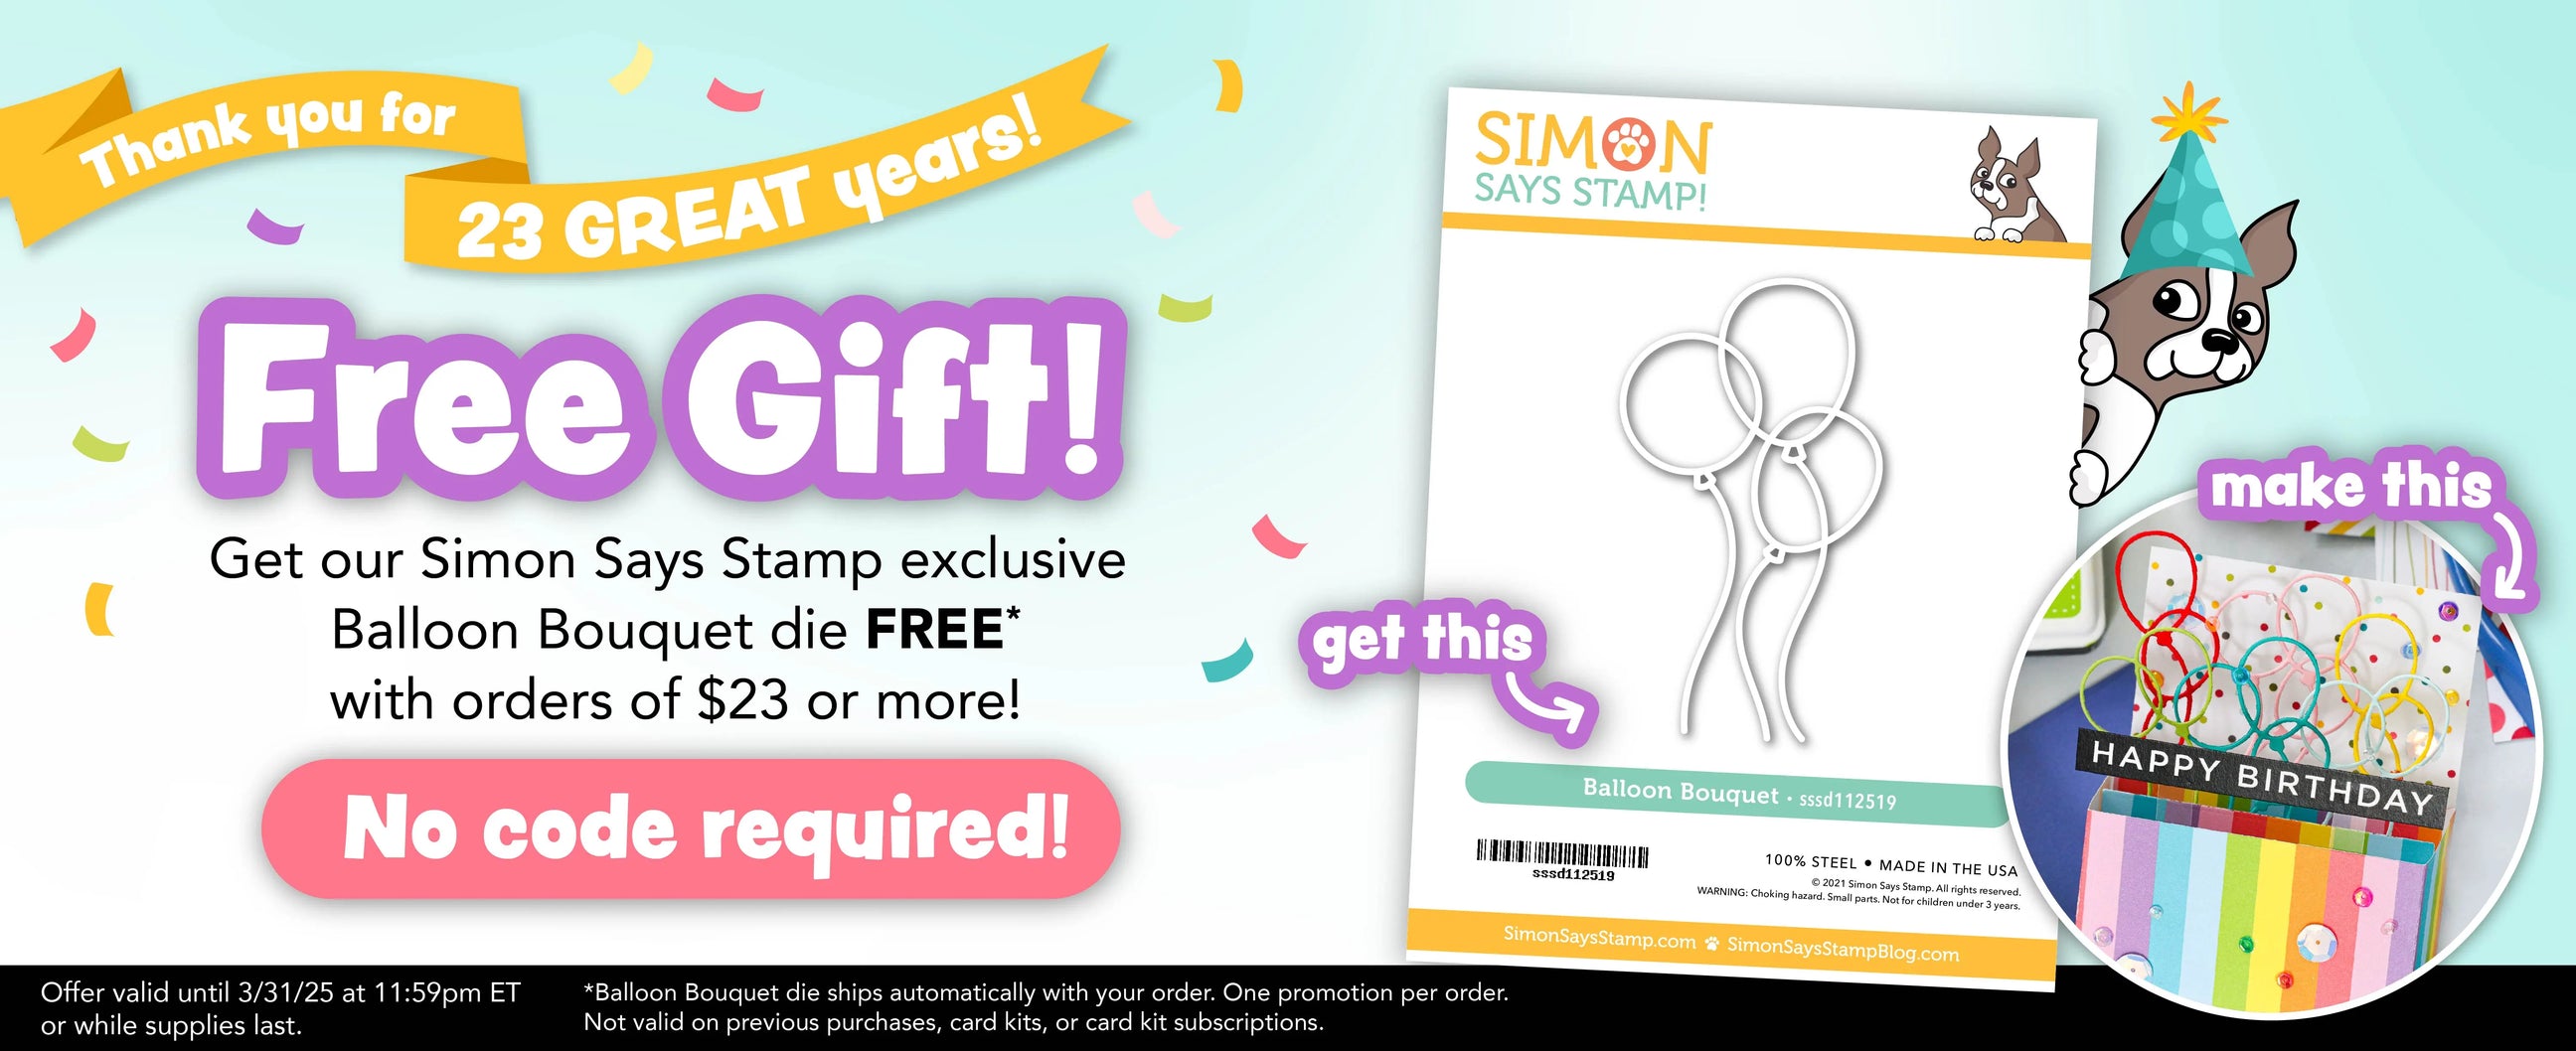
Simply spend $23 at Simon Says Stamp and receive this fabulous birthday balloon die totally free-no code required! Happy 23rd birthday, Simon!! Offer is valid until 3/31/25 or while supplies last.

Thanks so much for stopping by today, and have a marvelous day!
Filed Under: simon says stamp Tagged With: blessings at easter, decor, die cutting, easter, easter card, frame, grassy edges, hippity hoppity, ink blending, pastel pigment ink, pawsitively perfect craft tacky mat

Bold Bunny Easter Card with New Simon Says Stamp Favorite Things Release!

March 6, 2025

This post was sponsored by Simon Says Stamp. Thanks, Simon!

Hi friends! I have a dramatic navy blue Easter card to share with you today. I have always loved navy blue with pastel colors for springtime, taking the dark navy blue from winter and brightening it up with cheery springtime colors. I paired some of the new Easter goodies from the Favorite Things release with some older botanical dies and pretty inks to create this bold project. Let’s get started with the details!

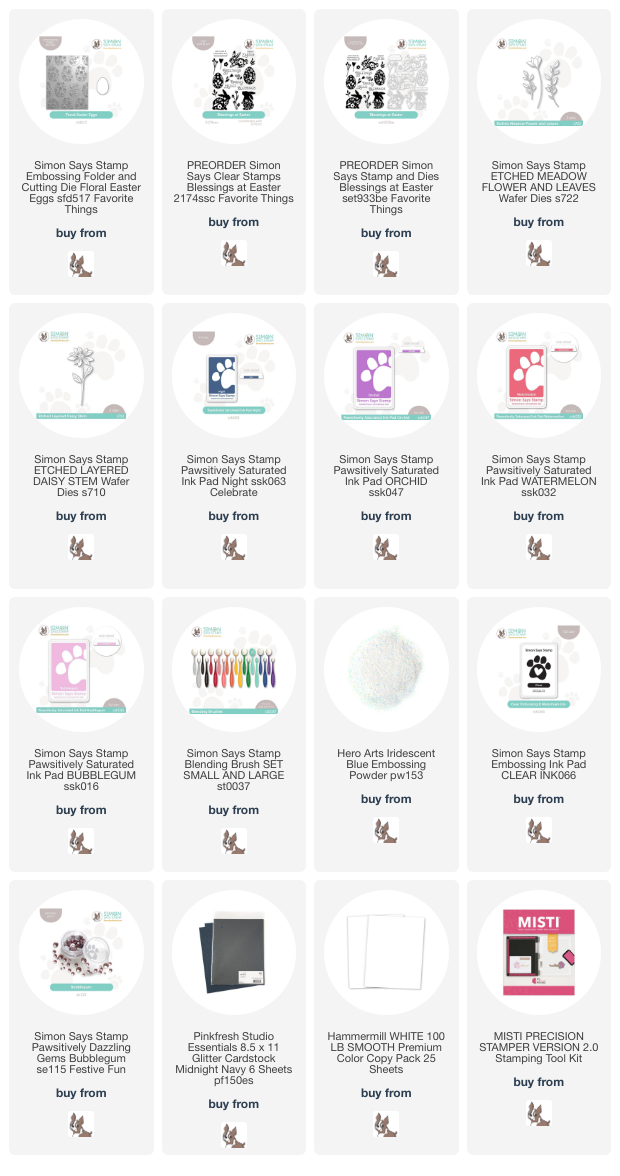
*I have gathered links to all of the products used at the bottom of the post for your convenience, using affiliate links. Thank you for shopping with my links! I truly appreciate your support for my work!*

To begin, I created an embossed panel using some white cardstock and the new Floral Easter Eggs embossing folder. This embossing folder comes complete with coordinating dies, so that you can create gorgeously textured embossed egg die cuts, but I wanted to create a delicate floral background pattern and so used the entirety of the embossed panel. I flipped the embossed panel over so that the pattern was debossed into the cardstock, rather than raised up, and did some ink blending on the debossed areas. I used blending brushes to blend Orchid, Watermelon, and Bubblegum Pawsitively Saturated Inks on the debossed floral images, then swiped the Night ink pad directly on the raised areas of the cardstock, creating a multicolored, debossed, super textured background!

After I had created my background, I worked on my focal point. I began by stamping one of the adorable bunnies in the Blessings At Easter stamp set, stamping it once with Night ink and then again directly over the top with embossing ink and adding Iridescent Blue Embossing Powder from Hero Arts. This sheer iridescent embossing powder adds the most gorgeous and lustrous iridescent sheen to the stamped images while still allowing the colorful ink beneath to still show! I also die cut the Etched Meadow Flower & Leaves and Etched Layered Daisy Stem dies from coordinating colored cardstock and some super glittery navy blue cardstock.

After trimming the debossed panel down and nestling it in the upper left hand corner of a full size A2 panel of the same navy blue glittered cardstock, I arranged all of the die cuts on the floral background, adhering them with both liquid and foam adhesive squares to create lots of dimension. I nestled a stamped, embossed, and die cut “Spring Greetings” sentiment amongst the die cuts, then added a few shimmering Bubblegum Pawsitively Dazzling Gems.

Well, that’s all for my project today! It’s a busy card, but it’s so fresh and floral and springy! I love the pretty floral bunny paired with the colorful florals! Now for a fun sale:

Simon Says Stamp is celebrating 23 fabulous years, and as a special treat, they are offering an equally fabulous gift with purchase: buy any gift card valued at $100 or more and get a FREE $23 gift card!! Isn’t that incredible? Click HERE to purchase a gift card!

Thanks so much for stopping by today, and have a marvelous day!

Filed Under: simon says stamp Tagged With: 3D embossing folder, blessings at easter, die cutting, easter card, embossing folder, etched layered daisy stem, etched meadow flower and leaves, floral easter eggs, ink blending, ink swiping, pawsitively saturated

Simon Says Stamp Favorite Things Release- Now Available!

February 26, 2025

This post was sponsored by Simon Says Stamp. Thanks, Simon!

Hi friends! Simon Says Stamp has released their newest collection filled with the sweetest, loveliest springtime imagery, perfect for creating those Easter and springtime projects! The new Favorite Things release features darling bunnies, adorable chicks, flowers, butterflies, and so many other images that are perfect for use with your springtime projects. I have been on a creative spree using soft pastel inks, and I’ve paired the adorable new Blessings At Easter stamp set with the gorgeous Pastel Pigment Inks from Simon Says Stamp. Let’s get started with the details on my project!

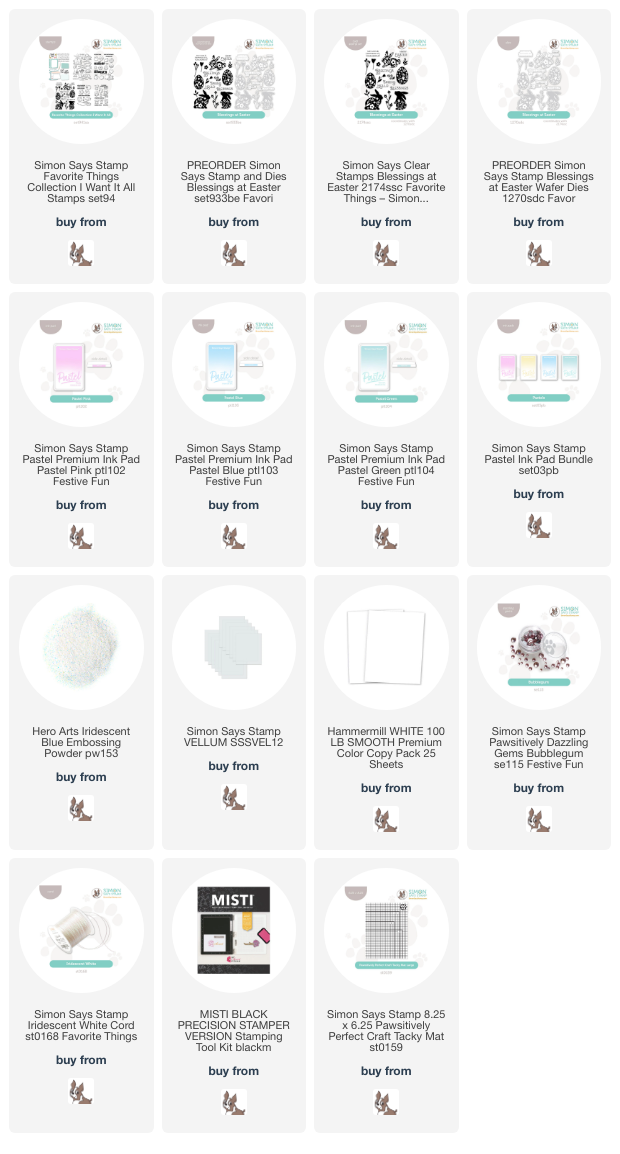
*I have gathered links to all of the products used at the bottom of the post for your convenience, using affiliate links. Thank you for shopping with my links! I truly appreciate your support for my work!*

I love the beautifully detailed images in the new Blessings At Easter stamp set, featuring solid silhouette images with simple, elegant floral negative cutouts within the stamped images. I started my card by creating a panel of custom patterned paper using the Easter egg images, as well as some of the standalone floral images. I stamped the eggs first, as they were the largest images, rotating the paper and the stamps to create a continuous random pattern throughout the entire panel. After stamping the large images on the panel using Pastel Pink ink, I stamped the next largest images using Pastel Blue ink, finally adding some individual foliage stamps using Pastel Green ink, filling in the blank spaces and creating a continuous pattern.

After I had created the stamped background, I decided to stamp a few more images for a focal point, embellishing them a bit further by adding some embossing powder to add some shimmer and shine. I stamped the bunny, flowers, and foliage using the same Pastel Blue, Pink, and Green inks that I used for the card front, this time adding an additional stamped layer of embossing powder and some Iridescent Blue Embossing Powder. This simple additional step helps the shiny, iridescent images stand out against the matte stamped background.

After I had finished stamping and embossing all of the images, I used the Pastel Pink Pigment Ink (say that 3 times fast!) and Iridescent Blue Embossing Powder to create the sentiment pieces, stamping them first with Pink Pigment Ink, again with embossing ink, then adding the Iridescent Blue Embossing Powder. Once the embossing powder was completely set, I die cut the sentiments with their coordinating dies. I love stamping custom patterned paper, but sometimes the patterns can get so busy that they detract from the focal point images, so to help the shiny bunny and flowers stand out a bit more, I layered a 3.75″ x 5″ panel of Simon Says Stamp Vellum over the top of the patterned background before arranging all of the die cuts. I popped up the bunny and sentiment pieces with foam adhesive, then tucked the foliage behind the bunny and flipped the entire vellum panel over to add adhesive behind the solid die cuts. Finally, I added a few Bubblegum Pawsitively Dazzling Gems and some of the new Simon Says Stamp Iridescent White Cord in a pretty bow. This cord is going to be a staple in my craft room, for sure; it doesn’t fray and adds the perfect amount of texture and iridescent shine to my project!!

Well, that’s all for my project today. You can check out the entire new Favorite Things release HERE. Don’t forget to come back later this week for the two-day Favorite Things Blog Hop to see oodles of fabulous inspiration! Thanks so much for stopping by, and have a marvelous day!

Filed Under: simon says stamp Tagged With: blessings at easter, bunnies, die cutting, easter, pastel ink, pigment ink, spring

Primary Sidebar

  • Facebook
  • Instagram
  • Pinterest
  • YouTube

Favorite Shops

Secondary Sidebar

Subscribe

Enter your email address to subscribe to this blog and receive notifications of new posts by email.

Instagram
Something is wrong.
Instagram token error.
Follow
Load More

Archives

Tags

3D embossing folder alcohol markers better press birthday birthday card blog hop card kit christmas christmas card christmas tag colored pencil copic copic coloring Daniel Smith die cutting embossing folder embroidery felt giveaway holiday holiday card hot foil ink blending karin brushmarker pro layered stencil masculine my monthly hero new release no line coloring no line watercolor OLO marker olo markers original illustration pawsitively saturated rainbow shaker card slimline stamping stamptember stencil thank you thinking of you valentine's day video watercolor

Popular Posts

Simon Says Stamp Joy For You Blog Hop- Day 1!
Simon Says Stamp Joy For You Release-Now Available!
Frozen Fractals All Around with New Simon Says Stamp Joy For You Release!
Shaped Holiday Shaker Card with New Simon Says Stamp Jolly Season Card Kit of the Month!
Holiday Postage with New Simon Says Stamp!
Simon Says Stamp Glory to the Newborn King Holiday Kit-Part II!
Pinkfresh Studio 5th Birthday!
Altenew Build A Flower: Fuchsia Blog Hop+Giveway!
Holiday Joy in Pink and Green with New Simon Says Stamp DieCember!
Honey Bee Stamps September Release Blog Hop!

Disclosure

Some affiliate links are used in my posts. This means that, should you click on one of my links and purchase something from that company, I will receive a small portion of the sale at no extra cost to you. I use the money earned from these sales to help maintain my blog. I so appreciate you visiting and, if you do choose to use one of my affiliate links, thank you so much for your support!
Copyright © 2026 ·Brunch Pro Theme · Genesis Framework by StudioPress · WordPress · Log in
Loading Comments...