• Skip to main content
  • Skip to primary sidebar
  • Skip to secondary sidebar

Sixth Street Sundries

Emily Midgett

  • Home
  • About Me
  • Contact
  • OLO Marker Color Swatch Chart
  • Shop

Archives for May 2022

Destash Time!

May 31, 2022

Hi friends!

When I had my babies, I had to move from my big craft room upstairs to a much smaller room downstairs to make way for the nursery. Definitely bittersweet. The “bitter” part comes with simply not having enough space to store everything in perpetuity. So, I have decided to create some destash parcels! I have five medium flat rate boxes absolutely stuffed with product; at least 20-30 stamp sets, many with coordinating dies, as well as stencils and standalone dies, all from a variety of companies. All of the product is either brand new or so gently used that it looks brand new. I am asking $175 plus flat rate shipping for each box, and the worth of the contents of each box far exceed double that price.

I am currently only planning to ship to the US, simply because these boxes are so very heavy that I don’t think anybody would want to pay what is sure to be very expensive international shipping.

You can email me at eamidgett (at) gmail (dot) com to claim a box! I will then send an invoice via PayPal.

Have a wonderful day, friends!

Filed Under: Uncategorized Tagged With: destash boxes

New Illustration and New Video with Crafty Meraki and OLO Markers!

May 30, 2022

Hi there! I’m super excited today to share this new project with you using OLO markers and a brand new illustration that I created for the Crafty Meraki 2nd Birthday Celebration: New Beginnings! I was so honored when Bindu from Crafty Meraki asked me to create a special illustration for the birthday celebration incorporating a butterfly, which was something new for me!

Here’s a video of how I created this colorful and crisp project:

Watch the video in HD on YouTube HERE.

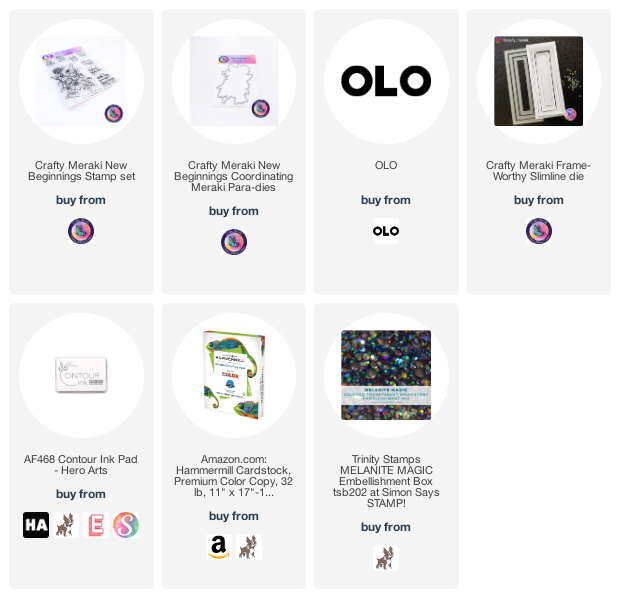
I began by stamping the image from New Beginnings using Hero Arts Contour Ink on some Hammermill cardstock. (I had a tiny bit of black ink residue on the stamp from a previous stamping session, so the no line coloring ink ended up being a bit darker than normal, but it showed up on a video a little better that way, so I didn’t mind! Normally, the Contour ink is much more subtle.) I then used OLO markers to add lots of color to the images, keeping things vivid and intense with lots of beautiful purples, watermelon pink, and jade green. I added a few black accents using a Micron pen, making sure to add the black accents in multiple spots to keep things cohesive and consistent. Once I had finished coloring the image, I used sharp scissors to cut it out, but you could use the coordinating dies.

For the background, I die cut a stitched frame using the Frame-Worthy Slimline Die set from Crafty Meraki using some more white cardstock. The cardstock didn’t run the full length of the die, but that was not a problem because the bottom of the frame was going to be covered by the floral spray! I stamped a greeting from New Beginnings using black pigment ink, then covered it with clear embossing powder and heat embossed it, then fussy cut the sentiment with my sharp scissors.

Once I had completed all of the components, I popped them up on a slimline card base (3.5″x8.5″) using foam tape. I added a few Melanite Magic gems from Trinity stamps to add some extra sparkle. The iridescence on the gems picks up the pinks, purples, and greens from the coloring beautifully!

Well, that’s all for my project today! Head over to my Instagram to check out the Instagram Hop celebrating the 2nd Meraki-versary! The entire new release at Crafty Meraki is absolutely gorgeous (check it out HERE), so I hope you’ll check it out. So many beautiful new products!

And if you’re interested in the OLO Markers, you can check them out HERE. They’re marvelous tools to have in your craft room. You can also check out my color swatches HERE to see the full color range.

Thanks so much for stopping by today, and have a marvelous day!

Filed Under: crafty meraki, OLO markers, original illustrations Tagged With: alcohol marker, new beginnings, olo markers, original illustration, slimline

Video: Watercoloring with Colorado Craft Company and a Sale!

May 27, 2022

Hi there! I have a colorful watercolor project to share with you today using only three shades of watercolor, which I mix and match to create this vibrant watercolored image using the new Floral Corners stamp from Colorado Craft Company! I also have information about a great sale happening this weekend at Colorado Craft Company, so keep reading for all of the details on that!

Here’s the video on how I created today’s card:

You can watch the video above or HERE in HD on YouTube.

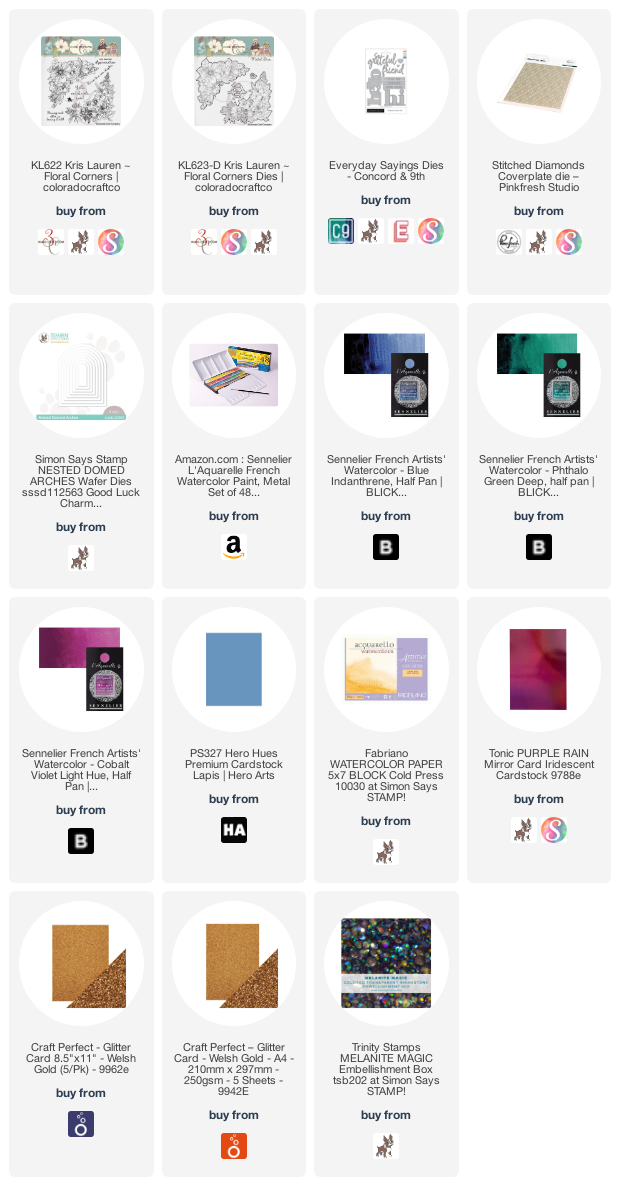
For today’s card, I began by heat embossing the beautiful image from Floral Corners onto some Fabriano Artistico watercolor paper using Brass embossing powder, then saturated the entire watercolor panel with clean water and dropped some diluted magenta, blue, and jungle green watercolors from Sennelier. The wet watercolor paper combined with the wet diluted watercolor allows the watercolor to bloom and meld into each other, creating a lovely base layer upon which to layer the more detailed painting. To speed up the drying process, I zapped the very wet panel with my heat gun. I then added details to the images using the same three watercolor shades that I’d used for the base layer, mixing and matching to create different shades and adding depth and shadow to the images.

For the greeting, I marked another sheet of Fabriano Artistico watercolor paper approximately where the large “hi” die from the Concord and 9th Everyday Sayings die set, then used those same three shades of Sennelier watercolors to create an ombre panel. Once it had dried, I die cut the sentiment from both the watercolored panel and piece of iridescent purple foil to create a shadow layer. I adhered these two pieces together, slightly offsetting them, which allows them to pop even more from the colorful background.

I created a card base by die cutting a panel of coordinating blue cardstock using the Pinkfresh Studio Stitched Diamonds cover plate die, then trimmed it and mounted it on a panel of coordinating A2 magenta cardstock. I adhered a gold glitter arch frame (created using the Nesting Domed Arches dies from Simon Says Stamp) using some more foam tape, then added the floral die cut and the sentiment die cuts. The final touch was to add some iridescent gems to add some more sparkle.

Now, for some retail therapy!

Colorado Craft Company is having a huge sale this weekend: Buy 2, Get 1 Free! Simply fill your cart, then use promo code B2G1FREE to get every third item in your cart for *free.* That is one heck of a sale!

Thanks so much for reading today, and have a marvelous day!

Filed Under: colorado craft company, Sennelier Tagged With: everyday sayings, floral corners, kris laurens, sale, stitched diamonds, watercolor

Pinkfresh Studio May 2022 Stamp and Die Release Hop + Giveaway!

May 26, 2022

Good morning! Today is the Pinkfresh Studio May 2022 Stamp and Die release, and we have a fabulous blog hop to inspire you with all of these amazing new goodies! You can see the full link list down at the bottom of this post in case you get lost. This release is full of all of the beautiful, innovative products that you’ve come to associate with Pinkfresh Studio, and I have two projects to share with you today, so let’s get started with the details!

I seem to always gravitate towards pink, coral, or plum these days, so I thought it would be fun to really switch it up and do some gorgeous cool tones with periwinkle blue, lilac, and a few pops of pink. Both of my cards feature the stunning new Stained Glass cover plate die, which is a perfect background for the gorgeous new floral sets: Painted Daisies and Grant Yourself Grace!

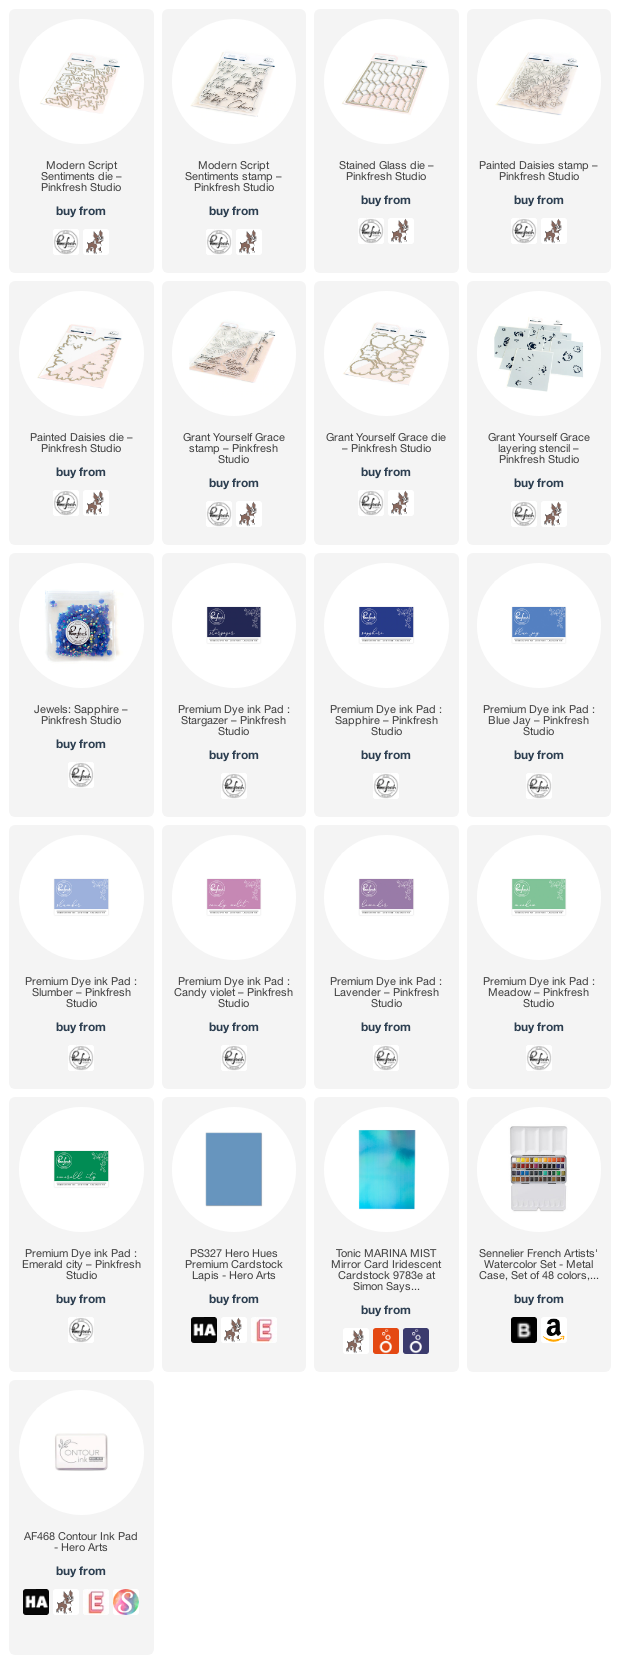
For the Painted Daisies project, I began by stamping the main image onto some watercolor paper using no-line coloring ink. I then used my Sennelier watercolors to add lots of cool lilac, periwinkle, and jade, with a few pops of bright fuchsia to add extra interest. Once I’d finished watercoloring, I die cut the image using the coordinating die.

I trimmed down a periwinkle blue A2 card base, then die cut the stunning new Stained Glass cover plate die from some holographic blue cardstock. The gorgeous holographic cardstock picks up the beautiful variety of colors in the painting, but also is tone-on-tone enough to create subtle texture for the background, allowing the flowers to be the star of the show.

I arranged the flower bouquet in the corner of the card, trimming off the excess and arranging the leftovers to create a cascade down the card front. I popped all of the pieces up using foam adhesive, then added a greeting from Modern Sentiments, heat embossed in white on some more periwinkle cardstock and die cut with the coordinating (one piece!) die. The final touch was to add a few Sapphire jewels!

My second project features the same color palette, this time focusing on the gorgeous individual flowers from the Grant Yourself Grace product suite. I stamped the outline stamps for Grant Yourself Grace on some white cardstock using Stargazer ink, a bit more subtle than typical black ink, then used the Grant Yourself Grace Stencils with Sapphire, Blue Jay, and Slumber inks for the roses, Candy Violet and Lavender for the pops of lilac, and Meadow and Emerald City for the greenery. I die cut all of the finished stenciled images with the coordinating one-piece die (love how convenient that is! So clever!) and turned to my card base.

For the card base, I again die cut the fantastic Stained Glass cover plate die from some periwinkle cardstock and layered it over a full size A2 periwinkle card base. This tone-on-tone texture is absolutely marvelous! I had reserved the negative die cuts from my holographic blue Stained Glass die cut from the previous card, so I adhered those in some of the spaces to help add even more subtle, but gorgeous, interest to the background.

Once I’d finished creating the different components to the card front, I began to assemble the card. I die cut a circle from some more periwinkle cardstock, then began to arrange the roses around it as a ground for my flowers. I adhered the circle and flowers using foam adhesive, then added a greeting (leftover from the previous card) from Modern Sentiments with another layer of foam adhesive, giving it a double layer of foam adhesive in total to help it really stand out. Some more Sapphire gems help bring out those iridescent blue foil accents on the die cut background!

Well, that’s all for my projects today. Pinkfresh is hosting a giveaway to celebrate their new release! They will be giving away the full release on the Pinkfresh blog & YouTube channel. They also will be giving away a total of TEN $25  gift cards along the hop. The winners will be selected from the comments. The more comments you leave along the hop, the more chances you have to win! Winners will be announced on June 3, 2022 on our GIVEAWAY PAGE. Winners must check that page & claim your prize within 2 weeks.

The full hop list is included below, and you can check out the full May 2022 Release HERE. Thanks so much for reading, and happy hopping!

You are invited to the Inlinkz link party!

Click here to enter

Filed Under: pinkfresh studio Tagged With: grant yourself grace, layered stencils, no line watercolor, painted daisies, stained glass, watercolor

Altenew Paint-A-Flower: Magnolia Rustica Outline Stamp Set Release Blog Hop + Giveaway ($200 in Total Prizes)

May 22, 2022

Hi there! Today, Altenew is celebrating their new Paint-A-Flower: Magnolia Rustica release with a blog hop! You should have arrived here from the Altenew Card Blog, and your next stop is Ann Taylor. In my book, the bigger the bloom, the better for coloring, and these beautiful blooms from the Paint-A-Flower: Magnolia Rustica are gigantic and so fun to paint! Let’s get started with the details on my project.

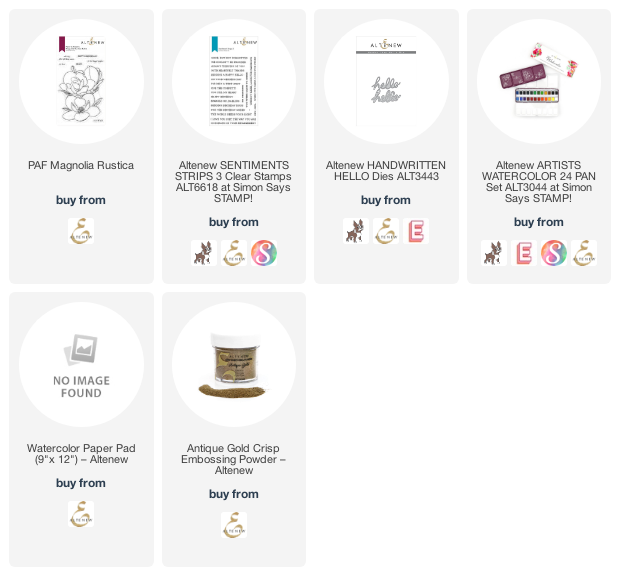
I began by heat embossing the gorgeous Paint-A-Flower: Magnolia Rustica in the center of an A2 panel of watercolor paper using gold embossing powder. I knew that I wanted to paint a dark, vibrant, intense background for some light pink magnolias, so I taped my panel down to my watercolor board using some painter’s tape, then mixed some vivid maroon-y fuchsia using the Artist’s 24 Pan Watercolor. The colors included in the Artist’s 24 Pan Watercolor set are gorgeous in and of themselves, but I have found myself wanting to stretch my color palette even further lately by mixing and matching various shades to create completely unique custom colors. I created this intense deep pink by mixing Cherry Blossom (bright pink), Shades of Purple (amethyst purple), and a touch of Rock Collection (black). I encourage you to try mixing different shades on your own watercolor palette. It opens up a world of possibilities!

After I had created the deep pink halo around my floral image in the center of the watercolor panel, I worked on the Magnolia image itself. I painted the area around it first because I wanted to do some reverse artistic psychology on my eyes and make stark the contrast between the intense halo surrounding the flower and the flower itself. I diluted the same shade of deep pink used on the halo down a bit using clean water, then painted the flowers, keeping the color concentrated in the center of the blooms and using lots of water to pull that small amount of color out in a smooth fade to white. The contrast between the background and the flowers helps to keep me from adding too much color to the flowers and keeps them to light.

While my painting was drying (still taped to my board to keep it from warping) I die cut the detailed Handwritten Hello die twice from some scrap white cardstock and once from some matte gold foil cardstock. I layered all of the pieces together using liquid adhesive to create a dimensional die cut greeting. I also gold embossed a greeting from Sentiment Strips 3 onto a thin strip of maroon cardstock, adhering it to the card front using some foam tape.

Well that’s all for my project today! Now for some fun giveaway information:

$200 in total prizes! To celebrate this release, Altenew is giving away a $50 gift certificate to 2 lucky winners and a $20 gift certificate to 5 winners! Please leave a comment on the Altenew Card Blog and/or each designer’s blog post on the blog hop list below by 05/28/2022 for a chance to win. Altenew will draw 7 random winners from the comments left on each stop of this blog hop and announce the winners on the Altenew Winners Page on 05/30/2022.

Your next stop is Ann Taylor. Thanks so much for stopping by today, and happy hopping!

Filed Under: altenew Tagged With: paint a flower, watercolor

  • Page 1
  • Page 2
  • Page 3
  • Go to Next Page »

Primary Sidebar

  • Facebook
  • Instagram
  • Pinterest
  • YouTube

Favorite Shops

Secondary Sidebar

Subscribe

Enter your email address to subscribe to this blog and receive notifications of new posts by email.

Instagram
Something is wrong.
Instagram token error.
Follow
Load More

Archives

Tags

3D embossing folder alcohol markers better press birthday birthday card blog hop card kit christmas christmas card christmas tag colored pencil copic copic coloring Daniel Smith die cutting embossing folder embroidery felt giveaway holiday holiday card hot foil ink blending karin brushmarker pro layered stencil masculine my monthly hero new release no line coloring no line watercolor OLO marker olo markers original illustration pawsitively saturated rainbow shaker card slimline stamping stamptember stencil thank you thinking of you valentine's day video watercolor

Popular Posts

Simon Says Stamp Joy For You Blog Hop- Day 1!
Simon Says Stamp Joy For You Release-Now Available!
Frozen Fractals All Around with New Simon Says Stamp Joy For You Release!
Shaped Holiday Shaker Card with New Simon Says Stamp Jolly Season Card Kit of the Month!
Holiday Postage with New Simon Says Stamp!
Simon Says Stamp Glory to the Newborn King Holiday Kit-Part II!
Holiday Joy in Pink and Green with New Simon Says Stamp DieCember!
Pinkfresh Studio 5th Birthday!
Altenew Build A Flower: Fuchsia Blog Hop+Giveway!
July My Monthly Hero Blog Hop+Giveaway!

Disclosure

Some affiliate links are used in my posts. This means that, should you click on one of my links and purchase something from that company, I will receive a small portion of the sale at no extra cost to you. I use the money earned from these sales to help maintain my blog. I so appreciate you visiting and, if you do choose to use one of my affiliate links, thank you so much for your support!
Copyright © 2026 ·Brunch Pro Theme · Genesis Framework by StudioPress · WordPress · Log in
Loading Comments...