• Skip to main content
  • Skip to primary sidebar
  • Skip to secondary sidebar

Sixth Street Sundries

Emily Midgett

  • Home
  • About Me
  • Contact
  • OLO Marker Color Swatch Chart
  • Shop

Archives for October 2022

New Class: Altenew Craft Your Life Retreat- Spec-TECH-ular Blossoms!

October 5, 2022

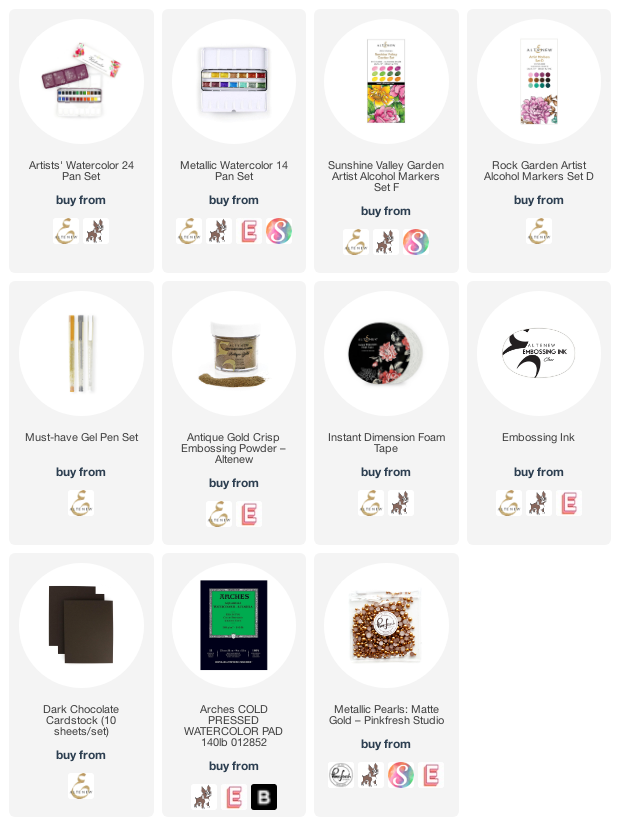
Hi there! I am just popping in quickly to announce that I am one of the teachers for the October Spec-TECH-ular Blossoms Craft Your Life Retreat! In this retreat, I will be teaching two different classes featuring some fun techniques for creating seamless saturated cards, as well as tips for how to achieve great results when watercoloring your 3D Embossing Folders. You can find the details HERE.

Here’s a quick intro video featuring some sneak peeks of the projects that you will make during the classes:

If you’d like to join me, as well as unbelievably talented instructors Kelly Taylor, Annemarie Caister, and Nenette Madero for a Saturday full of crafty fun, featuring tons of gorgeous new Altenew products, you can sign up HERE. The folks at Altenew are offering an early bird discount until 10/12/22, as well! To save 20% on your kit and classes, simply enter the code CYLEBSPEC20OFF at checkout. Click HERE to check it out!

I will link the supplies that I use outside of the contents of the kit so that you can do some shopping beforehand, as well! (Sadly, the discount code will only work for the class itself.)

I hope to see you in class in a few weeks! Thanks so much for stopping by today, and have a marvelous day!
Filed Under: altenew Tagged With: alcohol marker, class, craft your life retreat, no line watercolor, watercolor

The Flower Challenge: Guest Designer

October 4, 2022

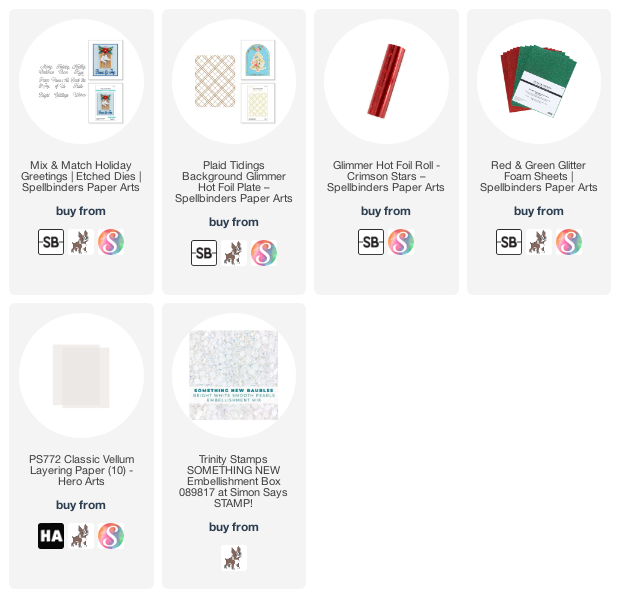
Hi there! I’m honored to be back as a guest designer for The Flower Challenge this month. The theme is Use A Sentiment, and so I dug out one of my older finished coloring panels (from a set called Lo How A Rose E’er Blooming) and one of the newer holiday sentiment die sets from Spellbinders: Mix & Match Holiday Greetings. These medium-sized sentiment dies are a great complement to the bold poinsettia flower on my holiday card. Let’s get started with the details!

I had already colored this image using Copic markers for my holiday coloring panel release last year (be sure to subscribe to my blog in the box in the upper left hand corner to be notified about my new coloring panel release later this month!), so I used some sharp scissors to fussy cut the image. It’s already helpfully tucked into the corner, so I just had to carefully cut around the bottom edge of the image.

For the greeting, I die cut the Mix & Match Holiday Greetings “Holiday Hugs” from Red Glitter Foam from Spellbinders. Spellbinders’s Glitter Foam is such a quick (not to mention sparkly!) way to add some quick dimensionality to your sentiment die cuts, and it comes in a huge range of beautiful colors. I find myself reaching for it constantly. If you haven’t checked it out, I encourage you to do so! You can see all wide variety of colors that they have available HERE.

I had a shiny foiled background that I had previously created with the Spellbinders Plaid Tidings hot foil plate and Crimson Stars hot foil tucked into my stash, just waiting for the right project. The red foil matched the red poinsettia perfectly, so I popped up the colored poinsettia corner using some foam tape, tucking a strip of vellum behind. The vellum helps ground the sentiment from the busy, shiny background. I adhered the foam sentiment die cuts using liquid adhesive, then added a few iridescent white pearls for some more shine! This project is quintessentially Christmas, I think!

Well, that’s all for my project today! To celebrate The Flower Challenge’s 6th Birthday, I am donating two sets of coloring panels to the winner of the challenge-winner’s choice! All you have to do to be eligible to win is create a project using the prompt (Use A Sentiment) and some flowers, then upload your project to the inLinkz list. The dates for the new challenge, as well as all of the details, can be found on the The Flower Challenge‘s blog post! Thanks so much for stopping by today, and have a marvelous day!

Filed Under: coloring panels, spellbinders Tagged With: christmas, glitter foam, holiday, hot foil, mix and match holiday greetings, plaid tidings

Altenew October 2022 Just Imagine Collection Release Blog Hop + Giveaway ($300 in total prizes)

October 4, 2022

Just Imagine Collection You should have arrived here from Virginia Lu and your next stop is Nicole Watt. You can also start back at the beginning at the Altenew Blog. (I wrote that post and have two more projects over there, too!) I have a trio of holiday products using new goodies from the Just Imagine Collection. I’m not lying when I say that these are some of my favorite holiday products that Altenew has ever released. They’re absolutely stunning. Everything just clicked when creating this trio of gold, white, and red cards for today’s post. Let’s get started with the details!

All three of my projects feature shining metallic accents, which I created using the Brass Metallic Hot Foil. It is a beautiful shade of cool gold, with a semi-matte finish. The new hot foil rolls from Altenew are all gorgeous and very versatile metallic shades. Definitely a must-have!

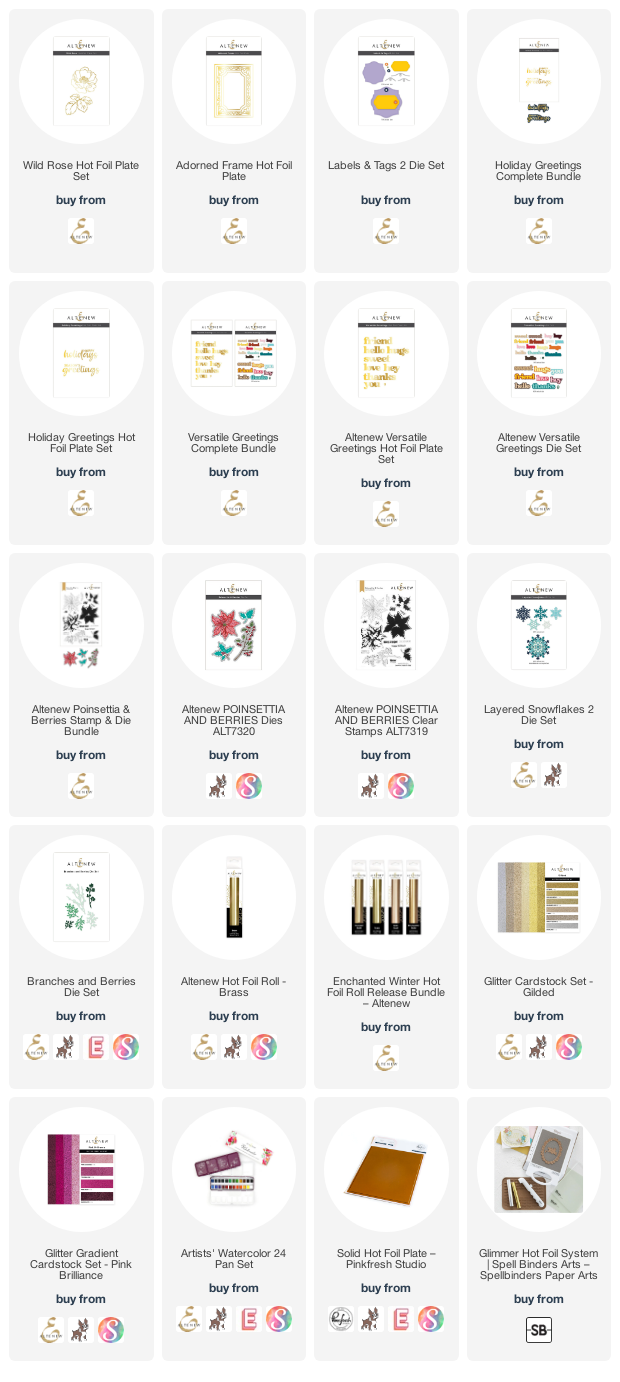
My first card uses the stunning new Adorned Frame Hot Foil Plate. I couldn’t get enough of this gorgeous hot foiled frame; you can expect to see it frequently on my projects! I hot foiled it at first with just the Adorned Frame Hot Foil Plate, then used my solid hot foil plate to hot foil the reverse using the leftover negative foil. I love that you can get two completely different looks from the same plate using the positive and negative space! I trimmed the hot foiled piece down using my trimmer, but there are coordinating dies, as well.

Next, I heat embossed several elements from Poinsettia and Berries onto some heavyweight vellum using some gold glitter embossing powder and cut the images out with the coordinating dies.

I adhered the foiled frame to my white A2 card base using liquid adhesive, then arranged the poinsettia and foliage in a cluster, adhering them with tiny dots of liquid adhesive and clear dimensional adhesive. I adhered a greeting from the super elegant new Holiday Greetings Hot Foil Plate and Die set, again using Brass hot foil. I popped it up with a double layer of foam tape for lots of height. Finally, I added a few glittery gold gems!

My next project is a simple and sweet tag, and it came together really quickly-perfect for those mass-produced holiday necessities! I began by die cutting a tag from the new Labels and Tags 2 die set from some white cardstock. These new tag dies are such classic shapes; I can see these becoming staples in my craft room for tags and cards!

To add some simple embellishment to the tag, I used some gold glitter paper from the Gilded Glitter Cardstock set to die cut several sparkling snowflakes from the Layered Snowflakes 2 die set. I arranged them on the tag, allowing them to hang over the edge, then trimming off the excess with my sharp scissors. I added another greeting from the Holiday Greetings Hot Foil Plate and Die set, popped up with some foam tape. The final touch was to add a white raffia bow and loop to add this sparkly tag to a gift! Simple, sparkly, and super elegant, I think!

My final project is definitely my favorite. I used the stunning new Wild Rose Hot Foil Plate and Dies to create a floral holiday card. (Who says you can’t have roses for Christmas?) I hot foiled the images onto two different panels of watercolor paper using Brass hot foil, die cutting one set and leaving the other on an A2 card front. I also used a solid hot foil plate to foil the leftover negative space for the leaves. (Tip: doing this helps to create a fuller bouquet!)

I used the Artists’ 24 Pan Watercolors to add lots of vibrant crimson to the flowers, adding a diluted wash to the foiled card front, as well. Lots of color for this somewhat muted holiday palette!

I arranged all of the hot foiled and watercolored die cut pieces on the watercolored card front, adding a few glittery berry sprigs, cut from dark pink glitter cardstock using the Berries and Branches dies. I added a simple greeting (that could be used for other occasions besides Christmas!) from Poinsettia and Berries, heat embossed in gold on some maroon cardstock and popped up with a double layer of foam tape.

Well, that’s all for my projects today! You can also check out a few more of my projects over on the Altenew Blog. Now for some fun giveaway information!

$300 in total prizes! To celebrate this release, Altenew is giving away a $50 gift certificate to 2 lucky winners and a $25 gift certificate to 8 winners! Please leave a comment on the Altenew Card Blog and/or each designer’s blog post on the blog hop list below by 10/10/2022 for a chance to win. Altenew will draw 10 random winners from the comments left on each stop of this blog hop and announce the winners on the Altenew Winners Page on 10/13/2022.

Your next stop is Nicole Watt. Thanks so much for stopping by, and happy hopping!

Filed Under: altenew Tagged With: christmas, holiday, holiday greetings, hot foil, labels and tags 2, poinsettia and berries, watercolor, wild rose hot foil

Hero Arts October 2022 My Monthly Hero Blog Hop + Giveaway!

October 3, 2022

Hi there! Today is the first Monday of the month, which means we have a new My Monthly Hero kit and coordinating add-on products for you! You should have arrived here from Daniel West, and your next stop is Ilina Crouse. You can also start at the beginning at the Hero Arts Blog! This month’s kit features a ton of fabulous scene building holiday silhouettes, perfect for creating a pristine North Pole scene, forest scene, or a simple winter scene. So much versatility. Here’s a peek at this month’s kit:

The October 2022 kit features: Clear Stamp Set, 6″ x 8″, • 19 Coordinating Frame Cuts, Snow Dots Cling Stamp, 4.625″ x 5.875″, 2 Ink Cubes (White Reactive & Unicorn Pigment), 2 Sheets of Diamond Glitter Paper, 5.5″ x 8.5″, 2 Sheets of Snow Glow Cardstock, 5.5″ x 8.5″, and 2 Sheets of Lapis Cardstock 5.5″ x 8.5″. The kit’s contents retail for $79 individually, but the entire kit is yours for $34.99! If you love these limited edition kits, be sure to SUBSCRIBE to be guaranteed to receive your own My Monthly Hero kit each month.

I have a super easily-mailed Christmas card for you today, using some masking paper, light ink blending, the Snow and Froth technique kit, and the fabulous winter scene stamps from the October 2022 My Monthly Hero kit. Let’s get started with the details!

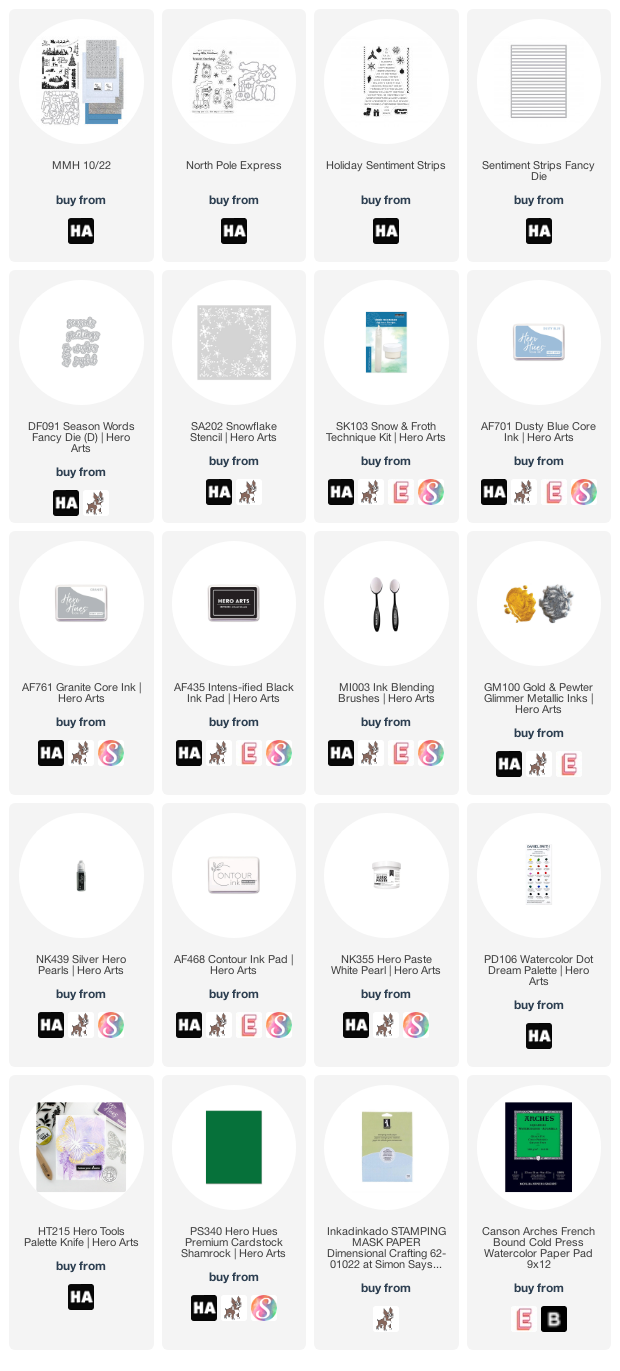
I wanted to create some snowy drifts to make a scene using several of the different stamps included in the My Monthly Hero kit. I began by cutting a piece of masking paper, vaguely shaped like a hill. I applied the hill mask to a panel of white cardstock, then used Blending Brushes to very lightly blend Granite and Dusty Blue inks to create a hazy background “behind” the snow drifts. I removed the mask, placed it at a different angle up a bit higher on the card front, and blended again. I repeated the process once more, creating three different snow drifts on which to stamp my silhouette images!

I stamped several different images from the My Monthly Hero kit using Intens-ified Black ink, using my MISTI to make sure that I got super clean and crisp stamped images. I also used the Snow and Froth technique kit to add some super realistic-looking snowy texture to the drifts. This kit is great for your wintry cards; you simply apply the clear lacquer wherever you want to add the snowy texture, then sprinkle the white puff embossing powder over the top and heat it up. After I’d heated up the Snow and Froth textures, I splattered some silver Glimmer Ink over the whole card front to add some snowflakes.

After my silver paint splatter “snowflakes” had dried, I added some Silver Hero Pearls to the Christmas tree, creating even more texture and shine on this one-layer-but-super-textured card front. I stamped one of the beautiful calligraphy greetings from the My Monthly Hero kit using Intens-ified Black ink, then cut the sentiment out using the coordinating dies, included in the kit. I popped the greeting up using some foam tape. Other than the greeting, this card is entirely one layer, making it perfect for mailing!!

My second project features the darling new North Pole Express, paired with the new Snow Globe Window Fancy Die. Because I don’t do “cute” very well, I enjoy taking sweet, whimsical illustrations like those in the North Pole Express set and trying to give them a storybook feel. I used Contour Ink to stamp the train and present car from North Pole Express on some Arches Cold Press watercolor paper, then used Daniel Smith watercolors to do some no line watercoloring. I die cut the finished images with the coordinating dies.

I knew that I wanted the sweet penguin and festive holiday train to be encased in a shaker card, so I die cut the Snow Globe Window Fancy Die from some white glitter paper cut the window itself from some Shamrock cardstock, then I traced around the edge of the die cut window onto my card base. I backed the window with some clear acetate to create my shaker window. I used Blending Brushes to very lightly blend Dusty Blue ink around the edge of the traced snowglobe on my white card base. I arranged the Snowflake Stencil so that the snowflakes were dipping over the edge of the traced snowglobe, and used White Pearl Hero Paste and Palette Knife to add some subtle, pearlescent snowflakes around the edge of the snowglobe.

I adhered the train die cuts to the blended, stenciled background using some thin foam tape, then filled my shaker with some glitter and sequins. (I used super fine glitter, which unfortunately stuck to the acetate a bit more than I would have liked, creating a bit more “frosty” look than I intended, but I kind of like the frosted, wintry look. If you want your shaker to be a bit clearer, avoid using superfine glitter!) I added a red foil greeting from the Season Words Fancy Die set, as well as a sentiment strip using the new Holiday Sentiment Strips, heat embossed in white on some more Shamrock cardstock.

Well, that’s all for my projects today! I think the designers at Hero Arts knocked the holiday releases out of the park this year… so many awesome projects that work beautifully together. Now for some fun giveaway information:

Hero Arts will give away a $50 gift card, drawn from the comments left across the hop. Enter by Sunday, October 9th at 11:59pm Pacific, and the winner will be announced on the Hero Arts blog the following week.

Your next stop on the hop is Ilina Crouse. Thanks so much for stopping by today, and happy hopping!

Filed Under: Hero Arts Tagged With: christmas, holiday, ink blending, my monthly hero, north pole express, sentiment strips, snow and froth

  • « Go to Previous Page
  • Page 1
  • Page 2
  • Page 3

Primary Sidebar

  • Facebook
  • Instagram
  • Pinterest
  • YouTube

Favorite Shops

Secondary Sidebar

Subscribe

Enter your email address to subscribe to this blog and receive notifications of new posts by email.

Instagram
Something is wrong.
Instagram token error.
Follow
Load More

Archives

Tags

3D embossing folder alcohol markers better press birthday birthday card blog hop card kit christmas christmas card christmas tag colored pencil copic copic coloring Daniel Smith die cutting embossing folder embroidery felt giveaway holiday holiday card hot foil ink blending karin brushmarker pro layered stencil masculine my monthly hero new release no line coloring no line watercolor OLO marker olo markers original illustration pawsitively saturated rainbow shaker card slimline stamping stamptember stencil thank you thinking of you valentine's day video watercolor

Popular Posts

Simon Says Stamp Joy For You Blog Hop- Day 1!
Simon Says Stamp Joy For You Release-Now Available!
Frozen Fractals All Around with New Simon Says Stamp Joy For You Release!
Shaped Holiday Shaker Card with New Simon Says Stamp Jolly Season Card Kit of the Month!
Holiday Postage with New Simon Says Stamp!
Simon Says Stamp Glory to the Newborn King Holiday Kit-Part II!
Holiday Joy in Pink and Green with New Simon Says Stamp DieCember!
Pinkfresh Studio 5th Birthday!
Altenew Build A Flower: Fuchsia Blog Hop+Giveway!
July My Monthly Hero Blog Hop+Giveaway!

Disclosure

Some affiliate links are used in my posts. This means that, should you click on one of my links and purchase something from that company, I will receive a small portion of the sale at no extra cost to you. I use the money earned from these sales to help maintain my blog. I so appreciate you visiting and, if you do choose to use one of my affiliate links, thank you so much for your support!
Copyright © 2026 ·Brunch Pro Theme · Genesis Framework by StudioPress · WordPress · Log in
Loading Comments...