• Skip to main content
  • Skip to primary sidebar
  • Skip to secondary sidebar

Sixth Street Sundries

Emily Midgett

  • Home
  • About Me
  • Contact
  • OLO Marker Color Swatch Chart
  • Shop

Archives for October 2022

VIDEO: Create A Shaped Holiday Card with Non-Holiday Supplies!

October 19, 2022

Hi there! I am up on the Pinkfresh Studio YouTube channel today with this elegant shaped holiday house card, featuring a couple of newer holiday supplies from the September release, as well as several older supplies that are not holiday-related in the slightest! I love getting tons of extra mileage out of my stamps and dies, and customizing non-holiday products to create holiday cards is a fabulous way to get more bang for your buck. Here’s the video:

You can also click HERE to watch it in HD on YouTube.

Here’s a quick description in case you can’t watch the video!

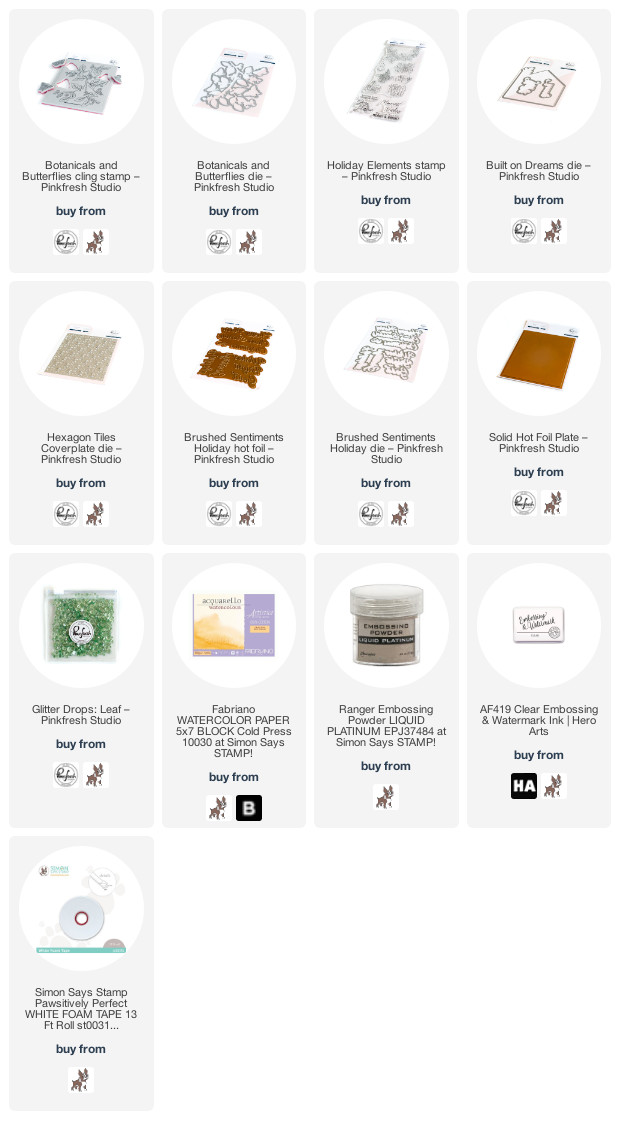
I began by stamping the main botanical image from Botanicals and Butterflies onto some Fabriano Artistico Cold Press Watercolor Paper using embossing ink, then heat embossed it using Platinum embossing powder. I thought that the tiny flowers on the branch looked like they could easily pass for holiday berries! I also embossed the single poinsettia image from Holiday Elements, making sure to only ink up the stamp that I wanted to use. I watercolored the images using Schmincke watercolors, keeping the colors super traditional and classic, with ruby red “berries” and poinsettia, and bright green for the foliage. The details and style of these two different stamp sets are very similar, so they work seamlessly together. I trimmed the poinsettia out with my sharp scissors, then die cut the finished branch using the coordinating Botanicals and Butterflies die.

To create the shaped card base, I began by die cutting the entirety of the Built On Dreams die from some coordinating maroon cardstock, then ran it through my die cut machine again using the Hexagon Tile Die to add some more subtle texture to the background. I also create a shaped card base by placing my house die from the Built On Dreams die set over the fold of an A2 card base, then running the whole thing through my die cut machine. Making sure that the die overlaps the fold means that the shaped card will stand up nicely by itself! I adhered the textured maroon house die cut to the shaped card base using some super strong double sided tape.

Once I had finished my die cutting, it was time to start assembling the card. I first adhered a greeting from the new Brushed Sentiments Holiday Hot Foil set, which I’d hot foiled the normal way, then again using the negative leftovers and the Pinkfresh Studio Solid Hot Foil Plate to create the reverse foiling you see here. I die cut the finished sentiments with the coordinating dies. I added the poinsettia with a double layer of foam tape, then trimmed all of the Botanicals and Butterflies foliage clusters off of the central branch and arranged them behind the poinsettia, adhering them with both single layers of foam tape and liquid adhesive to create a variety of heights. The foliage trails up the card front and adds such a lovely festive and elegant feel to the card! The final touch was to add some Leaf Glitter Drops.

Well, that’s all for my project today! I hope you’ll try using your scissors and some holiday color combinations with your non-holiday cardmaking products… it’s such a fun way to stretch your creativity and get tons of extra mileage from your products! Thanks so much for stopping by today, and have a marvelous day.
Filed Under: pinkfresh studio

More Simon Says Stamp Cozy Hugs!

October 13, 2022

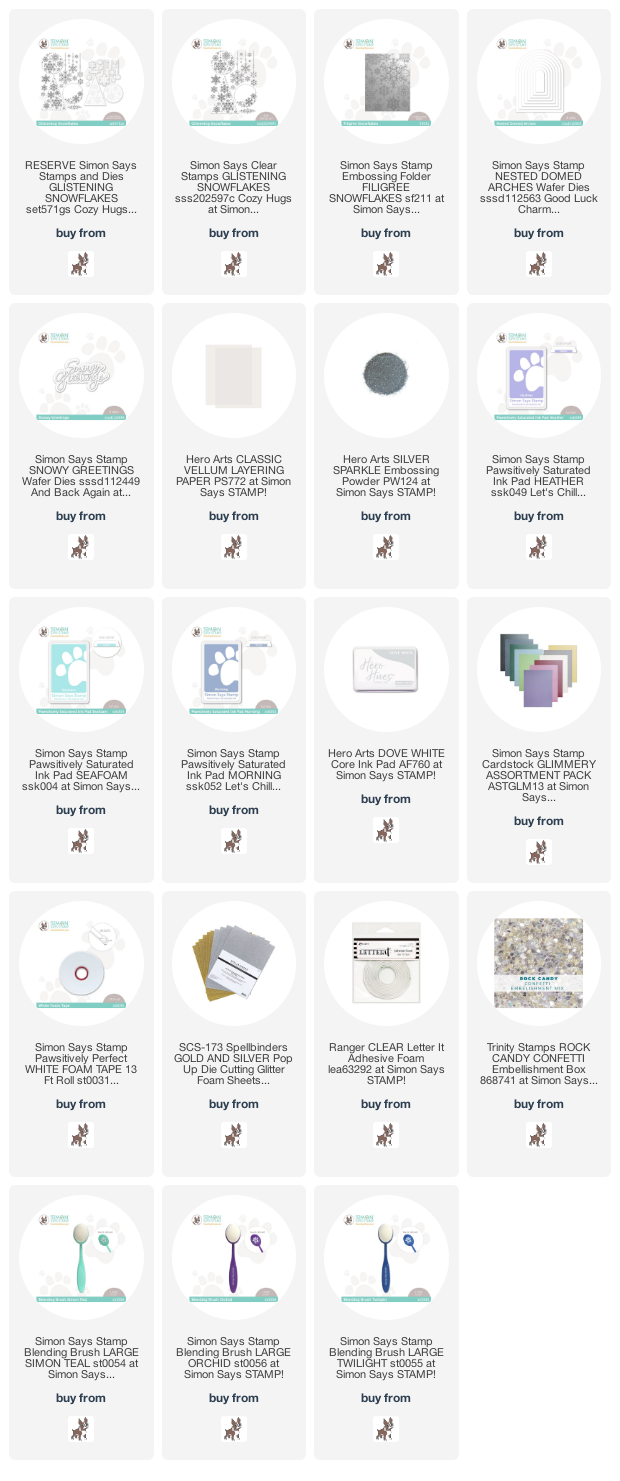
Hi there! I have a bit more inspiration using some of the new goodies from the Simon Says Stamp Cozy Hugs release, featuring one of my most favorite holiday themes: snowflakes! The beautiful new Glistening Snowflakes stamps are full of a variety of snowflakes, in tons of different sizes and arrangements, so you can create super simple and elegant cards with some heat embossing and colored cardstock, or you can go all in with sparkly embossing, ink blending, and die cuts! I, of course, had to go all in and create a festive wintry holiday card, perfect for a Christmas card or even a winter birthday! Let’s get started with the details.

I began by heat embossing many of the individual snowflakes and the snowflake “ornaments” from Glistening Snowflakes onto some heavyweight vellum using sparkly silver embossing powder. I die cut the embossed images using the coordinating dies (which are on reserve at the moment, but you can purchase with your regular order and they will be shipped as soon as they arrive at the warehouse!). I love the heat embossed snowflakes on the vellum; it creates such an ethereal look for the snowflakes, like they’re gently floating down your card front!

For the background, I started by blending Heather, Seafoam, and Morning inks on an A2 panel, then ran the blended panel through my die cut machine with the Filigree Snowflakes Embossing Folder. To help add a little bit of emphasis on the beautifully detailed snowflakes, I swiped the Hero Arts Dove White ink pad lightly over the top of the raised areas. I splattered some sparkly silver handmade watercolors on the blended panel, as well, to make it even frostier and more sparkly!

Because vellum can be tricky to neatly adhere to your card front, I decided to help “hide” some of the adhesive by adding a die cut frame, cut from some pearlescent lilac cardstock using the Nested Domed Arches dies. I popped it up on the card front using some Simon Says Stamp Foam Tape, then tucked the dangling snowflakes behind it. I also die cut a “snowy greetings” sentiment, cutting the outline layer from some pale ice blue cardstock and the detailed word layer from some Spellbinders Silver Glitter Foam. (I am slightly obsessed with these glitter foam sheets. They make adding dimension so incredibly quick and easy and come in a ton of different colors!) I popped the rest of the snowflakes using some clear foam tape, then added a smattering of Rock Candy Confetti from Trinity Stamps.

Well that’s all for my project today! The combination of different textures, snowflake sizes, sparkly silver splatters, and confetti helps make this card super festive and sparkly! I hope you enjoyed this wintry project. Christmas is coming, no mistake about that! Thanks so much for stopping by, and have a marvelous day!

Filed Under: simon says stamp Tagged With: embossing folder, filigree snowflakes, glistening snowflakes, nested domed arches, snowflakes

Altenew October 2022 Marvelous Monthly Series Release Blog Hop + Giveaway ($300 in Total Prizes!)

October 12, 2022

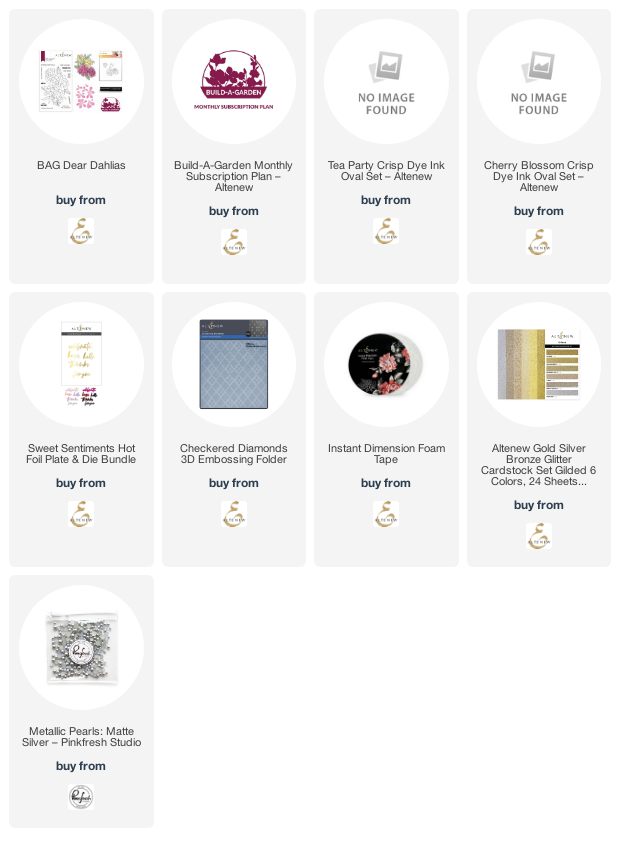
Hi there! Today, I’m delighted to be the first stop on the Altenew Marvelous Monthly Series Blog Hop! You should have arrived here from the Altenew Blog, and your next stop is Sandra Woodson. This month’s Marvelous Monthly release has an eclectic group of products sure to fulfill your floral fantasies! I’ve got a project featuring the new Build A Garden Dear Dahlias, so let’s get started with the details!

I love that the project kits from the Build A Garden series feature so many unique ways to create, including layering stencils, easily created with the mini blending brush that is included with each kit! (To be sure that you are one of the first to receive these innovative kits each month, and at a discount, be sure to SUBSCRIBE!) Build A Garden Dear Dahlias combines beautiful dahlias with some filler flowers and foliage to create this gorgeous draped bouquet. I began by heat embossing the large main floral image from Build A Garden Dear Dahlias on some white cardstock using white pearl embossing powder. I then used Pink Pearl, Coral Bliss, and Heartbeat inks from the Tea Party ink quartet, as well as Pinkalicious and Rubellite inks from the Cherry Blossom ink quartet for the filler flowers. I used the included small ink blending tool to blend the shades of coral on the dahlias. These brushes make such quick work of these stencils!

I die cut the stenciled image with the coordinating die, which can be purchased separately or in the discounted bundle, all of which you can check out HERE. The coordinating die set also has a super unique standalone layering dahlia included, which would add a really unique touch to this bouquet when layered over the top of the stamped and/or stenciled bouquet!

I created a mini slimline white textured background using the Checkered Diamonds Embossing Folder, trimming the un-embossed areas off to create a slightly smaller than mini-slimline card front. The elongated rectangle created a lovely shape for my draped stenciled floral bouquet! I adhered the flowers with some Instant Dimension Foam Tape, then added a hot foiled greeting from the Sweet Sentiments Hot Foil+Dies Bundle, hot foiled with some matte silver foil on white cardstock. I heat embossed a greeting from Build A Garden Dear Dahlias in silver on a strip of white cardstock, then added a slightly larger strip of silver glitter paper behind it to help it pop from the white background. The final step was to add a few matte silver pearls for one more touch of shine!

Well, that’s all for my project today! As always, Altenew has some wonderful prizes to celebrate this new release:

$300 in total prizes! To celebrate this release, Altenew is giving away a $50 gift certificate to 2 lucky winners and a $25 gift certificate to 8 winners! Please leave a comment on the Altenew Card Blog and/or each designer’s blog post on the blog hop list below by October 18, 2022 for a chance to win. Altenew will draw 10 random winners from the comments left on each stop of this blog hop and announce the winners on the Altenew Winners Page on October 19, 2022.

Here’s the full hop list in case you get lost:

Altenew Blog

Emily Midgett <— you are here

Sandra Woodson

Nathalie Desousa

Jaycee Gaspar

Virginia Lu

Mindy Eggen

Caly Person

Adriana Arminio

Nancy G Souza

Thanks so much for stopping by today, and have a marvelous day!

Filed Under: altenew Tagged With: build a garden, build a garden dear dahlias, dahlias, embossing folder, hot foil, ink blending, monthly subscription, stencil

Introducing: Boughs of Holly-Holiday Coloring Panels!

October 11, 2022

Hi there! It’s been a bit quiet around here lately, because I have been busy behind the scenes working on some fun new things, including this new holiday coloring panel set, called Boughs of Holly! I love combining unusual flowers with traditional “Christmas flowers” in holiday designs, so I made sure to provide both some traditional poinsettias and holly with some hellebore, anemeones, and ranunculus, all kept cohesive with lots of berries and foliage.

I have created four unique panels using these traditional and non-traditional flowers. I kept the flowers large (gotta make things fun to color!) so all you have to do is add a simple sentiment or sentiment die cut, and you have a holiday card that is easy to mail and full of handmade details!

The panels pictured were printed on the Jack Richeson watercolor paper using the no-line version of the panels, which prints a light gray outline. I painted these with Daniel Smith watercolors, and the paper held up beautifully to many (many, many) layers of watercolors and quite a lot of water! I have been very pleased with how well this lighter weight paper holds up to my relatively intense watercoloring.

You might recognize the full poinsettia background arrangement; I used one of the corner images from last year’s panels to create a full, super detailed background panel! I love how festive these images are, even using the non-traditional holiday flowers!

I also am offering the Lo, How A Rose E’er Blooming panels, released last year, for sale again!

These panels feature more non-traditional holiday flowers, including magnolia, anemone, amaryllis, and of course, a poinsettia, with lots of foliage and berries to keep things super festive!

All of the coloring panels are available on your choice of lightly textured watercolor paper or alcohol-marker friendly paper, printed in outline or no-line style to accomodate your choice of coloring method.

Here are the details:

  • Pricing:
    Copic-friendly white cardstock-$9
    Watercolor paper-$10
    Shipping is included in the continental US for up to 3 sets of panels (twelve total A2 sheets). A surcharge of $3 will be added for four or more sets.
    International friends: add $4 to accommodate international postage (this may be increased slightly if more than two sets of panels are ordered to accommodate for the increased weight of the envelope.) Sorry, no tracking available on these, and international mail seems to be exceptionally unreliable these days, so I can’t guarantee how quickly they will arrive, unfortunately.
  • You will receive 4 panels in each set-one of each for four individual designs.
  • To purchase: please indicate which set(s) you would like, whether you would like outline or no-line printing, paper choice (i.e.-Copic-friendly white cardstock or watercolor paper), and whether you are located within the US or internationally. I will then send you an invoice via PayPal, to please be paid within 24 hours of receipt.
  • I will leave the preorders open for one week, until October 19, 2022. It’s just me printing, trimming, and shipping, so please allow 2 additional weeks for processing and shipping. I have four young kids here; please be patient with me! 
  • ***In purchasing these coloring panels, you agree that you will use the designs for personal use only. The designs belong to me, Emily Midgett, and are not to be copied or used for commercial gain. I appreciate your support in keeping my artwork safe!***

To order: email me at eamidgettsketches (at) gmail.com, and please be sure to include all of the information requested above!

Thank you so much for the support and kind words on my artistic venture! I appreciate each of you who have ordered previously, shared my panels on your social media, or offered a supportive comment so very much. You’re helping me to support my family in these stressful economic times, and for that I cannot offer enough thanks.

Have a marvelous day!

Filed Under: coloring panels Tagged With: alcohol ink, christmas, coloring panels, copic coloring, Daniel Smith, for sale, holiday, original illustration, watercolor

NEW Simon Says Stamp Cozy Hugs Release!

October 5, 2022

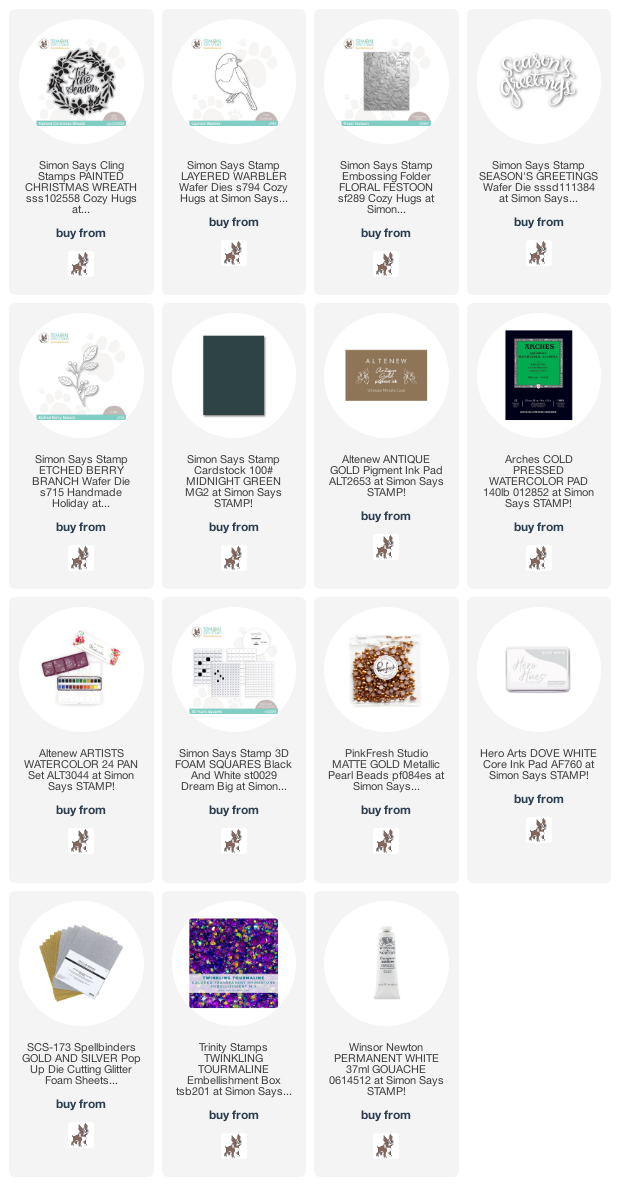
Hi there! The new Simon Says Stamp Cozy Hugs Collection is now live, and it’s full of beautiful products for your fall, holiday, and regular crafting! I love trying out new color combinations, and I cannot get enough of the beautiful Midnight Green cardstock from Simon Says Stamp, so I paired it with some pinks, greens, and golds to create some festive holiday cards using the new products. Let’s get started with the details!

I began by running the new Floral Festoon Embossing Folder through my die cut machine with an A2 panel of Midnight Green cardstock. Using Altenew’s Antique Gold pigment inkpad, I lightly brushed the raised areas of the embossed background to help make the pattern stand out. I also gently swiped the inkpad around the edge of the panel. The rich gold ink stands out beautifully on the deep green cardstock! I also splattered some handmade gold watercolor on the background to create an artistic look for my card front.

Next, I die cut the Layered Warbler and Etched Berry Branch dies from some Arches Cold Press watercolor paper. I used the Altenew Artists’ 24 Pan Watercolors to add lots of vibrant color to the die cut pieces, keeping the color combination bright and cool and allowing plenty of light highlights to contrast with the dark, saturated background. I put the bird together, adding the wing with some thin foam adhesive to help give it extra dimension.

I heat embossed a greeting from the new Painted Christmas Wreath stamp set using gold embossing powder on some more Midnight Green cardstock. I fussy cut the sentiment, then added a solid strip of the Midnight Green cardstock over the top of the embossed background using some thin foam pieces, then added the sentiment, watercolored bird, and sprigs of holiday greenery using thicker foam tape. The final step was to add a few Matte Gold Pearls to finish it off!

My second project uses the same gouache technique that I illustrated in this video. After stamping the new Painted Christmas Wreath using Hero Arts Dove White ink, I used white gouache mixed with liquid watercolors to paint over the top of the stamped image. The images are a bit simpler, and so it was very quick work to add some simple painting over the top of the white image! After the painting had dried, I splattered a bit more of the sparkling handmade gold watercolors for an artistic, festive feel.

For the greeting, I used the older Season’s Greetings die to cut a sparkling gold greeting from some gold glitter foam from Spellbinders. The foam makes it super simple to create a dimensional die cut greeting with just one pass through your die cut machine!

The final touch was to add a few Twinkling Tourmaline gems; the purple coordinates nicely with the purple berries, and the iridescent coating catches the green foliage beautifully!

Well, that’s all for my projects today! I have one more to share with you, but I will save that one for later this week. You can check out the full Cozy Hugs Collection HERE. Thanks so much for stopping by, and have a marvelous day!

Filed Under: simon says stamp Tagged With: floral festoon, layered warbler, painted christmas wreath

  • « Go to Previous Page
  • Page 1
  • Page 2
  • Page 3
  • Go to Next Page »

Primary Sidebar

  • Facebook
  • Instagram
  • Pinterest
  • YouTube

Favorite Shops

Secondary Sidebar

Subscribe

Enter your email address to subscribe to this blog and receive notifications of new posts by email.

Instagram
Something is wrong.
Instagram token error.
Follow
Load More

Archives

Tags

3D embossing folder alcohol markers better press birthday birthday card blog hop card kit christmas christmas card christmas tag colored pencil copic copic coloring Daniel Smith die cutting embossing folder embroidery felt giveaway holiday holiday card hot foil ink blending karin brushmarker pro layered stencil masculine my monthly hero new release no line coloring no line watercolor OLO marker olo markers original illustration pawsitively saturated rainbow shaker card slimline stamping stamptember stencil thank you thinking of you valentine's day video watercolor

Popular Posts

Simon Says Stamp Joy For You Blog Hop- Day 1!
Simon Says Stamp Joy For You Release-Now Available!
Frozen Fractals All Around with New Simon Says Stamp Joy For You Release!
Shaped Holiday Shaker Card with New Simon Says Stamp Jolly Season Card Kit of the Month!
Holiday Postage with New Simon Says Stamp!
Simon Says Stamp Glory to the Newborn King Holiday Kit-Part II!
Holiday Joy in Pink and Green with New Simon Says Stamp DieCember!
Pinkfresh Studio 5th Birthday!
Altenew Build A Flower: Fuchsia Blog Hop+Giveway!
July My Monthly Hero Blog Hop+Giveaway!

Disclosure

Some affiliate links are used in my posts. This means that, should you click on one of my links and purchase something from that company, I will receive a small portion of the sale at no extra cost to you. I use the money earned from these sales to help maintain my blog. I so appreciate you visiting and, if you do choose to use one of my affiliate links, thank you so much for your support!
Copyright © 2026 ·Brunch Pro Theme &middot; Genesis Framework by StudioPress &middot; WordPress &middot; Log in
Loading Comments...