• Skip to main content
  • Skip to primary sidebar
  • Skip to secondary sidebar

Sixth Street Sundries

Emily Midgett

  • Home
  • About Me
  • Contact
  • OLO Marker Color Swatch Chart
  • Shop

arching leaf border

Magnolia Thank You with Simon Says Stamp!

May 21, 2025

This post was sponsored by Simon Says Stamp. Thanks, Simon!

Hi friends! I have a bold and vibrant card to share with you today created using some leftover cardstock that I had lying on my desk. Between mom work (which never really stops, ha), illustrator work, and cardmaking work, I tend to focus in spurts on different activities. Sometimes, I’m deep into a hyperfocus on new illustrations, like I have been the last few days. Sometimes, I am laser focused on cardmaking, and the flurry of activity on my desk makes it look like a tornado has gone through my office! When this happens, I tend to end up with a lot of random colorful scraps on my desk. This gorgeous royal blue cardstock was discarded from a previous project and landed right next to some pearlescent peridot cardstock. I thought they looked smashing together, so I decided to use them for my next project with some fun die cutting. Let’s get started with the details on my card!

*I have gathered links to all of the products used at the bottom of the post for your convenience, using affiliate links. Thank you for shopping with my links! I truly appreciate your support for my work!*

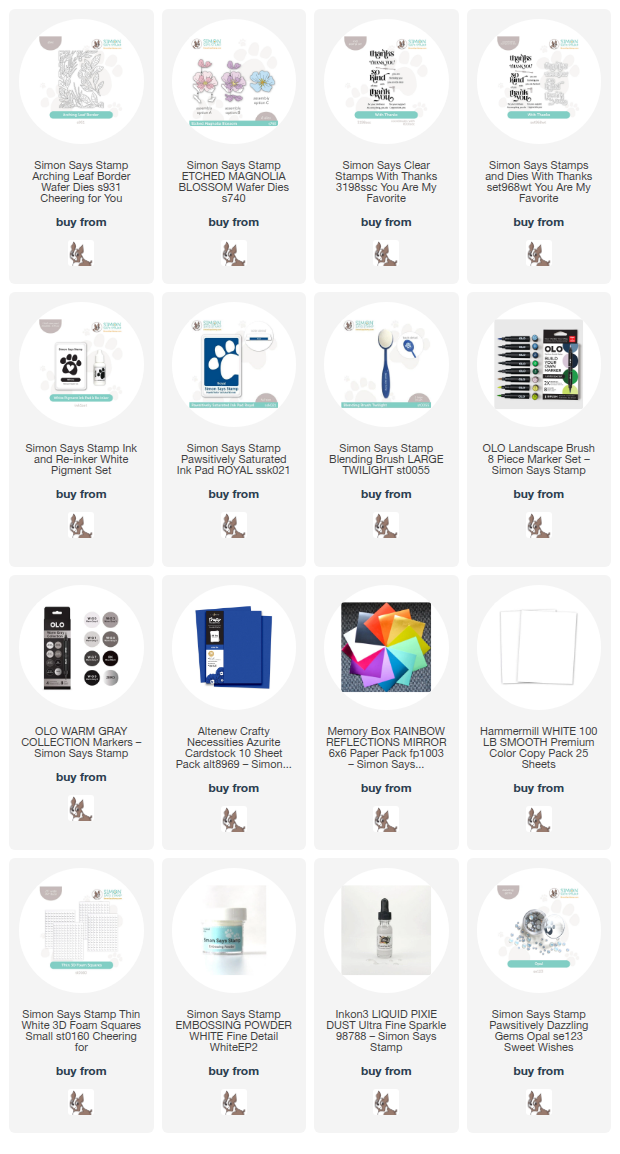
To begin, I die cut the Arching Leaf Border from that lush peridot pearlescent cardstock. This super intricate die cuts like a dream with the pearlescent cardstock; I tend to find that the coating on specialty cardstock like this cuts these super intricate dies absolutely perfectly. Before adhering it to the panel of Altenew Azurite Cardstock, I used blending brushes to blend Royal Pawsitively Saturated Ink along one side of the panel, creating some extra contrast behind the vibrant green die cut. I also splattered some sparkling liquid watercolors on the card front before adhering the Arching Leaf Border die cut along the edge of the blue panel using liquid adhesive.

With the background complete, I turned my attention to the focal point. I die cut the lovely Etched Magnolia Blossom images twice from white cardstock, then used OLO Markers to add some vivid green shading to the center of the blooms before adhering them together with foam adhesive squares. I arranged the duo on the vivid card front and adhered them with more foam adhesive squares, tucking the blooms in the curve of the leaves to create a vibrant floral swag. I also tucked a couple of individual leaf die cuts in with the flowers to fill out the arrangement.

For the greeting, I used the beautiful new With Thanks stamp set, heat embossing two different sentiments onto some more Azurite cardstock with White Pigment Ink and white embossing powder, then trimming and die cutting the individual sentiments before adhering them to the card front with a double layer of foam adhesive. Finally, I added a few Opal Pawsitively Dazzling GemsĀ to add a touch more sparkle to the card.

Well that’s all for my project today! I am totally in love with this super vibrant color palette. I always enjoy pushing myself with colors, (like my friend Susan!) and this is definitely a new favorite. Thanks so much for stopping by today, and have a marvelous day!
Filed Under: simon says stamp Tagged With: arching leaf border, die cutting, etched magnolia blossom, ink blending, olo markers, with thanks

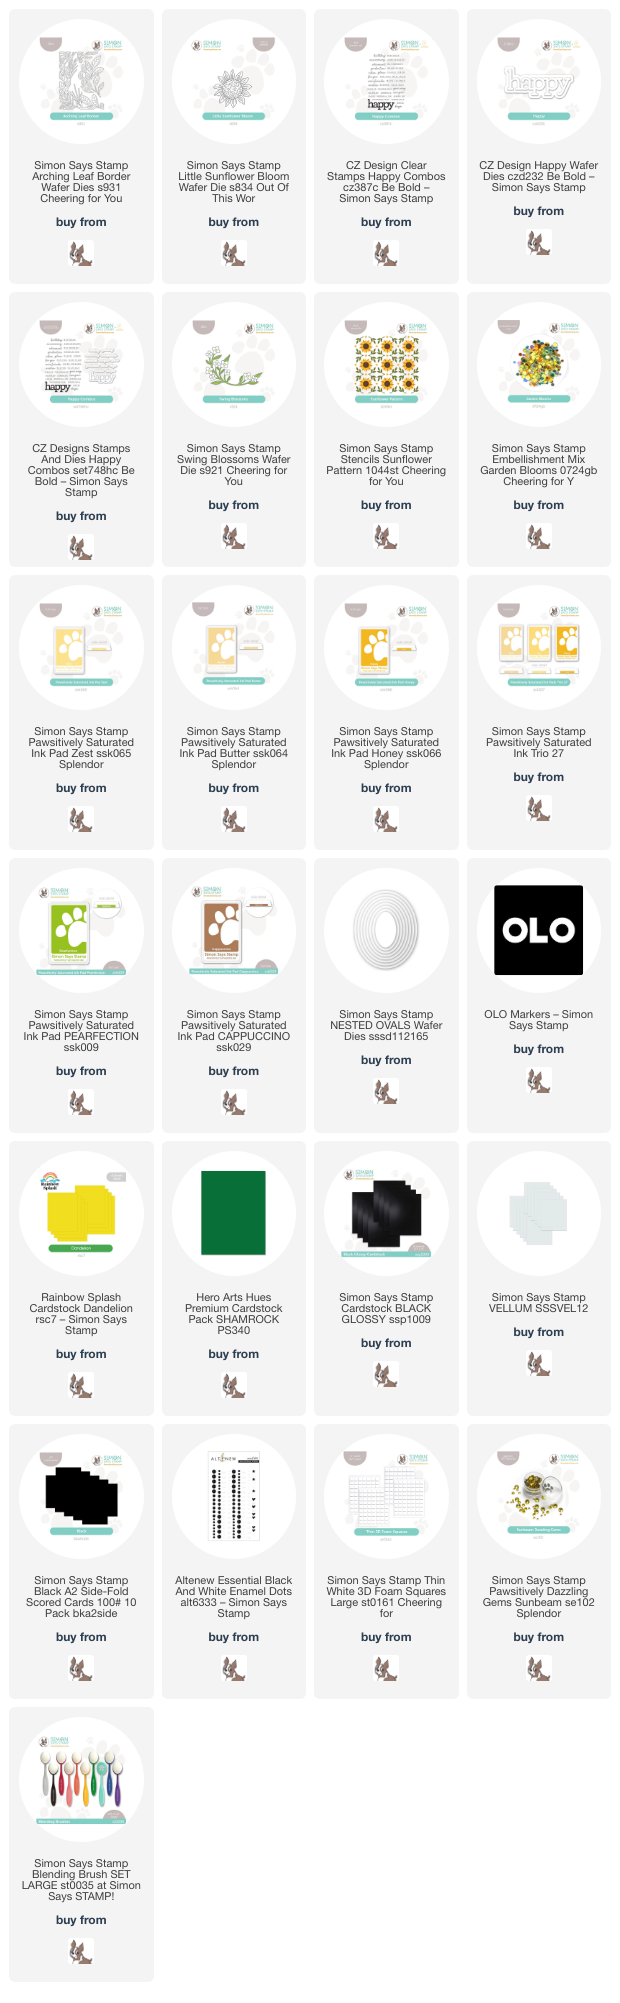
Happy Sunflowers with new Simon Says Stamp Cheering For You Release!

July 28, 2024

This post was sponsored by Simon Says Stamp. Thanks, Simon!

Hi friends! I have some vibrant sunflower inspiraiton to share with you today using some new goodies from the Simon Says Stamp Cheering For You release. (The contests on Day 1 and 2 of the blog hop are still open, so be sure to check out the Simon Says Stamp blog if you haven’t already!) I love a good standalone die, because you can do so many fun techniques and create so much beautiful texture depending on your cardstock choices! I have two cards to share with you today using several of the new goodies from the release, so let’s get started with the details!

The beautiful new Arching Leaf Border immediately jumped out at me when sorting through the new release. The incredible detail and generous size are gorgeous just on their own, but I couldn’t resist adding some pretty flowers. I was inspired by the new Sunflower Pattern layering stencil set to pair the leaves with some cheerful sunflower die cuts using a crisp, vibrant yellow, green, and black color palette for both of my projects!

To start my shaker card, I die cut the different elements from the Arching Leaf Border from some bright green cardstock. This new die set cuts a beautifully intricate botanical frame that can be cut multiple times to be used to create a full background or once, as I’ve done here, to create a partial background. The die set also comes with individual leaves that you can layer on the intricate frame. I have lots of ideas rolling around in my head for this die set, and I can’t wait to play with it some more! I paired these simply-shaped leaves with some Little Sunflower Bloom die cuts, which I cut from white cardstock and colored using OLO markers, layering two of the sunflower images together to create nice, full floral image.

I wanted to allow those botanical die cut details to shine through, so I decided to back the vivid green leaves with a black card front, adding some extra sparkle with a flat shaker! I created a shaker pocket from some leftover stamp packaging and some black cardstock, then filled it with the new Garden Blooms Embellishment Mix. I adhered the green foliage frame on the edge of the shaker front using liquid adhesive, then nestled the colorful sunflower die cuts amongst the greenery with some foam adhesive. I added a greeting created with the Happy Combos stamps and coordinating dies and the Happy die, which I die cut using Glossy Black cardstock and vellum. I love how beautifully the sequins peek through from behind the delicate leaf die cuts!

For my second card, I used the new Sunflower Pattern layered stencil to create a sunshiny background for the new Swing Blossoms die cuts. I used Pawsitively Saturated Inks in shades of Butter, Zest, Honey, (or purchased as a combo HERE), with Pearfection and Cappuccino inks to create the lovely Sunflower Pattern background on a panel of white A2 cardstock. I die cut an oval focal point using the Nested Ovals dies, then softened the die cut by blending Butter ink around the edges of the oval die cut.

To enhance the pretty yellow floral pattern, I die cut the Swing Blossoms dies twice from some coordinating green and yellow cardstocks, adhering all of the pieces with some liquid adhesive. I added black enamel dots to the center of each flower to create some black eyed Susans! I adhered the oval die cut to one of the new Black A2 Side Fold cards using some of the new Thin Foam Adhesive Squares. I adhered the floral swags on the edge of the stenciled oval, then nestled another greeting from the Happy Combos stamps and coordinating dies and the Happy die, which I die cut using Glossy Black cardstock and vellum. I added a few Sunbeam gems for added sparkle!

Well, that’s all for my projects today. You can check out the full release HERE. Thanks so much for stopping by today, and have a marvelous day!

Filed Under: simon says stamp Tagged With: arching leaf border, happy combos, happy die, ink blending, little sunflower bloom, nested ovals, sunflower, sunflower pattern, swing blossoms

Primary Sidebar

  • Facebook
  • Instagram
  • Pinterest
  • YouTube

Favorite Shops

Secondary Sidebar

Subscribe

Enter your email address to subscribe to this blog and receive notifications of new posts by email.

Instagram
Something is wrong.
Instagram token error.
Follow
Load More

Archives

Tags

3D embossing folder alcohol markers better press birthday birthday card blog hop card kit christmas christmas card christmas tag colored pencil copic copic coloring Daniel Smith die cutting embossing folder embroidery felt giveaway holiday holiday card hot foil ink blending karin brushmarker pro layered stencil masculine my monthly hero new release no line coloring no line watercolor OLO marker olo markers original illustration pawsitively saturated rainbow shaker card slimline stamping stamptember stencil thank you thinking of you valentine's day video watercolor

Popular Posts

Simon Says Stamp Joy For You Blog Hop- Day 1!
Simon Says Stamp Joy For You Release-Now Available!
Frozen Fractals All Around with New Simon Says Stamp Joy For You Release!
Shaped Holiday Shaker Card with New Simon Says Stamp Jolly Season Card Kit of the Month!
Holiday Postage with New Simon Says Stamp!
Simon Says Stamp Glory to the Newborn King Holiday Kit-Part II!
Pinkfresh Studio 5th Birthday!
Altenew Build A Flower: Fuchsia Blog Hop+Giveway!
Holiday Joy in Pink and Green with New Simon Says Stamp DieCember!
Honey Bee Stamps September Release Blog Hop!

Disclosure

Some affiliate links are used in my posts. This means that, should you click on one of my links and purchase something from that company, I will receive a small portion of the sale at no extra cost to you. I use the money earned from these sales to help maintain my blog. I so appreciate you visiting and, if you do choose to use one of my affiliate links, thank you so much for your support!
Copyright © 2026 ·Brunch Pro Theme · Genesis Framework by StudioPress · WordPress · Log in
Loading Comments...