• Skip to main content
  • Skip to primary sidebar
  • Skip to secondary sidebar

Sixth Street Sundries

Emily Midgett

  • Home
  • About Me
  • Contact
  • OLO Marker Color Swatch Chart
  • Shop

swing blossoms

Simon Says Stamp Through The Window: July 2025 Card Kit of the Month!

June 16, 2025

This post was sponsored by Simon Says Stamp. Thanks, Simon!

Hi friends! The new Simon Says Stamp Through the Window: July 2025 Card Kit of the Month is now available for preorder! This month’s kit is so unique and full of fun products that you can use to create a ton of different cards using just the contents of the kit! Here’s a sneak peek at the kit’s contents:
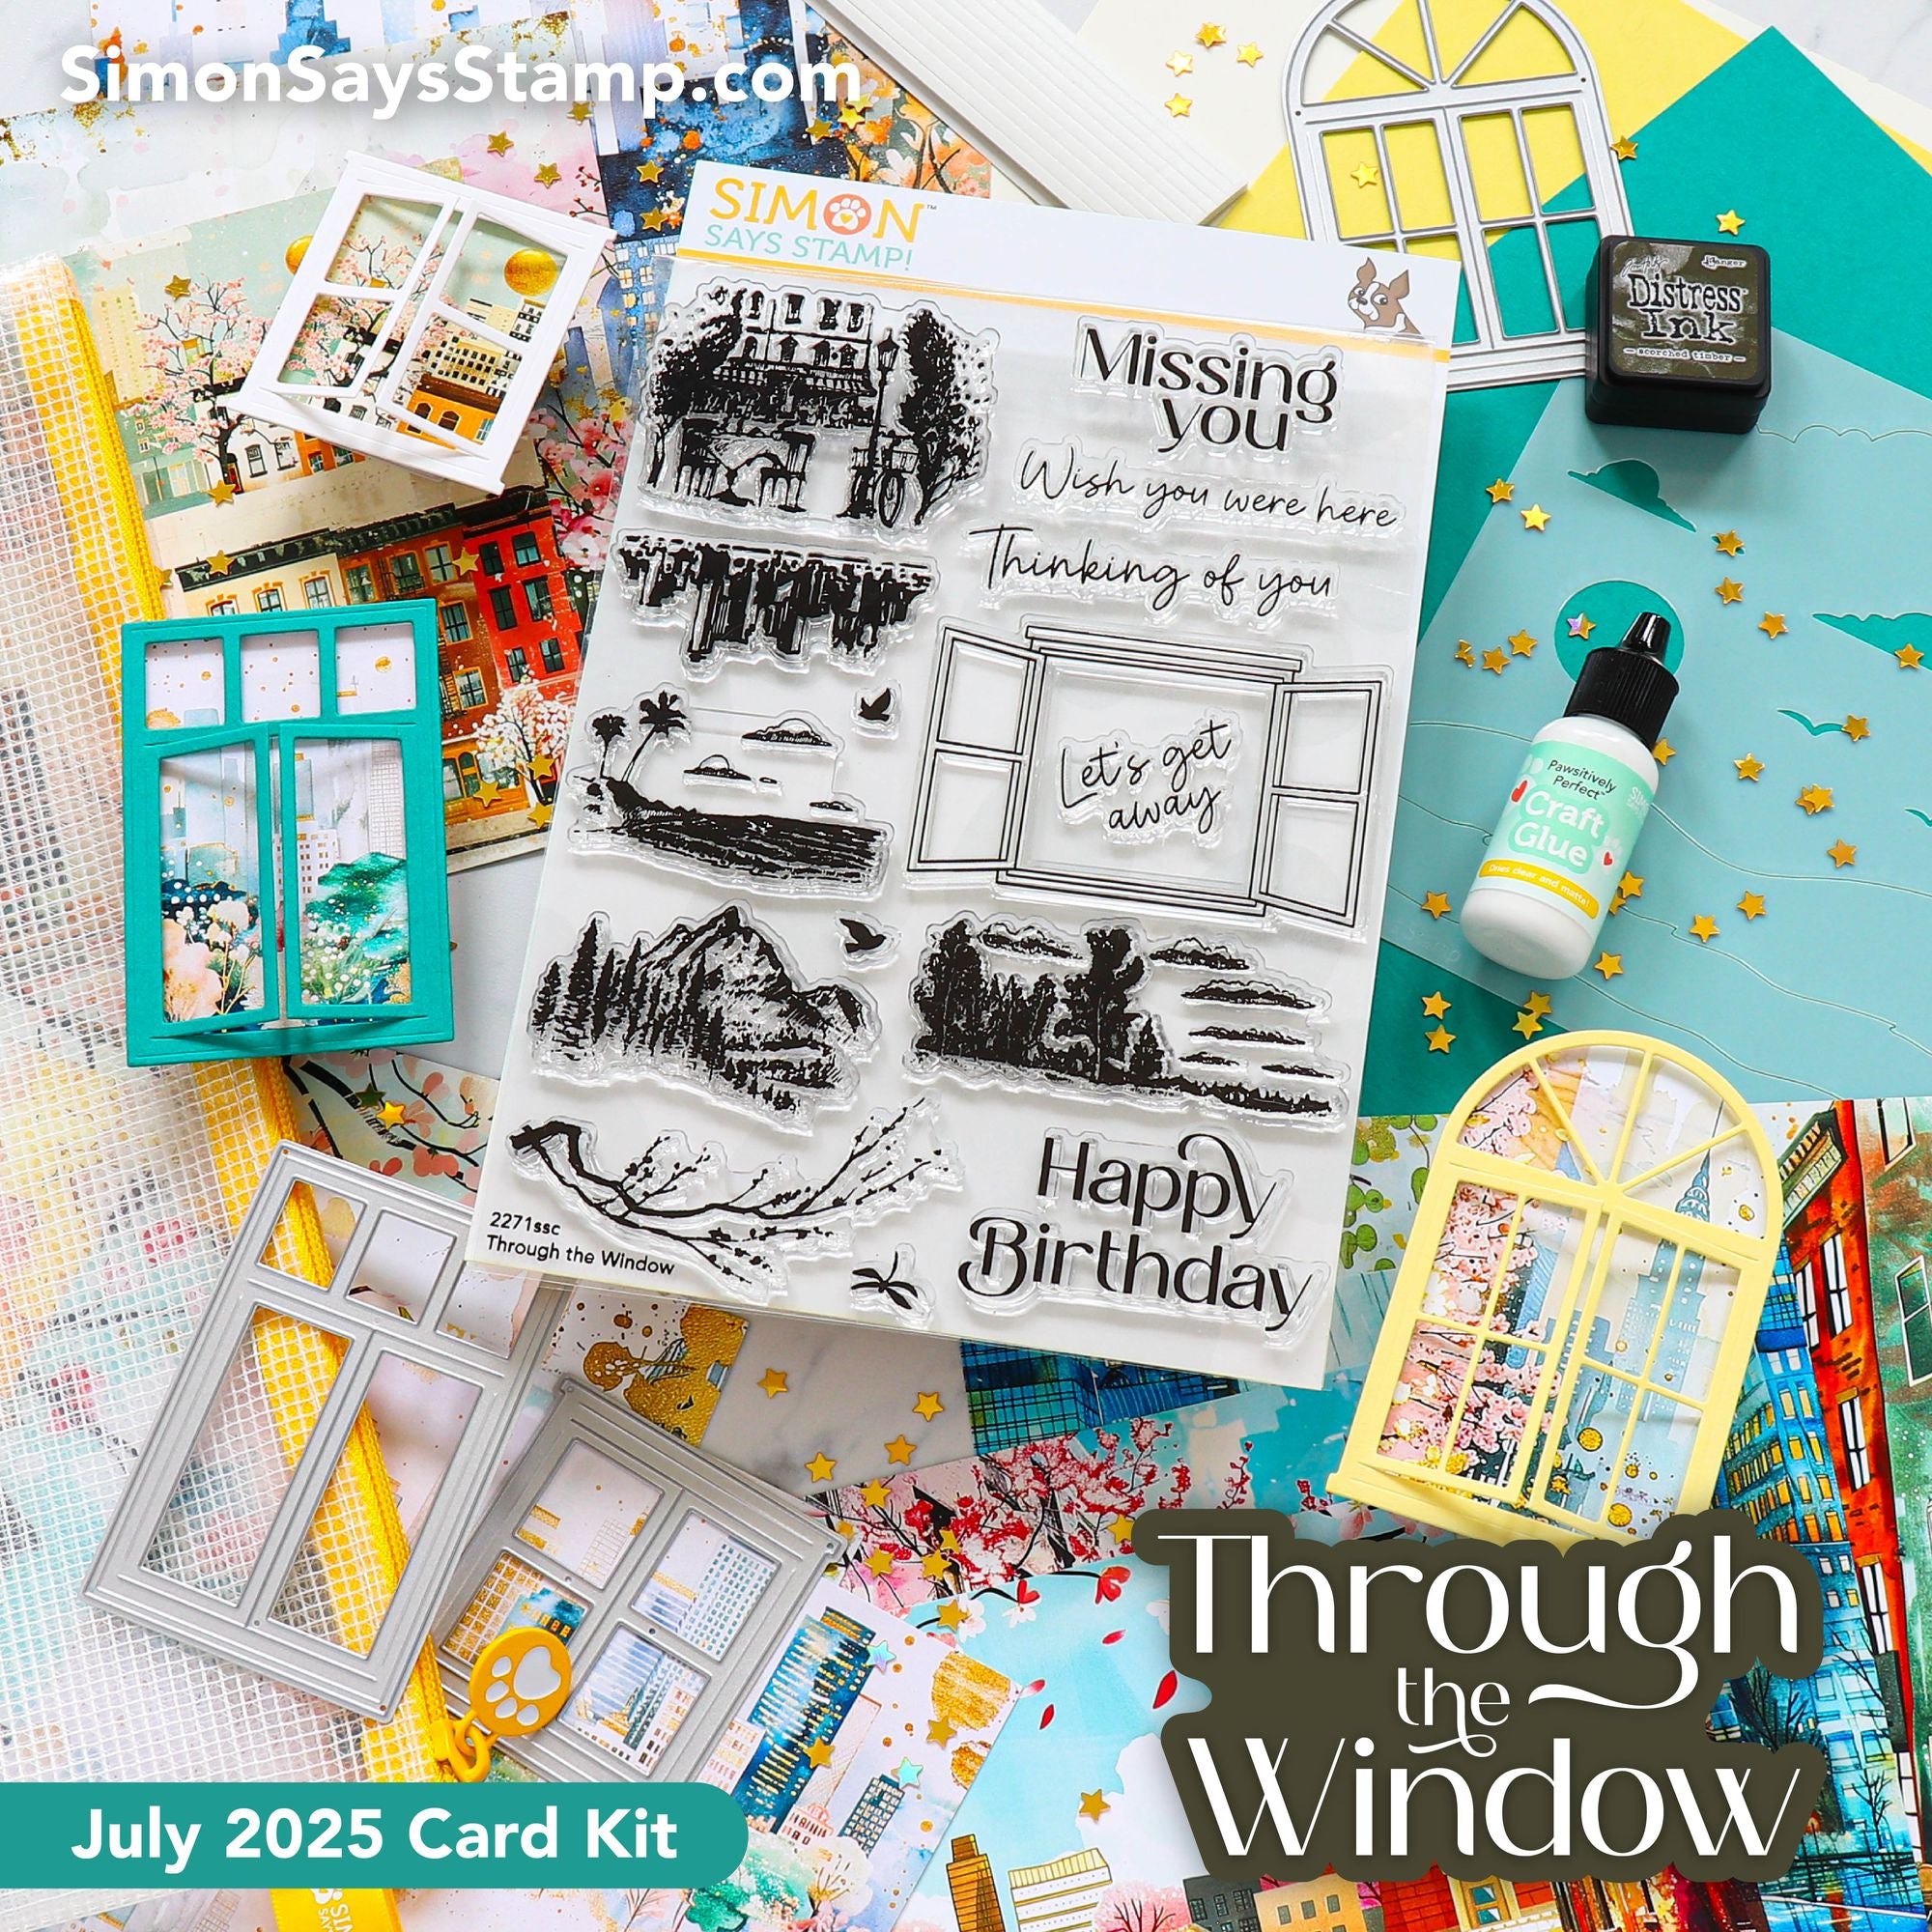
Stamps, dies, fabulous papers (seriously, these patterned papers feel like heavy duty art prints that you could frame to use as home decor!), glue, stencils, confetti… so many different elements that allow you to take your creativity in so many different directions! The value of this kit is well over the $44.99 price tag (and if you subscribe it’s only $39.99 per month-serious value!) I have created a pair of crisp monochromatic cards using several elements from the kit, so let’s get started with the details!

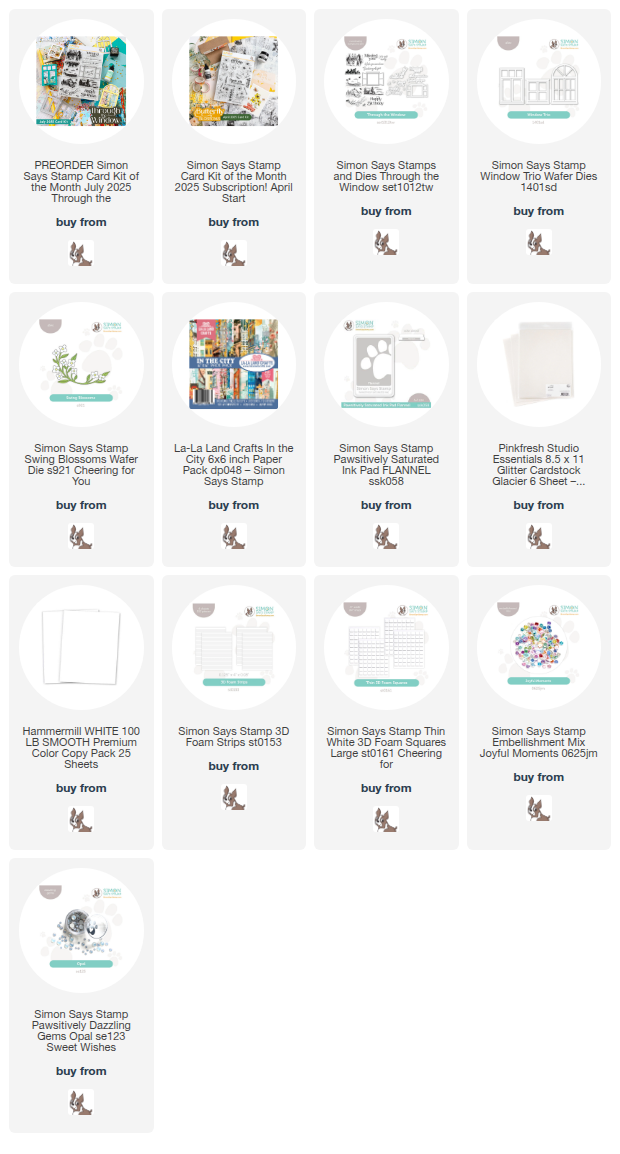
*I have gathered links to all of the products used at the bottom of the post for your convenience, using affiliate links. Thank you for shopping with my links! I truly appreciate your support for my work!*

Both of my projects allow those magnificent window dies to be the star of the show; the Window Trio dies come as a set of three windows with varying sizes and shapes, all scored so that the windows actually add a functional component to your card if you wish! I took advantage of the gorgeous café image in the coordinating stamp set and some of the beautiful patterned papers to create these serene thinking of you cards!

For my first card, I created a shaker card with white on white, putting to use one of those gorgeous patterned papers included in this month’s Through the Window Card Kit of the Month! I die cut the lovely arched window die from the center of a panel of A2 white cardstock, then backed the opening with some of the acetate included with the kit. I adhered the window die cut to the acetate, leaving the center of the windows without any adhesive so that the windows could open along their score lines! I trimmed down a panel of the included patterned paper and created a shaker with the included foam adhesive strips. I filled the shaker with some pastel sequins leftover from another kit that worked beautifully with the color palette on the patterned paper!

For the card front, I die cut some Swing Blossoms from both glitter cardstock and white cardstock and created a glittery, tone-on-tone floral arbor over the window shaker, adding some extra texture and sparkle without adding any additional color. For the greeting, I heat embossed a sentiment from the included Through the Window stamp set using silver embossing powder, then used the coordinating die to cut it out. I popped the greeting up beneath the window using Thin Foam Adhesive and added a couple of sparkly blooms on either side!

For my second card, I used the same minimalist color palette, beginning by die cutting the square window from the Window Trio die set from some more white cardstock. I also stamped the Parisian café scene from the Through the Window stamp set using Simon Says Stamp’s Flannel ink, then used my trimmer to cut it to fit behind the window. I used some more of the Adhesive Foam Strips included with the kit to add some extra dimension to the window, creating a bit of space between the foreground and the café scene in the background.

After adhering my window to the bottom left quadrant of my white A2 card front, I die cut a few more Swing Blossoms dies from white glitter and white cardstock, then adhered them in a swag around the window with foam adhesive. I added a silver embossed and die cut sentiment from Through the Window, then embellished the card front with some sparkling Opal Pawsitively Dazzling Gems!

Well, that’s all for my projects today! This kit is so full of amazing products and even more amazing value! The Simon Says Stamp Card Kits are such an incredible value; the value of the individual elements of each kit equals far more than the $44.99 price tag, so you’re getting incredible bang for your buck. If you are consistently interested in the Simon Says Stamp Card Kit of the Month, you can sign up HERE to become a subscriber for an even bigger discount on these carefully curated products. As always, Simon also makes each individual element of the kits available a la carte, so that you can pick and choose what you would like to purchase if buying the entire kit isn’t really your thing. Who can say no to such incredible value though, right?

Thanks so much for stopping by today, and have a marvelous day!
Filed Under: simon says stamp Tagged With: card kit, die cutting, shaker card, swing blossoms, thinking of you, through the window, window trio

Simon Says Stamp Moments In Time Release-Now Available!

May 28, 2025

This post was sponsored by Simon Says Stamp. Thanks, Simon!

Hi friends! Tonight is the new release for Simon Says Stamp, called Moments in Time Release. This release is a mixture of fabulous sentiment dies, beautiful florals, gorgeous stencils, and even a new set that I have designed myself, called Orange Blossom Blessing! Today is my big kids’ last day of school, and so I thought it only appropriate to share a project featuring the new Thank You Teacher die mixed with some older products. Let’s get started with the details!

*I have gathered links to all of the products used at the bottom of the post for your convenience, using affiliate links. Thank you for shopping with my links! I truly appreciate your support for my work!*

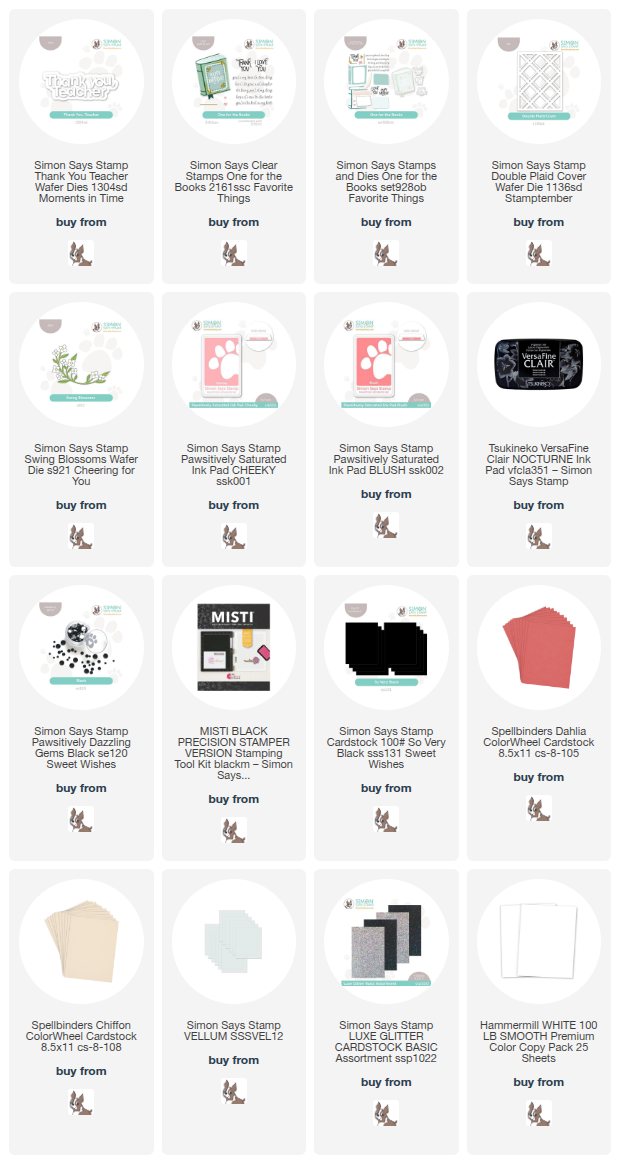
As I was looking for products to pair with the new Thank You Teacher die, I saw the Double Plaid Cover die and thought “what could be more emblematic of school than plaid?” To keep things modern and fresh-looking, however, I chose to die cut the plaid from Simon Says Stamp’s So Very Black cardstock and layer it on a pale blush A2 card front. I think the contrast of the crisp black plaid on the subtle blush background is such a unique and lovely combination!!

For the focal point, I decided to enhance the die cut teacher sentiment with a stamped book and some flowers! I stamped the beautifully detailed and layered book image from the newer One For the Books stamp set using Cheeky, Blush, and Nocturne inks on Hammermill cardstock. I also stamped the “for being part of my story” (which I think works perfectly with the new Thank You Teacher!) using Nocturne ink and added clear embossing powder over the top to make the black lines extra crisp. I used my sharp scissors to fussy cut around the greeting.

After I had stamped the components from One for the Books, I die cut the detail layer of the new Thank You Teacher die from some Simon Says Stamp Luxe Glitter Cardstock and backed it with a vellum shadow layer, adhering the two pieces with liquid adhesive. I also die cut some Swing Blossoms florals from a deeper shade of coral cardstock, adding Black Pawsitively Dazzling Gems to the center of each blossom. I arranged all of the die cuts on the plaid card front, using multiple layers of foam adhesive and clustering all of the components in the center of the card front. I think the combination of the pretty book with the poignant sentiment works perfectly to tuck in with a teacher gift!

Well, that’s all for my project today. You can check out the entire new Moments In Time release HERE. Don’t forget to come back later this week for the fabulous blog hop that is filled with exceptional inspiration from tons of designers! Thanks so much for stopping by today, and have a marvelous day!

Filed Under: simon says stamp Tagged With: die cutting, double plaid cover, one for the books, plaid, stamping, swing blossoms, thank you teacher

Pastel October Pumpkins with Simon Says Stamp!

October 3, 2024

This post was sponsored by Simon Says Stamp. Thanks, Simon!

Hi friends! I thought it appropriate to usher in the month of October with a pretty pumpkin! I have been noticing pumpkins in lots of fun colors at the grocery store lately, and I thought I would try to recreate one of the pretty peachy-blush pumpkins with some dies from Simon Says Stamp. I am always up for making a traditional color combination more interesting or unique! Let’s get started with the details!

*I have linked all of the products used at the bottom of the post for your convenience using affiliate links. Thank you for shopping with my links! I truly appreciate your support for my work!*

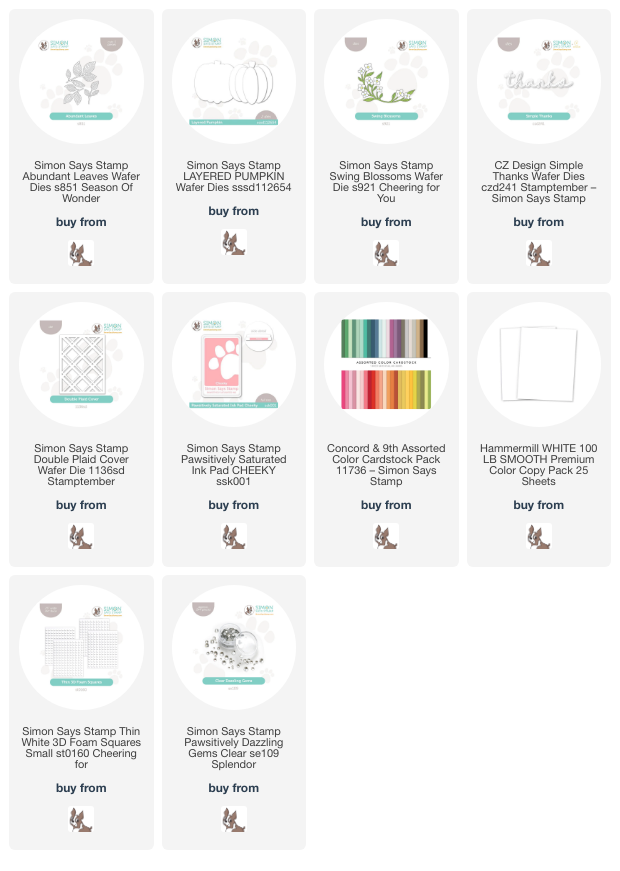
I started my project by die cutting the Layered Pumpkin die from some very pale blushy peach cardstock. I used a small blending brush to lightly blend Cheeky Pawsitively Saturated Ink on each individual die cut piece to add extra dimension to the pumpkin image, then assembled the pumpkin on its solid die cut base using liquid adhesive.

To adorn my chunky pumpkin, I die cut the Abundant Leaves die in a lovely and soft sage green cardstock from Concord and 9th, as well as some blooms and foliage sprigs using the Swing Blossoms die, continuing the muted green and peach colors into these flowers. For the background, I adhered a white Double Plaid Cover Plate die to a white A2 card front, creating a tone-on-tone textured plaid background that continued the light and airy feel of the pale peach pumpkin while still offering some traditional autumnal imagery!

I assembled my pumpkin and floral images on the plaid card front using foam adhesive, then added a Simple Thanks die cut, the detail layer of which I cut twice from white cardstock and adhered together to give it a bit more height, then added that to a pearlescent vellum shadow layer. Finally, I added some Clear Pawsitively Dazzling Gems to the flower centers for a touch of sparkle!

Well, that’s all for my first post for the month of October. I can’t believe that we are entering the final months of the year. These first ten months have absolutely flown by! I am ready for the cooler temperatures that we’ve been enjoying, for sure. Thanks so much for stopping by today, and have a marvelous day!

Filed Under: simon says stamp Tagged With: abundant leaves, autumn, die cutting, double plaid cover, ink blending, layered pumpkin, pumpkin, simple thanks, swing blossoms, thanks

Happy Sunflowers with new Simon Says Stamp Cheering For You Release!

July 28, 2024

This post was sponsored by Simon Says Stamp. Thanks, Simon!

Hi friends! I have some vibrant sunflower inspiraiton to share with you today using some new goodies from the Simon Says Stamp Cheering For You release. (The contests on Day 1 and 2 of the blog hop are still open, so be sure to check out the Simon Says Stamp blog if you haven’t already!) I love a good standalone die, because you can do so many fun techniques and create so much beautiful texture depending on your cardstock choices! I have two cards to share with you today using several of the new goodies from the release, so let’s get started with the details!

The beautiful new Arching Leaf Border immediately jumped out at me when sorting through the new release. The incredible detail and generous size are gorgeous just on their own, but I couldn’t resist adding some pretty flowers. I was inspired by the new Sunflower Pattern layering stencil set to pair the leaves with some cheerful sunflower die cuts using a crisp, vibrant yellow, green, and black color palette for both of my projects!

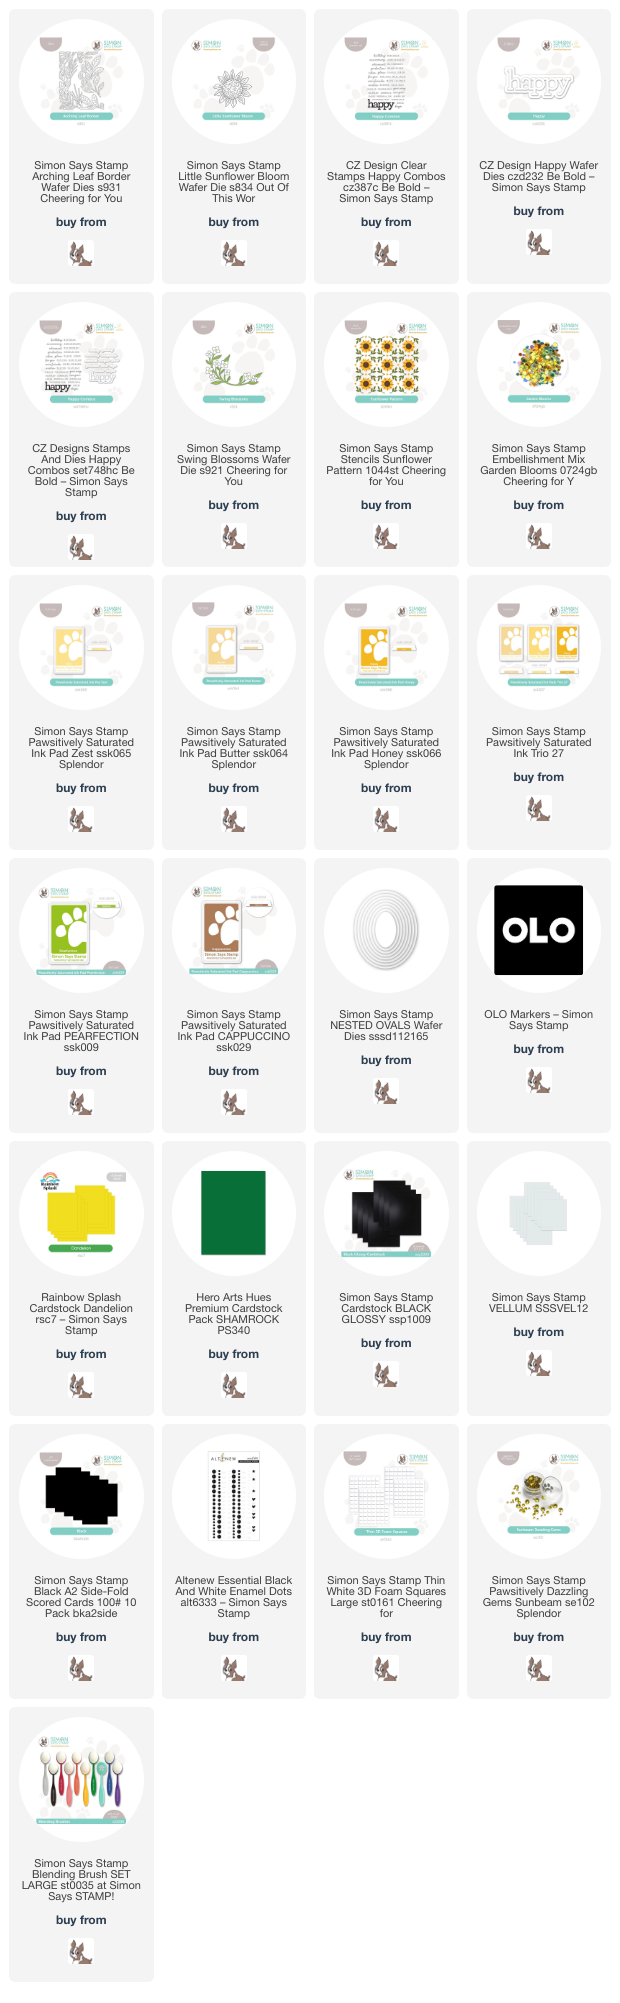
To start my shaker card, I die cut the different elements from the Arching Leaf Border from some bright green cardstock. This new die set cuts a beautifully intricate botanical frame that can be cut multiple times to be used to create a full background or once, as I’ve done here, to create a partial background. The die set also comes with individual leaves that you can layer on the intricate frame. I have lots of ideas rolling around in my head for this die set, and I can’t wait to play with it some more! I paired these simply-shaped leaves with some Little Sunflower Bloom die cuts, which I cut from white cardstock and colored using OLO markers, layering two of the sunflower images together to create nice, full floral image.

I wanted to allow those botanical die cut details to shine through, so I decided to back the vivid green leaves with a black card front, adding some extra sparkle with a flat shaker! I created a shaker pocket from some leftover stamp packaging and some black cardstock, then filled it with the new Garden Blooms Embellishment Mix. I adhered the green foliage frame on the edge of the shaker front using liquid adhesive, then nestled the colorful sunflower die cuts amongst the greenery with some foam adhesive. I added a greeting created with the Happy Combos stamps and coordinating dies and the Happy die, which I die cut using Glossy Black cardstock and vellum. I love how beautifully the sequins peek through from behind the delicate leaf die cuts!

For my second card, I used the new Sunflower Pattern layered stencil to create a sunshiny background for the new Swing Blossoms die cuts. I used Pawsitively Saturated Inks in shades of Butter, Zest, Honey, (or purchased as a combo HERE), with Pearfection and Cappuccino inks to create the lovely Sunflower Pattern background on a panel of white A2 cardstock. I die cut an oval focal point using the Nested Ovals dies, then softened the die cut by blending Butter ink around the edges of the oval die cut.

To enhance the pretty yellow floral pattern, I die cut the Swing Blossoms dies twice from some coordinating green and yellow cardstocks, adhering all of the pieces with some liquid adhesive. I added black enamel dots to the center of each flower to create some black eyed Susans! I adhered the oval die cut to one of the new Black A2 Side Fold cards using some of the new Thin Foam Adhesive Squares. I adhered the floral swags on the edge of the stenciled oval, then nestled another greeting from the Happy Combos stamps and coordinating dies and the Happy die, which I die cut using Glossy Black cardstock and vellum. I added a few Sunbeam gems for added sparkle!

Well, that’s all for my projects today. You can check out the full release HERE. Thanks so much for stopping by today, and have a marvelous day!

Filed Under: simon says stamp Tagged With: arching leaf border, happy combos, happy die, ink blending, little sunflower bloom, nested ovals, sunflower, sunflower pattern, swing blossoms

Primary Sidebar

  • Facebook
  • Instagram
  • Pinterest
  • YouTube

Favorite Shops

Secondary Sidebar

Subscribe

Enter your email address to subscribe to this blog and receive notifications of new posts by email.

Instagram
Something is wrong.
Instagram token error.
Follow
Load More

Archives

Tags

3D embossing folder alcohol markers better press birthday birthday card blog hop card kit christmas christmas card christmas tag colored pencil copic copic coloring Daniel Smith die cutting embossing folder embroidery felt giveaway holiday holiday card hot foil ink blending karin brushmarker pro layered stencil masculine my monthly hero new release no line coloring no line watercolor OLO marker olo markers original illustration pawsitively saturated rainbow shaker card slimline stamping stamptember stencil thank you thinking of you valentine's day video watercolor

Popular Posts

Simon Says Stamp October 2026 Card Kit of the Month: Homespun Gratitude!
Altenew Craft A Flower: Poppy Blog Hop+Giveaway!
Honey Bee Stamps Cheerful Love Blog Hop!
Autumn Legs with Colorado Craft Company and Catherine Pooler!
Simon Says Stamp Cozy & Bright Inspiration, Part Two!
February 2018 My Monthly Hero Blog Hop!
The Ton Anniversary Release- Day 2
Sunflower Home Decor with Simon Says Stamp!
Simon Says Stamp STAMPtember Surprise: Boo Bundle Halloween Card Kit!
Hero Arts Spring 2020 Catalog Release Blog Hop+Giveaway!

Disclosure

Some affiliate links are used in my posts. This means that, should you click on one of my links and purchase something from that company, I will receive a small portion of the sale at no extra cost to you. I use the money earned from these sales to help maintain my blog. I so appreciate you visiting and, if you do choose to use one of my affiliate links, thank you so much for your support!
Copyright © 2026 ·Brunch Pro Theme · Genesis Framework by StudioPress · WordPress · Log in
Loading Comments...