• Skip to main content
  • Skip to primary sidebar
  • Skip to secondary sidebar

Sixth Street Sundries

Emily Midgett

  • Home
  • About Me
  • Contact
  • OLO Marker Color Swatch Chart
  • Shop

double plaid cover

Simon Says Stamp Moments In Time Release-Now Available!

May 28, 2025

This post was sponsored by Simon Says Stamp. Thanks, Simon!

Hi friends! Tonight is the new release for Simon Says Stamp, called Moments in Time Release. This release is a mixture of fabulous sentiment dies, beautiful florals, gorgeous stencils, and even a new set that I have designed myself, called Orange Blossom Blessing! Today is my big kids’ last day of school, and so I thought it only appropriate to share a project featuring the new Thank You Teacher die mixed with some older products. Let’s get started with the details!

*I have gathered links to all of the products used at the bottom of the post for your convenience, using affiliate links. Thank you for shopping with my links! I truly appreciate your support for my work!*

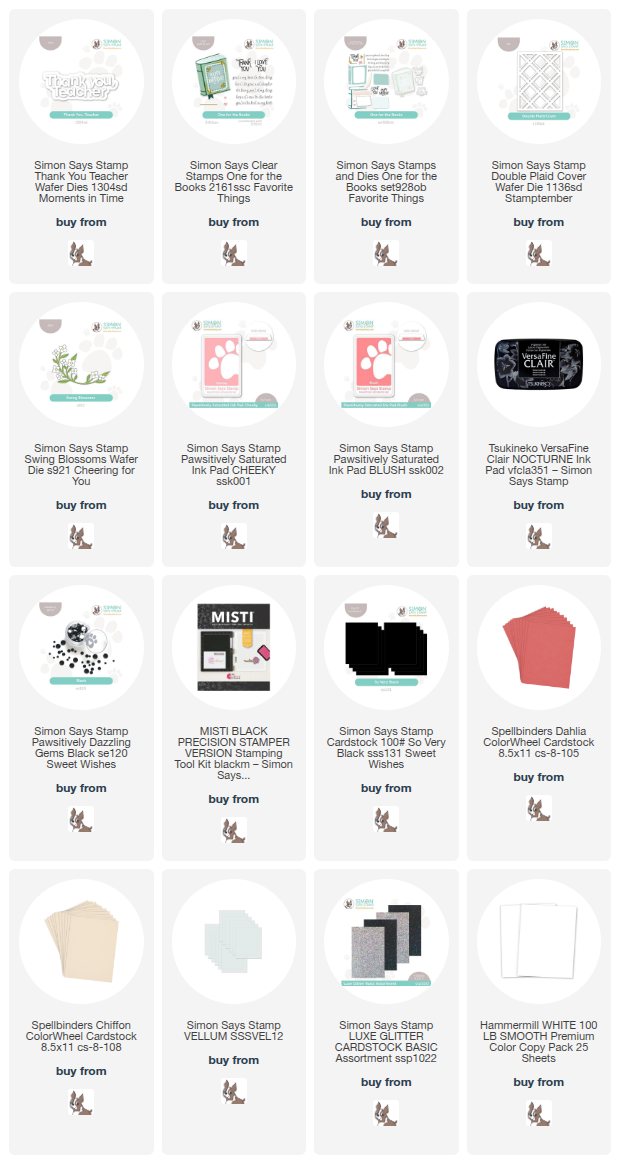
As I was looking for products to pair with the new Thank You Teacher die, I saw the Double Plaid Cover die and thought “what could be more emblematic of school than plaid?” To keep things modern and fresh-looking, however, I chose to die cut the plaid from Simon Says Stamp’s So Very Black cardstock and layer it on a pale blush A2 card front. I think the contrast of the crisp black plaid on the subtle blush background is such a unique and lovely combination!!

For the focal point, I decided to enhance the die cut teacher sentiment with a stamped book and some flowers! I stamped the beautifully detailed and layered book image from the newer One For the Books stamp set using Cheeky, Blush, and Nocturne inks on Hammermill cardstock. I also stamped the “for being part of my story” (which I think works perfectly with the new Thank You Teacher!) using Nocturne ink and added clear embossing powder over the top to make the black lines extra crisp. I used my sharp scissors to fussy cut around the greeting.

After I had stamped the components from One for the Books, I die cut the detail layer of the new Thank You Teacher die from some Simon Says Stamp Luxe Glitter Cardstock and backed it with a vellum shadow layer, adhering the two pieces with liquid adhesive. I also die cut some Swing Blossoms florals from a deeper shade of coral cardstock, adding Black Pawsitively Dazzling Gems to the center of each blossom. I arranged all of the die cuts on the plaid card front, using multiple layers of foam adhesive and clustering all of the components in the center of the card front. I think the combination of the pretty book with the poignant sentiment works perfectly to tuck in with a teacher gift!

Well, that’s all for my project today. You can check out the entire new Moments In Time release HERE. Don’t forget to come back later this week for the fabulous blog hop that is filled with exceptional inspiration from tons of designers! Thanks so much for stopping by today, and have a marvelous day!
Filed Under: simon says stamp Tagged With: die cutting, double plaid cover, one for the books, plaid, stamping, swing blossoms, thank you teacher

Eggstra Special with New Simon Says Stamp Favorite Things!

March 4, 2025

This post was sponsored by Simon Says Stamp. Thanks, Simon!

Hi friends! I have some colorful, cheery Easter inspiration using the adorable new Eggstra Special stamp set from Simon Says Stamp’s latest release, called Favorite Things! I leaned into the Pastel Pigment Ink palette from Simon Says Stamp for several of my projects for this release, but I wanted to add a little pop of vibrant pink to this project to help those sweet blooms stand out amongst the colorful Easter eggs. Let’s get started with the details!

*I have gathered links to all of the products used at the bottom of the post for your convenience, using affiliate links. Thank you for shopping with my links! I truly appreciate your support for my work!*

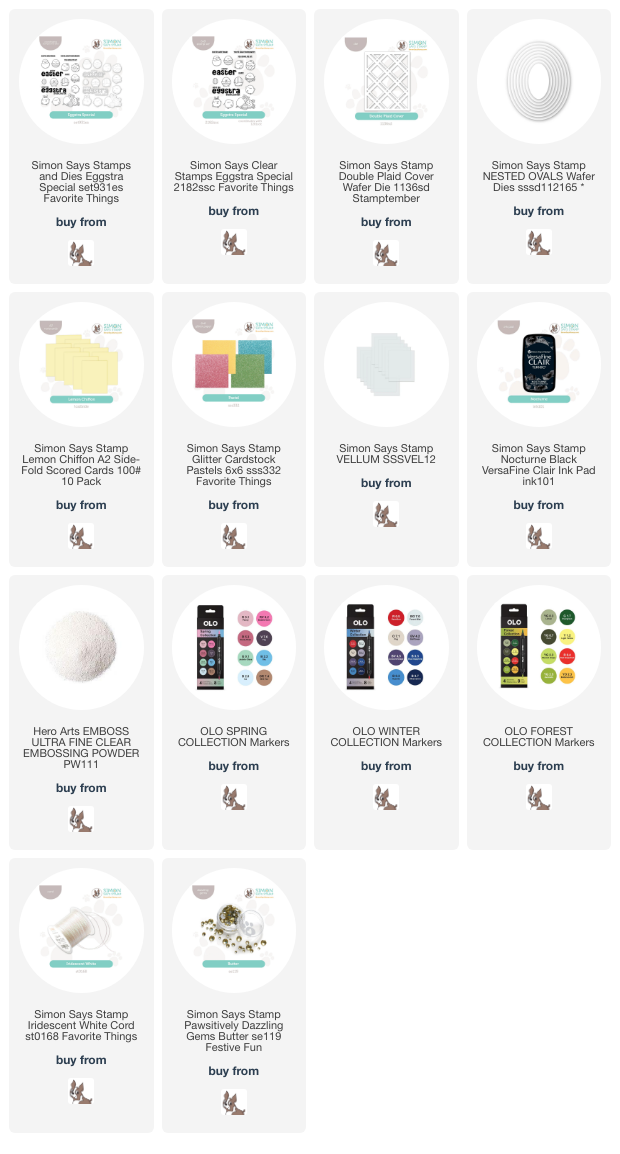
To start my project, I stamped several images and a sentiment from the new Eggstra Special stamp set onto some white cardstock using Nocturne Pigment Ink, then covered it with Clear Embossing Powder to make those black lines extra crisp and stark against my pastel color palette! I then used OLO Markers in a variety of pastel shades, zhuzhing things up with a pop of vibrant magenta. Because I wanted to have a sunny, buttery yellow background, I used a coordinating butter yellow marker around the white edges of my die cuts to make sure that they transitioned seamlessly from the background to the foreground!

After I had finished my focal point, I die cut the previously-released Double Plaid Cover with the buttery yellow glitter cardstock in the new Pastel 6×6 Glitter Pack. I love this plaid background; it’s the perfect amount of texture and pattern without overwhelming the main focal point! I paired the buttery yellow glitter pattern with a Lemon Chiffon card base, creating a fairly neutral tone-on-tone texture and pattern behind my colorful springtime images.

To help ground my images and sentiment die cuts on my plaid card front so that they weren’t just floating in midair, I die cut one of the Nested Ovals Dies from Simon Says Stamp Vellum. I arranged the colored die cuts in the center of the vellum oval, then adhered all of the die cuts to the front of the card with liquid and foam adhesive, hiding the adhesive for the vellum behind the solid die cuts. To add a few final shimmery accents, I added some Butter Pawsitively Dazzling Gems and a bow tied with the new Simon Says Stamp Iridescent White Cord. I think this card exudes all of the springtime feels!

Well, that’s all for my project today! Have you started crafting for springtime yet? I have definitely noticed a shift in my color palettes, transitioning from lots of deep reds and dramatic jewel tones to white, light, and bright pastel palettes! Thanks so much for stopping by today, and have a marvelous day!

Filed Under: OLO markers, simon says stamp Tagged With: copic coloring, die cutting, double plaid cover, eggstra special, glitter cardstock, lemon chiffon, nested ovals, olo markers, vellum

Simon Says Stamp Sweet Wishes Release-Now Available!

October 9, 2024

This post was sponsored by Simon Says Stamp. Thanks, Simon!

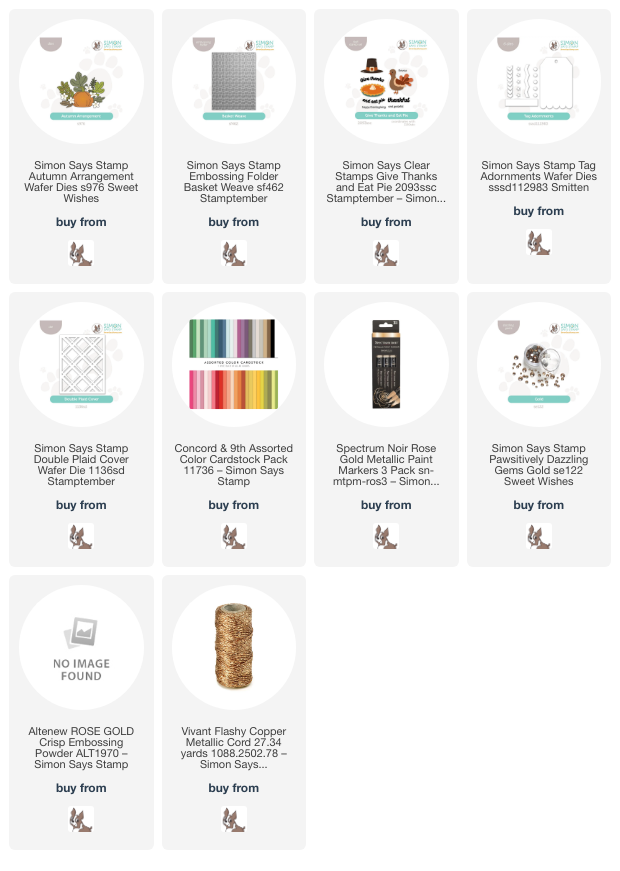
Hi friends! Simon Says Stamp has a new release available right now, and it’s fabulous! The Sweet Wishes Release is filled with lots of transitional products, featuring lovely florals perfect for these warm, late summer/early autumn days, truly autumnal items, and then a smattering of holiday products to jumpstart your holiday creativity! I have a pair of projects using the darling new Autumn Arrangement die set, a standalone die set that you can use to create the sweetest little pumpkin patch. Let’s get started with the details on my projects!

*I have linked all of the products used at the bottom of the post for your convenience using affiliate links. Thank you for shopping with my links! I truly appreciate your support for my work!*

The dainty little pumpkins, foliage, and flowers in the new Autumn Arrangement die set are just small enough that you can use multiples of them to create a substantial arrangement but also large enough that a single pumpkin can make a nice impact on a smaller canvas, like a tag! I’ve been loving the unusually-colored pumpkins lately, so I pulled out some peach, white, and warm rosy pink cardstock, along with some warm spring green and did lots of die cutting. Sometimes, a good half hour of repetitive die cutting is good for your mental health.

I knew that I wanted to create a miniature pumpkin patch, so I die cut a trio of pumpkins in white, peach, and that warm rosy pink, cutting a variety of florals in the same shades, as well. I used a rose gold metallic paint marker to quickly dot the center of the flowers, then embossed a greeting onto a rectangle of white cardstock from Give Thanks & Eat Pie using a coordinating shade of rose gold metallic embossing powder. I trimmed down a rectangle of vellum and arranged the pumpkins, flowers, and foliage, using the sentiment as the ground for my scene.

After I had arranged the die cuts and sentiment on the vellum, I ran a panel of white A2 cardstock through my die cut machine using the Basket Weave Embossing Folder to add some neutral texture behind the pumpkins. I flipped over my vellum panel and added some thin foam adhesive squares behind the solid die cuts, placing it in the center of the textured, embossed background. Before adhering the card front to the card base, I wrapped a length of rose gold sparkle twine around the card base and added a pretty bow, which I think adds some lovely texture and sparkle to the card. Finally, I added a smattering of the new Gold Pawsitively Dazzling Gems (there are a bunch of new neutral colors of these Pawsitively Dazzling Gems that were released tonight, but the Gold and Opal are tied for my favorite!!).

One of the great things about a die cutting marathon is having tons of die cuts with which to play! I decided to create a delicate little tag with some of the leftovers, adding some more texture with the Double Plaid Die. I started by die cutting the scalloped tag from Tag Adornments twice from some super pale peach cardstock that worked nicely with the color palette for my pumpkin and flowers. Because my die cutting plate is rather scratched up, I adhered the two together with the scratched sides facing each other to create a clean surface upon which to write!

After I had created the tag base, I die cut the Double Plaid die from white cardstock, then placed the same scalloped die in the center of the plaid pattern to align it precisely where I wanted it, then ran it through my die cutting machine. I then adhered the patterned tag die cut to the tag base using liquid adhesive, with perfectly matched edges! I arranged the little white pumpkin and flowers from Autumn Arrangement on the front of the tag using liquid and foam adhesive, then added a sparkly twine loop for hanging. How cute would this tag be on a “little pumpkin” themed baby gift?

Well, that’s all for my projects today! Be sure to check out the entirety of the Sweet Wishes Release, because there are some items that are sure to sell out super quickly! And don’t forget to come back for the fabulous blog hop this weekend. The inspiration is sure to be stupendous throughout the hop! Thanks so much for stopping by today, and have a marvelous day!

Filed Under: simon says stamp Tagged With: autumn arrangement, basket weave, die cutting, double plaid cover, embossing folder, give thanks and eat pie, pumpkins, sweet wishes, tag, tag adornments, thankful

Pastel October Pumpkins with Simon Says Stamp!

October 3, 2024

This post was sponsored by Simon Says Stamp. Thanks, Simon!

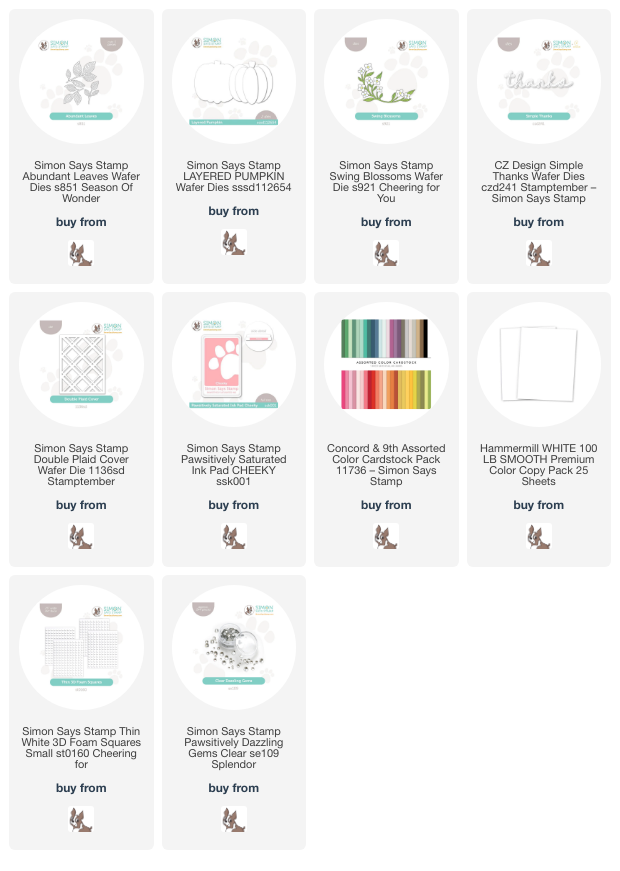
Hi friends! I thought it appropriate to usher in the month of October with a pretty pumpkin! I have been noticing pumpkins in lots of fun colors at the grocery store lately, and I thought I would try to recreate one of the pretty peachy-blush pumpkins with some dies from Simon Says Stamp. I am always up for making a traditional color combination more interesting or unique! Let’s get started with the details!

*I have linked all of the products used at the bottom of the post for your convenience using affiliate links. Thank you for shopping with my links! I truly appreciate your support for my work!*

I started my project by die cutting the Layered Pumpkin die from some very pale blushy peach cardstock. I used a small blending brush to lightly blend Cheeky Pawsitively Saturated Ink on each individual die cut piece to add extra dimension to the pumpkin image, then assembled the pumpkin on its solid die cut base using liquid adhesive.

To adorn my chunky pumpkin, I die cut the Abundant Leaves die in a lovely and soft sage green cardstock from Concord and 9th, as well as some blooms and foliage sprigs using the Swing Blossoms die, continuing the muted green and peach colors into these flowers. For the background, I adhered a white Double Plaid Cover Plate die to a white A2 card front, creating a tone-on-tone textured plaid background that continued the light and airy feel of the pale peach pumpkin while still offering some traditional autumnal imagery!

I assembled my pumpkin and floral images on the plaid card front using foam adhesive, then added a Simple Thanks die cut, the detail layer of which I cut twice from white cardstock and adhered together to give it a bit more height, then added that to a pearlescent vellum shadow layer. Finally, I added some Clear Pawsitively Dazzling Gems to the flower centers for a touch of sparkle!

Well, that’s all for my first post for the month of October. I can’t believe that we are entering the final months of the year. These first ten months have absolutely flown by! I am ready for the cooler temperatures that we’ve been enjoying, for sure. Thanks so much for stopping by today, and have a marvelous day!
Filed Under: simon says stamp Tagged With: abundant leaves, autumn, die cutting, double plaid cover, ink blending, layered pumpkin, pumpkin, simple thanks, swing blossoms, thanks

STAMPtember is HERE!

August 31, 2024

This post was sponsored by Simon Says Stamp. Thanks, Simon!

Hi friends! It’s here…. Simon Says Stamp’s 15th STAMPtember month-long celebration is finally heeeeere!!! The incredible work behind the scenes from Heidi and the amazing team at Simon promise to make this year the most amazing STAMPtember ever. I hope you’re ready for an absolutely fabulous party to celebrate this hobby that we all love all. month. long! We are kicking things off tonight with an incredible (and massive) Simon Says Stamp brand release (click HERE to see the entire release!) and there will be limited edition collaboration sets released each day throughout the entire month of September. This release has tons and tons of amazing standalone dies, and I used a few of them on my project for tonight’s release. Let’s get started with the details!

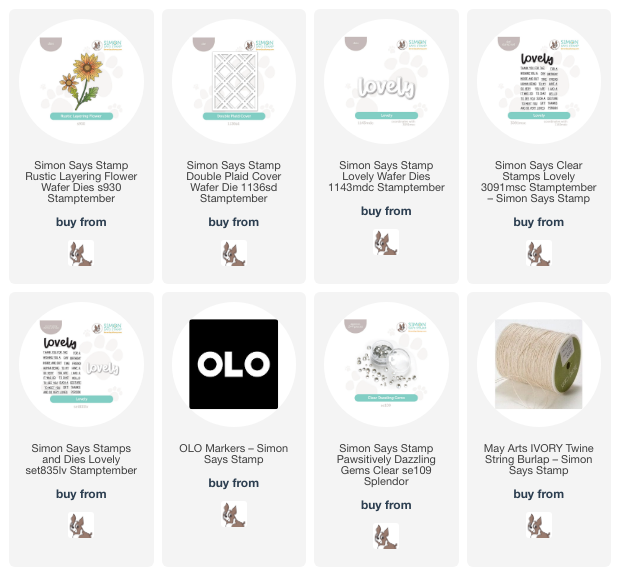
I am a sucker for a pretty flower die, and the new Rustic Layering Flower is so delicate and detailed that I couldn’t resist playing with it. I think that flowers and plaid go together like peanut butter + chocolate, so I also pulled out the new Double Plaid Cover Plate. This cover plate promises to be super versatile for both holiday and non-holiday projects alike!

I started my project by die cutting the Rustic Layering Flower from some white cardstock and used my OLO markers to add color to each layer of the flower before assembling it with liquid adhesive. The bloom reminded me of a gerbera daisy, so I decided to color it with some warm coral-pink OLO markers, concentrating the darker colors in the center to add lots of depth to the flower. I assembled the layers with liquid adhesive, but you could use foam adhesive squares for tons of dimension!

After I had assembled my flower, I stamped and die cut a greeting using the Lovely stamp set and coordinating Lovely die (you can also get the Lovely stamp + die bundle) using a crisp black and white combination to keep things simple and allow that gorgeous coral bloom to be a vibrant pop of color. I die cut the Double Plaid Cover Plate from some white cardstock and layered it on a white A2 background, popping it up with some thin foam adhesive squares to give it just a touch of extra heigh and help it stand out, creating a textured tone-on-tone background. I arranged the flower and sentiment pieces on a vellum die cut circle, then added the entire piece to the background with some more foam adhesive, clustering them together on the bottom right side of the landscape card. Finally, I tucked a twine bow next to the sentiment and added some Clear Pawsitively Dazzling Gems for a bit more texture!

Well, that’s all for my project today! I have been working my tail off creating some fun projects using the new release, so come back again for more inspiration using the new STAMPtember release for the 15th Simon Says Stamp STAMPtember extravaganza! Thanks so much for stopping by today, and have a marvelous day!

Filed Under: simon says stamp Tagged With: alcohol marker, copic coloring, die cutting, double plaid cover, lovely, lovely stamps, olo markers, rustic layering flower

Primary Sidebar

  • Facebook
  • Instagram
  • Pinterest
  • YouTube

Favorite Shops

Secondary Sidebar

Subscribe

Enter your email address to subscribe to this blog and receive notifications of new posts by email.

Instagram
Something is wrong.
Instagram token error.
Follow
Load More

Archives

Tags

3D embossing folder alcohol markers better press birthday birthday card blog hop card kit christmas christmas card christmas tag colored pencil copic copic coloring Daniel Smith die cutting embossing folder embroidery felt giveaway holiday holiday card hot foil ink blending karin brushmarker pro layered stencil masculine my monthly hero new release no line coloring no line watercolor OLO marker olo markers original illustration pawsitively saturated rainbow shaker card slimline stamping stamptember stencil thank you thinking of you valentine's day video watercolor

Popular Posts

Simon Says Stamp Sending Cheer Blog Hop- Day 2 + Freebie + Giveaway!
Joyful Snowman with New Simon Says Stamp Sending Cheer Release!
Simon Says Stamp Sending Cheer Release: Now Available!
Altenew October 2026 Release Blog Hop + Giveaway!
February 2018 My Monthly Hero Blog Hop!
Altenew March 2020 Release Blog Hop+Giveaway!
Special Release: Simon Says Stamp Limited Edition STAMPtember Christmas Card Kit!
Simon Says Stamp Cozy & Bright Inspiration, Part Two!
Waffleflower December Release Blog Hop!
Altenew Build A Flower Japanese Mum Blog Hop!

Disclosure

Some affiliate links are used in my posts. This means that, should you click on one of my links and purchase something from that company, I will receive a small portion of the sale at no extra cost to you. I use the money earned from these sales to help maintain my blog. I so appreciate you visiting and, if you do choose to use one of my affiliate links, thank you so much for your support!
Copyright © 2026 ·Brunch Pro Theme · Genesis Framework by StudioPress · WordPress · Log in
Loading Comments...