• Skip to main content
  • Skip to primary sidebar
  • Skip to secondary sidebar

Sixth Street Sundries

Emily Midgett

  • Home
  • About Me
  • Contact
  • OLO Marker Color Swatch Chart
  • Shop

simple thanks

Simon Says Stamp October 2025 Card Kit of the Month!

September 14, 2025

This post was sponsored by Simon Says Stamp. Thanks, Simon!

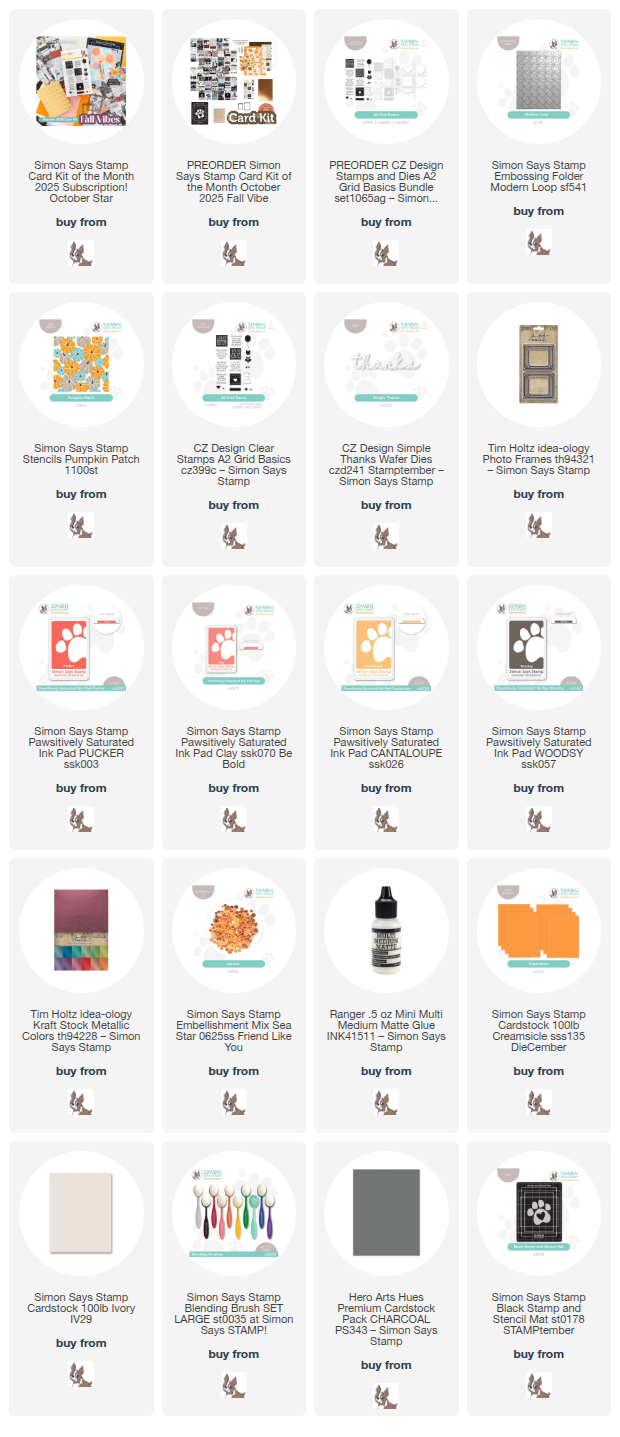
Hi friends! I have some inspiration to share with you today using the new Simon Says Stamp October 2025 Card Kit of the Month: Fall Vibes! This month’s kit is so unique and full of fun products that you can use to create a ton of different cards using just the contents of the kit! Here’s a sneak peek at the kit’s contents:

Such a unique kit, right? Each different element is so unique, but they work so nicely together! I have two projects to share with you created using the contents of the kit, so let’s get started with the details!

*I have gathered links to all of the products used at the bottom of the post for your convenience, using affiliate links. Thank you for shopping with my links! I truly appreciate your support for my work!*

The “Fall Vibes” theme stuck in my head when brainstorming ideas for these projects, so I decided to keep things decidedly “fall” and stick with a color that doesn’t get a lot of love in my craft room: orange! I have a friend who has the most marvelous pumpkin patch, growing over 75 varieties of pumpkin (more power to her and her green thumb!), so I was inspired by the shades of the round gourds gracing her fields to create a stenciled shaker, as well as take advantage of the gorgeous metallic kraft cardstock from Tim Holtz that was included in the kit.

For my first project, I ran an A2 panel of the gorgeous pumpkin-colored Tim Holtz Metallic Kraft Stock through my die cutting machine using the Modern Loop Embossing Folder included in the kit. Metallic and foil cardstocks work so beautifully with detailed embossing folders like this one; the shining surface of the cardstock seems to enhance the texture of the embossed images to perfection! Next, I heat embossed a greeting from the new A2 Grid Basics stamp set included with the kit onto some Creamsicle cardstock from the kit. I trimmed the embossed image out with my trimmer, but you could use the coordinating dies (which are sold separately). I trimmed the embossed panel down slightly and placed it in the center of a full-sized A2 Creamsicle card front. To frame the sentiment, I used Multi-Medium Matte adhesive to adhere one of the Tim Holtz Photo Frames on the textured foil panel, then added the greeting with some foam adhesive squares. Finally, I added a few Gold Pawsitively Dazzling Gems for a bit of extra sparkle!

For my second card, I used Pucker, Clay, Cantaloupe, and Woodsy Pawsitively Saturated Ink to blend the fabulous Pumpkin Patch stencil on a panel of Ivory A2 cardstock from the kit. The generously-sized pumpkins make it easy to add some additional shading details, creating shape and dimension on these pumpkins! The Black Stamp and Stencil Mat included with the kit made super quick work of those layering stencils, as well. Such a useful tool! I used some leftover stamp packaging to create a pocket around the entire panel, then filled it with Sea Star Embellishments, keeping with my overall orange theme. Once I had my flat shaker sealed off, I die cut the detail layer of the previously-released Simple Thanks die from the orange metallic kraft cardstock included with the kit and backed it with a coordinating shade of deep, warm gray cardstock to allow the shiny orange die cut to pop from the colorful background. I popped up the greeting with some foam adhesive, then added a shiny metallic orange twine bow to the card front for a bit of added texture!

Well, that’s all for my projects today!

The Simon Says Stamp Card Kits are such an incredible value; the value of the individual elements of each kit equals far more than the $44.99 price tag, so you’re getting incredible bang for your buck. If you are consistently interested in the Simon Says Stamp Card Kit of the Month, you can sign up HERE to become a subscriber for an even bigger discount on these carefully curated products. As always, Simon also makes each individual element of the kits available a la carte, so that you can pick and choose what you would like to purchase if buying the entire kit isn’t really your thing. Who can say no to such incredible value though, right?

Thanks so much for stopping by today, and have a marvelous day!
Filed Under: simon says stamp, Uncategorized Tagged With: card kit of the month, die cutting, embossing folder, fall vibes, flat shaker, idea-ology, ink blending, layering stencils, modern loop, pumpkin patch, pumpkins, shaker card, simple thanks, thank you

Simple Mod Plants with a Twist with Simon Says Stamp!

August 27, 2025

This post was sponsored by Simon Says Stamp. Thanks, Simon!

Hi friends! I have a pair of vibrant projects with a color palette that is fairly unique for me, including one of the colors with which I struggle the most: red. If it’s not a holiday project, I very rarely reach for anything red… I tend to gravitate towards cool colors, preferring serene blues, aquas, and purples, but I thought I would mix things up by selecting a bright red and creating a unique color palette around it for my projects today. I used the Mod Plants product suite from Simon Says Stamp, a funky, graphic set that is simplistic but also totally over the top, both with the generous size of the images and their bold, thick lines. I created a pair of cards today using bold red, that oft-discarded color in my craft room, to match the boldness of those graphic images. Let’s get started on the details!

*I have gathered links to all of the products used at the bottom of the post for your convenience, using affiliate links. Thank you for shopping with my links! I truly appreciate your support for my work!*

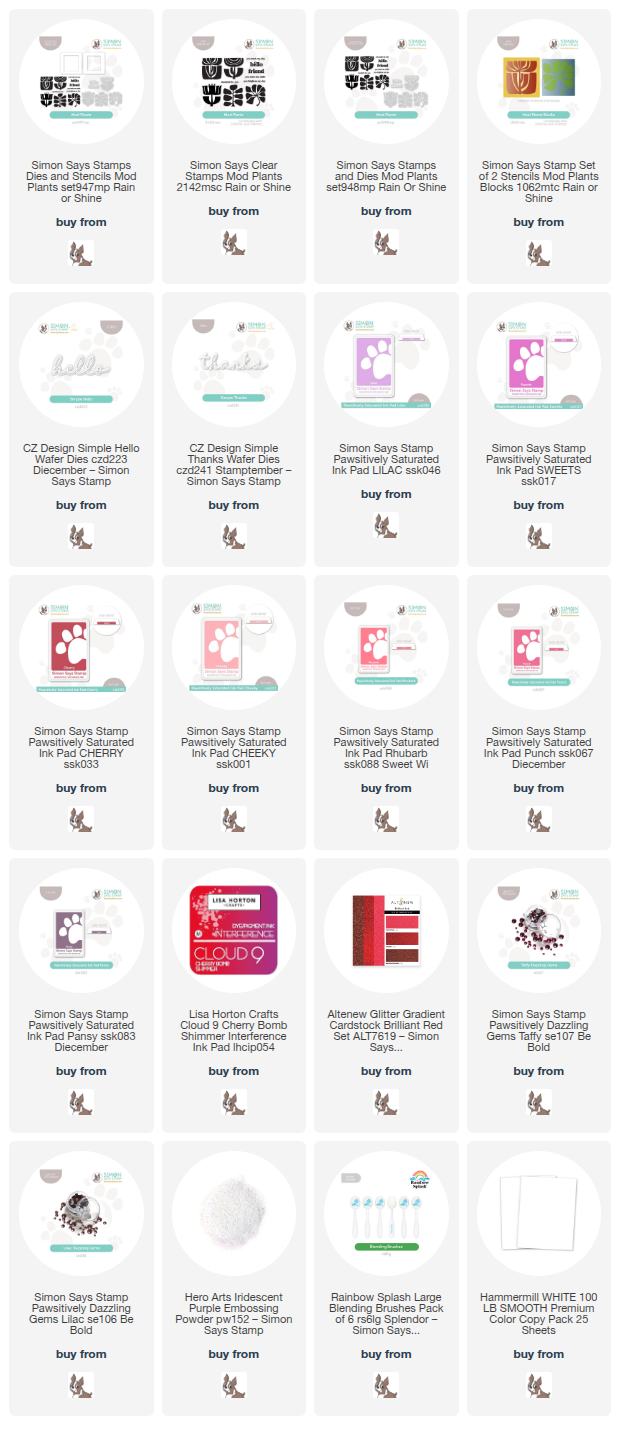
Once I had decided on which stamp set I wanted to use, I selected my color palette. Centering both of my projects around vibrant red ink, I selected Pawsitively Saturated Inks in shades of Lilac, Sweets, and Cherry for the first card, then selected Cheeky, Rhubarb, Punch, and Pansy for a warmer, more dramatic color blend for my second card.

For my first card, I used the Mod Plants Blocks stencils with the Lilac, Sweets, and Cherry inks, trimming the finished stenciled block out with my trimmer. For the bold flower, I stamped the tulip image from Mod Plants using a specialty ink from my stash: Lisa Horton Cherry Bomb Shimmer, which matches the beautiful Cherry ink but adds a hint of iridescent shimmer. I die cut the finished flower and adhered it to the center of my stenciled block with some foam adhesive. For the greeting, I die cut the Simple Hello from some glittering red cardstock, then adhered each die cut piece to a crisp white card front, creating a vibrant, but also clean, finished project. It reminds me of Scandinavian art! For one last touch of sparkle, I added some Taffy Pawsitively Dazzling Gems to the stamens of the flower, pulling in that cool pink from the blended block.

For my second card, I used the same image from the Mod Plants set, this time stamping the bold floral using Punch ink, then again with embossing ink and adding Hero Arts Iridescent Purple Embossing Powder, which adds an incredible shimmer and shine to the finished image. I die cut the image with it’s coordinating die, as well as a chocolate brown glitter Simple Thanks die cut.

Before adhering my die cuts to my crisp white card front, I blended Pawsitively Saturated Inks in shades of Cheeky, Rhubarb, Punch, and Pansy using the Mod Plants Blocks stencils, placed directly on the card front to create a slightly-less-dimensional card front than the previous card. After I had completed this warm, dramatic blend centered around that gorgeous Punch ink color, I popped up the iridescent floral die cut with some thin foam adhesive, then added the delicate glittery “thanks” die cut directly beneath the stenciled block with liquid adhesive. Finally, I finished the project off with some Lilac Pawsitively Dazzling Gems, pulling all of the different elements together.

Well, that’s all for my projects today! These would be super easy to mass-produce, especially the second project. I think they’d work really well for teacher gifts or wedding thank you notes, as well. Sometimes all you need is a bold image, some ink blending, and a sparkling sentiment to create a card that makes a great impression! Thanks so much for stopping by today, and have a marvelous day!

Filed Under: simon says stamp Tagged With: die cutting, ink blending, mod plants, mod plants blocks, scandinavian, simple hello, simple thanks, thank you card

Pastel October Pumpkins with Simon Says Stamp!

October 3, 2024

This post was sponsored by Simon Says Stamp. Thanks, Simon!

Hi friends! I thought it appropriate to usher in the month of October with a pretty pumpkin! I have been noticing pumpkins in lots of fun colors at the grocery store lately, and I thought I would try to recreate one of the pretty peachy-blush pumpkins with some dies from Simon Says Stamp. I am always up for making a traditional color combination more interesting or unique! Let’s get started with the details!

*I have linked all of the products used at the bottom of the post for your convenience using affiliate links. Thank you for shopping with my links! I truly appreciate your support for my work!*

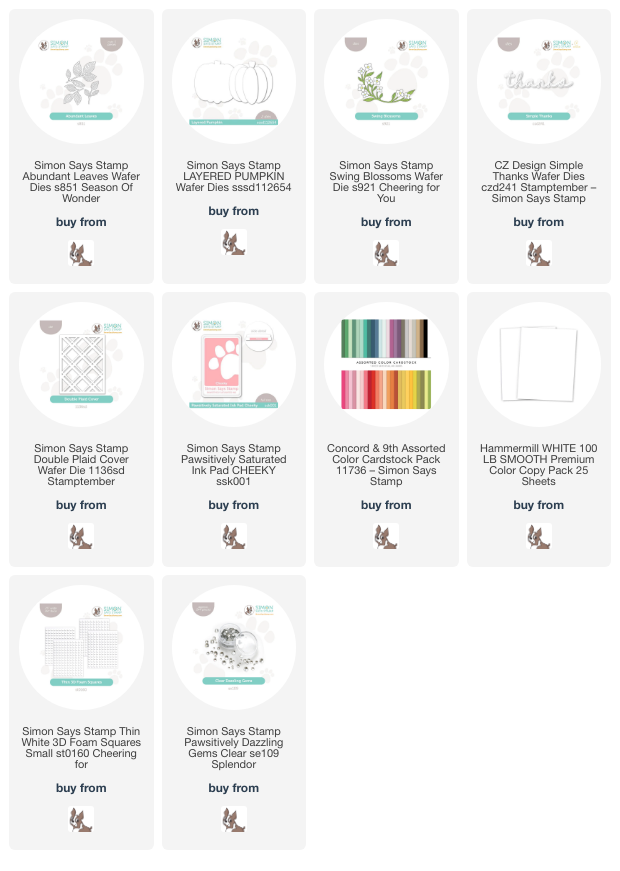
I started my project by die cutting the Layered Pumpkin die from some very pale blushy peach cardstock. I used a small blending brush to lightly blend Cheeky Pawsitively Saturated Ink on each individual die cut piece to add extra dimension to the pumpkin image, then assembled the pumpkin on its solid die cut base using liquid adhesive.

To adorn my chunky pumpkin, I die cut the Abundant Leaves die in a lovely and soft sage green cardstock from Concord and 9th, as well as some blooms and foliage sprigs using the Swing Blossoms die, continuing the muted green and peach colors into these flowers. For the background, I adhered a white Double Plaid Cover Plate die to a white A2 card front, creating a tone-on-tone textured plaid background that continued the light and airy feel of the pale peach pumpkin while still offering some traditional autumnal imagery!

I assembled my pumpkin and floral images on the plaid card front using foam adhesive, then added a Simple Thanks die cut, the detail layer of which I cut twice from white cardstock and adhered together to give it a bit more height, then added that to a pearlescent vellum shadow layer. Finally, I added some Clear Pawsitively Dazzling Gems to the flower centers for a touch of sparkle!

Well, that’s all for my first post for the month of October. I can’t believe that we are entering the final months of the year. These first ten months have absolutely flown by! I am ready for the cooler temperatures that we’ve been enjoying, for sure. Thanks so much for stopping by today, and have a marvelous day!

Filed Under: simon says stamp Tagged With: abundant leaves, autumn, die cutting, double plaid cover, ink blending, layered pumpkin, pumpkin, simple thanks, swing blossoms, thanks

Primary Sidebar

  • Facebook
  • Instagram
  • Pinterest
  • YouTube

Favorite Shops

Secondary Sidebar

Subscribe

Enter your email address to subscribe to this blog and receive notifications of new posts by email.

Instagram
Something is wrong.
Instagram token error.
Follow
Load More

Archives

Tags

3D embossing folder alcohol markers better press birthday birthday card blog hop card kit christmas christmas card christmas tag colored pencil copic copic coloring Daniel Smith die cutting embossing folder embroidery felt giveaway holiday holiday card hot foil ink blending karin brushmarker pro layered stencil masculine my monthly hero new release no line coloring no line watercolor OLO marker olo markers original illustration pawsitively saturated rainbow shaker card slimline stamping stamptember stencil thank you thinking of you valentine's day video watercolor

Popular Posts

Simon Says Stamp Sending Cheer Release: Now Available!
Joyful Snowman with New Simon Says Stamp Sending Cheer Release!
Autumn Legs with Colorado Craft Company and Catherine Pooler!
February 2018 My Monthly Hero Blog Hop!
Altenew Paint A Flower: Carnation Blog Hop+Giveaway!
Altenew March 2020 Release Blog Hop+Giveaway!
Special Release: Simon Says Stamp Limited Edition STAMPtember Christmas Card Kit!
Pinkfresh Studio 5th Birthday!
Pinkfresh Studios June Washi and Stamp Release Blog Hop!
Honey Bee Stamps Bee Bold Release Blog Hop!

Disclosure

Some affiliate links are used in my posts. This means that, should you click on one of my links and purchase something from that company, I will receive a small portion of the sale at no extra cost to you. I use the money earned from these sales to help maintain my blog. I so appreciate you visiting and, if you do choose to use one of my affiliate links, thank you so much for your support!
Copyright © 2026 ·Brunch Pro Theme · Genesis Framework by StudioPress · WordPress · Log in
Loading Comments...