This post was sponsored by Simon Says Stamp. Thanks, Simon!
Hi friends! I have a sunny project to share with you today pairing my new Sunflower Dreams background stamp with some new and old goodies from Simon Says Stamp. (The stamp is currently sold out-yay that you guys like it!-but you can sign up to be notified by email for when it comes back in stock!) When I was creating the Sunflower Dreams stamp, I wanted something that was large enough that it would be super enjoyable to color, but also something detailed enough that it could be used as a background without coloring. For today’s project, I did some emboss-resist with iridescent embossing powder and sunny yellow ink blending to create a bright canvas behind my die cut autumn floral bouquet. Let’s get started with the details on my card!
*I have gathered links to all of the products used at the bottom of the post for your convenience, using affiliate links. Thank you for shopping with my links! I truly appreciate your support for my work!*

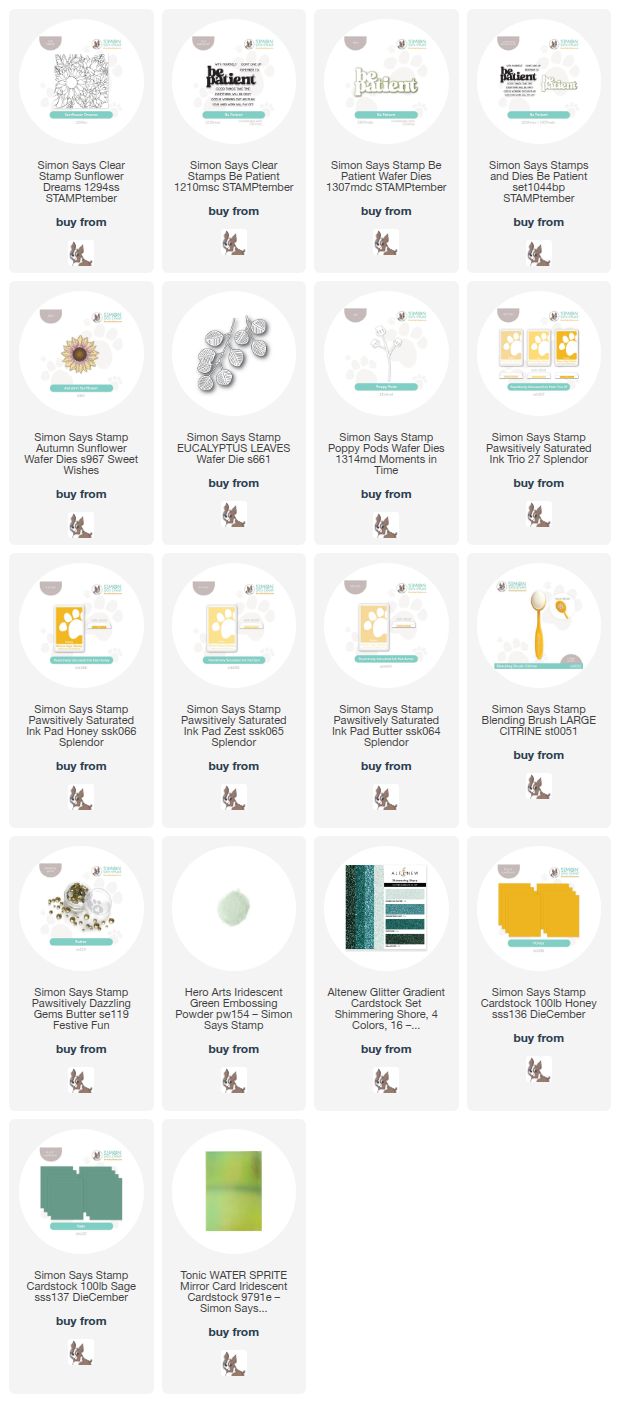
To begin, I used Hero Arts Iridescent Green Embossing Powder to emboss the Sunflower Dreams stamp on a panel of white cardstock. I trimmed the panel down in order to be able to frame it with a contrasting colored cardstock, then blended Pawsitively Saturated Inks in shades of Honey, Zest, Butter in an ombré on the panel, allowing the details of the stamp to shine through more visibly with the vibrant blended background and shimmering green embossing. I adhered the panel to the center of a full-sized A2 Sage card front, creating a contrasting frame.

To adorn the embossed background, I die cut the makings of an autumnal bouquet using the Autumn Sunflower, Eucalyptus Leaves, and Poppy Pods dies, cutting them each using colored cardstock. I used a blending brush to blend the edges of the sunflower petals before adhering the different layers together with foam adhesive squares. I also used some deep green glittery cardstock to die cut the Poppy Pods, as well as some iridescent green foil cardstock for a couple of the Eucalyptus Leaves, adding more texture and shimmer to the bouquet. In order to create a lush, full bouquet, I did some selective trimming with my scissors on the Poppy Pods and Eucalyptus Leaves, so that I could tuck the foliage around the sunflower and fill in any blank spots!

Before assembly, I die cut the detailed layer of the new Be Patient stamp and die set from more of the deep green glitter cardstock, then added the vellum shadow layer behind it. I also heat embossed a greeting from the coordinating stamp set on a strip of Sage cardstock. Once I had all of the die cuts complete, I began assembling my bouquet, tucking the sentiment components in the curve of the swag, adhering everything with both liquid and foam adhesive for lots of dimension. Finally, I added a few Butter Pawsitively Dazzling Gems for a touch of sparkle!
Well, that’s all for my project today! I am so thrilled that people seem to be enjoying Sunflower Dreams; it’s always a thrill to see my illustrations come to life, and even more of a thrill when people actually like them! Thanks so much for stopping by today, and have a marvelous day!