This post was sponsored by Simon Says Stamp. Thanks, Simon!
Hi friends! As we wind down on the month of October, I thought I’d share another pumpkin project for you, this time inspired by the recent trip to the pumpkin patch that we took last weekend! I was pleasantly surprised to find a wide variety of pumpkin types in the you-pick fields. Usually, we find the typical dark orange pumpkins, but at this particular pumpkin patch, there were at least 3 different colors, plus gourds and warty pumpkins! I was inspired by the “blue” pumpkins, which actually are more like sage green, for today’s project. In case you haven’t noticed yet, I like pushing the envelope with my color palettes, pairing unique colors with traditional imagery to create unique projects. I paired those “blue” pumpkins with some crisp white and cool silver metallic accents for a unique autumn card! Let’s get started with the details on my project!
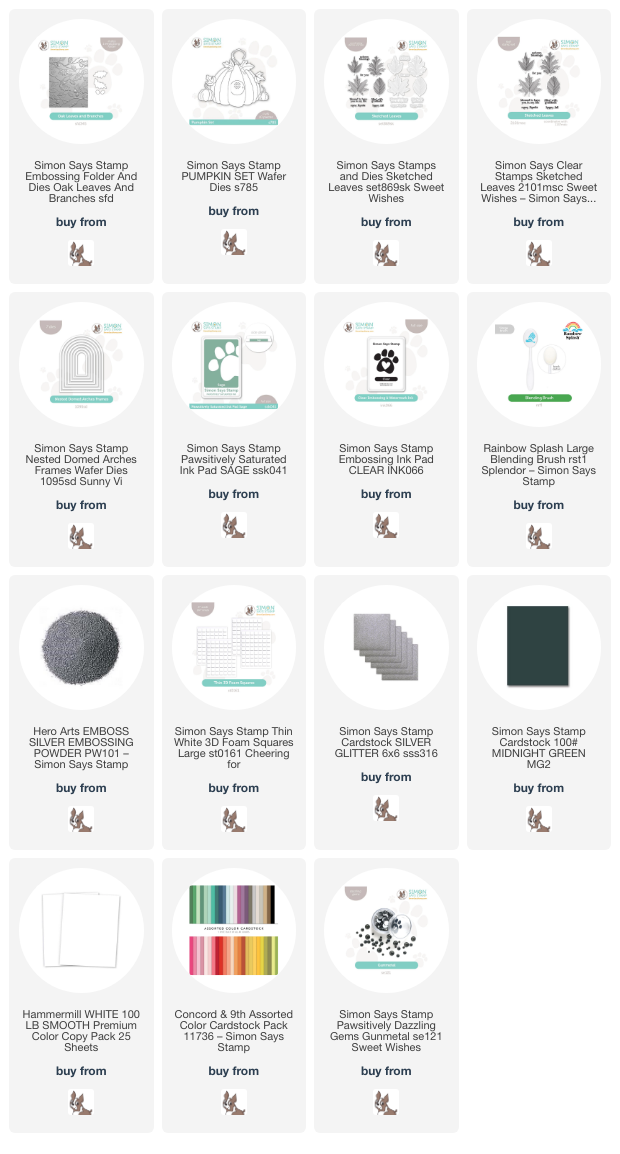
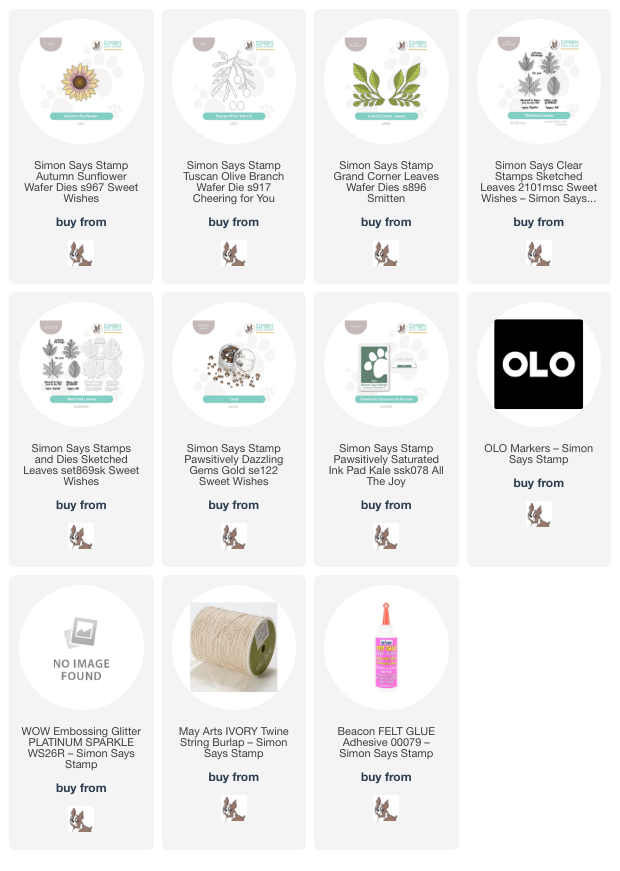
*I have linked all of the products used at the bottom of the post for your convenience using affiliate links. Thank you for shopping with my links! I truly appreciate your support for my work!*

To start, I ran a panel of white cardstock through my die cutting machine using the Oak Leaves & Branches Embossing Folder. I love the somewhat neutral texture that this embossing folder provides behind the pumpkins; it looks just like the horizon behind the pumpkin patch this past weekend with gusts of wind blowing leaves from the trees! I trimmed the panel down a bit and then splattered it with some shimmering glitter watercolors, then adhered the splattered and embossed panel to my full size A2 card front.

For my pumpkins, I die cut the Pumpkin Set dies, cutting the large pumpkin from sage green cardstock, then the details one time each from white cardstock and deep Midnight Green cardstock. (I just love the unique shape of that large pumpkin, don’t you?) I used a blending brush to blend Sage Pawsitively Saturated Ink around the edges of the large pumpkin, then used a super pale gray-green marker from OLO to add some subtle color to the white leaves that I had die cut. I love being able to customize die cuts with alcohol markers or ink blending to create the exact color palette that I have envisioned in my mind’s eye!

After ensuring that my splattered background was completely dry, I die cut a Nested Domed Arches Frame from some silver glitter cardstock and popped it up on my card front with thin strips of thin foam adhesive squares. I arranged the pumpkins on the corner of the frame, allowing the leaves to “climb” up the sides like a real pumpkin vine. I added a silver embossed sentiment from the Sketched Leaves stamp set, tucking it amongst the pumpkin trio with some foam adhesive, then added a smattering of Gunmetal Pawsitively Dazzling Gems to coordinate beautifully with the cool silver metallic accents on the rest of the card.
Well, that’s all for my project today! I have another pumpkin project to share with you that I worked on last week using my new favorite thing: felt. I have a few more finishing touches to add to it, but I am hoping to share it on Halloween. If you love felt and the fun texture it adds to your projects, feel free to come back and take a peek! Thanks so much for stopping by today, and have a marvelous day!