This post was sponsored by Simon Says Stamp. Thanks, Simon! *I have gathered links to all of the products used at the bottom of the post for your convenience, using affiliate links at no extra cost to you. Thank you for shopping with my links! I truly appreciate your support for my work!*
Hi friends! I have a fun autumn-themed project to share with you today. Our evenings and mornings are definitely starting to feel like fall, though the afternoons are still quite warm. My wardrobe is certainly confused… I need long pants and sweaters for morning drop off, but by afternoon shorts and a tank top are practically required! It’s nuts! My card for today, however, certainly channels autumn with rustic oak leaves and acorns fit for any squirrel to bury. Let’s get started with the details on my project!
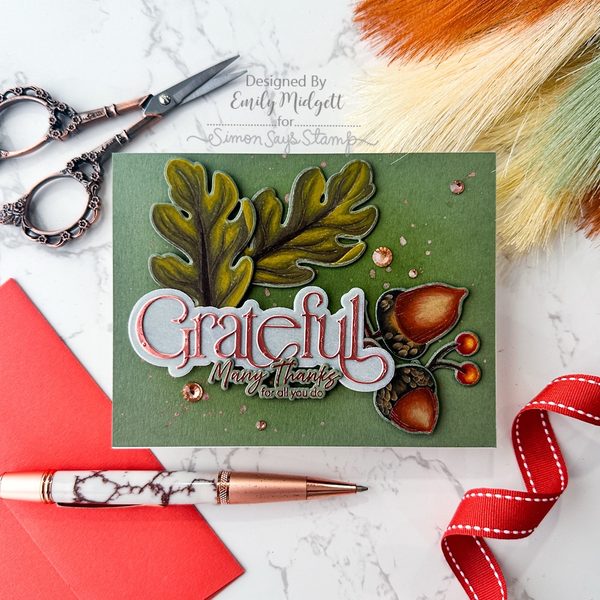
To begin, I stamped the oak leaves, acorns, and berries from the newer Bountiful Blessings stamp set onto some Moss cardstock using Simon Says Stamp’s White Pigment Ink. I then used my colored pencils to add lots of deep, saturated color to the images. I love how the colors pop so beautifully on the colored cardstock without adding that visually-jarring white outline that would appear if I had used plain white cardstock! I used the coordinating dies to cut out the finished colored images.
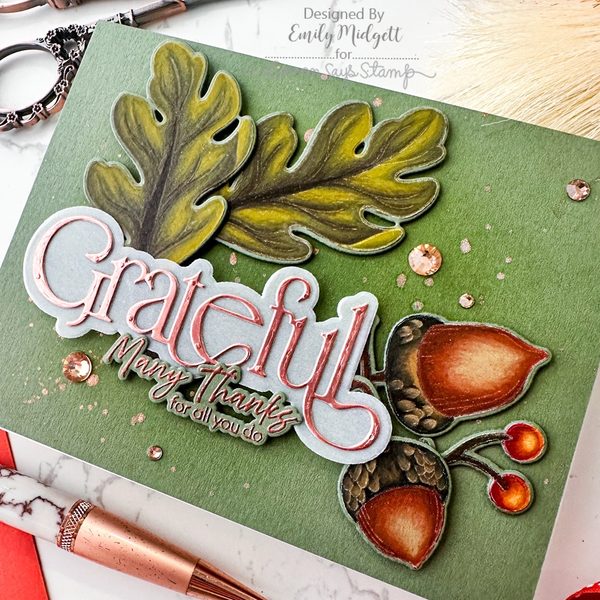
For the card front, I used a Shading Brush to blend some Artichoke Pawsitively Saturated Ink on an A2 panel of Moss cardstock, adding a touch of warmer green to the cool green background. I also splattered the background with some warm coppery metallic watercolor to add a touch of sparkle and texture behind my focal point.
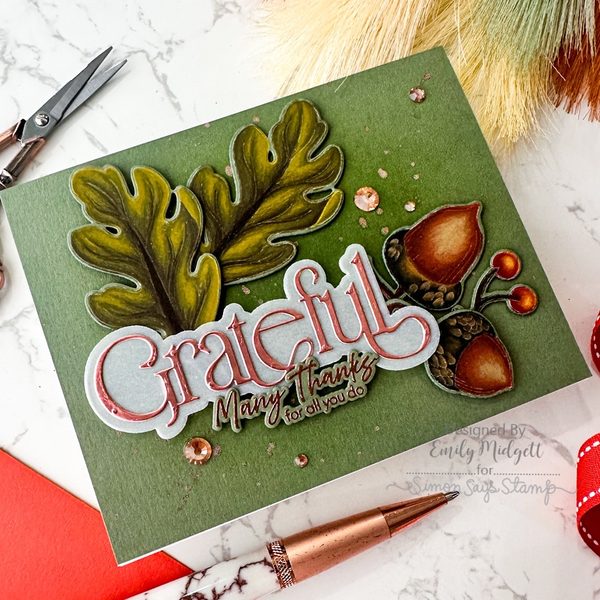
Once I had created the colored images and background, I turned my attention to the greeting. I die cut the detail layer of the beautiful Timeless Grateful from Brushed Copper metallic cardstock, then layered it on a vellum die cut shadow layer with liquid adhesive. I also heat embossed a sentiment from Bountiful Blessings onto some more Moss cardstock using Copper embossing powder. I added the sentiment pieces to my splattered card front with foam adhesive squares, then arranged the pencil die cuts around the greeting components with thin foam adhesive. Finally, I added a few Peachy Pawsitively Dazzling Gems for added shimmer and sparkle!
Well, that’s all for my project today! Have you tried using pencils with colored cardstock? I think the effect is just gorgeous and so rich! Thanks so much for stopping by today, and have a marvelous day!