• Skip to main content
  • Skip to primary sidebar
  • Skip to secondary sidebar

Sixth Street Sundries

Emily Midgett

  • Home
  • About Me
  • Contact
  • OLO Marker Color Swatch Chart
  • Shop

dimensional die cut

Honey Bee Stamps Bee Bold Release: Day 1

July 29, 2018

Good morning! Today marks the start of the new Honey Bee Stamps release for August, 2018! The Bee Bold Release has something for everyone…. fantastic dies, adorable critters, beautiful flowers… you’re going to love it! The entire new release will be available this Friday, August 3, but we have lots of sneak peeks to tease you with all week long! For today’s sneak peeks, I am showcasing some fun new shape dies and a lovely new sentiment set: Scalloped A2 Rectangles and Enjoy Stamp and Die set, both introduced today. Let’s get started with all of the details!

I wanted those beautiful new dies to be the star of my project today, so I kept things relatively simple. I love all of the little extra details that Melissa includes in her die designs, including the stippled edges on the word die sets and the stitching on the nested shape dies. These Scalloped A2 Rectangle dies have that darling stitching, which I think just adds that little extra sweetness of detail for which Honey Bee is known. I started by die cutting the largest of the A2 Scalloped Rectangle dies, then masking off the edges, just past that stitching detail, using some painter’s tape. I then used Distress Oxide inks in shades of Shaded Lilac, Worn Lipstick, and Tattered Rose to blend a beautiful, dusty desert sunset ombre down the card front. (What a mouthful of a description!) I love peeling away masking paper or painter’s tape; it’s like magic when you see those crisp edges appear.

I wanted the dies to be the star today, so I kept the rest of the project fairly simple. I used the new Enjoy die to create a dimensional die cut by cutting three “enjoys” from white card stock, then adhering them together using liquid adhesive. I stamped the “just for you” from the coordinating Enjoy stamp set onto a strip of white paper. I adhered everything in the bottom corner of the blended scalloped rectangle panel. That bright white pops so prettily on the colorful blended panel.

The final step was to add some beautiful Cupcake Rhinestones to the card front.

Be sure to check out the Honey Bee Stamps Blog to find out all of the details on these products (as well as the other products introduced today)! And definitely come back tomorrow, because we have even more inspiration for you. SO many cute items in this release!

Thanks for stopping by. Have a marvelous day!

Filed Under: Honey Bee Stamps Tagged With: dimensional die cut, ink blending, masking

Spellbinders Kit of the Month!

February 21, 2018

Good morning! I’ve recently had the opportunity to play with some super fun dies from Spellbinders… I showed you this project made with Spellbinders’ Poppies Card Creator, and today I have two projects using the Spellbinders Kit of The Month from November of last year.

I created a holiday project and a non-holiday project to share with you today.  (These beautiful filigree dies are really quite versatile, even though the kit is technically a holiday kit!) Let’s get started on the details!

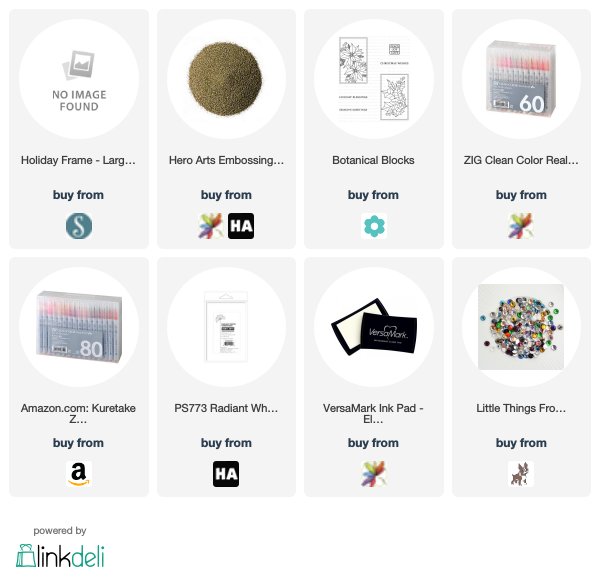
For this first holiday card, I started by die cutting the lovely corner twice from some heavy duty card stock. I used a few scrap pieces of watercolor paper, but you could just use your heavyweight card stock as well. I then created a “molten” die cut by pressing my Versamark pad onto the die cut to make it nice and sticky, then dipping it in my gold embossing powder and heating it up. I repeated this process a total of 3 times to create a lovely, dimensional metallic die cut.

I added a watercolored holiday panel (from Papertrey Ink’s Botanical Blocks series) that I had colored for a Daily Marker 30 Day challenge ages ago, but it worked perfectly with the almost vintage feel provided by the metallic die cuts. Before adhering the die cuts and the watercolored panel, I adhered a strip of red foil card stock down the center of the card front. I then layered the die cuts and the watercolored panel over the red strip. I figured the holly berries on the watercolored panel was self explanatory enough that I didn’t need a greeting!

For my next project, I wanted to showcase the incredible detail on the large die included in the kit. There’s something so perfect, so classy about white on white, and it showcases the gorgeous intricate die cut just beautifully. I die cut the main die three times from plain white card stock and adhered them all together to create a dimensional die cut. I adhered them to the white A2 card base. It’s amazing how much detail you can still see, even without any color!

I heat embossed a simple “happy anniversary” onto a strip of white card stock using gold embossing powder and adhered it using foam tape over the top of the dimensional die cut. For just a smidge of detail to coordinate with the gold embossing, I added some gold jewels to the die cut.

Don’t they look pretty together? I love being able to use one product in several ways.

If you like receiving a monthly subscription of craft supplies (I know mine really spark my creativity when I’m feeling mojo-less!), you should check out the Spellbinders monthly kits! You can choose multiple price points, and they’re all fantastic value. Definitely worth checking out!

Have a marvelous day, friends!


Filed Under: Papertrey Ink, spellbinders, Uncategorized Tagged With: die of the month, dimensional die cut, dimensional dies, heat embossing, spellbinders

Primary Sidebar

  • Facebook
  • Instagram
  • Pinterest
  • YouTube

Favorite Shops

Secondary Sidebar

Subscribe

Enter your email address to subscribe to this blog and receive notifications of new posts by email.

Instagram
Something is wrong.
Instagram token error.
Follow
Load More

Archives

Tags

3D embossing folder alcohol markers better press birthday birthday card blog hop card kit christmas christmas card christmas tag colored pencil copic copic coloring Daniel Smith die cutting embossing folder embroidery felt giveaway holiday holiday card hot foil ink blending karin brushmarker pro layered stencil masculine my monthly hero new release no line coloring no line watercolor OLO marker olo markers original illustration pawsitively saturated rainbow shaker card slimline stamping stamptember stencil thank you thinking of you valentine's day video watercolor

Popular Posts

Simon Says Stamp Joy For You Blog Hop- Day 1!
Simon Says Stamp Joy For You Release-Now Available!
Frozen Fractals All Around with New Simon Says Stamp Joy For You Release!
Shaped Holiday Shaker Card with New Simon Says Stamp Jolly Season Card Kit of the Month!
Holiday Postage with New Simon Says Stamp!
Simon Says Stamp Glory to the Newborn King Holiday Kit-Part II!
Pinkfresh Studio 5th Birthday!
Altenew Build A Flower: Fuchsia Blog Hop+Giveway!
Holiday Joy in Pink and Green with New Simon Says Stamp DieCember!
Honey Bee Stamps September Release Blog Hop!

Disclosure

Some affiliate links are used in my posts. This means that, should you click on one of my links and purchase something from that company, I will receive a small portion of the sale at no extra cost to you. I use the money earned from these sales to help maintain my blog. I so appreciate you visiting and, if you do choose to use one of my affiliate links, thank you so much for your support!
Copyright © 2026 ·Brunch Pro Theme · Genesis Framework by StudioPress · WordPress · Log in
Loading Comments...