• Skip to main content
  • Skip to primary sidebar
  • Skip to secondary sidebar

Sixth Street Sundries

Emily Midgett

  • Home
  • About Me
  • Contact
  • OLO Marker Color Swatch Chart
  • Shop

easy card kit of the month

Spellbinders Easy Card Kit of the Month + Extras!

February 4, 2023

Hi there! The Spring Delight Easy Card Kit of the Month from Spellbinders features a crazy amount of elements to create literally dozens of cards. Printed ephemera, chipboard stickers, patterned paper, embellishments, adhesive, card bases, envelopes… the possibilities and combinations of product are endless! I shared two projects using only elements from the kit in THIS POST from yesterday, but today, I thought I’d share two more projects that feature elements from the kit combined with other Spellbinders dies and hot foil plates. There’s no reason why you can’t combine the kit with goodies that you might already have in your stash! I have two projects to share with you today, so let’s get started with the details!

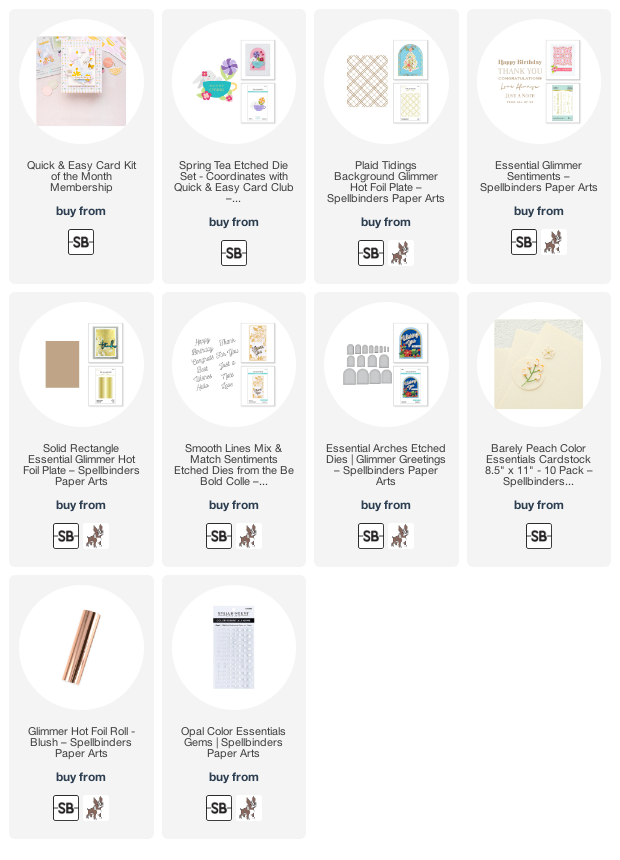
My first project features several of the pieces of printed ephemera from the Spring Delight kit, which I combined with some foiled pieces from my stash to create this dreamy, blushing, shiny birthday card! I like to foil lots of different color combinations when I have my Glimmer machine out, creating bunches of different backgrounds and elements in different color schemes. I used the Plaid Tidings Glimmer Hot Foil Plate to foil this tone-on-tone plaid background, using Blush foil with Barely Peach cardstock. I used that foiled background as the basis for my color palette for this project.

After deciding on my foiled and patterned background, I sifted through the ephemera pack from the Spring Delight kit to find images in the coordinating color scheme, settling on the sweet coral owl, peachy birthday cake, and blushy flowers and foliage, with a few hearts for good measure.

I trimmed the plaid background down a bit and mounted it on an A2 panel of solid pale pink cardstock, included in the Spring Delight kit to create a monochromatic mat. After finding a foiled Happy Birthday sentiment in my packet of foiled sentiments (created using Blush foil and the Essential Glimmer Greetings and Solid Rectangle foil plate set), I used the sentiment as a “ground” for my birthday owl and cake, adhering all of the elements with liquid and foam adhesives for lots of dimension. There are so many different elements included in the Spring Delight kit that it’s easy to pick and choose a group of monochromatic elements, especially when you pair them with some products from your own stash!

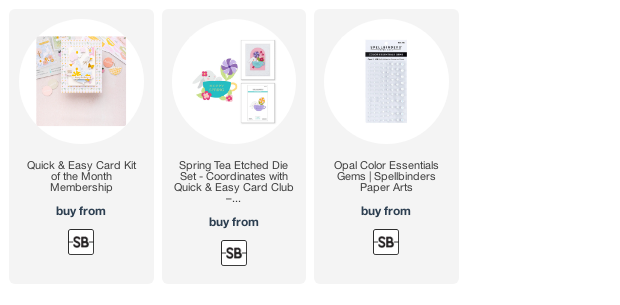
My second project uses the new Spring Tea die set, which was designed to coordinate with the Spring Delight kit! I die cut the different elements from the Spring Tea set using the pale blue, mint, and white cardstock included with the Spring Delight kit. I also die cut a vellum arch using the Essential Arches nested dies, as well as a white “for you” greeting that I cut using the Smooth Lines Mix & Match sentiment dies.

Once I had die cut all of the different elements, I pulled out some of the elements from the Spring Delight kit. I trimmed down the lovely pink plaid patterned paper to A2 size, then selected a few hearts, a butterfly, and chipboard “happy birthday” greeting to coordinate with the little bunny and flowers. Before adhering my vellum to my card front, I arranged the elements on the vellum arch, adhering them using liquid and tape adhesive.

Once all of my main elements were adhered to the vellum die cut, I flipped it over and added foam adhesive behind the solid die cuts to hide it. The vellum helps to create a more solid background for the busy die cut elements, helping them stand out from the patterned background, and popping them up with foam adhesive helps to add dimension and create some extra space from that pink plaid. To add one more element of shine, I added Opal gems to the flower centers. I love the extra texture and shine that this simple step adds to the card!

Well, that’s all for my projects today! I hope you’ll take a peek at the different Spellbinders Club Kits. They’re super versatile and packed with value, and you can easily use them alone for super quick cards or pair them with items that you already have in your crafty arsenal to create really unique and interesting projects. Thanks so much for reading today, and have a marvelous day!
Filed Under: spellbinders Tagged With: easy card kit of the month, essential glimmer sentiments, hot foil, plaid tidings, smooth lines mix & match sentiments, solid rectangle plate, spring tea

Spellbinders Easy Card Kit of the Month-February 2023!

February 3, 2023

It’s officially February (finally, right? Why does January seem so interminably slow?) and so it’s time to introduce the new Spellbinders Club Kits! This month’s Spring Delight Easy Card Kit of the Month is filled to the brim with supplies to create an insane amount of cards *so, so quickly.* Busy momma here, and so cranking out quick cards is my specialty, which is why I adore the sheer volume of goodies in the Easy Card Kit of the Month. You receive so many beautiful and colorful printed ephemera, 6×6 patterned paper, chipboard stickers, puffy sentiment stickers, embellishments, card bases, envelopes, even adhesive! Truly a comprehensive kit that makes creating a breeze. The images in this month’s kit are utterly reminiscent of spring, with sweet bunnies and birds, tons of flowers and foliage, citrus images, and objects like houses, teapots, coffee cups, etc, so that you can create cards for almost any occasion.

I created a total of four projects using elements of this kit, and the two that I’m sharing today feature only elements from the kit, with only the addition of a pink bow! I love that the contents of the kit are cohesive and work beautifully together, but you can create tons of totally different projects depending on which colors and elements you focus.

For this first card, I focused on the citrus elements in the kit. I used the beautiful citrus patterned paper as my main background, accenting it with the sweet black and white scalloped paper. When pairing two different patterns on the same card, I always make sure to choose contrasting patterns, then break them up with a coordinating strip of solid cardstock. On this card, I separated the two patterned papers with a strip of solid black cardstock.

I adhered the citrus medallion with some of the foam tape included in the kit, then added a few bits and bobs from the ephemera pack that coordinated, tucking them here and there in a little cluster in the center of the card. I added one of the chipboard greetings and finished it off with some Opal gems for a bit of sparkle. The perfect card to cheer up a friend!

My second card uses the floral ephemera from the Spring Delight Easy Card Kit of the Month. I trimmed down another of the lovely 6×6 papers in the kit, this time in a muted sage green with dainty little floral sprigs. I arranged a bunch of the flowers and foliage in a circle on my glass craft mat, then used some Press’n’Seal to pick up the arrangement. I flipped it over while still attached to the Press’n’Seal and added foam adhesive to each of the individual die cuts.

I flipped the Press’n’Seal over and adhered the floral wreath to the patterned card front. Because there are two of each image in the printed ephemera pack, I was able to add another layer of a few of the flowers for extra height and interest! I selected one of the chipboard banners from the chipboard sheets included in the kit and adhered it to the wreath with some more foam adhesive. I created a little pink bow with some (super old) seam binding that I’ve got in my stash and tucked it beneath the chipboard banner for a little extra texture. Finally, I added a smattering of Opal gems for some dainty sparkle!

Well, that’s all for today’s projects! I have two more to share with you, this time combining the contents of the kit with some items from my stash. I will share those tomorrow! If you like the looks of this kit and want the ease of having it sent to you each month without having to actually remember to order it, you can subscribe to receive a discounted rate! Thanks so much for stopping by today, and have a marvelous day!

Filed Under: spellbinders Tagged With: card kit, easy card kit of the month, ephemera

Spellbinders Card Kit of the Month-January 2023!

January 11, 2023

Hi there! Beginning in 2023, I have the pleasure of helping Spellbinders share their new Easy Card Kit of the Month each month. This new card kit features all of the different elements you need to create literally dozens of cards. I was shocked at how much was included in this kit. If you love ephemera, patterned paper, and embellishments, you’re going to want to subscribe to this kit. It’s absolutely cram-jam with enough supplies to create so many cards so easily. (The title of the card kit is not a misnomer!) It even comes with adhesive! All you need to create darling cards super fast is a trimmer and maybe a few odds and ends. These first two cards were created almost entirely with contents from the Easy Card Kit of the Month. Let’s get started with the details!

The main theme for the January 2023 Easy Card Kit of the Month is plants and home. But, there are lots of other little bits and bobs included in the chipboard and ephemera packs. As I have, ahem, a black thumb and cannot keep a cactus alive (not joking), I wanted to focus on some of the other elements included in the kit. The patterned paper included in the kit features a lovely color scheme, with lots of muted green, blush pink, and black, with flashes of gold foil.

This first project features a chipboard frame, which I used as a backdrop to my coffee cup focal point. I used one of the blush cardstock card fronts included in the kit, then added some patterned paper hearts, a chipboard frame, and a few embellishments. The kit comes with two sheets of puffy stickers, a bag of chipboard embellishments, a bag that is absolutely chock full of printed ephemera (with two of each design, so there are *so* many ways to use them!), and a sheet of beautiful gold foil-embellished gems in coordinating colors.

I used the included tape roll and foam adhesive to adhere everything to my card front, allowing my heart embellishments to float up from the coffee cups like little bubbles. For the greeting, I used one of the puffy sticker embellishments. I thought this card would be perfect for your valentine! How perfect would a sentiment that said “I love you more than coffee” be on this card? You could easily combine stamps that you already have in your stash to create even more possibilities!

My second card puts me in mind of an engagement or even a new home or job. I love the colors in the patterned papers that were included in the Easy Card Kit of the Month, and I used that as my jumping off point for this card. I trimmed one of the sheets of paper down to create an accent strip for my blush cardstock card front. To accent the little gold foil dots on the patterned paper strip, I added a strip of matte gold foil on each edge of the patterned paper panel to help bring out the shine of that gold foil! I popped it up on the blush card front with some foam tape.

As I was investigating the printed ephemera pack, I fell in love with this sweet bicycle die cut… I had to use it as the focal point for my card! I popped it up on the card front with some more foam tape (I love that they even include foam adhesive in the Easy Card Kit of the Month), then accented it with some floral ephemera from the kit, topping it off with a little butterfly. I added a couple of puffy stickers for the greeting, adding that “congratulations” to make this card work for tons of different celebratory occasions! I added a few gems included in the kit to add a bit of sparkle.

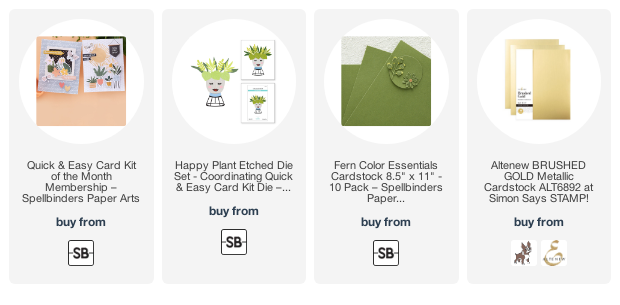
Spellbinders also has a coordinating die set called Happy Plant that coordinates nicely with the contents of the Easy Card Kit of the Month. I began by cutting the different components of the Happy Plant die set, using the blush pink included in the kit for the base, as well as some green cardstock from my stash and the green cardstock included in the kit for the plants. The green was just a little too bright and intense to suit the color scheme that I had in my mind’s eye, so I used an alcohol marker to tone the color down and to make two different shades of green. It’s easy to customize the kit with just a few supplies from your standard stash! I also die cut the plant stand from some more matte gold cardstock that I used on the previous card.

The patterned papers in the Kit of the Month feature a beautiful black grid paper accented with gold foil. I trimmed down the grid to fit a creamy A2 card front (also included in the kit), matting it with a slightly larger panel of black cardstock from my stash.

I arranged all of the plant die cut pieces and adhered them to the gold and black grid paper with some more foam adhesive. For the greeting, I used one of the puffy stickers included in the Kit of the Month. I matted it on a slightly larger strip of blush cardstock to coordinate with the plant pot, then popped it up with some foam adhesive. Perfect for a new homeowner or to accompany a housewarming gift!

Well, that’s all for my projects today. If you’ve not looked at Spellbinders’s kits before, I highly encourage you to check them out. They have a plethora of beautiful, super high-value kits available, including 3D Embossing Folders, Stitching, Dies, and Stamp+Die combos, all of which you can check out HERE. The designs at Spellbinders have been out-of-this-world awesome lately, and these kits continue that trend! Thanks so much for stopping by today, and have a marvelous day!

Filed Under: spellbinders Tagged With: birthday, congratulations, die cutting, easy card kit of the month, ephemera, housewarming, patterned paper

Primary Sidebar

  • Facebook
  • Instagram
  • Pinterest
  • YouTube

Favorite Shops

Secondary Sidebar

Subscribe

Enter your email address to subscribe to this blog and receive notifications of new posts by email.

Instagram
Something is wrong.
Instagram token error.
Follow
Load More

Archives

Tags

3D embossing folder alcohol markers better press birthday birthday card blog hop card kit christmas christmas card christmas tag colored pencil copic copic coloring Daniel Smith die cutting embossing folder embroidery felt giveaway holiday holiday card hot foil ink blending karin brushmarker pro layered stencil masculine my monthly hero new release no line coloring no line watercolor OLO marker olo markers original illustration pawsitively saturated rainbow shaker card slimline stamping stamptember stencil thank you thinking of you valentine's day video watercolor

Popular Posts

Simon Says Stamp October 2026 Card Kit of the Month: Homespun Gratitude!
Honey Bee Stamps Cheerful Love Blog Hop!
Altenew Craft A Flower: Poppy Blog Hop+Giveaway!
Autumn Legs with Colorado Craft Company and Catherine Pooler!
Simon Says Stamp Cozy & Bright Inspiration, Part Two!
February 2018 My Monthly Hero Blog Hop!
The Ton Anniversary Release- Day 2
Sunflower Home Decor with Simon Says Stamp!
Simon Says Stamp STAMPtember Surprise: Boo Bundle Halloween Card Kit!
Hero Arts Spring 2020 Catalog Release Blog Hop+Giveaway!

Disclosure

Some affiliate links are used in my posts. This means that, should you click on one of my links and purchase something from that company, I will receive a small portion of the sale at no extra cost to you. I use the money earned from these sales to help maintain my blog. I so appreciate you visiting and, if you do choose to use one of my affiliate links, thank you so much for your support!
Copyright © 2026 ·Brunch Pro Theme · Genesis Framework by StudioPress · WordPress · Log in
Loading Comments...