• Skip to main content
  • Skip to primary sidebar
  • Skip to secondary sidebar

Sixth Street Sundries

Emily Midgett

  • Home
  • About Me
  • Contact
  • OLO Marker Color Swatch Chart
  • Shop

enjoy phrases

Gold Accents and Muted Colors for Fall Flowers!

September 28, 2023

This post was sponsored by Simon Says Stamp. Thanks, Simon!

Hi friends! I always feel a change in the atmosphere as we wind down the month of September. September juxtaposes crisp autumnal mornings with warm summery afternoons, and this combination of temperatures always lets me know that the short and cool days of autumn are just around the corner. I wanted to create another floral project as an homage to those last gasps of summer, but adding in some rich, warm tones to provide a sneak peek at that autumn weather. I really love how this card turned out, and I can’t wait to share all of the details with you! Let’s get started.

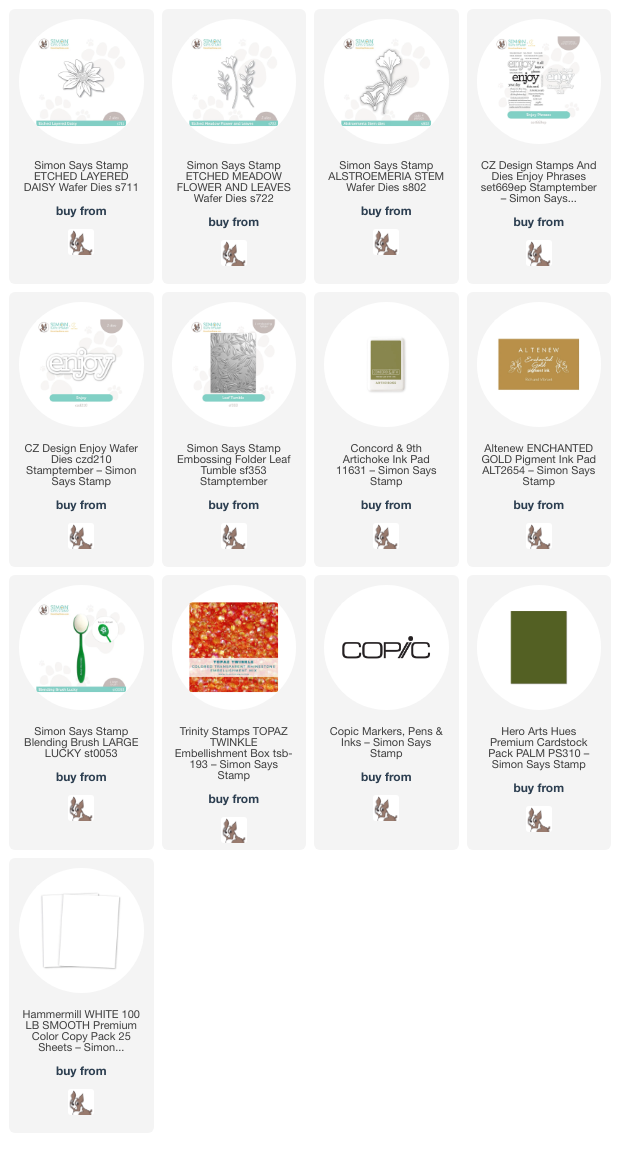
I cannot overstate my love for standalone flower dies. It’s so simple to switch up a color combination or cardstock type to completely change the look of your project. I chose to die cut the Etched Layered Daisy die , Etched Meadow Flower & Leaves die. and Alstroemeria Stem die from white Hammermill cardstock and add Copic coloring to the die cut pieces, creating a dusty rose pink daisy and warm orange floral sprigs, paired with gorgeous olive green for the foliage. When working with floral die cuts like this, I always place the die cut pieces where they will end up being adhered so that I can get a better idea of where to place shadows and to which pieces I should add brighter, lighter highlights. This allows me to create more depth and dimension on these layered floral die cuts.

After creating my focal point, I ran a panel of Palm cardstock from Hero Arts through my die cutting machine using the Leaf Tumble embossing folder (which is currently out of stock, but should be restocked soon! Be sure to sign up for email updates so that you don’t miss it when it comes back!). To add some extra interest and dimension to the textured background, I used a blending brush to blend Artichoke Ink from Concord & 9th around the edges and gently swiped the raised areas with the Enchanted Gold pigment ink pad from Altenew. I think the combination of embossing, blending, and gilded leaves makes the perfect backdrop for my colorful flowers!

After arranging my colorful flower die cuts on my richly embossed and colored card front, I adhered them with liquid and foam adhesive. I die cut the Enjoy die from some gold glitter cardstock to complement the gilding on the background, then gold embossed a greeting from the coordinating Enjoy Phrases set, die cutting it with the coordinating die. I adhered both of the sentiment pieces to the card front, tucking them amongst the flowers and foliage, and finally added a few shimmering Topaz Twinkle gems for one last sparkling touch!

Well, that’s all for my project today! I am shifting into autumn- and holiday-mode for the next couple of months (though I can’t guarantee that I won’t throw the odd floral card in here and there!), and I can’t wait! This is definitely my favorite time of year. Thanks so much for stopping by today, and have a marvelous day!
Filed Under: simon says stamp Tagged With: alstroemeria stem, copic, copic coloring, daisy, enjoy phrases, etched layered daisy, etched meadow flower and leaves

STAMPtember Begins with a New Release!

August 31, 2023

This post was sponsored by Simon Says Stamp. Thanks, Simon!

Hi friends! STAMPtember has officially begun over at Simon Says Stamp, and it’s going to be such an amazing celebration for the entire month, with marvelous surprises and gorgeous new products with which you can create long after the party has ended! This month is all about celebrating stamping and the joy that comes with it, and I’m so excited to be part of it. The first STAMPtember release just went live in the Simon Says Stamp store, and I have two projects to share with you using several of the new goodies. Let’s get started with the details!

The color palette for my projects today was inspired by the new Purple Fields Pawsitively Saturated Ink Cubes that were released tonight! This set of six ink cubes features two different purple palettes to make for super simple stamp layering and ink blending, taking the guesswork out of which colors work together, as well as creating a beautiful ombré color palette. Both of my projects today feature a deep blue violet with pops of vivid magenta, but utilizing two completely different styles.

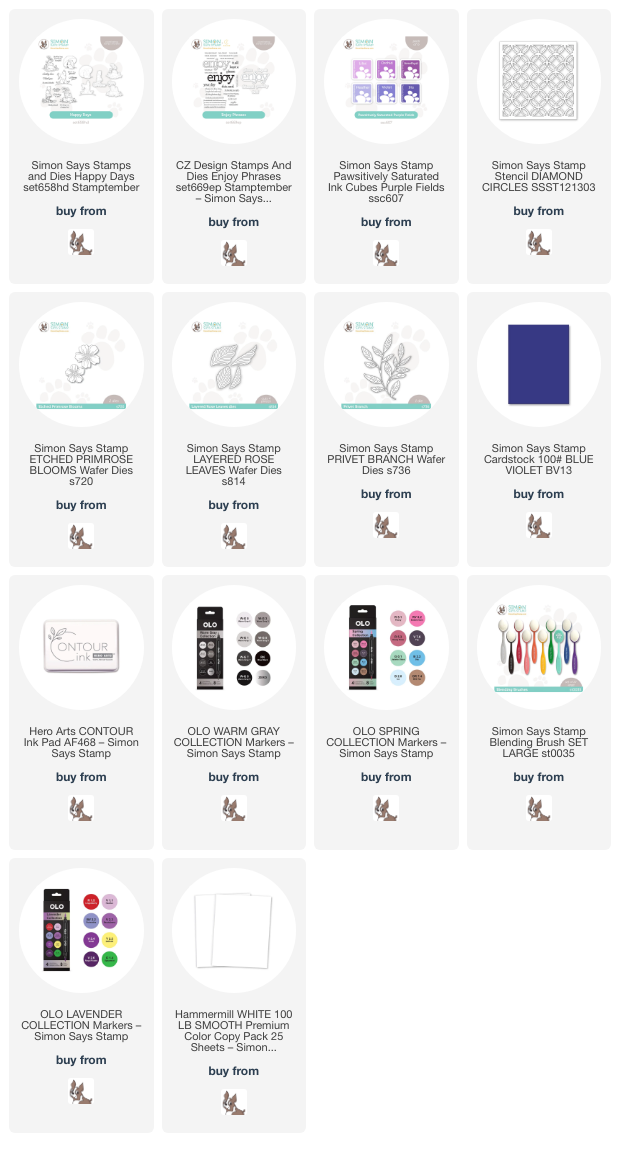
To start my first project, I die cut some of the gorgeous Etched Primrose dies, Layered Rose Leaves dies, and Privet Branch die from some plain white Hammermill cardstock. I then used OLO markers to transform these plain white die cuts into this vivid magenta and mint floral bouquet! I added some shimmering handmade watercolors to the centers of each of the flowers to add extra sparkle. Before arranging my bouquet on my card front, I trimmed down a panel of Blue Violet Cardstock to A2 size and used a blending brush to blend the Iris ink from the new Purple Fields Pawsitively Saturated Cubes set over the Diamond Circles Stencil. This tone-on-tone blending creates a super subtle pattern behind the floral bouquet and adds just a touch of interest to the background!

After I had adhered my floral bouquet to the stenciled card front using foam adhesive, I turned my attention to the sentiment. I heat embossed the outline “enjoy” from the new Enjoy Phrases stamp set using silver embossing powder on more Blue Violet Cardstock. I used the handmade metallic glitter watercolors to fill in the interior of the outline; the opacity of these watercolors really makes the word pop from the deep blurple cardstock! I popped up the sentiment elements with a double layer of foam adhesive to really help it stand out. Finally, I added a few shimmering gems for some more sparkle. Such a vivid, dramatic card!

For my second card, I used one of the darling new Happy Days stamps from the STAMPtember release! These sweet storybook critters each are so unique and have the most precious expressions on their faces. I can’t wait to color more of them. I started by using Blending Brushes to blend a super saturated sunset sky background using Amethyst, Lilac, and Iris inks from the Purple Fields Pawsitively Saturated Cubes. I splattered the darker section with some glittering metallic watercolors to create stars. Such a fun effect!

I stamped the mouse from Happy Days on his little mushroom using Contour Ink onto Hammermill cardstock, then colored the image using Warm Gray OLO Markers. I wanted to create a little sunset scene, with the mouse gazing up at the stars, so I “glazed” the lighter areas of the stamped scene with a super pale pink alcohol marker, creating a bit of a pink glow on the image to match the glowing pink sunset background.

To give my stargazing mouse some ground out of which his mushrooms could grow, I die cut two strips of some deep teal cardstock using a grass border die from Honey Bee Stamps. I layered the strips one behind the other, popping the front grass border up with some foam adhesive and tucking my mouse behind it with some more foam tape. I heat embossed another greeting from Enjoy Phrases, this time using the solid large “enjoy” stamp with silver embossing powder and fussy cut it out and pairing it with the retirement sentiment. I loved the notion of a retiree finally having time to gaze at the stars and contemplate the universe like this sweet little mouse! I popped up the greeting pieces using more foam tape, then added a few sparkling gems for one last touch of shine!

Well, that’s all for my projects today! You can check out the entire STAMPtember release HERE. Buckle up, because STAMPtember 2023 is going to be an amazing ride! Be sure to check back this weekend as we kick things off with a fabulous blog party! Thanks so much for stopping by today, and have a marvelous day!

Filed Under: simon says stamp Tagged With: critters, diamond circles, enjoy phrases, etched primrose, happy days, ink blending, layered rose, no line coloring, pawsitively saturated, stamptember, stencil

Primary Sidebar

  • Facebook
  • Instagram
  • Pinterest
  • YouTube

Favorite Shops

Secondary Sidebar

Subscribe

Enter your email address to subscribe to this blog and receive notifications of new posts by email.

Instagram
Something is wrong.
Instagram token error.
Follow
Load More

Archives

Tags

3D embossing folder alcohol markers better press birthday birthday card blog hop card kit christmas christmas card christmas tag colored pencil copic copic coloring Daniel Smith die cutting embossing folder embroidery felt giveaway holiday holiday card hot foil ink blending karin brushmarker pro layered stencil masculine my monthly hero new release no line coloring no line watercolor OLO marker olo markers original illustration pawsitively saturated rainbow shaker card slimline stamping stamptember stencil thank you thinking of you valentine's day video watercolor

Popular Posts

Simon Says Stamp Joy For You Blog Hop- Day 1!
Simon Says Stamp Joy For You Release-Now Available!
Frozen Fractals All Around with New Simon Says Stamp Joy For You Release!
Shaped Holiday Shaker Card with New Simon Says Stamp Jolly Season Card Kit of the Month!
Holiday Postage with New Simon Says Stamp!
Simon Says Stamp Glory to the Newborn King Holiday Kit-Part II!
Altenew Build A Flower: Fuchsia Blog Hop+Giveway!
Holiday Joy in Pink and Green with New Simon Says Stamp DieCember!
Pinkfresh Studio 5th Birthday!
Honey Bee Stamps September Release Blog Hop!

Disclosure

Some affiliate links are used in my posts. This means that, should you click on one of my links and purchase something from that company, I will receive a small portion of the sale at no extra cost to you. I use the money earned from these sales to help maintain my blog. I so appreciate you visiting and, if you do choose to use one of my affiliate links, thank you so much for your support!
Copyright © 2026 ·Brunch Pro Theme · Genesis Framework by StudioPress · WordPress · Log in
Loading Comments...