• Skip to main content
  • Skip to primary sidebar
  • Skip to secondary sidebar

Sixth Street Sundries

Emily Midgett

  • Home
  • About Me
  • Contact
  • OLO Marker Color Swatch Chart
  • Shop

etched layered daisy

Rainbow Hummingbird with New Simon Says Stamp!

July 17, 2025

This post was sponsored by Simon Says Stamp. Thanks, Simon!

Hi friends! I have a super colorful project to share with you today featuring white cardstock, dies, and ink… that’s basically it! I love the magical transformation that can happen with white cardstock die cuts, applying your favorite coloring medium to them, whether it’s ink blending, watercolor, alcohol markers, or whatever your heart desires. For today’s project, I blended my little heart out, selecting a vibrant pastel rainbow of inks from multiple companies to add beautiful and soft colors to these plain die cuts. Let’s get started with the details!

*I have gathered links to all of the products used at the bottom of the post for your convenience, using affiliate links. Thank you for shopping with my links! I truly appreciate your support for my work!*

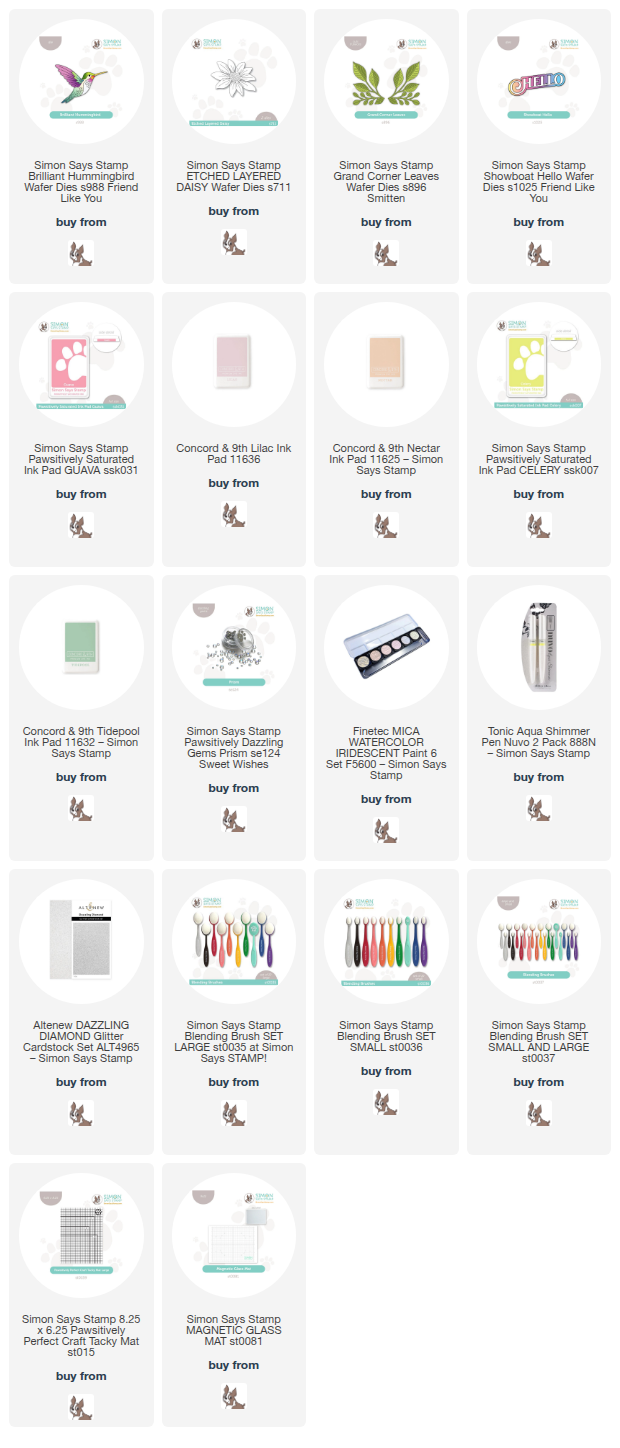
I began my project by die cutting Brilliant Hummingbird, Grand Corner Leaves and Etched Layered Daisy dies, all from Simon Says Stamp. I selected the following inks for blending: Pawsitively Saturated Ink Guava, Concord and 9th Lilac, Concord and 9th Nectar, Pawsitively Saturated Ink Celery, and Concord and 9th Tidepool. I softly blended a diagonal rainbow on a plain A2 card front using blending brushes, keeping my pressure minimal so as to create a very subtle and lovely pastel rainbow background that I think looks almost iridescent! I splattered the background with some shimmering glitter watercolors, almost giving the effect of sparkling raindrops in front of my rainbow!

After I had created my background, I set my sights to adding color to the beautifully detailed die cuts. I used the same shades of ink that I used to create the background to add lots of soft color to each die cut, adding multiple layers of color to each to create lots of visual interest on each image and create distinction between them. The Simon Says Stamp Craft Tacky Mat is an amazing tool to help keep your die cuts in place while blending; I keep one attached to a glass craft mat on my desk at all times so that I can easily grab it for stenciling or blending on die cuts! Once I had finished adding color to my cardstock pieces, I adhered the pieces together using liquid adhesive, then added some sparkle to the hummingbird with a shimmer pen, further enhancing the iridescent effect on these delicate, lovely birds!

After I had finished customizing and assembling all of the die cut pieces, I arranged the flowers and foliage on my rainbow card front, adhering them with a mixture of liquid and foam adhesive for tons of added dimension. For a simple greeting, I die cut the detail layer of the new Showboat Hello from white glitter cardstock, then added a shadow cut from some iridescent mylar cardstock that I found my stash. I popped the greeting die cut up with some more foam adhesive, tucking it in a bare spot in the arrangement of die cuts, and finally added some sparkling Prism Pawsitively Dazzling Gems to complete the overall iridescent effect!

Well, that’s all for my projec today. I have some super fun Christmas in July projects planned next, a huge departure from today’s project, so I hope you will come back to check those out! Thanks so much for stopping by today, and have a marvelous day!
Filed Under: simon says stamp Tagged With: brilliant hummingbird, die cutting, etched layered daisy, grand corner leaves, ink blending, pawsitively saturated, rainbow, showboat hello

Simon Says Stamp Smitten & Sweetheart Blog Hop- Day 2!

January 13, 2024

This post was sponsored by Simon Says Stamp. Thanks, Simon!

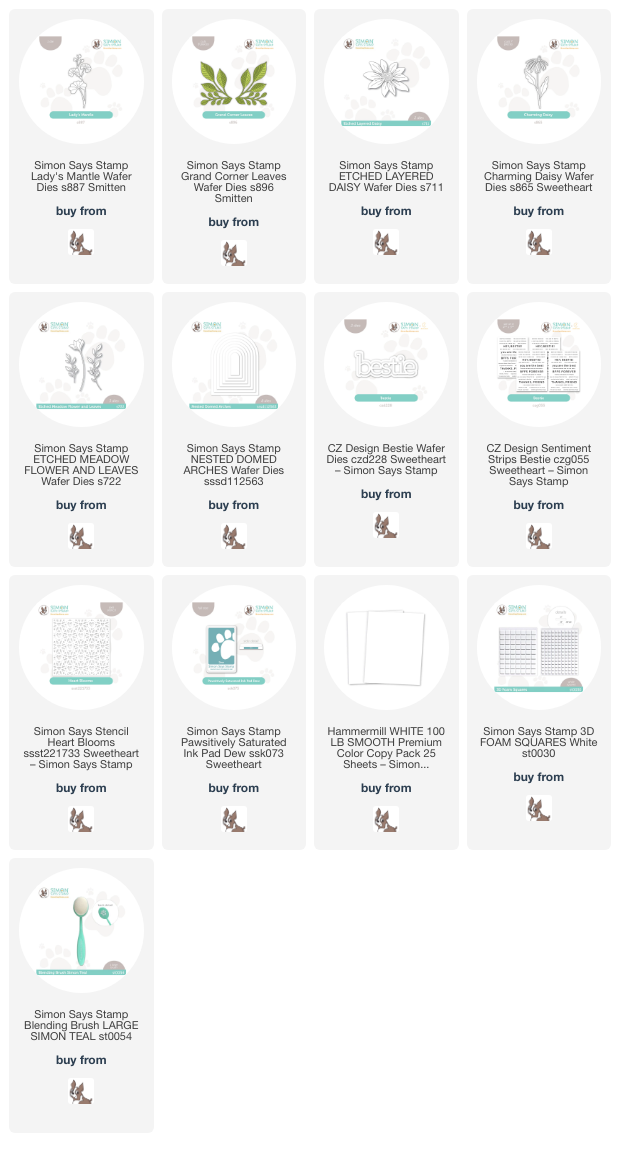
Hi friends! Welcome to Day 2 of the Simon Says Stamp Smitten & Sweetheart blog hop! You should have arrived here from Debby Hughes and your next stop is Lisa Addesa. This hop is a special one, celebrating the release for both last month’s Smitten release and this month’s Sweetheart release! For today’s hop, I’ve created two different projects using products from both releases. I love adding color to white standalone die cuts using Copic markers, and the Smitten release and this month’s Sweetheart release have some lovely new additions to that category. I created a pair of light, springy projects using lots of white cardstock, some new dies, and my Copic markers. Let’s get started with the details!

After the super intense, jewel-toned projects that I created for Christmas, I wanted to create something a bit lighter and more spring-like, so I pulled out the new Lady’s Mantle, Grand Corner Leaves, Etched Layered Daisy, and Charming Daisy dies.

For my first card, I die cut the Lady’s Mantle, Grand Corner Leaves dies, and Etched Layered Daisy die from Hammermill white cardstock. Before I assembled everything, I used Copic markers to add soft pastel colors to the different images, using the debossed lines as guides for where to add extra shading and depth. The colors that I selected for the daisy did not work as nicely with the leaves as I anticipated, so instead of redoing the entire thing, I simply selected a pale RV Copic marker and “glazed” all of the petals. Doing this allowed me to quickly change the overall look of the flower to be a bit brighter while still putting to use the shadows that I created previously.

After I had finished coloring and assembling the die cuts, I placed the new Heart Blooms stencil over a white A2 card front, then used a blending brush to lightly blend Dew Pawsitively Saturated Ink over the top. This light pool color coordinates nicely with the foliage and keeps things cohesive throughout the card. I arranged the flowers and foliage on the card front, then popped them up with foam squares. For the greeting, I trimmed down a sentiment from the new Bestie sentiment cards and popped it up with more foam adhesive, creating a double layer of foam tape for extra height. Finally, I topped everything off with some sparkling pale mint gems from my stash!

My second card features a new-to-me technique, creating an embellished window card using just die cuts! I started the project by die cutting the new Charming Daisy three times from Hammermill white cardstock, as well as the foliage sprigs from the Etched Meadow Flower die set. I used Copic markers in light shades of mauve, jade, and celadon to add color to the white die cuts.

To create the background for my die cut images, I die cut a window from the center of an A2 card front using one of the Nested Domed Arches. I wanted to arrange the flowers around the window and leave the area completely open, so I needed a wider sentiment that would span the width of the window opening. I cut the new Bestie sentiment die, cutting the background layer from vellum, then nestled both dies together on some white cardstock and ran it through my die cut machine, creating a sentiment with the negative space. I adhered this outline to the background vellum piece, which created a subtly bold die cut sentiment.

I arranged the flowers, sentiment die cut, and sentiment strip from the new Bestie sentiment cards around the opening, using the sentiment as a “bridge” between the flowers on left and right. I adhered all of the pieces using a combination of liquid and foam adhesive, adding tons of dimension and height to this interesting card! The final touch was to add a few more coordinating pale minty green gems.

Well, that’s all for my projects today! To celebrate this new release, Simon Says Stamp is offering a free gift with purchase: follow the instructions on the graphic at the top of the post, then enter code HTZ24 with your followers so that you can receive the Hearts and Stars stencil free with purchase!

Simon Says Stamp is also generously sponsoring a $25 coupon for each blog to be chosen from comments left along the hop! Simply leave a comment on each blog hop stop to be entered to win! The winners will be posted on the Simon Says Stamp blog on Wednesday the 17th of January. Winners can email Simon Says Stamp to claim his/her prize 🙂

Your next stop is Lisa Addesa, or you can start at the beginning of the hop over on the Simon Says Stamp Blog. (While you’re there, you can check out Day 1 of the hop… a veritable wealth of inspiration throughout!) Thanks so much for stopping by today, and happy hopping!

Filed Under: simon says stamp Tagged With: bestie, charming daisy, copic coloring, die cutting, etched layered daisy, etched meadow flower and leaves, grand corner leaves, heart blooms stencil, lady's mantle, nested domed arches, sentiment strips, stencil

Gold Accents and Muted Colors for Fall Flowers!

September 28, 2023

This post was sponsored by Simon Says Stamp. Thanks, Simon!

Hi friends! I always feel a change in the atmosphere as we wind down the month of September. September juxtaposes crisp autumnal mornings with warm summery afternoons, and this combination of temperatures always lets me know that the short and cool days of autumn are just around the corner. I wanted to create another floral project as an homage to those last gasps of summer, but adding in some rich, warm tones to provide a sneak peek at that autumn weather. I really love how this card turned out, and I can’t wait to share all of the details with you! Let’s get started.

I cannot overstate my love for standalone flower dies. It’s so simple to switch up a color combination or cardstock type to completely change the look of your project. I chose to die cut the Etched Layered Daisy die , Etched Meadow Flower & Leaves die. and Alstroemeria Stem die from white Hammermill cardstock and add Copic coloring to the die cut pieces, creating a dusty rose pink daisy and warm orange floral sprigs, paired with gorgeous olive green for the foliage. When working with floral die cuts like this, I always place the die cut pieces where they will end up being adhered so that I can get a better idea of where to place shadows and to which pieces I should add brighter, lighter highlights. This allows me to create more depth and dimension on these layered floral die cuts.

After creating my focal point, I ran a panel of Palm cardstock from Hero Arts through my die cutting machine using the Leaf Tumble embossing folder (which is currently out of stock, but should be restocked soon! Be sure to sign up for email updates so that you don’t miss it when it comes back!). To add some extra interest and dimension to the textured background, I used a blending brush to blend Artichoke Ink from Concord & 9th around the edges and gently swiped the raised areas with the Enchanted Gold pigment ink pad from Altenew. I think the combination of embossing, blending, and gilded leaves makes the perfect backdrop for my colorful flowers!

After arranging my colorful flower die cuts on my richly embossed and colored card front, I adhered them with liquid and foam adhesive. I die cut the Enjoy die from some gold glitter cardstock to complement the gilding on the background, then gold embossed a greeting from the coordinating Enjoy Phrases set, die cutting it with the coordinating die. I adhered both of the sentiment pieces to the card front, tucking them amongst the flowers and foliage, and finally added a few shimmering Topaz Twinkle gems for one last sparkling touch!

Well, that’s all for my project today! I am shifting into autumn- and holiday-mode for the next couple of months (though I can’t guarantee that I won’t throw the odd floral card in here and there!), and I can’t wait! This is definitely my favorite time of year. Thanks so much for stopping by today, and have a marvelous day!

Filed Under: simon says stamp Tagged With: alstroemeria stem, copic, copic coloring, daisy, enjoy phrases, etched layered daisy, etched meadow flower and leaves

Primary Sidebar

  • Facebook
  • Instagram
  • Pinterest
  • YouTube

Favorite Shops

Secondary Sidebar

Subscribe

Enter your email address to subscribe to this blog and receive notifications of new posts by email.

Instagram
Something is wrong.
Instagram token error.
Follow
Load More

Archives

Tags

3D embossing folder alcohol markers better press birthday birthday card blog hop card kit christmas christmas card christmas tag colored pencil copic copic coloring Daniel Smith die cutting embossing folder embroidery felt giveaway holiday holiday card hot foil ink blending karin brushmarker pro layered stencil masculine my monthly hero new release no line coloring no line watercolor OLO marker olo markers original illustration pawsitively saturated rainbow shaker card slimline stamping stamptember stencil thank you thinking of you valentine's day video watercolor

Popular Posts

Simon Says Stamp Joy For You Blog Hop- Day 1!
Simon Says Stamp Joy For You Release-Now Available!
Frozen Fractals All Around with New Simon Says Stamp Joy For You Release!
Shaped Holiday Shaker Card with New Simon Says Stamp Jolly Season Card Kit of the Month!
Holiday Postage with New Simon Says Stamp!
Simon Says Stamp Glory to the Newborn King Holiday Kit-Part II!
Altenew Build A Flower: Fuchsia Blog Hop+Giveway!
Holiday Joy in Pink and Green with New Simon Says Stamp DieCember!
Pinkfresh Studio 5th Birthday!
Honey Bee Stamps September Release Blog Hop!

Disclosure

Some affiliate links are used in my posts. This means that, should you click on one of my links and purchase something from that company, I will receive a small portion of the sale at no extra cost to you. I use the money earned from these sales to help maintain my blog. I so appreciate you visiting and, if you do choose to use one of my affiliate links, thank you so much for your support!
Copyright © 2026 ·Brunch Pro Theme · Genesis Framework by StudioPress · WordPress · Log in
Loading Comments...