• Skip to main content
  • Skip to primary sidebar
  • Skip to secondary sidebar

Sixth Street Sundries

Emily Midgett

  • Home
  • About Me
  • Contact
  • OLO Marker Color Swatch Chart
  • Shop

glimmer paste

Tonic Studios Snowmies Stamp Club Blog Hop + Giveaway!

October 29, 2021

Hi there! I’m super excited to be helping my friend Maria Wills and the folks at Tonic Studios to introduce the October Stamp Club release; this month’s theme is Snowmies! We’re giving you lots of inspiration with a blog hop. You should have arrived here from Mindy Eggen, and your next stop is Michelle Short. You can also start back at the beginning at Maria’s blog. Here’s a peek at this month’s stamp, die, and stencil set:

The Snowmies kit is so cute, and the huge variety of dies (both coordinating and standalone) included with the kit make this super versatile, with so many options! I’ve used the stencil and standalone snowman dies as the main focal point for my project today, so let’s get started with the details.

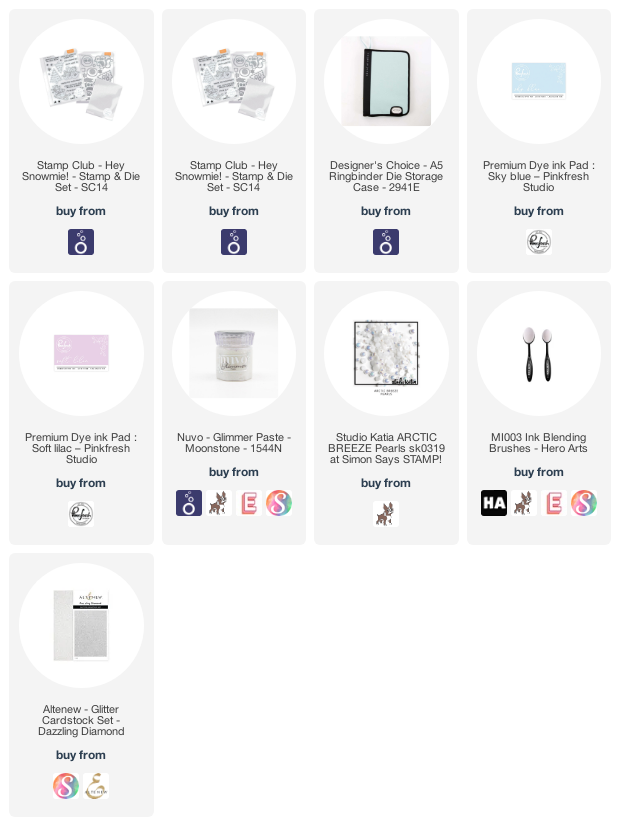
I began by doing some ink blending on a white A2 card base using some pale blue and light lilac ink and some blending brushes. Then, I used some Moonstone Glimmer Paste from Tonic to add some shimmery, glittery snowflakes using the stencil included in the club kit to the lightly blended background. I’m in love with the subtle shimmer and texture that it adds to the background.

Next, I used the standalone individual dies to create a cheerful, cozily-dressed snowman. I die cut some sparkling snowflakes and the dressing for the holiday gifts from some glitter paper, as well. I adhered all of the pieces together and used some foam tape to add the die cuts to the card front.

For the greeting, I used one of the sweet sentiments included in the Snowmies kit, white embossed on some bright purple cardstock and adhered to the card front using more foam tape. Because snowflakes come in all shapes and sizes, I like to vary the sizes and textures when doing a snowy background, so in addition to the stenciled glittery snowflakes and the glitter snowflake die cuts, I added some iridescent white pearls on the card front to help complete the effect of snowfall and add just that extra touch of sparkle and shine.

Well, that’s all for my project today! To help celebrate the Snowmies release, Tonic is sponsoring a fun giveaway!

One lucky winner will win a £50/$50 Giftcard to Tonic Studios and the Snowmies bundle! To enter, comment on every blog in the hop by 11:59pm PST on November 3, 2021/ 7:59am GST on November 4, 2021. Winner will be announced on November 5, 2021 on IG and FB so make sure you’re following all of the Tonic Studios social media accounts!

Your next stop on the hop is Michelle Short. Thanks so much for stopping by today, and happy hopping!
Filed Under: tonic Tagged With: glimmer paste, snowflakes, snowman, snowmies, stencil

25 Days of Christmas Tags with Ellen Hutson!

November 16, 2018

Good morning! Today, I again have the pleasure of taking part in Tracey McNeeley’s 25 Days of Christmas Tags, this time as one of the representatives for Ellen Hutson! This season has seen some beautiful new holiday goodies added to the Essentials By Ellen line, and my favorite new die set from the newest release is the Pop Up Mittens die set, which has not only a pair of adorable mittens and the pop-up mechanism, but also some beautiful snowflakes in various sizes. I paired the snowflakes with the Classic Blocked Alphabet dies to create a custom sentiment on my blended, glittery tag base. Let’s get started with all of the details!

To start, I wanted to create a super unique background for my tag base. I was inspired by the fabulous Carly Tee Minner’s use of Nuvo Moonstone Glimmer Paste on colored card stock, and thought I’d add little something to it by adding some Distress Oxide Ink blending into the mix. I began by blending Cracked Pistachio and Spun Sugar Distress Oxide Inks on a panel of white card stock (I just love how fresh and minty this color combination is! Reminds me of Candy Land or something!), then covering the entire blended panel with a nice thick layer of Moonstone Glimmer Paste.

While my super sparkly panel was drying, I die cut several snowflakes from the Pop Up Mittens set using silver foil card stock and white card stock. I also die cut J and Y from the Classic Blocked Alphabet. I combined the die cut letters with one of the snowflakes to create my own “JOY.” After I’d allowed sufficient drying time, I began adhering my greeting to my glittery panel using dimensional adhesive, and my snowflakes using liquid adhesive.

I created a tag hanger by cutting a strip of card stock, folding it in half, and adhering it to the top of my glittery snowflake panel. I added a double pink twine bow, then decided to add some white Nuvo drops to add to the look of falling snow.

Well, what do you think? The sparkle on this tag is unreal, and sometimes, you just need that little extra something on a really special holiday gift. This would even be pretty on just a solid colored bag with some fluffy tissue, or a wine bottle wrapped in tissue and using this sparkly tag as the decoration!

Now, you’ll want to head over to Tracey McNeeley’s blog post to find out all of the details on the multitude of prizes available to win, not to mention the huge amount of inspiration to be had throughout the month! I tend to struggle with tags (I think it’s the smaller canvas), so seeing these beautiful projects are so inspirational! Thanks so much for stopping by today, and have a marvelous weekend!

Filed Under: christmas card, Ellen Hutson, holiday card Tagged With: 25 days of Christmas tags, glimmer paste, glitter, snowflakes, tags

Man Card Monday with Hero Arts!

March 19, 2018

So I’ve had this idea ruminating for awhile…. Man Card Monday. You know, like Man Crush Monday? I struggle so much with masculine cards. I naturally gravitate towards flowers… my brain just sees pretty much any design with a side of flowers. (#putafloweronit anyone?) So as I was coming up with my goals and plans for 2018, I came up with the idea of trying to build up my masculine card stash. Enter: Man Card Monday. I’m going to try to create at least one masculine card per month, which will hopefully grow my stash sufficiently so that I don’t have to frantically create something for my male family members at the last second (or worse, buy a card. Shudder.)

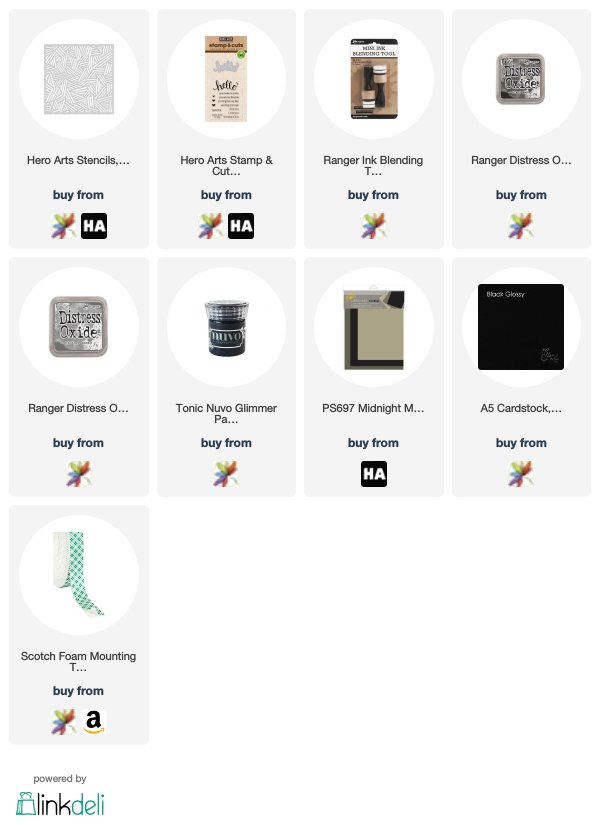
For today’s project, I wanted to use the fabulous new stencil from the March My Monthly Hero Kit add-ons. It’s so graphic and geometric, perfect for masculine cards. I’ve been enjoying doing ink blended backgrounds and adding Nuvo Glimmer Paste over the top, so I thought I would try using a dark color scheme for my masculine card.

I started by blending Hickory Smoke with Black Soot Oxide Inks on a plain A2 panel, then covering it with the Every Which Way stencil from the Hero Arts add-ons and Black Diamond Glimmer Paste. Isn’t that dimension and glitter just freaking cool looking?? Reminds me of some 80’s button up shirt haha!!

For the greeting, I die cut the Happy from the Happy Stamp & Cut from some glossy black card stock once, and twice more from white card stock. I trimmed a piece of gray card stock down and flagged the end, then heat embossed the greeting from the Happy Stamp & Cut stamp set. I added it to the stenciled card front using dimensional foam adhesive. I thought about adding sequins, but men aren’t really big on sparkle, right? I think? 😉

Well, that’s all for me today! I hope you’ll get some inspiration out of the Man Card Monday series… It’s definitely going to challenge me to think outside the box! Thanks for stopping by, and have a marvelous day!


Filed Under: Hero Arts Tagged With: glimmer paste, ink blending, man card monday, stencil

Reverse Confetti March 2018 Release-Day 3!

March 7, 2018

Good morning! I’m back today with Day 3 of the Reverse Confetti March 2018 Sneak Peeks!

Monday we had freaking adorable bears and seals, yesterday we had beautiful blooms and foliage, and today we are bringing you….


My Sunshine! Aren’t those sentiments just precious??

We also have the Stitched Rays cover panel, which is going to be SO versatile.

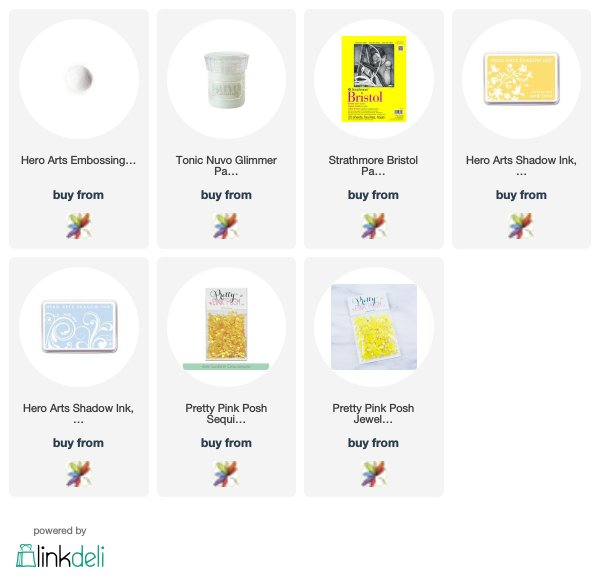
For my project today, I wanted to use that precious “you are my sunshine” sentiment from the My Sunshine set. (I sing that song to my kiddos, so I just had to use this sentiment first!!) I started by die cutting the sun rays and the circle from some sunny yellow card stock that I had in my stash and heat embossed the sweet sentiment in white. I then used Nuvo Glimmer Paste in Moonstone to cover the sun’s rays. Get your sunglasses out. SO sparkly!!!

While the glimmer paste was drying, I did some work on the card front. I die cut the Stitched Rays cover plate from some Bristol paper, then blended Butter Bar and Soft Sky inks. I absolutely love the way this turned out… it almost looks realistic! I adhered the pieces of my sun together, then added them to the card front using foam adhesive.

The finishing touch was to add some sunny sequins and jewels to add even more sparkle.

Well, that’s all for me today!! I hope you’ve enjoyed my projects for the last few days… tomorrow is the big day! You can get your shop on in the Reverse Confetti store! We will also have a fabulous blog hop with even more inspiration, so be sure to check back in tomorrow!

In the meantime, be sure to leave comments on the Reverse Confetti blog, as well as the different design team members’ blogs (and the ‘Fetti Friends!) to be eligible to win a $15 gift certificate to the Reverse Confetti shop! More comments=more entries in the contest! Enjoy all of the inspiration, and I’ll see you back here tomorrow!


Filed Under: Reverse Confetti Tagged With: glimmer paste, glitter, ink blending, sunshine

Primary Sidebar

  • Facebook
  • Instagram
  • Pinterest
  • YouTube

Favorite Shops

Secondary Sidebar

Subscribe

Enter your email address to subscribe to this blog and receive notifications of new posts by email.

Instagram
Something is wrong.
Instagram token error.
Follow
Load More

Archives

Tags

3D embossing folder alcohol markers better press birthday birthday card blog hop card kit christmas christmas card christmas tag colored pencil copic copic coloring Daniel Smith die cutting embossing folder embroidery felt giveaway holiday holiday card hot foil ink blending karin brushmarker pro layered stencil masculine my monthly hero new release no line coloring no line watercolor OLO marker olo markers original illustration pawsitively saturated rainbow shaker card slimline stamping stamptember stencil thank you thinking of you valentine's day video watercolor

Popular Posts

Simon Says Stamp Sending Cheer Blog Hop- Day 2 + Freebie + Giveaway!
Joyful Snowman with New Simon Says Stamp Sending Cheer Release!
Simon Says Stamp Sending Cheer Release: Now Available!
Altenew October 2026 Release Blog Hop + Giveaway!
Special Release: Simon Says Stamp Limited Edition STAMPtember Christmas Card Kit!
February 2018 My Monthly Hero Blog Hop!
Altenew March 2020 Release Blog Hop+Giveaway!
Simon Says Stamp Cozy & Bright Inspiration, Part Two!
Essentials By Ellen September Blog Hop!
Waffleflower December Release Blog Hop!

Disclosure

Some affiliate links are used in my posts. This means that, should you click on one of my links and purchase something from that company, I will receive a small portion of the sale at no extra cost to you. I use the money earned from these sales to help maintain my blog. I so appreciate you visiting and, if you do choose to use one of my affiliate links, thank you so much for your support!
Copyright © 2026 ·Brunch Pro Theme · Genesis Framework by StudioPress · WordPress · Log in
Loading Comments...