This post was sponsored by Simon Says Stamp. Thanks, Simon! *I have gathered links to all of the products used at the bottom of the post for your convenience, using affiliate links at no extra cost to you. Thank you for shopping with my links! I truly appreciate your support for my work!*
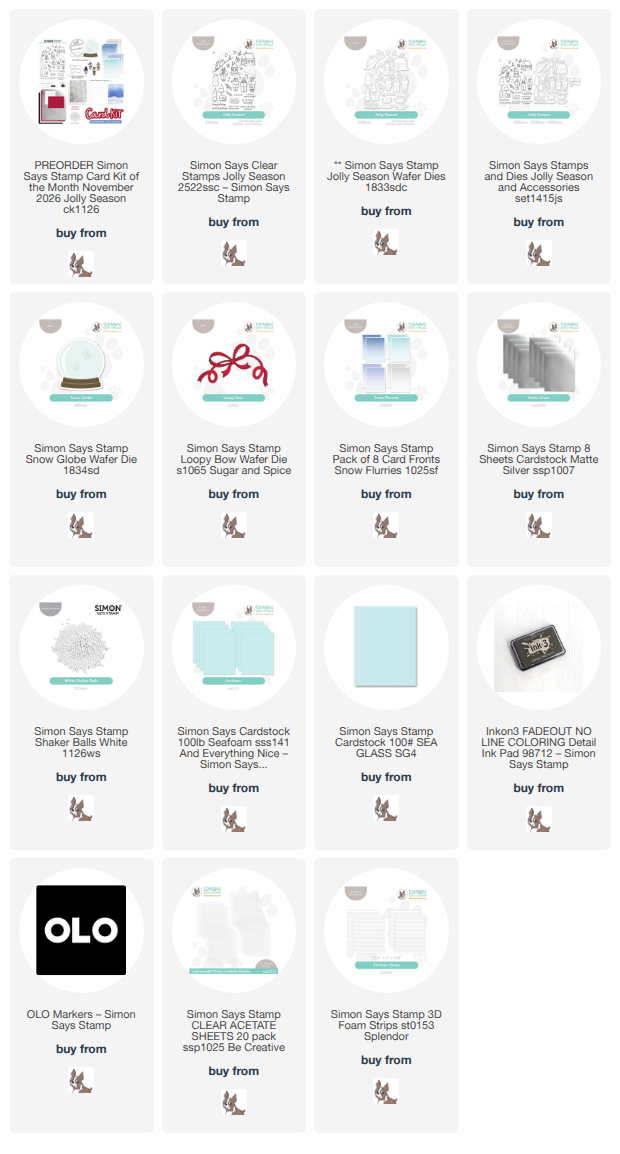
Hi friends! We are officially in holiday crafting mode around here, and the new Simon Says Stamp November Card Kit (click HERE to see all of the details!) is sure to inspire the most wonderful holiday cards! The new Jolly Season kit is filled with lots of fun ways to create beautiful holiday cards with a whimsical twist. Here’s a sneak peek at the kit:

An adorable stamp set, stencils, dies, embellishments, tools…. this kit is full of creative holiday goodies! A la carte, these items would retail for over $80, but the kit is available as a curated set for only $44.99! You can also become a monthly kit subscriber to receive an even better discount! (Click HERE to see the subscription details.) I shared a whimsical and bold project with carolers and a vibrant color palette HERE, but today’s card is a super fun shaped shaker snow globe card. Let’s get started with the details!
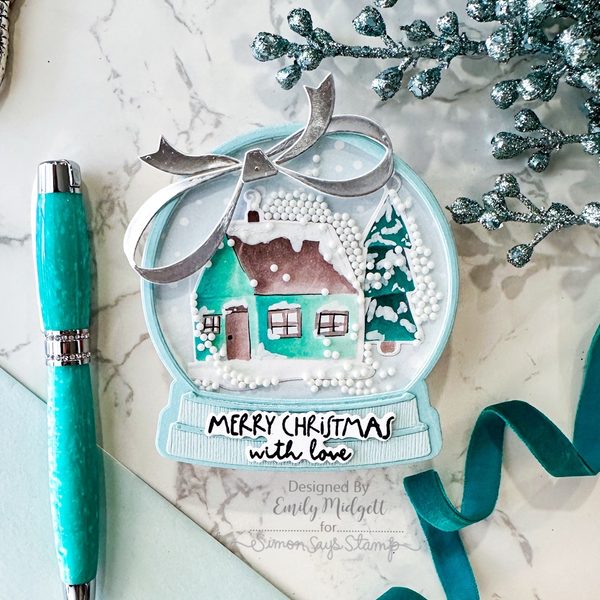
To start, I die cut the solid snow globe from the new Snow Globe Die set included with the kit using one of the new Snow Flurries Card Fronts, as well as a solid acetate shape. These two pieces will hold in the shaker bits for our shaped shaker card! I used the solid and detail layers with two different shades of aqua cardstock to create the rest of the shaker card front, adhering everything but the Snow Flurries die cut with liquid adhesive.
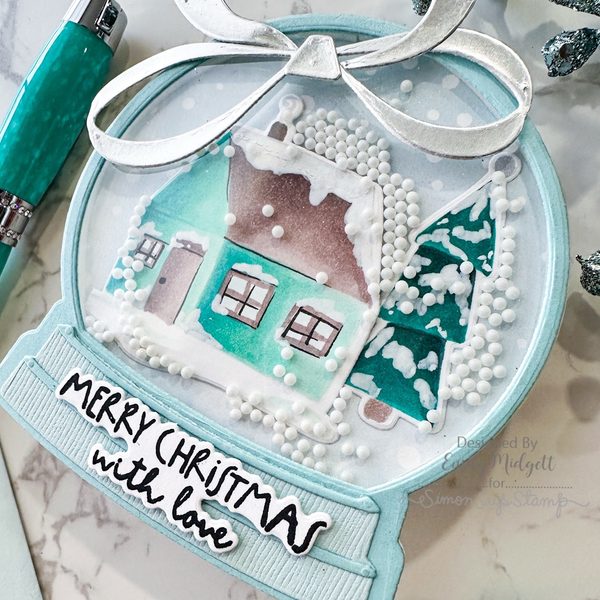
I stamped the house and tree from the new Jolly Season stamp set using no-line coloring ink. I used alcohol markers in shades of teal and brown to color the images, adding some snowy details with a white paint pen and sketchy lines with a black fine-tipped pen. I die cut the finished images with their coordinating dies and placed them on the die cut snow globe backer with liquid and foam adhesive. Before putting all of the snow globe pieces together, I added strips of foam adhesive using the Simon Says Stamp 3D Foam Strips (included with the kit) all the way around the circular opening to create plenty of space for my shaker beads! I filled the opening with the White Shaker Balls (also included with the kit) and sealed everything up.
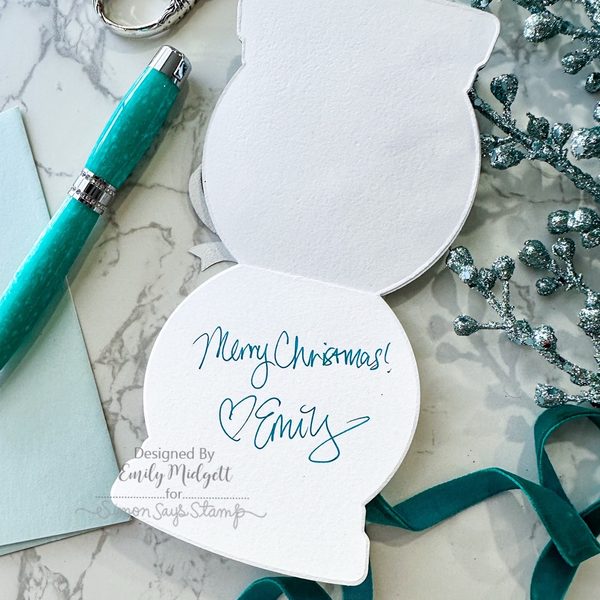
To create the shaped card base, I created a typical A2 card base, then strategically placed the solid snow globe die on the card, making sure that the fold was beneath the edge of the die so that the top of the die cut was on a hinge. I adhered the snow globe shaker to the front of this shaped card base with super strong double sided adhesive.
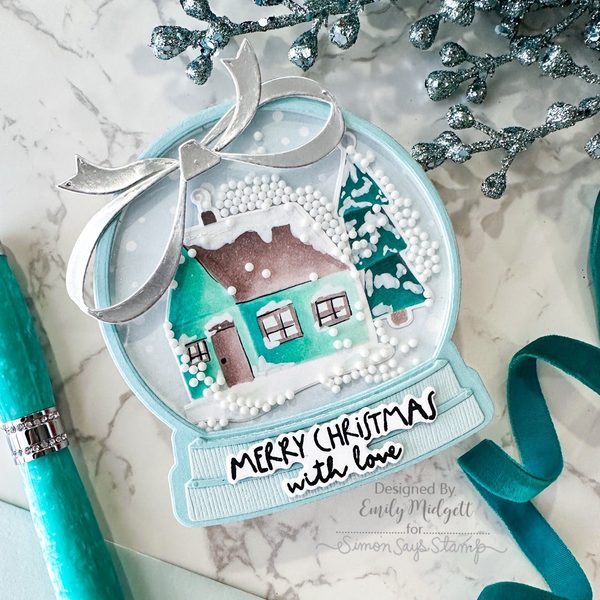
After I had finished creating the snow globe shaker and card base, I decided to add a bit of extra whimsy and metallic shine to the card front with floppy bow! I used the Matte Silver Metallic cardstock included with the kit to cut the Loopy Bow die set. I added the bow’s pieces to the top of the snow globe at a jaunty angle, leaving off the longer ribbon die cuts to make sure that the house and tree were visible. Finally, I added a simple stamped greeting from Jolly Season using thin foam squares!
Well, that’s all for my project today!
The Simon Says Stamp Card Kits are such an incredible value; the value of the individual elements of each kit equals far more than the $44.99 price tag, so you’re getting incredible bang for your buck. If you are consistently interested in the Simon Says Stamp Card Kit of the Month, you can sign up HERE to become a subscriber for an even bigger discount on these carefully curated products. As always, Simon also makes each individual element of the kits available a la carte, so that you can pick and choose what you would like to purchase if buying the entire kit isn’t really your thing. Options galore! Who can say no to such incredible value though, right?
Thanks so much for stopping by today, and have a marvelous day!