Hi friends! I am up on the Pinkfresh Studio YouTube channel today with a new video featuring a fun letterpress technique using white ink on colored cardstock (yes, letterpress on colored cardstock!) as well as some beautiful monochromatic images that I’ve created using some selective stenciling. You can watch the video below or HERE on YouTube:

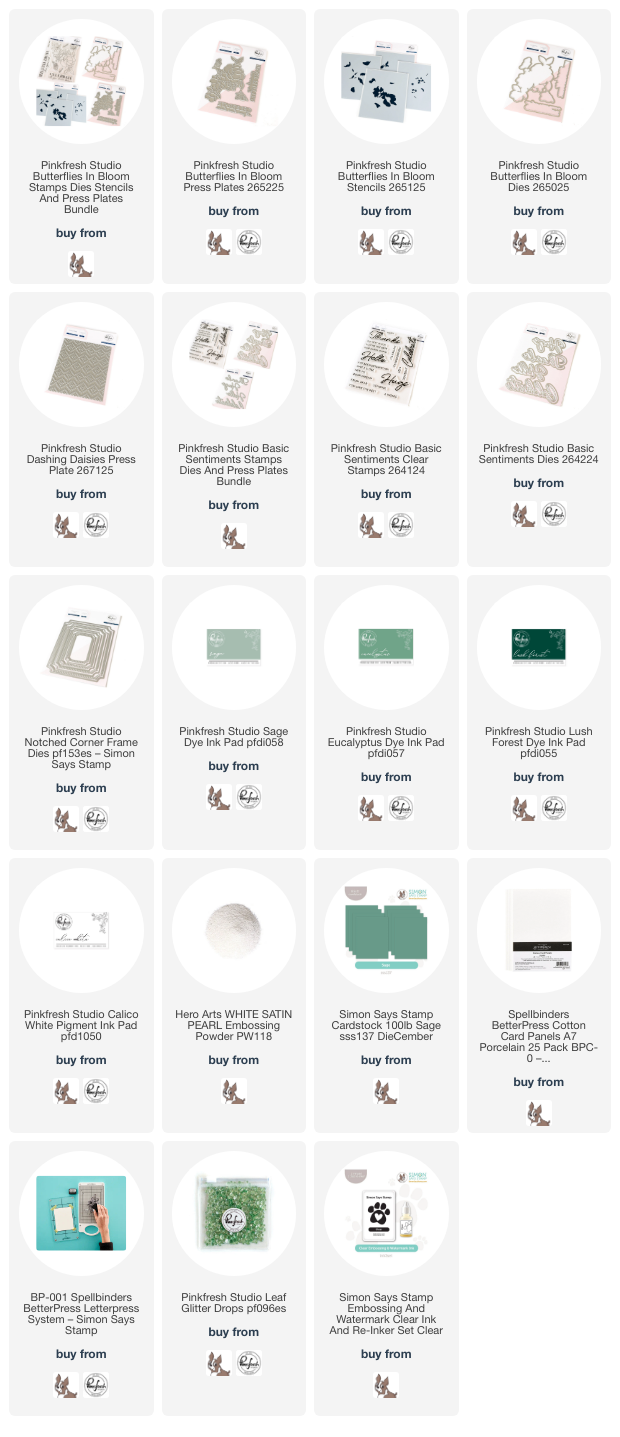
In case you can’t watch the video, I will give a quick explanation of my process. To start, I used Eucalyptus Ink from Pinkfresh Studio to impress the Butterflies in Bloom Press Plate onto some white letterpress paper. This letterpress suite impresses a gorgeous floral bouquet and some standalone butterflies that you can use to create a charming visual triangle on your card front! I used Sage, Eucalyptus, and Lush Forest ink with the Butterflies in Bloom Stencils. These stencils create a very graphic overall feel when used in their entirety, but for this card, I wanted to add some very subtle color, creating almost “white” blooms surrounded by dense, dramatic green foliage and no other colors accenting the main images, so I made sure to avoid the butterfly stencils and used a light hand with the Sage and Eucalyptus inks on the main flowers. After I had finished stenciling, I used the coordinating one-go die to die cut all of the images with one pass through my die cut machine!

For the background, I die cut a plain notched rectangle from Simon Says Stamp Sage Green cardstock using the Notched Corner Frames die set. Because colored cardstock is not quite thick enough to use with press plates on its own, I used a trick that I learned from the talented Carissa Wiley: use light-tack tape to adhere a piece of thick watercolor or letterpress cardstock behind your colored cardstock, then letterpress as you would normally. For this card, I wanted to keep the area behind the light flowers a consistent sage green, so I used the Dashing Daisies press plate with Calico White ink. The inks from Pinkfresh Studio work beautifully with the press plates; because the Calico White ink has a very soft foam pad, it is important to use a very light hand when adding ink to your plate so that you don’t get ink where you don’t want it. I inked up the plate with the white ink, then ran it through my Better Press system on the green Notched Corner Frame die cut.

For the greeting, I stamped two different images from the Basic Sentiments stamp set onto some more of the Sage cardstock using White Calico ink, then stamped again directly over the top with embossing ink and added some White Satin Pearl embossing powder. The embossing powder adds a lovely shimmer and enhances the white stamped image. I trimmed the “you’re the best” with a trimmer, die cut the large “thanks” with the coordinating die, then began arranging the die cuts on my card front. I adhered everything with different heights of foam adhesive squares to keep things interesting visually, then added a few sparkling Glitter Drops: Leaf on the card front for one last touch of shine!
Well, that’s all for my project today! If you’ve never tried doing letterpress on colored cardstock, I highly encourage you to give it a try. It’s so simple, and it opens up a whole new world of possibilities! Thanks so much for stopping by today, and have a marvelous day!