Hi friends! Today, Pinkfresh Studio is hopping along to celebrate not only their new Delightful release, but also their tenth anniversary! How exciting is that?! We have a blog hop chock full of inspiration and prizes, as well as a fun freebie available while supplies last. I have two projects bursting with peachy pink color and fun, sparkling details to share with you today, so let’s get started with the details!

Whenever I am stuck for how to start a project, I head to my Pinterest board for color combinations. From there, I match inks and cardstock and color mediums and begin to get a picture of what the finished project will look like in my head! I selected one of my color combination pins, then plucked Cherry Blossom, Peony, Raspberry Bliss, and Lush Forest inks to use with the new products.

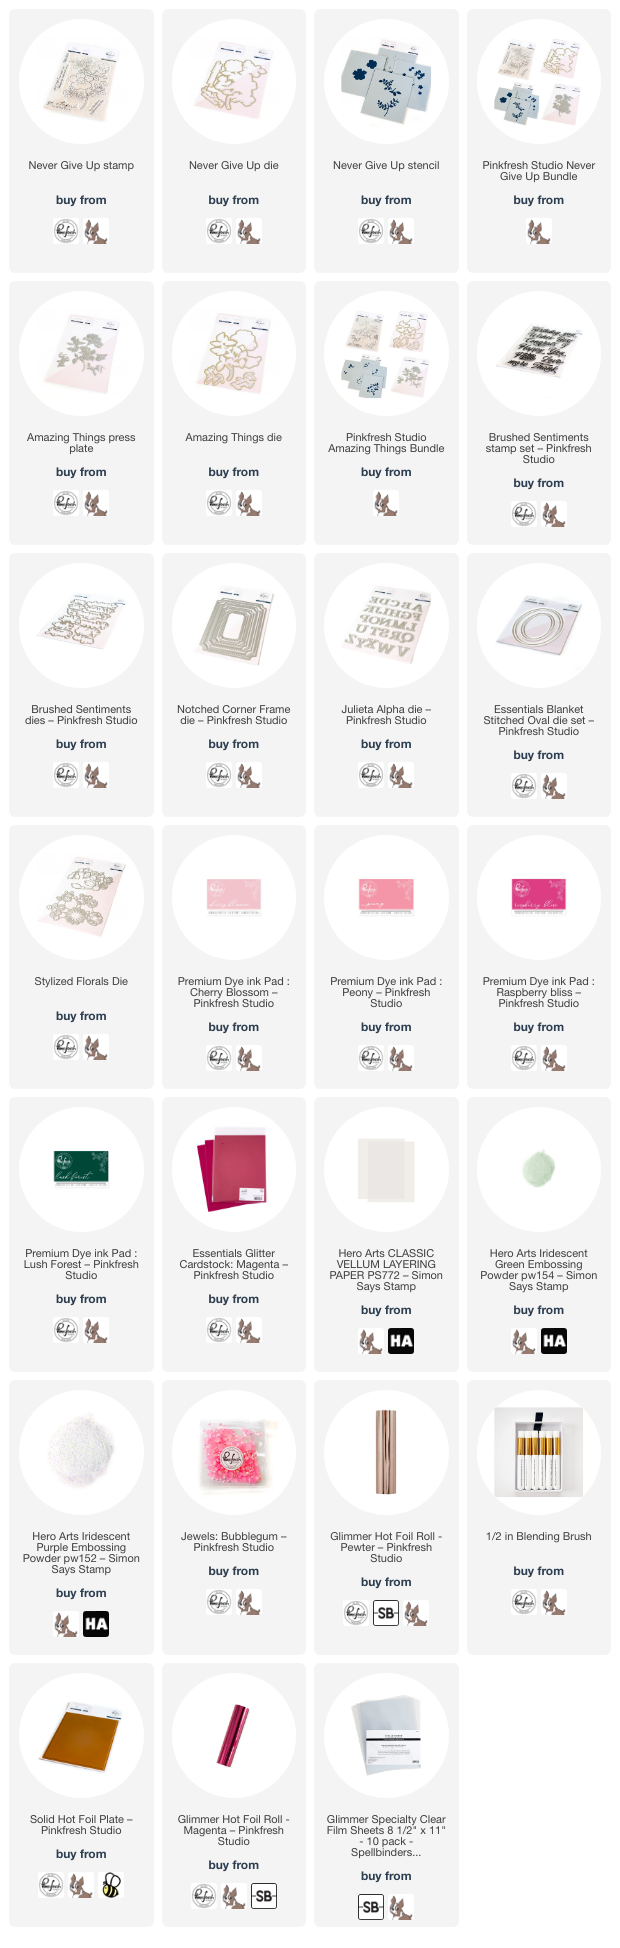
For my first project, I used my MISTI to emboss the main image from Never Give Up with Hero Arts Iridescent Green embossing powder around the edges of a white A2 card front, creating an intricate floral border. I also heat embossed the floral bouquet in its entirety on a separate panel of white cardstock, again with the Hero Arts Iridescent Green embossing powder. I used blending brushes to blend Cherry Blossom, Peony, Raspberry Bliss, and Lush Forest inks with the coordinating Never Give Up layering stencils on the images around the edge of the card front and on the separate image. I used the coordinating dies to die cut the standalone image.
Once I had finished blending with the stencils, I used a larger blending brush to blend the Peony and Raspberry Bliss inks around the edge of the card front, creating a soft pink glow around the clean center.

For the greeting, I die cut one of the dies from the Notched Corner Frame die set from some Hero Arts vellum. Using semi-transparent vellum allows you to add another layer of height without really adding any additional weight to the card front. I heat embossed one of the greeting from Never Give Up using more of the iridescent green embossing powder, then die cut it and used residual ink left over on the blending brushes to add a bit of peachy color to the die cut. I also die cut “MOM” with the Julieta Alpha dies from Magenta glitter cardstock to create a custom Mother’s Day sentiment. (Alpha dies are always nice to have on had so that you can create unique and sometimes unexpected greetings with simple sentiment stamps!) I popped up the greeting pieces on the vellum die cut using foam adhesive, then trimmed the individual flowers from the stenciled Never Give Up die cut and arranged them so that they were in the foreground framing the greeting. A few Bubblegum jewels finished it off!

For my second project, I wanted to put to use the beautiful new Amazing Things press plate. I cannot get enough of hot foiling with the press plates, as the coating for the letter press seems to help give almost flawless results with hot foil. I hot foiled the main image from Amazing Things onto the center of an A2 white cardstock panel using Pewter foil. I used OLO markers to color the image in magenta and peach tones to coordinate with the color palette from the first project. Once I had finished coloring the image, I trimmed the panel down slightly and used blending brushes to blend Cherry Blossom, Peony, and Raspberry Bliss ink around the edge of the card front, creating a soft halo around the colored image. I carefully splattered some shimmering glitter watercolors around the edge of the blended area, then mounted the entire panel in the center of a piece of A2 Magenta glitter cardstock.

To create the greeting, I hot foiled one of the sentiments included with the Amazing Things press plate set, then used the negative leftovers with the Solid Hot Foil Plate to create a reverse white on pewter sentiment, which I cut with the coordinating die. I die cut a vellum oval using the Blanket Stitched Ovals die set and let it hang over the edge of the card front, trimming off the excess. I created a custom colored bow by using one of the same pink markers used to color the image to color some plain white silk ribbon in my stash. I tucked the bow beneath the vellum oval with some liquid adhesive, then added a smattering of Bubblegum jewels for added sparkle!

To celebrate ten marvelous years of Pinkfresh Studio, they are offering a free gift with purchase while supplies last! The gorgeous Make a Wish press plate will not be available for individual purchase, but as a free gift with your purchase of $50 or more! I created a fun shaker card using the new Make A Wish press plate as a hot foil plate.

I love using press plates as hot foil plates, and I think it is so fun and unique to use them with heat-resistant acetate. I used some magenta foil with the new Make A Wish press plate freebie on some Spellbinders Glimmer Specialty Film Sheets to create a detailed foiled overlay for my shaker window. I used the same Cherry Blossom, Peony, and Raspberry Bliss inks to blend around the edges of my A2 card front, helping to add some interest behind the foiled window. I die cut the foiled acetate background using the Notched Corner Frame die, then created a frame from some Magenta glitter cardstock and adhered the two together. I added a continuous line of foam adhesive around the back side of the frame and filled my shaker with some coordinating pink sequins from my stash.

For a simple birthday greeting, I stamped the Brushed Sentiments stamp set with Raspberry Bliss ink, then stamped directly over the top with some sticky embossing ink and added some Hero Arts Iridescent Purple embossing powder over the top to create a custom-colored embossed sentiment. I die cut the greeting with the coordinating dies and used some residual ink on the blending brushes to add some color to the die cut edges. I embellished the greeting with a few pink Stylized Florals die cuts, adding some Bubblegum jewels for a bit more sparkle!
Well that’s all for my projects today. Now for some fun giveaway information!
Pinkfresh Studio will be giving away the full release on the Pinkfresh blog & YouTube channel. They will also be giving away a total of TEN $25 gift cards along the hop. The winners will be selected from the comments across the hop participants. Winners will be posted on May 7, 2024 on our GIVEAWAY PAGE. Winners must check that page & claim their prize within 2 weeks.
Here’s the full hop list in case you get lost:
Thanks so much for stopping by today, and happy hopping!