• Skip to main content
  • Skip to primary sidebar
  • Skip to secondary sidebar

Sixth Street Sundries

Emily Midgett

  • Home
  • About Me
  • Contact
  • OLO Marker Color Swatch Chart
  • Shop

solid hot foil

New Projects with Pinkfresh Studio!

July 24, 2024

Hi friends! I have a couple of different posts on the Pinkfresh Studio Blog to which I wanted to direct you!

You can check out the details on this shabby chic project HERE:

And you can check out my project from today HERE:

Two totally different vibes with lots of different textures and techniques! I hope you’ll check them out! 🙂

Thanks so much for stopping by today, and have a marvelous day!

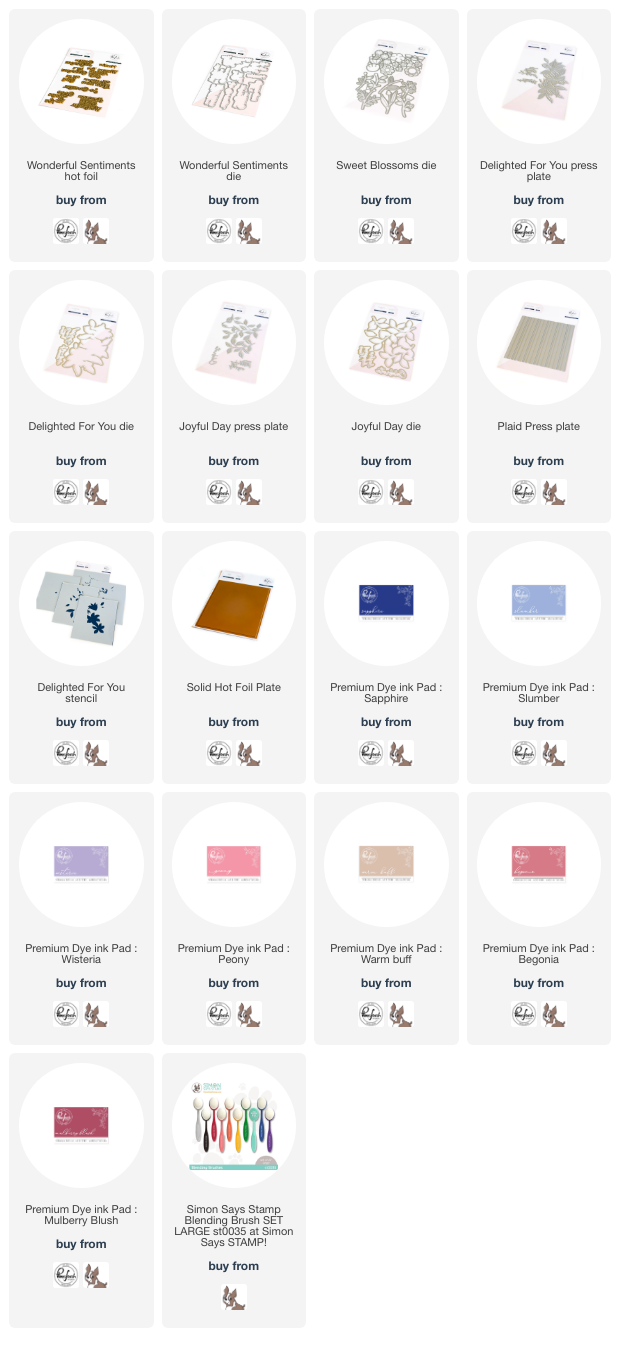
Products used in both posts:
(Affiliate links used at no extra cost to you-thank you!)
Filed Under: pinkfresh studio Tagged With: better press, hot foil, ink blending, joyful day, plaid press plate, solid hot foil, sweet blossoms, wonderful sentiments

VIDEO: Pinkfresh Studio Window Card with Die Cuts and Hot Foil!

February 21, 2024

This video was sponsored by Pinkfresh Studio. Thanks, Pinkfresh!

Hi friends! I am up on the Pinkfresh Studio YouTube channel today with this fun monochromatic window card, complete with hot foiled and die cut accents. You can check out the video below or HERE on YouTube:

This shaped card features a fun window on the card front that I backed with some foiled acetate and adorned with some floral die cuts in monochromatic shades of aqua. Let’s get started with the details on my project!

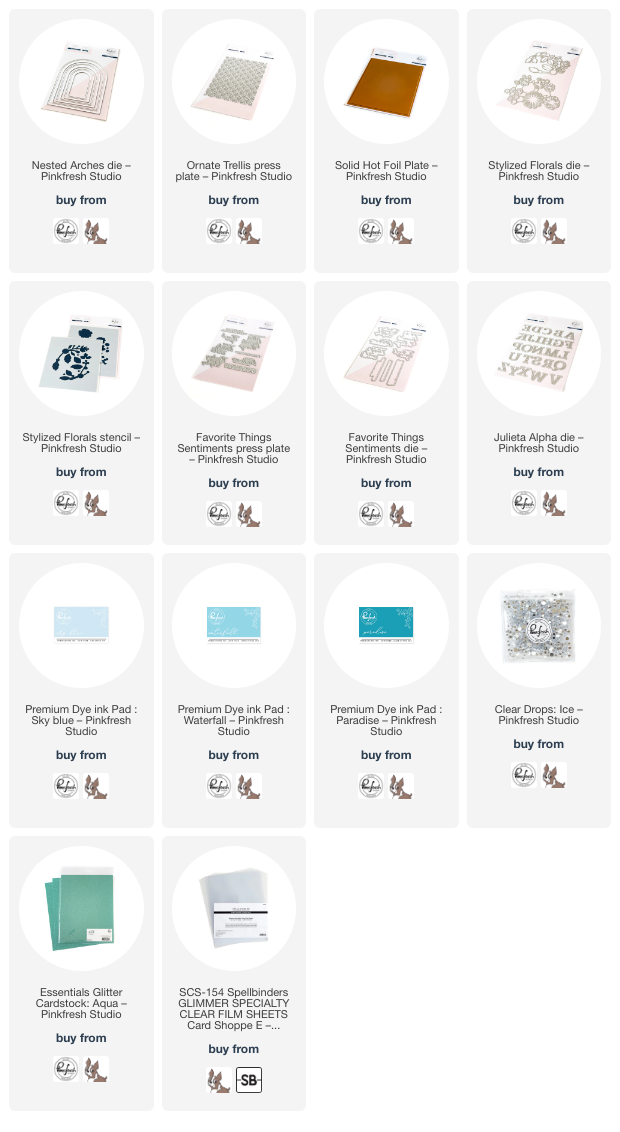
I began by die trimming down a panel of icy blue cardstock to 6″ x 4.25″, then using a score board to score a fold 1/2″ away from the top, creating a lip upon which I would later adhere the back of my card base. The plates on my die cutting machine are pretty beaten up, so I used two separate panels to create my top-folding A2 card base in order to keep the back panel as clean as possible. After I had scored the top fold, I used a die from the Nested Arches Die set to cut a window from the center of the front card panel. To fill in the open window, I used an acetate panel that I had created previously using the Ornate Trellis Better Press Plate and the Solid Hot Foil Plate. I love using heat-resistant acetate with the Solid Hot Foil Plate and leftover hot foil pieces; the super smooth surface of the acetate hot foils the solid foil pieces with immaculate results. I backed the open window with the hot foiled piece, adhering it with some super strong double sided tape.

Once I had created my card base, it was time to embellish my card! I used the Stylized Florals Stencils with Sky Blue, Waterfall, and Paradise inks, keeping my aqua blue monochromatic color palette true throughout the process. I die cut the individually-stenciled flowers in one fell swoop with the one-piece Stylized Florals Dies, then cut the foliage from another panel of icy blue cardstock as well as some Aqua Glitter Paper. I adhered the die cuts together on the die cut foliage swag, using the color-printed schematic in the product packaging as my guide for placement. To add a bit more interest to the layers of the flowers, I added a smattering of Ice Clear Drops to the centers of a few of the flowers, adding one more element of texture and shine.

For the greeting, I used a silver hot foiled sentiment from the Favorite Things Sentiments Better Press set. This sentiment set is one of my favorites from Pinkfresh Studio; it features so many lovely sentiments, making it truly all-purpose! I used some residual ink left over on my blending brushes from my stenciled flowers to blend over the silver-foiled sentiment die cut to continue my monochromatic aqua color palette throughout the card. I thought this sentiment worked perfectly for a birthday card, so I also used some deep teal cardstock to die cut HBD using the Julieta Alpha Dies. (In the video, I share a trick for adhering alphabet die cuts in a perfectly straight line!) I popped up the greeting die cuts with foam adhesive, completing the card!

Well, that’s all for my project today. I just love a good monochromatic card, don’t you? It’s such fun to find new ways to keep things texturally and visually interesting while still staying in the same color family! Thanks so much for stopping by today, and have a marvelous day!

Filed Under: pinkfresh studio Tagged With: better press, favorite things, glitter cardstock, hot foil, ink blending, julieta alpha die, layered stencil, nested arches, ornate trellis, solid hot foil, stencil, stylized florals, window card

Pinkfresh Studio March Challenge-Layers!

March 8, 2023

Hi friends! March has begun, so we are introducing a new challenge over at Pinkfresh Studio. This month, our theme is Layers. This theme was pretty darn easy for me, as I layer layer layer on pretty much all of my cards…Creating a flat card is so difficult for me! I love foam tape and I cannot lie. I used a variety of older products, including my Magnolia stamp set, which is great fun for watercoloring. Let’s get started with the details!

I began by heat embossing all of the images from one of my favorite sets that I’ve illustrated for Pinkfresh Studio: Magnolia! I used white embossing powder to emboss the one-and-done stamp. (I love that you only have to stamp once to stamp all of the images included in this set! So quick and easy.) When I want to create a softer look, I reach for the lighter embossing powders, like white or white satin pearl. It helps to give the softness of no-line coloring, but with the ease of having those raised ridges to make your watercoloring a little simpler. I heat embossed the images on the smoother side of some Arches cold press watercolor paper, then used my Daniel Smith watercolors to add some soft painting in shades that coordinated with the color scheme for this month’s challenge. I made sure to add some pale turquoise watercolor around the edges of my images so that the die cuts would have that finished, polished look on the eventual card front. I used the coordinating one-and-done die to cut out my watercolored magnolia flowers.

Because this month’s challenge was layers, I turned to my dies to see what dies I could layer beneath the pretty pink blooms to create subtle layers without overwhelming the card. I always like to have some subtle texture behind my flowers to help add interest, and I usually achieve this with either tone-on-tone cover plate die cuts or adding stitched texture with a cover plate, so I thought why not combine the two techniques? I wanted to use the Simply Hexagons Cover Plate Die, so to coordinate with the hexagon shapes in the cover plate, I also pulled out the Hexagon Tiles Cover Plate die, which adds a beautiful stitched pattern to your solid cardstock. I used a favorite shade of icy pastel blue cardstock for both die cuts, creating a tone-on-tone background for my pretty pink blooms.

To create a ground for my floral bouquet, I die cut a small Essentials: Ornate Banner die from some vellum. The die cut shape itself provides a bit of a ground around which my floral bouquet can shape itself, while the semi-transparent vellum does not had any extra bulk. I arranged my die cut and watercolored flowers around the corner of the vellum, adhering them to the vellum die cut with liquid adhesive and then hiding my foam tape behind the solid die cuts. I also added a few iridescent white leaves cut using the Curvy Leaves dies (another layer!), tucking them in amongst the floral bouquet. For the greeting, I used one of my previously-hot foiled Brushed Sentiments greetings, foiled using the “leftovers” and the Solid Hot Foil Plate. I popped that up with a double layer of foam tape to help the greeting stand out even more, then added a few sparkling Blush Glitter Drops for one last layer and bit of sparkle!

Well, that’s all for my project today. The Pinkfresh Studio March 2023 Challenge runs through March 28, 2023, and there is a $50 shopping spree up for grabs! Simply create your own project (or projectS!) with lots of layers, and link them up to the challenge before 3/28 to be eligible to win. Thanks so much for stopping by today, and have a marvelous day!

Filed Under: pinkfresh studio Tagged With: brushed sentiments, challenge, curvy leaves, Daniel Smith, hexagon, hexagon tiles, hot foil, magnolia, ornate banner, solid hot foil, watercolor

Pinkfresh Studio Holiday 2022 Release Blog Hop + Giveaway!

September 12, 2022

It’s that time again… time for Christmas crafting to get into full swing!! I am in love with the new Pinkfresh Studio Holiday 2022 collection… so many beautiful new stamps, dies, hot foil plates, and stencils, with elegant, timeless themes and images that will last for years! We are hopping along to inspire you today (you can find the full hop list at the bottom of this post), and I have two projects to share with you, so let’s get started with the details!

If you’ve followed my blog for any length of time, you’ll know that one of my most favorite things about crafting is color. I love to use dramatic and unexpected color combinations… but I also equally love white space and allowing texture and height to be the star of the show. These cards combine my love of brilliant color with that gorgeous white space. For all of my cards, I kept the color scheme to a bold and unique holiday color scheme of hot pink, lime green, and crisp white, with some metallic shine thrown in for some extra holiday festiveness!

I began my first card by heat embossing the images from the new Holiday Elements stamp set using white pearl embossing powder on white cardstock. I then added lots of color to the images using the coordinating Holiday Elements stencils, using blending brushes and Raspberry Bliss, Bubble Gum, Sparkling Rose, Key Lime, and Grassy Knoll inks from Pinkfresh Studio. The hint of metallic shine from the pearlescent embossed lines is so festive! I die cut the finished images using the coordinating Holiday Elements die.

For the greeting, I combined the fabulous new Merry and Bright Hot Foil Plate and coordinating die with the Solid Hot Foil Plate. The Solid Hot Foil Plate leaves the negative space from the original image the color of your cardstock, so these chunky white letters framed by hot pink glittery foil worked perfectly with the crisp white accents of the stenciled images.

I trimmed down a white slimline card base, then added a label from the Slim Ornate Banner die set, popping it up with foam adhesive. I arranged the holiday images and greeting on the card front, allowing some to spill over the sides, and adhering them with single and double layers of foam tape to add lots of height and dimension to the card front. I also added a few glittering foliage die cuts, cut using the Dainty Blossoms dies. The final touch was to add some sparkling Bubblegum gems to help add one last element of holiday sparkle!

My second project features the new Ornaments Hot Foil Plate with the coordinating Stencils and Dies. I used the same ink shades from the previous project (Raspberry Bliss, Bubble Gum, Sparkling Rose, Key Lime, and Grassy Knoll) to add lots of vivid color to the hot foiled ornaments. I also paired the leftover foil piece with the Solid Hot Foil Plate, creating solid metallic foil ornaments!

For the greeting, I used Olive, Key Lime, and Grassy Knoll inks to blend sentiments from the brand new Brushed Sentiments: Holiday stencils. These sentiments are *so* unique and the font is absolutely gorgeous!! I die cut the finished stenciled images with the coordinating dies, and because of the multi-sentiment layout of the stencils, I was able to stencil and die cut a ton of greetings in one fell swoop! I always love this feature of the Pinkfresh Studio product suites, but it’s especially handy for holiday crafting, don’t you think? If stenciling isn’t your favorite thing, it is especially nice that there are also coordinating Brushed Holiday Stamps and Brushed Holiday Hot Foil Plates available, so you have tons of options depending on your area of interest!

I die cut a crisp white background using the Diagonal Stitched Plaid die, as well as a glittery gold frame from the Mini Slimline Stitched Scalloped Rectangle die, which I trimmed down slightly and popped up on the plaid die cut card front using foam tape. I arranged the ornaments on the card front, clustering them together as though they were hanging from the ceiling from different lengths, and adhering them using foam tape and liquid adhesive. Finally, I added the Brushed Sentiments: Holiday greeting using a double layer of foam tape so that it really stands out from the colorful background images. The final touch was a few Emerald City Gems for some more sparkle!

Well, that’s all for these projects. Now for some fun giveaway information!

Pinkfresh Studio will be giving away the full release on the Pinkfresh blog & YouTube channel, so be sure to check those out!  They will also be giving away a total of TEN $25  gift cards along the hop. As per usual with blog hops – the winners will be picked from the comments. The winners will be announced on September 20, 2022 on our GIVEAWAY PAGE. Winners must check that page & claim your prize within 2 weeks.

Here’s the full hop list so that you can check out the masses of inspiration to jumpstart your holiday cardmaking! Thanks so much for stopping by today, and happy hopping!

You are invited to the Inlinkz link party!

Click here to enter

Filed Under: pinkfresh studio Tagged With: brushed sentiments, christmas, holiday, holiday elements, merry and bright hot foil, ornaments hot foil, poinsettia, slimline, solid hot foil

Primary Sidebar

  • Facebook
  • Instagram
  • Pinterest
  • YouTube

Favorite Shops

Secondary Sidebar

Subscribe

Enter your email address to subscribe to this blog and receive notifications of new posts by email.

Instagram
Something is wrong.
Instagram token error.
Follow
Load More

Archives

Tags

3D embossing folder alcohol markers better press birthday birthday card blog hop card kit christmas christmas card christmas tag colored pencil copic copic coloring Daniel Smith die cutting embossing folder embroidery felt giveaway holiday holiday card hot foil ink blending karin brushmarker pro layered stencil masculine my monthly hero new release no line coloring no line watercolor OLO marker olo markers original illustration pawsitively saturated rainbow shaker card slimline stamping stamptember stencil thank you thinking of you valentine's day video watercolor

Popular Posts

Simon Says Stamp Sending Cheer Blog Hop- Day 2 + Freebie + Giveaway!
Altenew October 2026 Release Blog Hop + Giveaway!
Rustic Monochromatic Stars for Christmas with Rainbow Splash!
March 2020 Essentials By Ellen Blog Hop+Giveaway!
December 2018 My Monthly Hero Blog Hop + Giveaway!
The Ton Stamps Summer Release: Day 1
Waffleflower July Release Blog Hop!
Hero Arts Partners Blog Hop: Lawn Fawn!
Simon Says Stamp STAMPtember Tim Holtz Collaboration: Festive Holidays!
Altenew Exotic Garden Stamps/Dies/Stencils/Embossing Folders Collection Release Blog Hop + Giveaway

Disclosure

Some affiliate links are used in my posts. This means that, should you click on one of my links and purchase something from that company, I will receive a small portion of the sale at no extra cost to you. I use the money earned from these sales to help maintain my blog. I so appreciate you visiting and, if you do choose to use one of my affiliate links, thank you so much for your support!
Copyright © 2026 ·Brunch Pro Theme · Genesis Framework by StudioPress · WordPress · Log in
Loading Comments...