• Skip to main content
  • Skip to primary sidebar
  • Skip to secondary sidebar

Sixth Street Sundries

Emily Midgett

  • Home
  • About Me
  • Contact
  • OLO Marker Color Swatch Chart
  • Shop

wonderful sentiments

New Projects with Pinkfresh Studio!

July 24, 2024

Hi friends! I have a couple of different posts on the Pinkfresh Studio Blog to which I wanted to direct you!

You can check out the details on this shabby chic project HERE:

And you can check out my project from today HERE:

Two totally different vibes with lots of different textures and techniques! I hope you’ll check them out! 🙂

Thanks so much for stopping by today, and have a marvelous day!

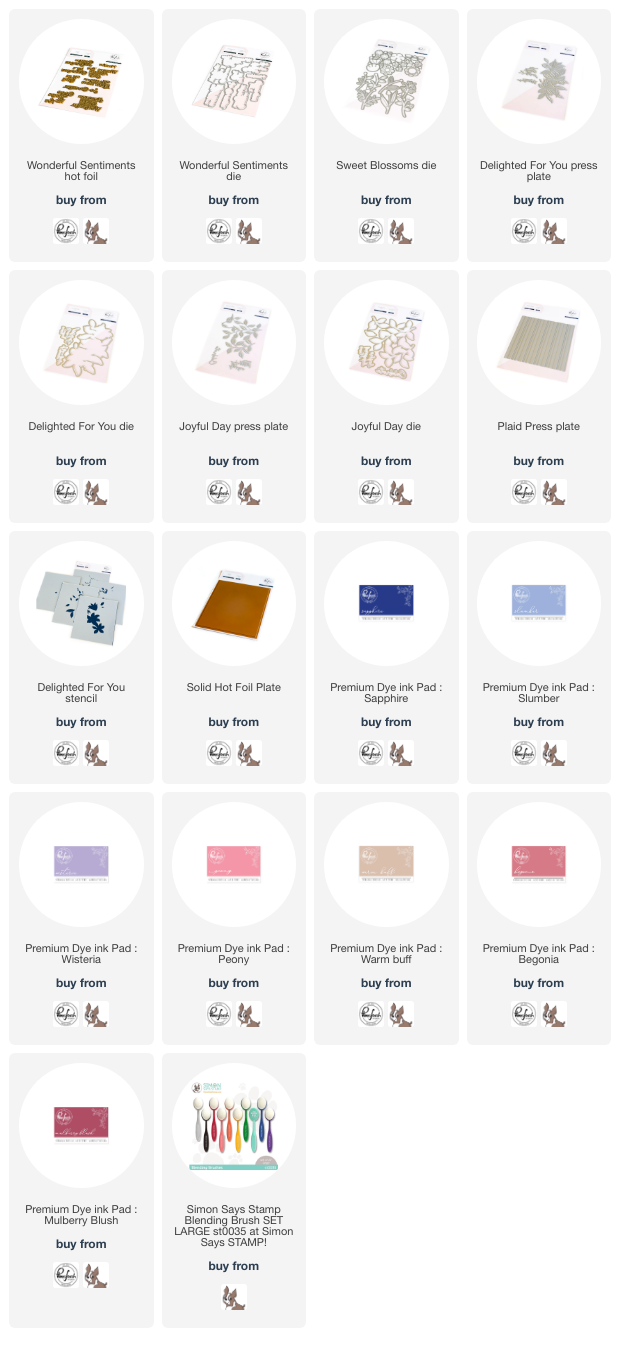
Products used in both posts:
(Affiliate links used at no extra cost to you-thank you!)
Filed Under: pinkfresh studio Tagged With: better press, hot foil, ink blending, joyful day, plaid press plate, solid hot foil, sweet blossoms, wonderful sentiments

VIDEO: Monet-Inspired Loose Watercoloring with Pinkfresh Studio Premium Dye Ink Pads

May 13, 2023

Today, I am over on the Pinkfresh Studio YouTube channel sharing a project inspired by that most classic of fine art pieces: Monet’s Water Lilies! Using ink blending, some loose watercoloring, a little vellum, and lots of watercolor “blooms,” I have created this ethereal watercolored card using the Beautiful Blooms stamps and some Pinkfresh Studio Premium Dye ink pads! Check out the video below:

Or you can click HERE to watch in HD on YouTube.

I have always loved Monet’s Water Lilies painting, with it’s ethereal, dreamlike aesthetic, and so I attempted to channel that look with my loose watercoloring for today’s project. I began by doing some very simple blending on some watercolor paper using Candy Violet (for the lilies), Meadow (for the lilypads), and Blue Jay inks, then spritzing the blended panel with water and moving the color around with my wet paintbrush. The water-based dye inks will still move on the watercolor paper, giving you another option for use!

Once I had finished my blending, I set aside the panel to dry and then heat embossed one of the floral trio stamps from Beautiful Blooms onto some more watercolor paper using white embossing powder. After heat embossing, I covered the panel in clean, clear water in order to do some wet-on-wet watercoloring. I tapped out the three shades of ink used on my blended background panel onto my glass mat, then diluted them and dropped them onto my very wet panel of watercolor paper, paying very little attention to where they were supposed to go and spilling the colors over the edges of the images, which allows me to avoid the pesky white edge on the finished die cuts!

After my initial layer of diluted color had dried, I went back in with more concentrated color to enhance the colors of the individual images, again employing the wet-on-wet technique by wetting only the image that I wanted to enhance and dropping in the color, allowing the pigment to bloom on the wet watercolor paper. I die cut the finished images with the handy dandy one-piece coordinating die.

With my blooms complete, I turned my attention back to the background, now dry. The blended background colors were a bit more intense than I initially had envisioned, so to help soften the background, I placed a full size A2 panel of heavyweight vellum over the top, which immediately softened the colors and made the blending even more ethereal than before! I added an iridescent white shimmer die cut frame over the top, cut using the larger frame from the Art Deco Frame die. For the greeting, I searched my stash of hot foiled sentiments to find one that tucked into my watercolored bouquet nicely, finally settling on a sentiment created using the Wonderful Sentiments Hot Foil Plate and Coordinating Die set and the Solid Hot Foil Plate. I adhered everything over the top of the blended, vellum background with some foam tape, then added a few iridescent drops for some more sparkle!

Well, that’s all for my project today! Thanks so much for stopping by today, and have a marvelous day!

Filed Under: pinkfresh studio, video Tagged With: art deco frame, beautiful blooms, ink blending, monet, solid hot foil plate, wonderful sentiments

More Pinkfresh Studio January 2023 Release Inspiration!

January 24, 2023

Hi there! I am back today with another project that I’m also sharing over on Instagram as part of the Pinkfresh Studio January 2023 Release Instagram Hop. I always love seeing my illustrations become stamps, but I was even more excited when Kinnari (the owner of Pinkfresh Studio) told me that they were going to create a Wonderful In Every Way Hot Foil Plate in addition to the stamp set, stencils, and coordinating die. I am totally obsessed with hot foiling, and seeing my design as a hot foil plate was so exciting! Yesterday, I shared a watercolored project using my new Wonderful In Every Way stamp set (which you can check out HERE), and today I am sharing a project using the Wonderful In Every Way Hot Foil Plate, coordinating layering stencils, and coordinating die. Let’s get started with the details!

Foiling on colored cardstock is one of my most favorite ways to utilize color in my cards. I think that the finished effect of using one shade of colored cardstock throughout the project makes for such a polished, cohesive final product. To that end, I wanted to do some colorful foiling on a shade of super pale apricot colored cardstock using some pretty pink foil using the new Wonderful In Every Way Hot Foil Plate.

I began by hot foiling the large floral image from Wonderful In Every Way Hot Foil Plate twice on a panel of A2 apricot colored cardstock using some bubblegum pink foil. I arranged the image so that it was slightly off the edge of the cardstock both times. I then used the layering stencils with the Peach Fuzz, Coral Reef, Ballet Slipper, Bubble Gum, and Sparkling Rose inks. I kept the focus on the pretty pink blooms, adding just a hint of color and shadow to the foliage with the peachy inks.

I initially planned on making a one layered card with both of the foiled floral swags creating a sort of frame on my pale apricot card front, but I ended up wanting to add a bit of color and texture to the area behind the blooms, so I used the coordinating die to cut the finished foiled and stenciled images out. Because I had hot foiled them on the edges of the same size panel of cardstock, I had a guide for exactly where to place them on my background. I die cut the Dotted Lattice cover plate die from some coordinating matte pink foil cardstock and layered it on another A2 panel of the pale apricot cardstock. I love how this looks almost tone-on-tone, but still it’s so colorful!

I adhered the die cut blooms to the top and bottom of the card front with foam adhesive, using the straight edges as my guide for placement. I always like to coordinate the foil/cardstock combination for the greetings with the focal points, so when I was foiling (I do all of my hot foiling in a big batch so that I have lots of bits and bobs to use later) I made sure to hot foil the new Wonderful Sentiments Hot Foil set using the same foil/cardstock combination so that everything stayed cohesive. I adhered the greeting with a double layer of foam tape to help it stand out even more from the background, then added a few Blossom Glitter Drops for some more sparkle!

Well, that’s all for today’s project! You should take a peek at the hop happening over on Instagram; Pinkfresh Studio is giving away tons of prizes, and we have even more inspiration to share with you using this month’s new release. Thanks so much for stopping by today, and have a marvelous day!

Filed Under: pinkfresh studio Tagged With: die cutting, dotted lattice, hot foil, ink blending, instagram hop, layered stencils, wonderful in every way, wonderful sentiments

Primary Sidebar

  • Facebook
  • Instagram
  • Pinterest
  • YouTube

Favorite Shops

Secondary Sidebar

Subscribe

Enter your email address to subscribe to this blog and receive notifications of new posts by email.

Instagram
Something is wrong.
Instagram token error.
Follow
Load More

Archives

Tags

3D embossing folder alcohol markers better press birthday birthday card blog hop card kit christmas christmas card christmas tag colored pencil copic copic coloring Daniel Smith die cutting embossing folder embroidery felt giveaway holiday holiday card hot foil ink blending karin brushmarker pro layered stencil masculine my monthly hero new release no line coloring no line watercolor OLO marker olo markers original illustration pawsitively saturated rainbow shaker card slimline stamping stamptember stencil thank you thinking of you valentine's day video watercolor

Popular Posts

Simon Says Stamp Joy For You Blog Hop- Day 1!
Simon Says Stamp Joy For You Release-Now Available!
Frozen Fractals All Around with New Simon Says Stamp Joy For You Release!
Shaped Holiday Shaker Card with New Simon Says Stamp Jolly Season Card Kit of the Month!
Holiday Postage with New Simon Says Stamp!
Simon Says Stamp Glory to the Newborn King Holiday Kit-Part II!
Pinkfresh Studio 5th Birthday!
Altenew Build A Flower: Fuchsia Blog Hop+Giveway!
Holiday Joy in Pink and Green with New Simon Says Stamp DieCember!
Honey Bee Stamps September Release Blog Hop!

Disclosure

Some affiliate links are used in my posts. This means that, should you click on one of my links and purchase something from that company, I will receive a small portion of the sale at no extra cost to you. I use the money earned from these sales to help maintain my blog. I so appreciate you visiting and, if you do choose to use one of my affiliate links, thank you so much for your support!
Copyright © 2026 ·Brunch Pro Theme · Genesis Framework by StudioPress · WordPress · Log in
Loading Comments...