Good morning friends! I am hopping along with Pinkfresh Studio today to share inspiration using some of the gorgeous new goodies from the Kindness In Bloom release! This new release is filled with stunning florals in all forms: stamps, dies, stencils, and press plates, but we also have some marvelous new Essentials dies that are going to be staples in your craft room, as well. I have two projects using some beautiful blue tones, so let’s get started with the details!
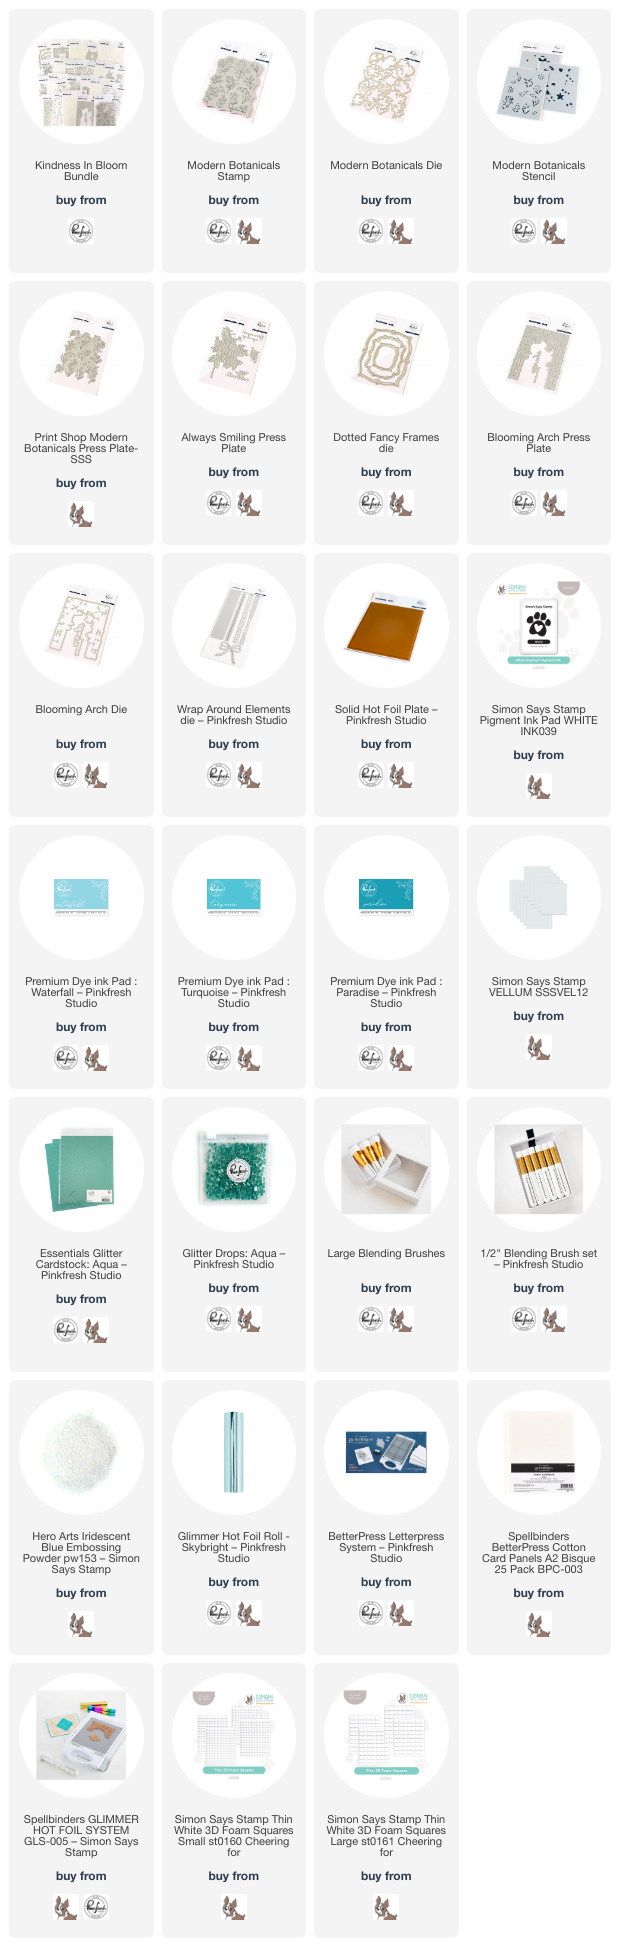
*I have linked all of the products used at the bottom of the post for your convenience using affiliate links. Thank you for shopping with my links! I truly appreciate your support for my work!*

For both of my projects today, I used the new Print Shop Modern Botanicals stamp, die, and stencil product suite (there is also a coordinating Press Plate, but I focused on the stamp set today so that I could do some heat embossing!). To start, I stamped the beautiful Print Shop Modern Botanicals cling stamp twice onto some pale aqua cardstock from my stash using white pigment ink, which I then covered with Iridescent Blue embossing powder to create a shimmery, iridescent, almost tone-on-tone embossed outline. I embossed two of these floral panels in this way: one to use as a background and one to die cut to use as accents for another card!
Before die cutting one of the panels, I used the coordinating stencils with Waterfall, Turquoise, and Paradise inks to add some beautiful monochromatic details to the floral images. After I had finished blending, I used the fabulous one-pass die to die cut all of the flowers in one fell swoop. So convenient!

For my first card, I created a beautifully textured background by pressing the floral bouquet into some more of the lovely pale aqua cardstock. To achieve the textured letterpress look on colored cardstock, I tried a technique that I saw the incredibly talented Carissa Wiley demonstrate. I placed a piece of letterpress paper behind my A2 panel of colored cardstock and used some light washi tape to temporarily adhere the two pieces together. I then used my Better Press system to impress the beautiful bouquet from the new Always Smiling product suite into the corners of my panel. The thick cotton letter press cardstock allows the cushion for the Press Plate to impress the images into the regular colored cardstock! Isn’t that ingenious? Carissa is amazingly clever! After removing the washi tape and letterpress panel, I used a blending brush to blend Turquoise ink around the edges of the panel, enhancing the beautifully detailed letter press images.

To further enhance my card front, I die cut the largest frame from the new Dotted Fancy Frames Essentials die set, placing it in the center of an A2 sized panel of Pinkfresh Studio Aqua Glitter Cardstock. I reserved the die cut frame itself for the next project and instead used foam adhesive to pop up the negative space around the edges of my textured background panel, creating a tone-on-tone glittery shaped frame. I tucked a vellum Dotted Fancy Frame die cut on the bottom right corner of the card and arranged my stenciled Print Shop Modern Botanicals die cuts around a greeting from the Always Smiling Press Plate set, which I foiled onto some more aqua cardstock using Spellbinders’s Skybright foil and die cut with the coordinating die. Finally, I embellished my bouquet with some shiny foil “twine” cut using the older Wrap Around Elements dies and added a few coordinating Aqua Glitter Drops for added sparkle!

My second card is a bit simpler, using some of the leftovers from my first project to create this dainty, monochromatic card. I embellished the full A2 embossed and stenciled Print Shop Modern Botanicals background panel with the leftover Aqua Glitter Dotted Fancy Frames Essentials die cut, adhering it around the edges of the background with some liquid adhesive. I think it is such a pretty addition to the subtle floral background! I also used the smallest die from the Dotted Fancy Frames Essentials die set to cut a piece of vellum, upon which I would build my focal point.

For my focal point, I hot foiled my greeting from the new Blooming Arch Press Plate set, which I created by first hot foiling the sentiment Press Plate, then hot foiling the leftover foil panel using Pinkfresh Studio’s Solid Hot Foil Plate and cutting with the coordinating die. (It looks black in the photo because hot foiled images are so difficult to photograph accurately, but I promise the sentiment is a coordinating pale aqua!) I popped up the sentiment in the center of the vellum piece using foam adhesive, then arranged some leftover Print Shop Modern Botanicals die cuts behind the sentiment. I flipped over the vellum piece and added some thin foam square adhesive behind the solid die cuts in order to keep my vellum piece clean. Finally, I added a few more Aqua Glitter Drops for added sparkle!
Well, that’s all for my projects today! Now for some fun giveaway information:
Pinkfresh Studio will be giving away the full release on the Pinkfresh blog & YouTube channel. They will be giving away a total of TEN $25 gift cards along the hop. The winners will be selected from the comments, so the more comments you leave along the hop, the more chances you have to win!.
Winners will be selected and announced on October 16, 2024 on our GIVEAWAY PAGE. Winners must check that page & claim their prize within 2 weeks.
Here’s the full hop list in case you get lost:
Thanks so much for stopping by today, and happy hopping!