• Skip to main content
  • Skip to primary sidebar
  • Skip to secondary sidebar

Sixth Street Sundries

Emily Midgett

  • Home
  • About Me
  • Contact
  • OLO Marker Color Swatch Chart
  • Shop

timeless sentiments

Altenew Crafty Necessities: Colored Cardstock Instagram Hop!

August 23, 2024

Hi friends! I have some colorful projects using Altenew’s new Crafty Necessities Colored Cardstock, which I also shared as part of the Altenew Crafty Necessities Instagram Hop! I tend to be drawn to the cool blues, purples, and pinks, so I thought I would switch things up for these cards and go for an unusual color palette of coral, red, and aqua using the beautiful gradient shades in the Red Sunset and Sea Shore cardstock bundles. I have three projects to share with you today, so let’s get started with the details!

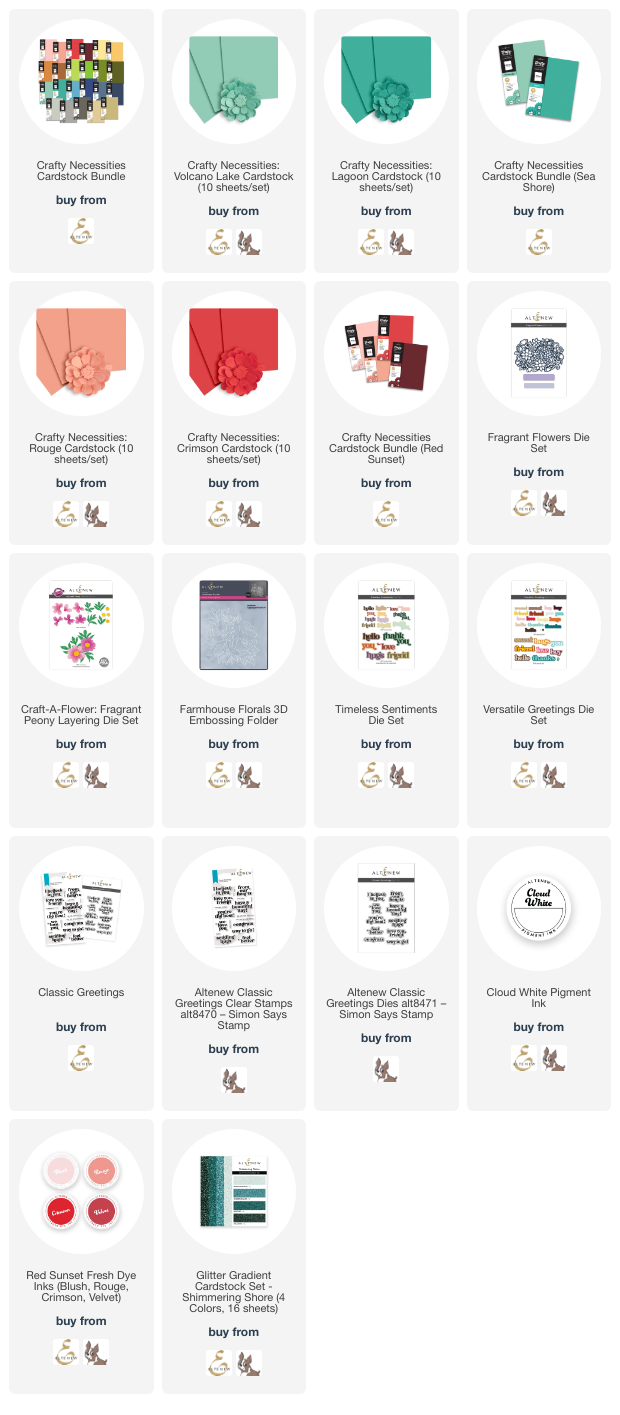
For my first card, I wanted vivid flowers to pop from a tranquil Volcano Lake cardstock background, so I die cut some Build-A-Garden: Fragrant Peony die cuts from Rouge and Crimson, cutting several pieces of foliage using the same Volcano Lake cardstock and adding some light ink blending for added dimension. I arranged the colorful die cuts on the Volcano Lake cardstock A2 card front, then added a sparkling and simple greeting cut using the Versatile Greetings sentiment dies and some coordinating turquoise Shimmering Shore glitter cardstock, finishing it off with some shining gems!

I absolutely love the incredible impact that colored cardstock makes with an embossing folder just by adding a few small details. I embossed a panel of Rouge cardstock using the Farmhouse Florals 3D Embossing Folder, offsetting it slightly to the side. I then blended Rouge and Crimson Fresh Dye Ink around the edges and swiped the raised, embossed areas with a white pigment ink pad to help make the gorgeous details stand out. I added another turquoise sentiment, cut from the Shimmering Shore glitter cardstock, vellum, and the Timeless Sentiments die set. The beautiful Rouge cardstock really comes to life even more with those little extra inky details!

For my final project, I used some leftovers from the previous cards to create a colorful striped background. I used my trimmer to cut different widths of Velvet, Crimson, Rouge, Volcano Lake, and Lagoon cardstock strips, as well as some glittering accent strips from the Shimmering Shore glitter cardstock. I cut down a sheet of double sided adhesive and began arranging my cardstock strips in a slightly random pattern. I die cut the detail layer of the Fragrant Flowers die from some pearlescent white cardstock and backed it with a vellum shadow layer, trimming it slightly to create a straight edge. I added a strip of Lagoon over the seam between the edge of the die cut and the Crimson strip on the bottom of the card. For the greeting, I heat embossed a sentiment from Classic Greetings stamps and dies onto Rouge cardstock and popped it up over the lacy die cut, finally finishing everything off with a couple of gems to accent the sentiment strip!

Well, that’s all for my projects today! If you head over to Instagram, you can enter to win some fabulous prizes as part of the Crafty Necessities Instagram Hop. (My Instagram name is @eamidgett.) I am one of many stops with tons of colorful inspiration, so I hope you will hop over there and take a peek! Thanks so much for stopping by today, and have a marvelous day!
Filed Under: altenew Tagged With: classic greetings, colored cardstock, craft a flower fragrant peony, farmhouse florals, fragrant flowers, instagram hop, timeless sentiments, versatile greetings

Altenew July 2024 Release Blog Hop + Giveaway 

July 10, 2024

Hi friends! I am hopping along with Altenew today to share lots of inspiration using their newest release. You should have arrived here from the Altenew Blog, and your next stop is Jaycee Gaspar. This new release is absolutely smashing, with so many beautiful new stamps, dies, press and hot foil plates, and even more additions to the marvelous Fresh Dye Ink line! I have four (yes, four!) cards to share with you today, so let’s get started with the details!

I love creating coordinating card sets, so before working with any of the new products, I selected my color palette to keep everything cohesive. I try to keep things fresh by switching up my color palettes, and as I’ve been using a lot of pink (pink is always in style with me!) and purple, I decided that I would go bold and bright with a warm yellow, black, and white color palette.

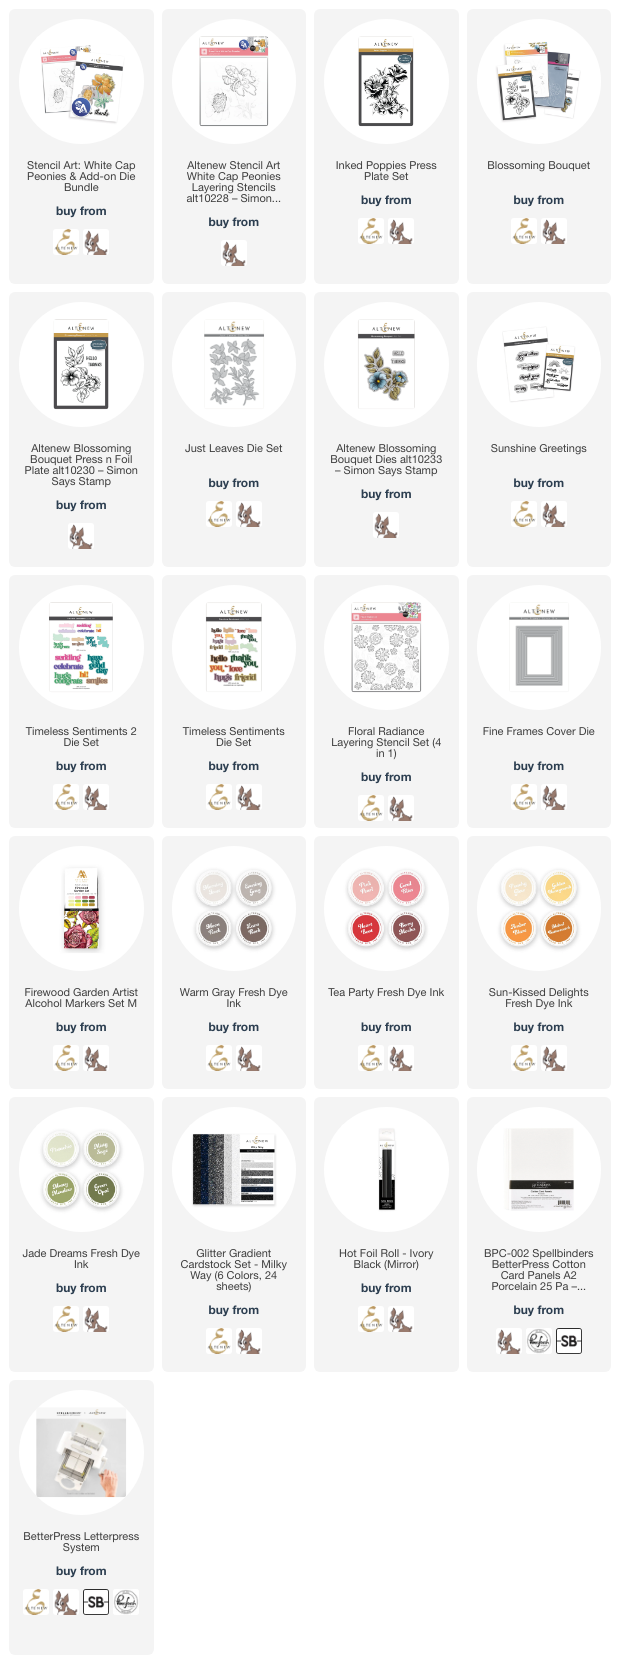
For my first project, I used the utterly luscious new Inked Poppies press plate set as the focal point for my A7 card. I inked up the press plate with black ink, then ran it through my machine using the Better Press system on a panel of Porcelain A7 Letterpress cardstock. The details on this press plate are unbelievable!! Once I had finished the letterpress, I used a blending brush to blend some Vanilla Cream Crisp Dye Ink around the edges of the panel, creating a lovely warm glow and highlighting my bold black floral image. I also used a pale yellow alcohol marker to add some details to the centers of the poppy flowers, which is not necessary but I thought really elevated the look of the background!

Once I had finished my background, I cut a simple “thank you” sentiment using the Timeless Sentiments dies, cutting the detail layer from black glitter cardstock and the shadow layer from heavyweight vellum. The vellum adds just enough softness around the edges of the black glitter sentiment to help highlight it on the busy and bold background. I popped up the greeting with some foam adhesive, then added several black gems for some lovely sparkle! I love when one image does the majority of the work for you… these cards would be gorgeous as thank you notes, and super easy to create in multiples and in a different color palette!!!

For my second card, I used the amazing Blossoming Bouquet product suite, this time as a hot foil plate rather than a press plate. I hot foiled the main floral bouquet onto some white cardstock using the new Ivory Black hot foil roll, then used the beautiful yellows and greens in the Firewood Garden Alcohol Marker set to add some vibrant color to the blooms. They reminded me of sweet little buttercups, so I thought that the yellow was the perfect color choice! I knew that I wanted those sweet yellow blooms to pop from a stark black background, so I colored around the edges of the die cut and colored flowers with a black alcohol ink marker to keep the white edges of the die cut from detracting from the overall color palette.

*You might be wondering why I didn’t just use this plate as a letter press plate if I was going to hot foil in black; I wanted to use alcohol markers, and they don’t play very nicely with the super absorbent cotton letterpress paper.*

After I had finished coloring and cutting the main floral focal point, I die cut some solid foliage using the Just Leaves dies and some black glitter cardstock. I arranged the die cuts on a solid black A2 card front, using liquid adhesive for the glittery die cuts and some foam adhesive for the colorful bouquet to add different heights and textures to my card front. I had also hot foiled a greeting from the Blossoming Bouquet product suite using some more of the black hot foil, then used some residual Vanilla Cream ink left over on my blending brush from the first card to add some warmth to my white sentiment die cut. I popped it up with some more foam adhesive and added a few gems to finish it off!

For the last card in my coordinating card set, I used the spectacular new White Cap Peonies stencil set with some yummy yellow and green inks to create this incredibly sunny card! I blended the different layers of the stencils using the older Vanilla Cream ink with the newer Sunkissed Delights Fresh Dye Ink, lessening or intensifying my blending pressure to create several values of yellow amongst all of the layers. Once I had finished blending the images, I blended some more of the Vanilla Cream ink around the edges of my card front, creating that same gorgeous, warm glow on my background. It almost looks like the sun is shining out from the card!!

For the greeting, I pressed a sentiment from the recently released Sunshine Greetings Press Plate set and coordinating dies using black ink. I thought that this particular greeting worked a treat with the sunny color palette on this card! I used a yellow alcohol marker to dye some thin white silk ribbon, which I tied in a bow and tucked beneath the popped up sentiment die cut. Finally, I added a few shimmering yellow gems for some added sparkle. I am absolutely in love with the color palette for these cards, and need to remind myself to use yellow more frequently!

For my last card, I used the new Warm Gray Fresh Dye Ink and Tea Party Fresh Dye Ink quartets with the Floral Radiance Stencil set to create this pretty floral card. I ink blended the flowers with the Tea Party inks, adding details to the flower centers with the Warm Gray and finishing the foliage off with some muted green inks. I die cut a Timeless Sentiments greeting using the Milky Way Glitter cardstock and some vellum, then added some coordinating deep gray frames from the Fine Frames Cover Die set, finishing this simple card off with a white silk bow and some sparkly gems! I love how beautifully these new Fresh Dye Inks work together!

Well, that’s all for my projects today. Now for some fun giveaway information!

$300 in total prizes! To celebrate this release, Altenew is giving away a $100 gift certificate to 1 lucky winner and a $50 gift certificate to 4 winners! Please leave a comment on the Altenew Card Blog and/or each designer’s blog post on the blog hop list below by July 16, 2024 for a chance to win. Altenew will draw 5 random winners from the comments left on each stop of this blog hop and announce the winners on the Altenew Winners Page on July 18, 2024.*The winner of the $100 gift certificate will be chosen from comments left on the Altenew blog. 

Here’s the full hop list in case you get lost:

You are invited to the Inlinkz link party!

Click here to enter

Thanks so much for stopping by today, and happy hopping!

Filed Under: altenew Tagged With: alcohol markers, better press, blossoming bouquet, fine frames cover die, floral radiance, fresh dye inks, inked poppies, just leaves, letterpress, press plates, sunshine greetings, timeless sentiments, timeless sentiments 2, white cap peonies

Altenew February 2024 Release Blog Hop + Giveaway!

February 7, 2024

Hi friends! I’m hopping along with Altenew today to share inspiration using their new products from the February 2024 release! You should have arrived here from Therese and your next stop is Svitlana. You can also start back at the beginning at the Altenew Blog. I have two projects to share with you today, so let’s get started with the details!

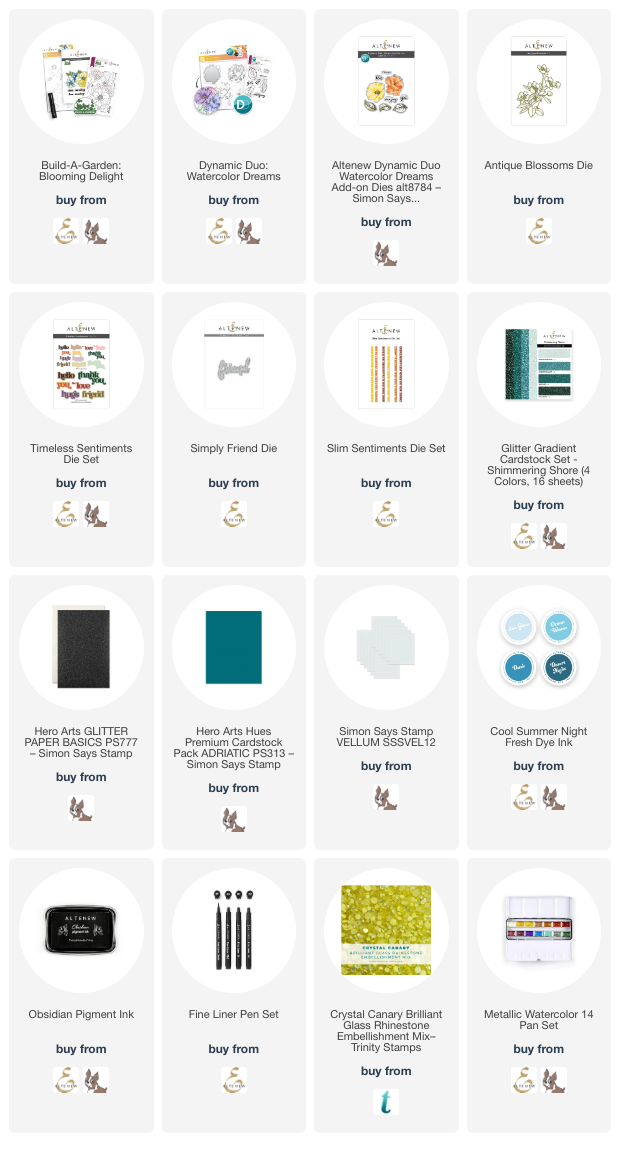
For my first card, I used the absolutely gorgeous new Build-A-Garden: Blooming Delight to create a vibrant, sunny focal point for my dramatic card. I started by stamping the large floral arrangement onto some watercolor paper using Obsidian pigment ink, then embossing over the top with clear embossing powder. I then began watercoloring the images a sunny, happy yellow using the Artists 24 Pan Watercolors. These watercolors are amongst my favorites in my (rather copious) stash of watercolor mediums; the price makes them super economical, while the quality remains top notch. After I had finished watercoloring, I die cut the image with the coordinating die, then used the brush pen from the Fine Liner Pen set to add black around the die cut edges so that the entire die cut was colored.

For the card front, I die cut the Antique Blossoms die a few times using black glitter cardstock. I wanted to create subtle tone-on-tone texture, so I adhered the delicate, sparkling black glitter die cuts to a black cardstock card front, trimming off the excess from the edges and rotating them along other sides of the card front to create a large, cohesive pattern on the background behind my bright blooms.

After I had popped up the watercolored sentiment on my textured black background, I die cut the “hugs” from the Timeless Sentiments die set, using black glitter paper for the detail layer and vellum for the shadow layer. I also die cut the “sending” from the Build-A-Garden: Blooming Delight coordinating die add-on using the same combination and popped them both up on the card front. I added a few yellow gems for some extra sparkle!

My second card features the new Dynamic Duo: Watercolor Dreams. I began by stenciling the floral images using the Cool Summer Nights Fresh Dye Ink quartet. This layered stencil is a bit whimsical and allows you some freedom on matching up the layers, because there is no outline image that you have to follow! I stamped and stenciled the coordinating stamp set, as well, so that I would have a full bouquet for my card front.

For the background behind my floral bouquet, I lightly blended Dusk ink from the Cool Summer Nights Fresh Dye Ink quartet in the center of a white card front, then splattered some sparkling turquoise metallic watercolor from the Metallic Watercolor 14 Pan set. I arranged the die cut flowers in the center of my blended, splattered panel, adhering them using foam adhesive.

For the greeting, I die cut the Simply Friend die from some Shimmering Shore glitter cardstock, as well as a partial greeting from Slim Sentiments dies using deep teal cardstock. I adhered the glittering “friend” using foam adhesive, accenting the dot over the “i” with a gem and adding a smattering of aqua gems.

Well, that’s all for my projects today! Now for some fun giveaway information:

$300 in total prizes! To celebrate this release, Altenew is giving away a $100 gift certificate to 1 lucky winner and a $50 gift certificate to 4 winners! Please leave a comment on the Altenew Card Blog and/or each designer’s blog post on the blog hop list below by 02/13/2024 for a chance to win. Altenew will draw 5 random winners from the comments left on each stop of this blog hop and announce the winners on the Altenew Winners Page on 02/15/2024.
*The winner of the $100 gift certificate will be chosen from comments left on the Altenew blog. 

Here’s the full hop list:

You are invited to the Inlinkz link party!

Click here to enter

Thanks so much for stopping by today, and happy hopping!

Filed Under: altenew Tagged With: antique blossoms, blooming delight, build a garden, dynamic duo, ink blending, slim sentiments, timeless sentiments, watercolor, watercolor dreams

Altenew January 2024 Release Blog Hop + Giveaway ($300 in Total Prizes!)

January 10, 2024

Hi friends! I am hopping along with Altenew today to help introduce their scrumptious new collection of products for January, 2024. You should have arrived here from Caly Person, and your next stop is Mindy Eggen. You can also see the full hop list over on the Altenew Blog. I have three different cards to share with you today using some of the beautiful new stencils and dies from this month’s release. Stencils are one of the unsung heroes of the craft room, in my opinion; they are very cost effective for the sheer volume of techniques for which they can be used! The new Stencil Art: Playful Watercolor Flowers features layering stencils to create two different floral arrangements, one large and bold, one smaller and more delicate, and very easily customizable.

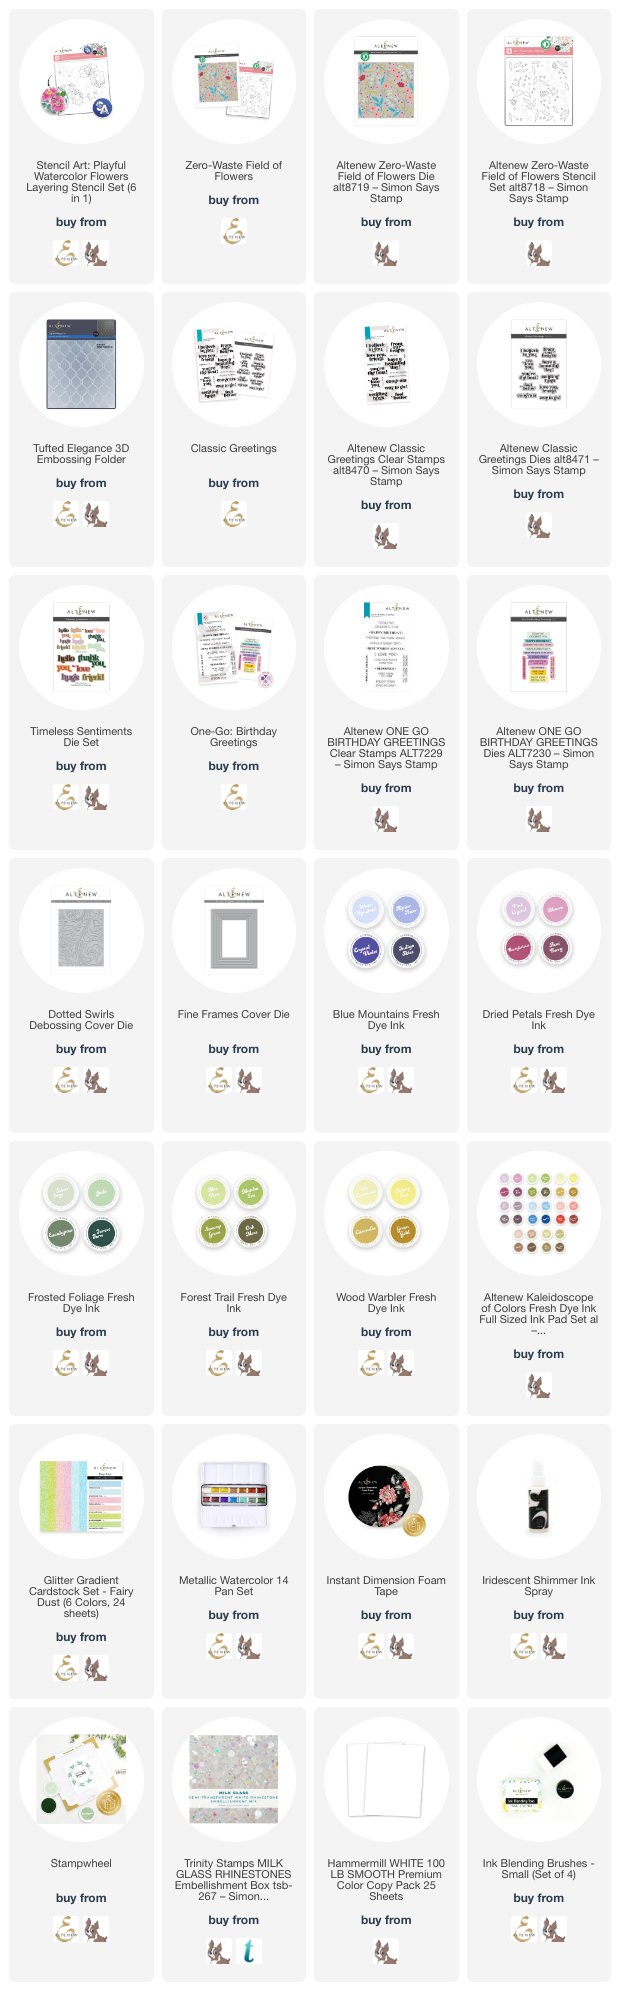
I used the new Stencil Art: Playful Watercolor Flowers to create two different cards that allow the stencils to be the stars of the show. For both projects, I used the new Forest Trail Fresh Dye Inks, Dried Petals Fresh Dye Inks, and Wood Warbler Fresh Dye Inks to create soft and feminine cards.

For my first project, I used the large floral arrangement in the Stencil Art: Playful Watercolor Flowers set, orienting it in the center of my A2 card front, allowing it to spill over the edges. (Tip: the sticky mat in the Stampwheel makes layered stenciling an absolute breeze!) After I had finished blending the main image, I blended some light and medium pink inks from the Dried Petals Fresh Dye Inks around the edge, then splattered the entire panel with some Metallic Watercolor for some added artistic flair!

To accent the stenciled pattern on the background, I die cut some glittering rose gold frames using the Fine Frames Cover Die and framed the center of the card, drawing the eye to the lovely stenciled floral image. For the greeting, I die cut the bold, chunky “friend” from the Timeless Sentiment Dies and some coordinating deep maroon cardstock. I also used a leftover embossed and die cut sentiment from the One Go Birthday Greetings, popping both sentiment elements up with Instant Dimension Foam Tape. As a final sparkling touch, I added a smattering of iridescent white gems!

For my second card, I used the smaller floral images and delicate foliage from the Stencil Art: Playful Watercolor Flowers. I arranged the smaller bouquet in the center of my white A2 card front and blended the flowers and foliage using the Dried Petals and Wood Warbler Fresh Dye Inks, adding some additional sprigs of foliage by carefully blending some individual branches. I kept the arrangement nice and clean by making good use of a Post-It Note to prevent ink from going where I didn’t want it! I trimmed down the panel to 3.75 x 5.5″ and ran it through my die cutting machine with the Dotted Swirls Debossing Die. This pierced die cut adds the subtlest texture; it reminds me a bit of paper towels that have designs printed on them, teehee!

After I had finished my background panel, I mounted it on a full size white A2 card front, allowing the solid background to peek out from either side of the pierced and stenciled panel to add extra interest. I die cut another greeting from the Timeless Sentiment Dies, this time from white cardstock. The white cardstock stands out nicely when placed over the colorful stenciled area, but still allows the overall card to remain crisp and clean. I added another embossed greeting from the One Go Birthday Greetings, tucking it beneath the edges of the die cut “hello.” Finally, I added a few more iridescent white gems for sparkle!

My final card features the brand new Zero Waste Field of Flowers die and stencil set. I began by blending the layered stencils on a 6″ x 6″ panel of white cardstock using Blue Mountains Fresh Dye Ink, Dried Petals Fresh Dye Ink, and Frosted Foliage Fresh Dye Ink. I added a bit of sparkle by spritzing the images with Iridescent White Shimmer Spray. While the stenciled floral pattern was lovely on it’s own, I wanted to create a delicate spray of flowers, so I used the coordinating die to cut the stenciled flowers in one pass through my die cutting machine! This die cuts a ton of delicate little flowers, foliage, and buds so easily… definitely a must-have, in my opinion.

Next, I ran a panel of A2 sized white cardstock through my die cutting machine using the new Tufted Elegance 3D Embossing Folder. This new folder creates such lovely, simplistic texture, the perfect foil for the delicate stenciled and die cut flowers. I trimmed the panel down lengthwise, then added a strip of pink glitter from the Fairy Dust glitter cardstock along one of the long edges and adhered both to a full size panel of white A2 cardstock, orienting it to the left so that the solid white cardstock peeked out on the right.

After I had created the background panel, I stamped and die cut two sentiments from the Classic Greetings Stamps and Dies set, stamping first with dark blue ink and then again with embossing ink, sprinkling iridescent blue embossing powder over the top to create a gorgeous customized iridescent greeting. I arranged the floral die cuts in a pretty swag along the edge of the embossed panel, adhering with both liquid and foam adhesive, then popped up the greeting over the top of the center. Finally, I added a few shimmering gems for one last bit of sparkle!

Well, that’s all for my projects today! Now for some fun giveaway information:

$300 in total prizes! To celebrate this release, Altenew is giving away a $100 gift certificate to 1 lucky winner and a $50 gift certificate to 4 winners! Please leave a comment on the Altenew Card Blog and/or each designer’s blog post on the blog hop list below by 01/17/2024 for a chance to win. Altenew will draw 5 random winners from the comments left on each stop of this blog hop and announce the winners on the Altenew Winners Page on 01/19/2024.
*The winner of the $100 gift certificate will be chosen from comments left on the Altenew blog. 

Here’s the full hop list:

You are invited to the Inlinkz link party!

Click here to enter

Thanks so much for stopping by today, and happy hopping!

Filed Under: altenew Tagged With: dotted swirls debossing die, fresh dye inks, layered stencil, one go birthday greetings, stencil art playful watercolor flowers, timeless sentiments, zero waste field of flowers

Primary Sidebar

  • Facebook
  • Instagram
  • Pinterest
  • YouTube

Favorite Shops

Secondary Sidebar

Subscribe

Enter your email address to subscribe to this blog and receive notifications of new posts by email.

Instagram
Something is wrong.
Instagram token error.
Follow
Load More

Archives

Tags

3D embossing folder alcohol markers better press birthday birthday card blog hop card kit christmas christmas card christmas tag colored pencil copic copic coloring Daniel Smith die cutting embossing folder embroidery felt giveaway holiday holiday card hot foil ink blending karin brushmarker pro layered stencil masculine my monthly hero new release no line coloring no line watercolor OLO marker olo markers original illustration pawsitively saturated rainbow shaker card slimline stamping stamptember stencil thank you thinking of you valentine's day video watercolor

Popular Posts

Simon Says Stamp Joy For You Blog Hop- Day 1!
Simon Says Stamp Joy For You Release-Now Available!
Frozen Fractals All Around with New Simon Says Stamp Joy For You Release!
Shaped Holiday Shaker Card with New Simon Says Stamp Jolly Season Card Kit of the Month!
Holiday Postage with New Simon Says Stamp!
Simon Says Stamp Glory to the Newborn King Holiday Kit-Part II!
Pinkfresh Studio 5th Birthday!
Altenew Build A Flower: Fuchsia Blog Hop+Giveway!
Holiday Joy in Pink and Green with New Simon Says Stamp DieCember!
Honey Bee Stamps September Release Blog Hop!

Disclosure

Some affiliate links are used in my posts. This means that, should you click on one of my links and purchase something from that company, I will receive a small portion of the sale at no extra cost to you. I use the money earned from these sales to help maintain my blog. I so appreciate you visiting and, if you do choose to use one of my affiliate links, thank you so much for your support!
Copyright © 2026 ·Brunch Pro Theme · Genesis Framework by StudioPress · WordPress · Log in
Loading Comments...