• Skip to main content
  • Skip to primary sidebar
  • Skip to secondary sidebar

Sixth Street Sundries

Emily Midgett

  • Home
  • About Me
  • Contact
  • OLO Marker Color Swatch Chart
  • Shop

wild and free

April Showers Bring May Flowers: Copic Edition!

May 19, 2024

This post was sponsored by Simon Says Stamp. Thanks, Simon!

Hi friends! I am back with another installment of my April Showers Bring May Flowers series, this time with some no-line Copic coloring featuring the absolutely gorgeous sprig from Wild & Free Flowers. This stamp set was one of my favorites when it was released a few months ago, and while I had my Copics out for another project this week, I thought I’d use the same color palette to create a large A7 project, fleshing out the single bouquet with some extra standalone die cuts. I love using standalone foliage dies to enhance my colored bouquets; a full, lush bouquet is a thing of beauty! Let’s get started with the details.

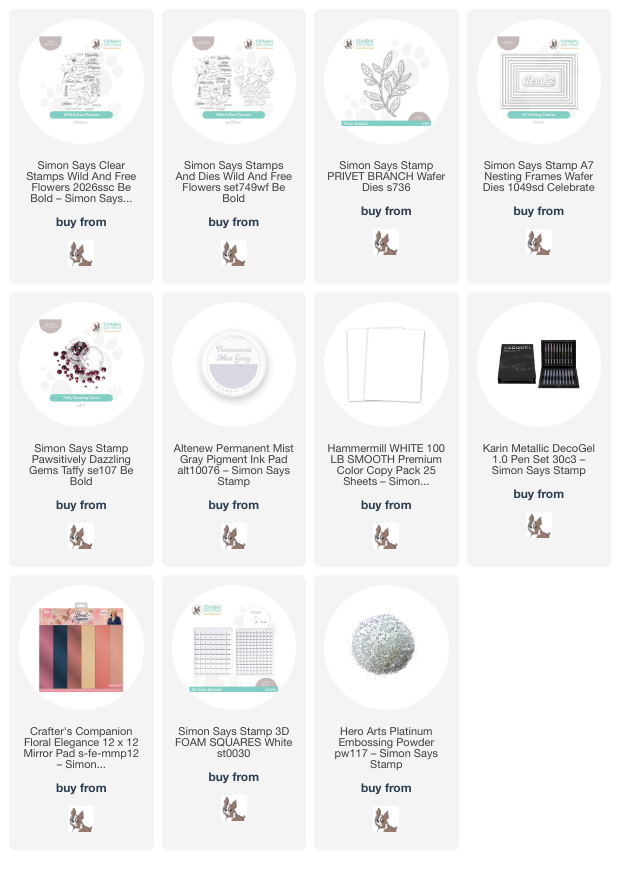
I started my project by stamping the delicate floral bouquet from Wild & Free Flowers using Altenew’s Permanent Mist Gray ink onto some Hammermill white cardstock. This was my first time using the Permanent Mist Gray ink with no-line alcohol marker coloring, and it worked like a charm! I used Copic markers to add lots of vibrant color to the images, creating a lush plummy focal point bloom and adding magenta sprigs, with vivid jewel green foliage. I added some metallic Karin DecoGel pen to the flower centers to add some extra interest and contrast, which showed up beautifully due to the level of opacity for the images. I die cut the finished bouquet with the super detailed coordinating die.

I had originally intended to color an entire background panel stamped with this image, but I have been feeling a bit under the weather the last few days and didn’t feel up to coloring the entire thing, so I decided it would work nicely as a subtly-patterned background for my vivid individual die cut bouquet. I trimmed down the panel and matted it on a slightly larger eggplant cardstock panel, then adhered these two pieces to a full size A7 panel of warm champagne matte foil cardstock from the Floral Elegance foil paper pad. I also added a glittery frame, cut using the A7 Nesting Frames dies and some coordinating warm champagne glitter cardstock.

Once I had created my background, I popped up my colorful bouquet using foam squares, then die cut a Privet Branch die from some white cardstock. I snipped this die cut apart using my scissors, then tucked the individual pieces behind my colorful bouquet, helping to fill it out a bit and allowing it to spill over onto the sparkling textured frames around the edges. There is just enough contrast in the debossed details of the die cuts to allow them to really stand out from the background! I heat embossed a greeting from Wild & Free Flowers using Platinum embossing powder, then die cut the script sentiment and trimmed the strip with my trimmer and tucked the pieces amongst the flowers and foliage. Finally, I added a few Taffy Pawsitively Dazzling Gems for some extra sparkle and a bit of extra pink!

Well, that’s all for my project today. If you find your floral bouquet to be a bit lacking in size for your card front, but don’t want to color an entire second bouquet to fill it out, I highly recommend using your standalone dies to help fill things out and add extra texture. It works like a charm! Thanks so much for stopping by today, and have a marvelous day!
Filed Under: simon says stamp Tagged With: A7 nesting frames, no line coloring, no line copic coloring, privet branch, wild and free

Deco Foil + Deco Foil Gel + NEW Simon Says Stamp Stencils!

March 21, 2024

This post was sponsored by Simon Says Stamp. Thanks, Simon!

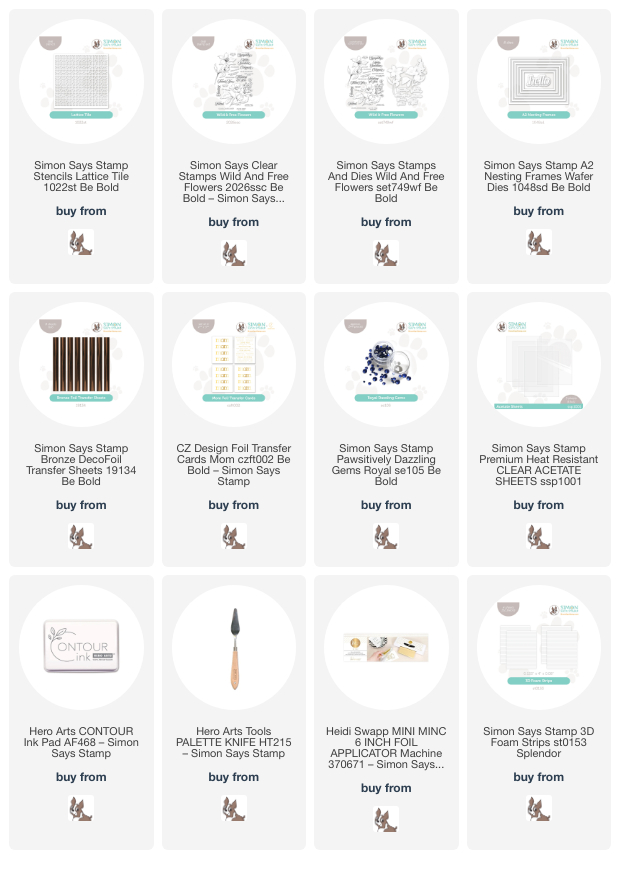
Hi friends! The new Simon Says Stamp Be Bold release is available, and it’s such a stunner! I am always especially intrigued when companies release new tools, and so was very eager to play with the new Deco Foil foil sheets in lovely metallic shades. These new foil sheets work specifically with toner-printed images, like those on the Mom Foil Transfer Cards, or with foil-reactive gel, like the Decofoil Gel. I employed both uses for this project, and I am so pleased with the results! Let’s get started with the details on my project.

I first used Decofoil Gel for THIS project and loved the results so much that I wanted to experiment to see what else I could create! I decided to try it out on a panel of acetate to create really unique look, pairing it with the new Lattice Tile stencil for an elegant background. I started by adhering my A2 panel of heat resistant acetate to a piece of scratch paper (I didn’t want to use one of the stamp mats that I normally use with stencils so as to avoid marring it with the gel… wasn’t sure how well it would clean off of the photopolymer!) then placed the Lattice Tile stencil over the top and used a palette knife to apply the Decofoil Gel. Unlike my previous project using this gel, which took about an hour to dry on regular cardstock, something about the combination of the acetate and the gel made it take longer to dry. I allowed the panel to sit for a full 24 hours so that it was completely dry before using it with foil.

After the gel was completely dry, I used the new Simon Says Stamp Bronze Decofoil with my Minc machine to add luxurious shine to the acetate panel. I absolutely love the results! I think next time I will select a stencil that has more open areas so that the unique clear spots would be more readily visible. While I had my Minc out and hot, I foiled a couple of the Mom Foil Transfer Cards with Bronze Decofoil so that the two foiled pieces would coordinate beautifully!

I find that a pretty, simple, repetitive pattern is a great backdrop for flowers, and of course couldn’t wait to dive into the beautiful florals int he Wild & Free Flowers set. I stamped the large single flower with Contour Ink, then used Copic markers to color the flowers a lush blue, almost like something out of a fairytale. For the flower stamens, I used some handmade glitter watercolors in a coordinating shade of bronze, tying the three main design elements together. I die cut the flower with the super intricate coordinating die. I absolutely adore dies like this that are super detailed!

To accent the flower, I die cut a set of the A2 Nesting Frames from some iridescent white mirror cardstock, trimming down my foiled acetate panel so that it would fit perfectly behind one of the frames. I popped this frame up on an A2 card front using some foam adhesive strips, which were the perfect width for the frames in the A2 Nesting Frames set. I arranged the colorful flower and foiled sentiments on the foiled background, popping them up with another layer of foam adhesive for lots of dimension. Finally, I added a white bow and a few new Royal Pawsitively Dazzling Gems.

SO much sparkle and shine on this card. I can’t wait to play more with this technique! Thanks so much for stopping by today, and be sure to check out the new Be Bold release. There’s a blog hop on Friday and Saturday featuring tons of new inspiration using the new release products, as well, so keep your eyes peeled for that! Have a marvelous day, friends!

Filed Under: simon says stamp Tagged With: A2 Nesting Frames dies, acetate, be bold, Bronze Decofoil, copic coloring, decofoil, foil, foil transfer cards, lattice tile, minc, no line coloring, wild and free

Primary Sidebar

  • Facebook
  • Instagram
  • Pinterest
  • YouTube

Favorite Shops

Secondary Sidebar

Subscribe

Enter your email address to subscribe to this blog and receive notifications of new posts by email.

Instagram
Something is wrong.
Instagram token error.
Follow
Load More

Archives

Tags

3D embossing folder alcohol markers better press birthday birthday card blog hop card kit christmas christmas card christmas tag colored pencil copic copic coloring Daniel Smith die cutting embossing folder embroidery felt giveaway holiday holiday card hot foil ink blending karin brushmarker pro layered stencil masculine my monthly hero new release no line coloring no line watercolor OLO marker olo markers original illustration pawsitively saturated rainbow shaker card slimline stamping stamptember stencil thank you thinking of you valentine's day video watercolor

Popular Posts

Simon Says Stamp Joy For You Blog Hop- Day 1!
Simon Says Stamp Joy For You Release-Now Available!
Frozen Fractals All Around with New Simon Says Stamp Joy For You Release!
Shaped Holiday Shaker Card with New Simon Says Stamp Jolly Season Card Kit of the Month!
Holiday Postage with New Simon Says Stamp!
Simon Says Stamp Glory to the Newborn King Holiday Kit-Part II!
Pinkfresh Studio 5th Birthday!
Altenew Build A Flower: Fuchsia Blog Hop+Giveway!
Holiday Joy in Pink and Green with New Simon Says Stamp DieCember!
Honey Bee Stamps September Release Blog Hop!

Disclosure

Some affiliate links are used in my posts. This means that, should you click on one of my links and purchase something from that company, I will receive a small portion of the sale at no extra cost to you. I use the money earned from these sales to help maintain my blog. I so appreciate you visiting and, if you do choose to use one of my affiliate links, thank you so much for your support!
Copyright © 2026 ·Brunch Pro Theme · Genesis Framework by StudioPress · WordPress · Log in
Loading Comments...