• Skip to main content
  • Skip to primary sidebar
  • Skip to secondary sidebar

Sixth Street Sundries

Emily Midgett

  • Home
  • About Me
  • Contact
  • OLO Marker Color Swatch Chart
  • Shop

willowweave plate

Willowweave Vines in Blue and Green with New Simon Says Stamp!

June 4, 2026

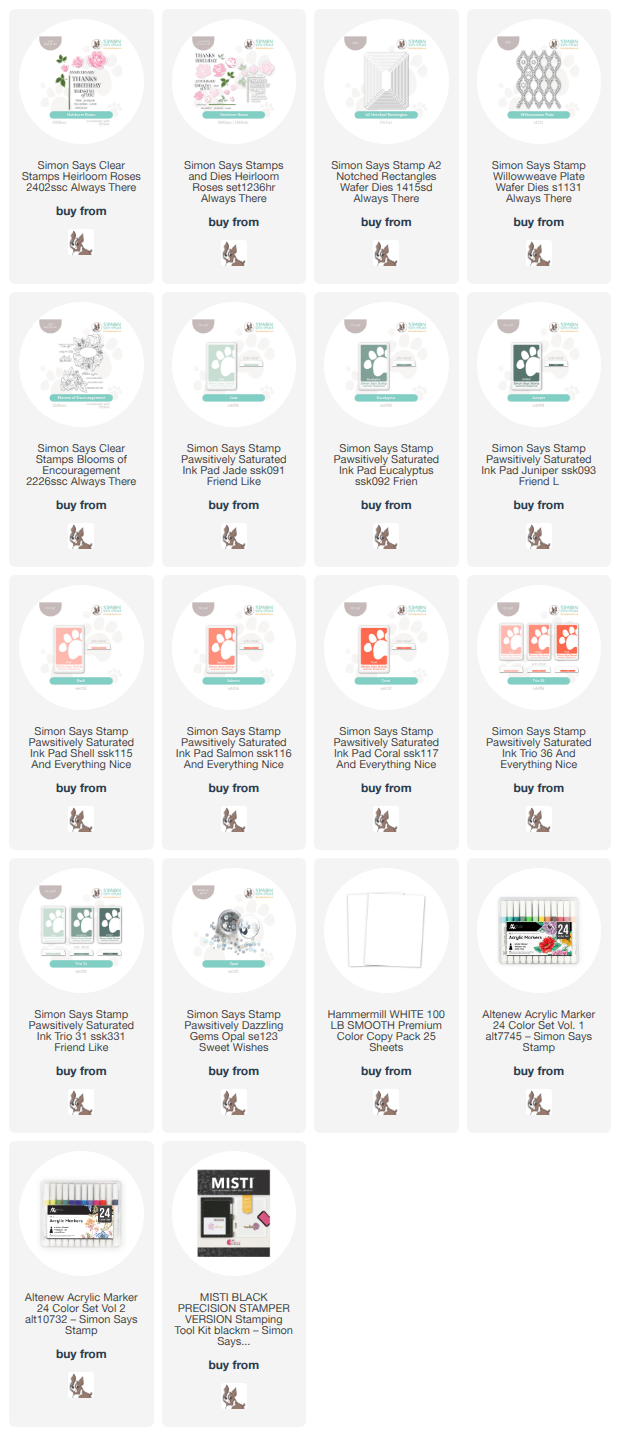
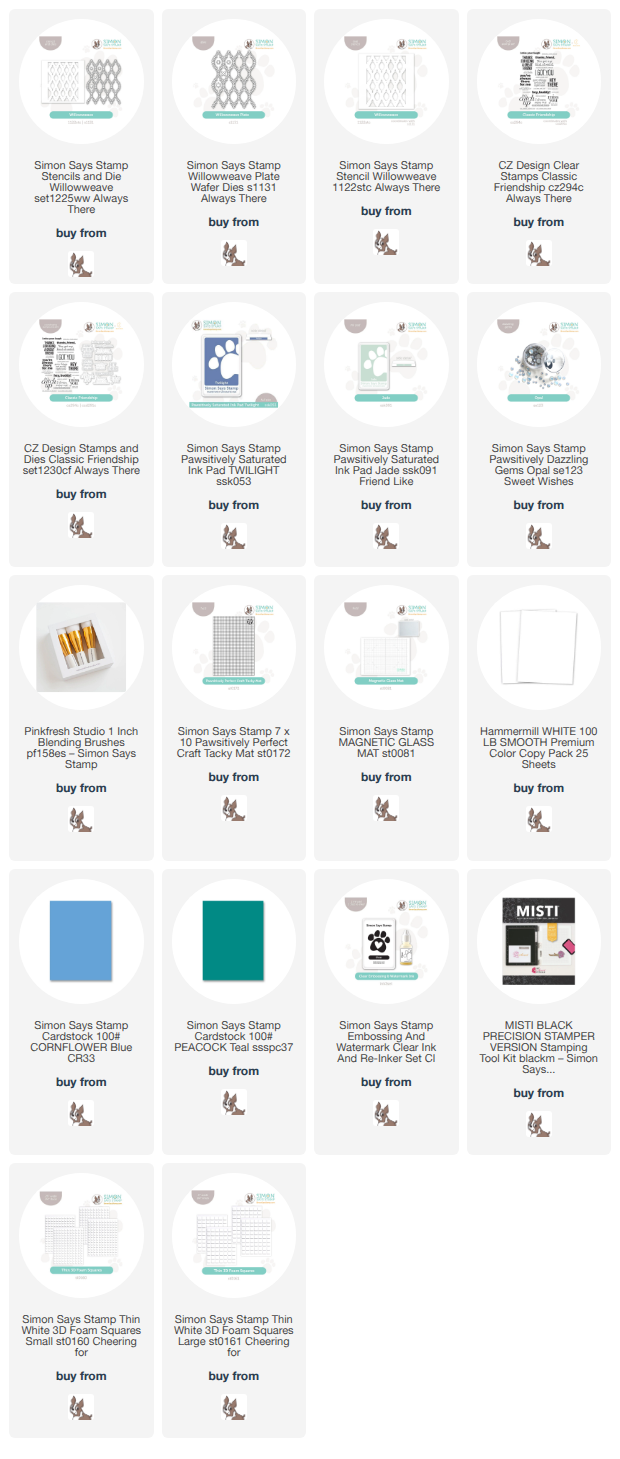
This post was sponsored by Simon Says Stamp. Thanks, Simon! *I have gathered links to all of the products used at the bottom of the post for your convenience, using affiliate links at no extra cost to you. Thank you for shopping with my links! I truly appreciate your support for my work!*

Hi friends! Today, I have a dainty and elegant project featuring one of my most favorite new product suites from the Always There release! (Click HERE to see the entire collection!) The Willowweave Cover Plate die and coordinating stencil are absolutely gorgeous; it reminds me of the gorgeous patterns in Bridgerton or from early 19th century textiles. Delicate, but still intricately detailed and symmetrical. I created this card using one of my favorite color palettes: cornflower blue, pale mint, and jade green. Let’s get started with the details on my project!

I began by placing my white panel of A2 cardstock on my Stencil Station. (a Craft Tacky Mat placed permanently on a Magnetic Glass Board to make for easy stenciling at the drop of a hat!) I then placed the Willowweave Stencil in the center of the cardstock and used a blending brush to blend the most delightfully delicate shade of green with Jade Pawsitively Saturated Ink. It’s almost too subtle to see in the photo, but it adds such a gorgeous and delicate detail to the background! Once I had finished stenciling, I added a jade green Willowweave Plate die cut over the top of the stenciled area. The contrast of the darker green with the pale minty green is divine to me!

After I had adhered the vine die cuts to the stenciled background with liquid adhesive, I trimmed the long edges to allow for some room for strips of cornflower blue cardstock to peek out from either side. I popped up the stenciled panel on my card base using foam adhesive squares, then tucked the cornflower blue cardstock strips on either side. I also die cut several of the delicate little blooms from the Willowweave Plate die set using the same cornflower blue cardstock, then popped them up on the vines with tiny pieces of foam adhesive.

Once I had finished adding the flowers to the card front, I turned my attention to the greeting. I stamped the simple “thanks, friend” sentiment from the new Classic Friendship using Twilight Pawsitively Saturated Ink, then stamped again directly over the top with embossing ink and added some shimmering iridescent embossing powder. I believe the blue iridescent powder has been discontinued (the saddest of sad faces!) but Simon Says Stamp still has the Iridescent Purple powder in stock. It truly creates the most luxurious and somewhat subtle sheen when used in conjunction with colored inks! I die cut the sentiment and popped it up in the center of the card with foam adhesive. Finally, I added some tiny Opal Pawsitively Dazzling Gems to the center of each flower for added sparkle.

Well, that’s all for my card today! I just love how this card came out! So delicate and feminine, simplistic but filled with pretty details. The Willowweave Plate and Stencil set are truly a must have, in my opinion! Thanks so much for stopping by today, and have a marvelous day!
Filed Under: simon says stamp Tagged With: classic friendship, die cutting, ink blending, thank you, willowweave plate, willowweave stencil

Simon Says Stamp Always There Blog Hop, Day 2 + Free Gift!

May 30, 2026

This post was sponsored by Simon Says Stamp. Thanks, Simon! *I have gathered links to all of the products used at the bottom of the post for your convenience, using affiliate links at no extra cost to you. Thank you for shopping with my links! I truly appreciate your support for my work!*

Hi friends! It’s Day 2 of the Simon Says Stamp Always There Blog Hop, celebrating the fabulous Always There release! (Click HERE to see the entire collection!) You should have arrived here from Barbara Tarayao, and your next stop is Nichol Spohr. You can check the full hop list over on the Simon Says Stamp Blog. As always, there is a fun freebies to celebrate the release and the blog hop!

This month’s release is an ode to springtime with gorgeous flowers and greenery in stamp, stencil, and die form, and I am so happy that I have designed two different sets for this release: Keep Palm (click HERE) and Blooms of Encouragement (click HERE). I love coloring large scale images, and the flowers in Blooms of Encouragement are some of my favorite flowers that I’ve illustrated. I created this gift set featuring a fun framed painting on glass and a coordinating card made with layered stamped blooms from the new Heirloom Roses. Let’s get started on the details for my projects!

To begin my card, I stamped the gorgeous blooms and foliage from Heirloom Roses using Pawsitively Saturated Inks in shades of Jade, Eucalyptus, Shell, Salmon, Coral. These colors are so beautifully springy to me, with that bright pop of coral juxtaposed with the soft minty greens. I used the coordinating dies to cut the stamped images out, as well as a greeting from Heirloom Roses stamped using Juniper ink on crisp white cardstock.

Behind the blooms and sentiment, I wanted to create some tone-on-tone texture using the new Willowweave Plate. I die cut the plate from white cardstock, as well as a frame using the new A2 Notched Rectangles, nestling two of the nested dies together to create the frame. I added adhesive on the back of the Notched Rectangle die cut, then placed the Willowweave die cut on it, creating a decorative framed backdrop for the flowers. I trimmed off any excess foliage from the Willowweave die cut, then popped up the frame on my A2 card front. The extra texture that these vines of foliage add behind the blooms is just so pretty, I think! I added the blooms and sentiment die cuts over the framed backdrop with more foam adhesive, then added a few Opal Pawsitively Dazzling Gems for a bit of sparkle.

For the gift portion of the set, I used the pretty dahlia image from Blooms of Encouragement to create this framed painted artwork. I used a technique that was quite new to me. I started by stamping the bouquet on a piece of cardstock, then placing the glass from a 4×4 inch frame that I purchased from the local dollar store over the stamped image, taping it to the panel with some washi tape. I didn’t want to stamp the image directly to the glass, so I took advantage of the clear glass to use it as a guide to create this pretty painted bloom.

I used acrylic paint markers to add color to the glass, following the lines of the stamped image on the paper. This method of painting is quite forgiving; as long as you start with the parts of the image that are closest to you, mistakes are minimal. The opacity of the markers ensures that the images painted first are the ones that are visible when the painting is flipped over to the proper side. The markers moved like a warm knife through butter over the glass, and I was so impressed with how the painting turned out!

I did use a dry paintbrush to blend some some of the petals a bit, creating a smoother transition between colors for shadows and shape. Once I had completed the painting, I used a hot glue gun to securely place the glass back in the frame, allowing the clear glass to remain safely in the frame without having to add the backer which which the frame was purchased. To protect the painting from potential scratches, I also hot glued a piece of clear acetate on the back, cut to fit the glass frame. Finally, since the frame back that I discarded contained the hanger for the frame, I decided to hot glue some coordinating satin ribbon to the frame. I can’t wait to hang this in my new craft room and am so excited to experiment more with this technique. A simple dollar store frame can be so much more with a little creativity!

Well, that’s all for my projects today! This release is fantastic, right? So gorgeous! And Simon Says Stamp is offering the adorable gift-with-purchase that you see in the graphic at the top of the post with any purchase from the Always There release! (Click HERE to see the entire collection!)

Don’t forget to check out Day 1 of the blog hop, as well! (Click HERE to see the full list from yesterday’s hop!)Your next stop on the hop is Nichol Spohr. Thanks so much for stopping by today, and happy hopping!

Filed Under: simon says stamp Tagged With: a2 notched rectangles, acrylic paint, acrylic paint marker, blog hop, blooms of encouragement, die cutting, gift set, heirloom roses, no line coloring, picture frame, willowweave plate

Primary Sidebar

  • Facebook
  • Instagram
  • Pinterest
  • YouTube

Favorite Shops

Secondary Sidebar

Subscribe

Enter your email address to subscribe to this blog and receive notifications of new posts by email.

Instagram
Something is wrong.
Instagram token error.
Follow
Load More

Archives

Tags

3D embossing folder alcohol markers better press birthday birthday card blog hop card kit christmas christmas card christmas tag colored pencil copic copic coloring Daniel Smith die cutting embossing folder embroidery felt giveaway holiday holiday card hot foil ink blending karin brushmarker pro layered stencil masculine my monthly hero new release no line coloring no line watercolor OLO marker olo markers original illustration pawsitively saturated rainbow shaker card slimline stamping stamptember stencil thank you thinking of you valentine's day video watercolor

Popular Posts

Simon Says Stamp Sending Cheer Blog Hop- Day 2 + Freebie + Giveaway!
Joyful Snowman with New Simon Says Stamp Sending Cheer Release!
Simon Says Stamp Sending Cheer Release: Now Available!
Altenew October 2026 Release Blog Hop + Giveaway!
February 2018 My Monthly Hero Blog Hop!
Altenew March 2020 Release Blog Hop+Giveaway!
Special Release: Simon Says Stamp Limited Edition STAMPtember Christmas Card Kit!
Simon Says Stamp Cozy & Bright Inspiration, Part Two!
Waffleflower December Release Blog Hop!
Altenew Build A Flower Japanese Mum Blog Hop!

Disclosure

Some affiliate links are used in my posts. This means that, should you click on one of my links and purchase something from that company, I will receive a small portion of the sale at no extra cost to you. I use the money earned from these sales to help maintain my blog. I so appreciate you visiting and, if you do choose to use one of my affiliate links, thank you so much for your support!
Copyright © 2026 ·Brunch Pro Theme · Genesis Framework by StudioPress · WordPress · Log in
Loading Comments...