• Skip to main content
  • Skip to primary sidebar
  • Skip to secondary sidebar

Sixth Street Sundries

Emily Midgett

  • Home
  • About Me
  • Contact
  • OLO Marker Color Swatch Chart
  • Shop

Archives for September 2022

Simon Says Stamp STAMPtember with Pinkfresh Studio!

September 12, 2022

Hi there! STAMPtember continues, tonight featuring a collaboration with Pinkfresh Studio! This particular set, called Just Start, is extra exciting for me to work with, because I happened to have illustrated these floral images. This peony-ranunculus-berry cluster was designed to work in the corners of a slimline card, but I have two different cards with two different layouts using the same stamps. Let’s get started with the details!

For my first card, I used both clusters from Just Start in the way that I had originally intended when I illustrated them: tucked up in the corners of a slimline (or mini slimline, in this case) card. I stamped them using Intens-ified Black ink from Hero Arts onto some Copic-friendly white cardstock. I have been entranced with bright tangerine and burnt orange lately, so I did my favorite “fiesta” color combination with bright orange peonies and burnt orange ranunculus, accented by intense magenta berries and deep green foliage. I fussy cut the finished images, but there is a stamp+die bundle available, too!

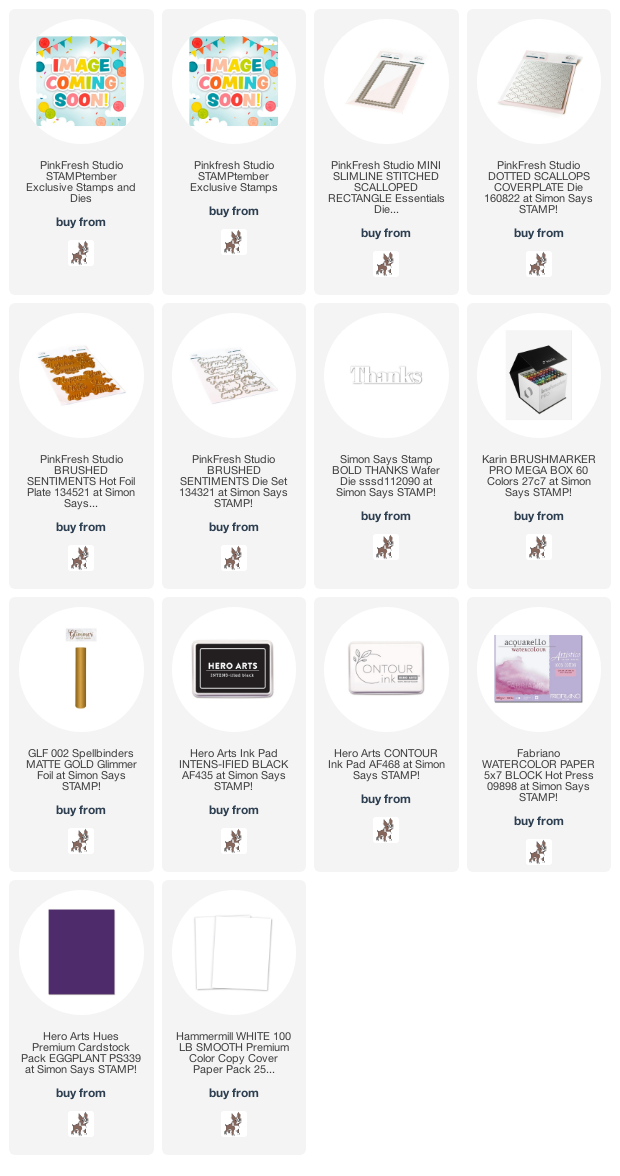
For the background, I wanted to keep things relatively simple to keep the focus on the flowers, so I die cut a gold glitter frame using the Mini Slimline Scalloped Rectangle die. I backed it with a panel of white cardstock that I had die cut using the Dotted Scallops cover plate die to add some extra texture. I popped this panel and frame up on a white mini slimline card front using foam adhesive.

Next, I added the colored floral images to the corners, trimming off the small areas that spilled over the sides. I adhered them using a double layer of foam tape so that they had extra height and would really pop off the page beautifully. I added a greeting from the beautiful Brushed Sentiments Hot Foil Plate and coordinating dies, which I hot foiled using Matte Gold foil from Spellbinders. I also added a sentiment strip, heat embossed with a greeting from Just Start. The final touch was to add a few shining hot pink gems!

My second card features both of the stamps included in Just Start, as well, but this time I did a little simple masking to create one large floral cluster. I began by stamping the largest image slightly off center of my A2 Fabriano Artistico Hot Press card base using Contour Ink from Hero Arts. Using some Post-It tape, I masked off the bottom of the large flower cluster and stamped the smaller cluster, as well, creating a large floral swag that covered a large portion of the card front.

I taped down the panel to my watercolor board to minimize warping, then watercolored the finished stamped image using Karin Brushmarkers. I kept the colors intense and feminine, working with a couple of different shades of pink, purple, and coral. Karin markers work well with the Fabriano Artistico paper, and I find that I get great results with them when I use plenty of water to help keep the color moving around. If I don’t use enough water, then the color sinks into the paper and creates harsh lines. I also like to work with a ceramic palette; I scribble some color on the palette, then pick it up with my damp paintbrush. When I’m adding really intense shadows, I will put the marker itself to the paper, but very sparingly, as a little of this pigment tends to go a long way. I added lots of layers of color to get tons of depth and intensity to this floral swag.

Once I’d finished my watercoloring, I die cut the Bold Thanks die from Simon Says Stamp three times from Hero Arts’s Eggplant cardstock, adhering all three together using liquid adhesive to create a dimensional die cut. I added this die cut to the card front, then added a few purple gems for the tiniest bit of sparkle.

Well, that’s all for my projects today! The Stamptember collaboration sets frequently sell out quickly, so if you’re at all interested in Just Start, don’t wait too long to purchase! The STAMPtember sets are limited edition, so you won’t see them again once they sell out. Thanks so much for stopping by today, and happy STAMPtember!
Filed Under: karin, pinkfresh studio, simon says stamp, watercolor Tagged With: copic coloring, hot foil, just start, mini slimline, no line watercolor, original illustration, stamptember, watercolor

Altenew September 2022 Marvelous Monthly Series Release Blog Hop + Giveaway ($300 in Total Prizes!)

September 12, 2022

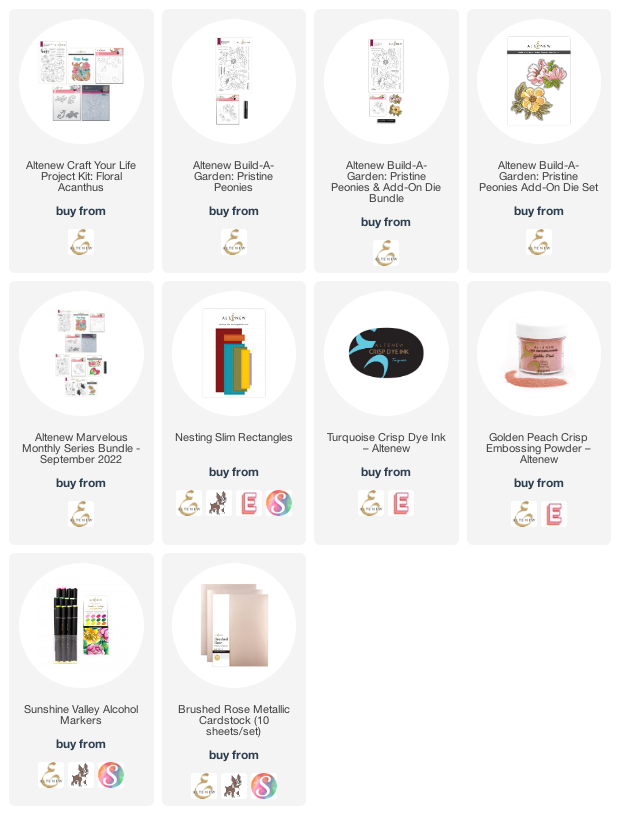
Hi there! Altenew’s new Marvelous Monthly series sets for September are now available, and we’re hopping along to celebrate! You should have arrived here from Dana Joy and your next stop is Kelly Taylor. You can also start back at the Altenew Card Blog to start from the beginning! I have two projects featuring some cheerful sky blue, bright pink, and rose gold to share with you today, so let’s get started with the details!

Both of my projects feature some beautiful sky blue backgrounds, with beautiful, feminine rose gold metallic accents. I love how the bright blue backgrounds and feminine pinks make the pretty florals from the Build-A-Garden Pristine Peonies and Craft Your Life Project Kit: Floral Acanthus pop!

To start, I heat embossed the large floral image from Build-A-Garden Pristine Peonies using some Golden Peach embossing powder and colored the images using Sunshine Valley Artist Markers. I die cut the image with the coordinating Pristine Peonies add-on die.

I die cut a Nesting Slim Rectangles die from some beautiful robin’s egg blue cardstock, embossing another of the floral images from Build-A-Garden Pristine Peonies in the corner. I blended a bit of Turquoise ink over the top to highlight it, then added some rose gold watercolor splatters. I popped it up on a full size slimline card base with some foam tape, then added a Fancy Hugs greeting cut from some Brushed Rose Metallic Cardstock. A few rose gold gems helped finish it off!

My second card features the beautifully detailed embossing folder from the Craft Your Life Project Kit: Floral Acanthus kit. I ran the embossing folder through my die cut machine using some more of that gorgeous turquoise cardstock. Then, I swiped my embossing inkpad over the raised embossed areas and sprinkled more Golden Peach embossing powder over the top. This highlights the stunning detail in the embossing folder! I also blended a bit of Turquoise ink around the edges to help highlight the embossed area even more.

For the greeting, I used the hugs die included in the Craft Your Life Project Kit: Floral Acanthus kit. I die cut the outline from some heavyweight vellum, while I cut the more intricate sentiment layer from some Brushed Rose Metallic Cardstock. I added a couple of sentiment strips from the Craft Your Life Project Kit: Floral Acanthus stamp set, heat embossed using more Golden Peach embossing powder. I popped up the greetings on the embossed card front using foam tape, then added some more rose gold gems to finish it off. I love how beautifully each of the elements included in the Craft Your Life Project Kit: Floral Acanthus kit work together *and* separately!

Well, that’s all for my projects today! Now for some fun giveaway information!

$300 in total prizes! To celebrate this release, Altenew is giving away a $50 gift certificate to 2 lucky winners and a $25 gift certificate to 8 winners! Please leave a comment on the Altenew Card Blog and/or each designer’s blog post on the blog hop list below by 09/18/2022 for a chance to win.  Altenew will draw 10 random winners from the comments left on each stop of this blog hop and announce the winners on the Altenew Winners Page on 09/19/2022.

Your next stop is Kelly Taylor. Thanks so much for stopping by today, and happy hopping!

Filed Under: altenew Tagged With: alcohol markers, build a garden, build a garden pristine peonies, craft your life, craft your life project acanthus, embossing folder, marvelous monthly

Pinkfresh Studio Holiday 2022 Release Blog Hop + Giveaway!

September 12, 2022

It’s that time again… time for Christmas crafting to get into full swing!! I am in love with the new Pinkfresh Studio Holiday 2022 collection… so many beautiful new stamps, dies, hot foil plates, and stencils, with elegant, timeless themes and images that will last for years! We are hopping along to inspire you today (you can find the full hop list at the bottom of this post), and I have two projects to share with you, so let’s get started with the details!

If you’ve followed my blog for any length of time, you’ll know that one of my most favorite things about crafting is color. I love to use dramatic and unexpected color combinations… but I also equally love white space and allowing texture and height to be the star of the show. These cards combine my love of brilliant color with that gorgeous white space. For all of my cards, I kept the color scheme to a bold and unique holiday color scheme of hot pink, lime green, and crisp white, with some metallic shine thrown in for some extra holiday festiveness!

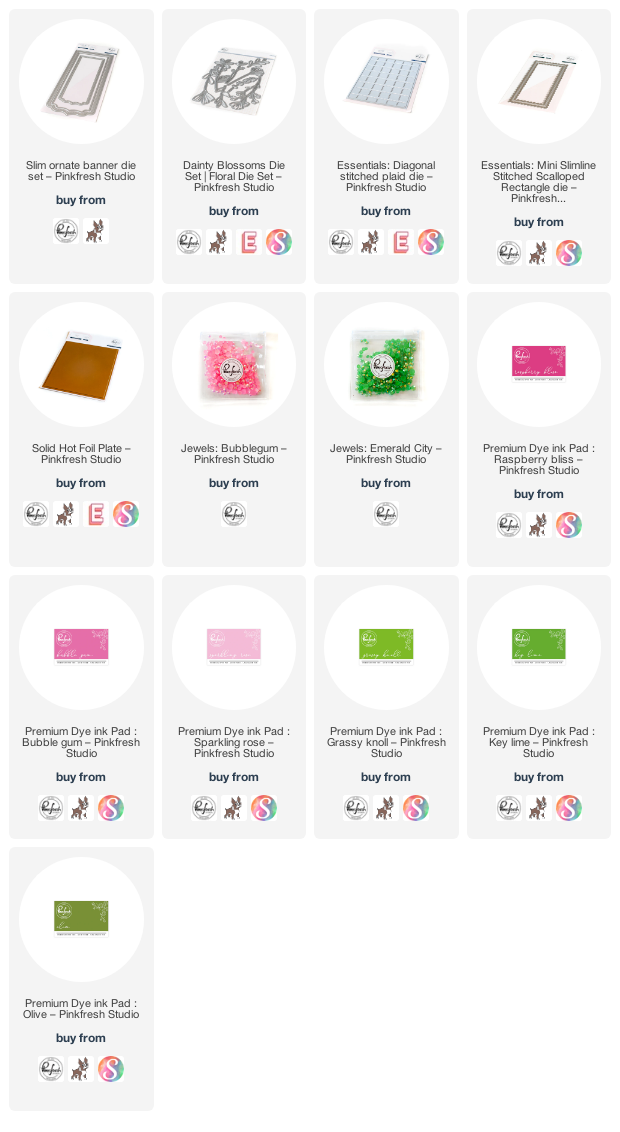
I began my first card by heat embossing the images from the new Holiday Elements stamp set using white pearl embossing powder on white cardstock. I then added lots of color to the images using the coordinating Holiday Elements stencils, using blending brushes and Raspberry Bliss, Bubble Gum, Sparkling Rose, Key Lime, and Grassy Knoll inks from Pinkfresh Studio. The hint of metallic shine from the pearlescent embossed lines is so festive! I die cut the finished images using the coordinating Holiday Elements die.

For the greeting, I combined the fabulous new Merry and Bright Hot Foil Plate and coordinating die with the Solid Hot Foil Plate. The Solid Hot Foil Plate leaves the negative space from the original image the color of your cardstock, so these chunky white letters framed by hot pink glittery foil worked perfectly with the crisp white accents of the stenciled images.

I trimmed down a white slimline card base, then added a label from the Slim Ornate Banner die set, popping it up with foam adhesive. I arranged the holiday images and greeting on the card front, allowing some to spill over the sides, and adhering them with single and double layers of foam tape to add lots of height and dimension to the card front. I also added a few glittering foliage die cuts, cut using the Dainty Blossoms dies. The final touch was to add some sparkling Bubblegum gems to help add one last element of holiday sparkle!

My second project features the new Ornaments Hot Foil Plate with the coordinating Stencils and Dies. I used the same ink shades from the previous project (Raspberry Bliss, Bubble Gum, Sparkling Rose, Key Lime, and Grassy Knoll) to add lots of vivid color to the hot foiled ornaments. I also paired the leftover foil piece with the Solid Hot Foil Plate, creating solid metallic foil ornaments!

For the greeting, I used Olive, Key Lime, and Grassy Knoll inks to blend sentiments from the brand new Brushed Sentiments: Holiday stencils. These sentiments are *so* unique and the font is absolutely gorgeous!! I die cut the finished stenciled images with the coordinating dies, and because of the multi-sentiment layout of the stencils, I was able to stencil and die cut a ton of greetings in one fell swoop! I always love this feature of the Pinkfresh Studio product suites, but it’s especially handy for holiday crafting, don’t you think? If stenciling isn’t your favorite thing, it is especially nice that there are also coordinating Brushed Holiday Stamps and Brushed Holiday Hot Foil Plates available, so you have tons of options depending on your area of interest!

I die cut a crisp white background using the Diagonal Stitched Plaid die, as well as a glittery gold frame from the Mini Slimline Stitched Scalloped Rectangle die, which I trimmed down slightly and popped up on the plaid die cut card front using foam tape. I arranged the ornaments on the card front, clustering them together as though they were hanging from the ceiling from different lengths, and adhering them using foam tape and liquid adhesive. Finally, I added the Brushed Sentiments: Holiday greeting using a double layer of foam tape so that it really stands out from the colorful background images. The final touch was a few Emerald City Gems for some more sparkle!

Well, that’s all for these projects. Now for some fun giveaway information!

Pinkfresh Studio will be giving away the full release on the Pinkfresh blog & YouTube channel, so be sure to check those out!  They will also be giving away a total of TEN $25  gift cards along the hop. As per usual with blog hops – the winners will be picked from the comments. The winners will be announced on September 20, 2022 on our GIVEAWAY PAGE. Winners must check that page & claim your prize within 2 weeks.

Here’s the full hop list so that you can check out the masses of inspiration to jumpstart your holiday cardmaking! Thanks so much for stopping by today, and happy hopping!

You are invited to the Inlinkz link party!

Click here to enter

Filed Under: pinkfresh studio Tagged With: brushed sentiments, christmas, holiday, holiday elements, merry and bright hot foil, ornaments hot foil, poinsettia, slimline, solid hot foil

Stamptember + Colorado Craft Company!

September 10, 2022

Have you been following along with the fabulous Simon Says Stamp Stamptember collaboration releases? Throughout the month of September (can we just call September “Stamptember” from now on?), many of the stamp companies that we know and love collaborate with Simon Says Stamp to release unique, limited edition stamp sets to celebrate Stamptember! They are so highly anticipated… it’s not surprising that they’ve been selling out so quickly!! Tonight’s collaboration stamp set comes from one of my favorite companies: Colorado Craft Company! It’s a darling Anita Jeram design, featuring a large mouse on the hunt for some falling stars, as well as a variety of sizes of stars and some lovely, uplifting sentiments. I have a slimline project to share with you today, so let’s get started with the details!

I trimmed down a slimline card base (3.5″x8.5″) from some Copic-friendly white cardstock. I stamped the mouse on the bottom of the card base using Copic-friendly black ink, then stamped the stars in what is hopefully a relatively random pattern. I used OLO markers to add some subtle warm gray shadows to the mouse and colored the stars a lovely shade of muted gold.

After I’d finished coloring the images, I used Altenew’s Obsidian pigment ink and clear embossing powder to add the greeting from the CCC Stamptember set. The use of the pigment ink and embossing powder helps to create a darker, more crisp sentiment that stands out from the black outlines of the colored images themselves.

I added some subtle Simon Says Stamp Morning Pawsitively Saturated ink, blending lightly around the edge of the slimline card base just to add a little extra interest to the background. Finally, I used a Gold Nuvo Shimmer brush to add some subtle gold sparkle to the stars. This card would be super easy to mail, with just one layer! I love how large the Anita Jeram images are… they make quick work of a large card front!

Well, that’s all for my projects today! I know that it is very likely that this Colorado Craft Company Stamptember collaboration stamp set will sell out very quickly. (Last year’s CCC Stamptember set sold out within minutes) If you’re at all interested in this set, don’t hesitate! If you’ve missed out, don’t forget that there are many other Anita Jeram mice stamp sets at Simon Says Stamp that you can pick up, as well! You can check out all of the Colorado Craft Company sets HERE. I just published a blog post sharing some fun inspiration using some of the recent AJ sets, which you can check out HERE.

Thanks so much for stopping by today, and happy shopping!

Filed Under: colorado craft company, simon says stamp Tagged With: anita jeram, ink blending, olo markers, stamptember

Movie Inspiration with Colorado Craft Company + Anita Jeram!

September 10, 2022

Hi there! With summer coming to an end, I have realized how many cards I made over the last few weeks that I have just been too tired to blog at the end of the day. Colorado Craft Company has had some really beautiful Anita Jeram releases over the last couple of months, and I was excited to get the chance to play with them! I have two cards using the Time of My Life stamps and coordinating dies, and another using the more recently-released Magic Time and Fairy Godmother stamps. Let’s get started with the details!

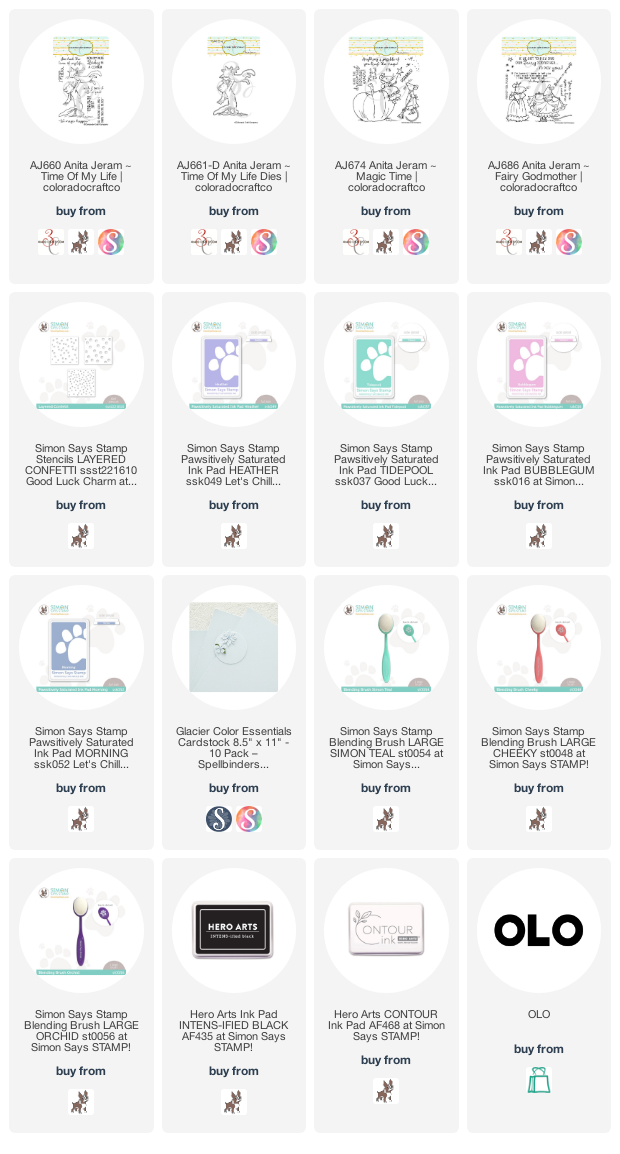
This first card features the darling Dirty Dancing-inspired dancing kitties from Time of My Life. In my head, anytime I’m drawing a “couple,” they always have the coloring of my husband and I, even in feline form. (haha!) I stamped the dancing duo onto some white cardstock using alcohol-friendly black ink, then used OLO markers to color the images. (Patrick Swayze had reddish hair, didn’t he? Maybe I’m making that up 😉 ) I used the coordinating dies to cut out the finished images.

For the background, I wanted to create a subtle, but still magical, backdrop, so I used the Layered Confetti stencils from Simon Says Stamp. I began by lightly blending Heather, Tidepool, and Bubblegum Pawsitively Saturated inks around just the edges of my white A2 card base, then layered the stencils over the top of that subtle blending. The finished product looks like a romantic bokeh effect. It reminds me of 16 Candles or Pretty In Pink or another classic 80’s movie that culminates at a high school dance haha!

I adhered the dancing kitties on my blended card front using foam adhesive, then stamped some sentiments from the Time of My Life set on some strips of white cardstock. I popped them up on the card front with some more foam adhesive. I can’t wait to give this card to my ginger husband!!

For my second project, I did some no-line coloring using the recently-released Magic Time and Fairy Godmother stamps. I began by stamping a little scene on my card front using Contour Ink from Hero Arts. I again used my OLO markers to do some no-line coloring with these sweet mice! I couldn’t resist giving Cinderella a blue dress, and these shades of muted silvery blue were perfect for my pale gray mouse. I kept the rest of the colors muted, as well, giving the fairy godmother a cocoa brown and pink dress, and that pumpkin…. those shades blended together like butter, and I love how simultaneously bright and vibrant but still somewhat muted they are! I blended some Morning Pawsitively Saturated ink around the top, just to add a hint of color to the background.

The details on the dresses were covered up with the marker coloring, so I used handmade metallic watercolors from IUILE to add sparkling details to the dresses, the fairy godmother’s wand, and the little shower of sparkles from Cinderella’s transformation from servant to princess. I was afraid that the watercolor would warp the white cardstock, but it didn’t affect it at all! I just love the incredible sparkle this adds to the cards; watching them in real life is breathtaking!

Finally, I added a sentiment from the Fairy Godmother, which I heat embossed on a strip of Glacier cardstock from Spellbinders. It was the perfect shade of pale blue to coordinate with Cinderella’s dress and the ink blended background!

Well, that’s all for these projects today! I hope you’ll check out the Anita Jeram line from Colorado Craft Company. So many darling stamps that fit so many occasions! They are whimsical, but still maintain an element of elegance. Thanks so much for stopping by today, and have a marvelous day!

Filed Under: colorado craft company, OLO markers Tagged With: alcohol markers, anita jeram, cinderella, fairy godmother, magic time, no line coloring, OLO marker

  • « Go to Previous Page
  • Page 1
  • Page 2
  • Page 3
  • Page 4
  • Go to Next Page »

Primary Sidebar

  • Facebook
  • Instagram
  • Pinterest
  • YouTube

Favorite Shops

Secondary Sidebar

Subscribe

Enter your email address to subscribe to this blog and receive notifications of new posts by email.

Instagram
Something is wrong.
Instagram token error.
Follow
Load More

Archives

Tags

3D embossing folder alcohol markers better press birthday birthday card blog hop card kit christmas christmas card christmas tag colored pencil copic copic coloring Daniel Smith die cutting embossing folder embroidery felt giveaway holiday holiday card hot foil ink blending karin brushmarker pro layered stencil masculine my monthly hero new release no line coloring no line watercolor OLO marker olo markers original illustration pawsitively saturated rainbow shaker card slimline stamping stamptember stencil thank you thinking of you valentine's day video watercolor

Popular Posts

Simon Says Stamp Joy For You Blog Hop- Day 1!
Simon Says Stamp Joy For You Release-Now Available!
Frozen Fractals All Around with New Simon Says Stamp Joy For You Release!
Shaped Holiday Shaker Card with New Simon Says Stamp Jolly Season Card Kit of the Month!
Holiday Postage with New Simon Says Stamp!
Simon Says Stamp Glory to the Newborn King Holiday Kit-Part II!
Holiday Joy in Pink and Green with New Simon Says Stamp DieCember!
Pinkfresh Studio 5th Birthday!
Altenew Build A Flower: Fuchsia Blog Hop+Giveway!
July My Monthly Hero Blog Hop+Giveaway!

Disclosure

Some affiliate links are used in my posts. This means that, should you click on one of my links and purchase something from that company, I will receive a small portion of the sale at no extra cost to you. I use the money earned from these sales to help maintain my blog. I so appreciate you visiting and, if you do choose to use one of my affiliate links, thank you so much for your support!
Copyright © 2026 ·Brunch Pro Theme · Genesis Framework by StudioPress · WordPress · Log in
Loading Comments...