• Skip to main content
  • Skip to primary sidebar
  • Skip to secondary sidebar

Sixth Street Sundries

Emily Midgett

  • Home
  • About Me
  • Contact
  • OLO Marker Color Swatch Chart
  • Shop

birch press design

My favorites for 2017!

December 31, 2017

Good morning! Umm…. it’s the last day of 2017. HOW is that possible? It seems like just yesterday that I was packing up our holiday decorations at our old house and trying to decide where to put all of the kids’ new toys. This year has held many changes for me, both personally and in blog-land. We moved to a tiny town, which is somewhat isolated from the amenities of being near a larger city to which I had grown so accustomed. But we love our new house, and it’s really just perfect for us in our current season of life. My kiddos started school, which is somewhat liberating and also terrifying, because how are they old enough to be in school?! I also joined some new design teams and left some. I made my first videos. I really dug in to my coloring mediums and tried to improve in my accuracy and technique. I’ve been given some absolutely amazing opportunities this year, and I could not be more grateful for them. But…… I think 2018 is going to really knock the socks off of 2017, which is saying something!

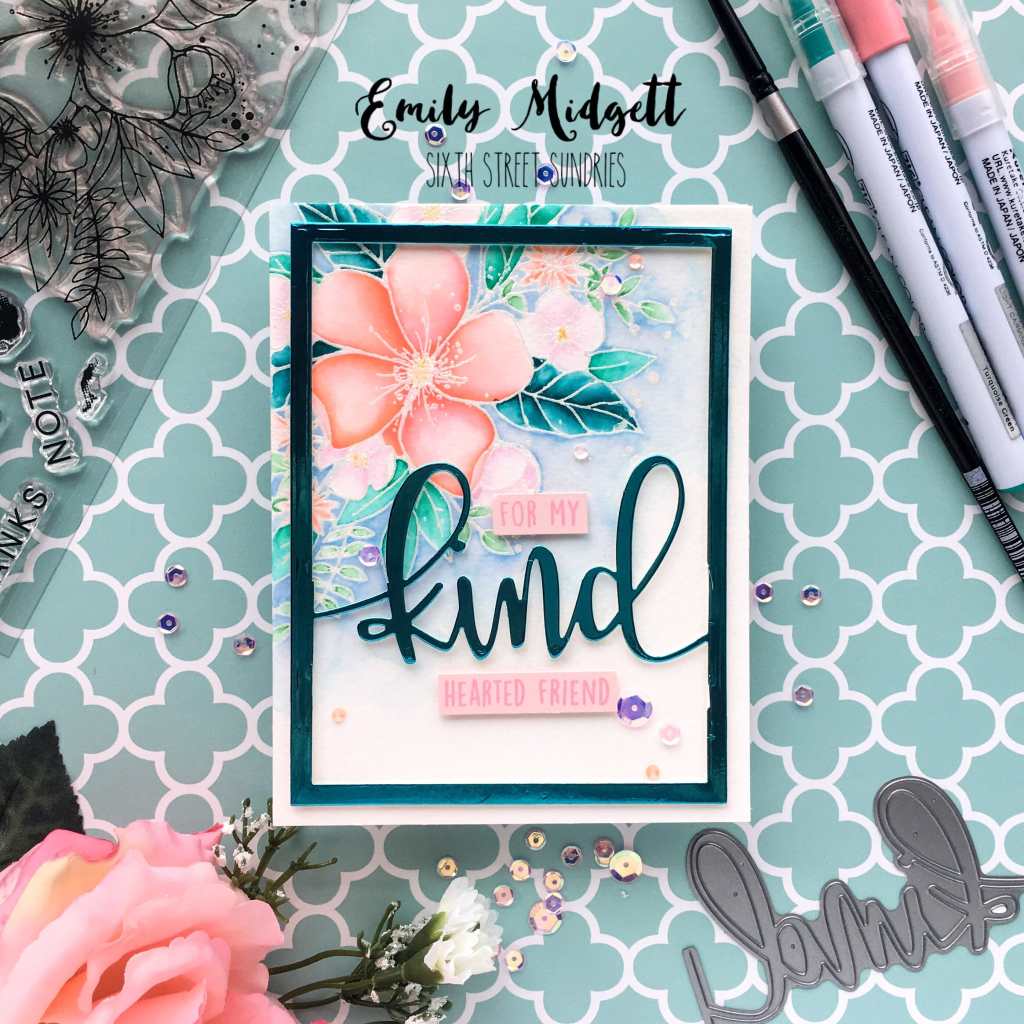
Here are my top ten favorite projects from 2017! (Click on each photo to be taken to the individual blog posts.)
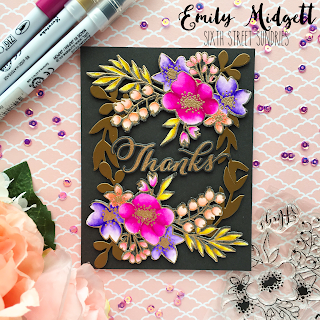
Phew! Thats a lot of projects! Looking over all of them, I’m happy to see that there are a few non-flower projects that made this list… even a few critters! I am slowly growing to love critters. They present a new challenge for me! I still love my flowers, in any and all mediums, but it’s nice to know that I can work with critters and actually like the results!

I hope you all enjoyed this little trip down memory lane as much as I did! It’s interesting to me to see how I’ve changed over the last year… different photography style, different coloring mediums, different style in general! (I don’t think my love of flowers and/or coloring will ever really go away though haha!) I absolutely cannot WAIT to see what 2018 brings! Some thrilling developments are in the works, and I am chomping at the bit to share them with you. Soon enough!!! Eek!

I hope you have an absolutely marvelous New Year’s Eve celebration and a truly wonderful New Year!

Filed Under: altenew, birch press design, Concord and 9th, Hero Arts, Honey Bee Stamps, Papertrey Ink, prismacolor, video, watercolor, Wplus9, Zig Clean Color Tagged With: christmas card, colored pencils, copic coloring, favorites, holiday card, ink blending, no line coloring, watercolor

Holiday Card Hustle, Day 6!

December 7, 2017

Hi there! Welcome back for Day 6 of The Holiday Card Hustle. My best tip for mass producing holiday cards is to use lots of die cuts and small amounts of stamping. If you can use die cuts that are standalone pieces, instead of die cuts that require stamping on them, your work will go that much more quickly! Today’s photo card project has lots of die cutting and only a wee bit of stamping on it.

I started by trimming down my 4×6 horizontal photograph to 3.25″x4.75″ and matted it on a piece of 4×6 grayish-brown glitter card stock. I mounted it on an A7 white card stock panel. I wanted to create a visual cascade down the front of my card, with my family being the center of the cascade. I used some solid standalone dies to create a festive Christmas tree branch for the top left corner. For the greenery, I used the lovely spruce sprigs in the Ellen Hutson Poinsettia and Pine die set with some avocado green card stock, then layered them in the corner of the card. I added a few little baubles using the Birch Press Design Classic Ornament dies, stamping one of the little designs from the coordinating stamp set on the wine colored ornament and heat embossing in silver.

For the greeting, I used one of Simon Says Stamp’s new stamp and die sets from this year’s holiday offerings, and I just love it: Fa La La. The die is large enough to cover most of an A2 card front, and definitely still large enough to make an impact on this A7 card front. I die cut it from some bright blue foil card stock, then stamped the sentiment from the coordinating stamp set on a very thin strip of card stock, adhering both of them towards the bottom right corner of the card front to complete my visual cascade.

Well, that’s all for me today! I will be back tomorrow with Day 7 of The Holiday Card Hustle, and quite possibly my favorite card from the series! I hope you’ll come back tomorrow for some last minute holiday inspiration! Thanks so much for stopping by, and have a marvelous day. 🙂


Filed Under: birch press design, Ellen Hutson, simon says stamp Tagged With: christmas, christmas card, die cutting, holiday card, holiday card hustle., photo card

Pretty Peonies

September 14, 2017

Good morning! I have a twofer for you today using some absolutely stunning dies from Birch Press Designs. I used their beautiful floral stamps earlier this week, but these dies are SO gorgeous and incredibly innovative… They’re basically massive layering cover plates. They have a whole series of these dies, with some really lovely graphic designs, but I’ve chosen to work with the Peony Bloom Layer dies. Now, the layers of dies work together to cover an entire A2 card front, but I decided to cut them apart to get two cards out of it! Love versatile products!

To start, I die cut each layer of the Peony Blooms layer dies from different shades of pink, cutting the top layer from some pretty pink glitzy card stock. I layered them all together, then fussy cut the peony corners away from the frame. I die cut the leaves from three different shades of green card stock. I love that in the Peony Blooms die set, the leaves come separate from the rest of the cover plates, so that you can cut them in a different color!

For this first card, I popped up the peony in the corner using dimensional foam adhesive, then stamped the beautiful greeting from Birch Press’s Brushed Birthday stamp set using Altenew’s Industrial Diamond ink and my MISTI.

For my second card, I used a beautiful sentiment set from Papertrey Ink called Pen and Ink. I may have purchased the entire large stamp set just for this one sentiment… I love the idea of “sending paper hugs.” Most of my good friends live in other states, so I have to send them paper hugs the vast majority of the time. I again popped up the peony in the corner using dimensional adhesive, then added the greeting in the opposite corner using Altenew’s Industrial Diamond ink.

The final step was to scatter a few sequins here and there.

And that’s it! Two whole cards made fairly quickly… I think it took me longer to decide where to put the sequins than it did to assemble the die cuts and stamp the sentiments! I love quick and easy cards that still can make an impact! My kiddos are off school tomorrow, so who knows what adventures we will get up to…. 🙂 I hope you’re having a marvelous week!


Filed Under: birch press design, Papertrey Ink, Uncategorized Tagged With: die cutting, layered die cuts

Getting back to my roots.

September 11, 2017

Hi there! I have a totally random post today… I made this card a few weeks ago and haven’t had time to blog about it yet. This project uses products from a newer company: Birch Press Designs. This card uses one of my favorite color combinations and some pretty pink blooms, as well as a beautiful stencil from Hero Arts. I wanted to just play with my inks, and this beautiful stamp set and stenciling definitely fit the bill!

I started by stamping the beautiful blooms from Birch Press Design’s Brushed Birthday using Altenew’s Frosty Pink and Coral Berry inks, then cut them out with the coordinating dies. (I can’t really remember which green inks I used for the leaves…. whoops!) I then heat embossed the greeting from the same stamp set onto some vellum using white embossing powder and die cut it, as well.

For the background, I used the Hero Arts Glorious Petal stencil using my Clarity Stencil Brushes and some Hero Arts Tide Pool ink. I love the subtle tone-on-tone effect this color has on the turquoise card stock. I arranged my bouquet and picked it up using Press ‘n Seal, then adhered it with dimensional tape. I also popped up my vellum greeting with some clear dimensional adhesive, which I find to be wonderful when working with vellum.

And that’s it! No coloring on this one, but I do enjoy getting back to my roots sometimes with just some good, old-fashioned stamping.

Filed Under: altenew, birch press design, Hero Arts Tagged With: card making, ink blending, papercrafting, stamping, stencil

Christmas In July!

July 25, 2017

Good morning! Christmas in July has been eeeeeeverywhere lately. I really need to start working on holiday cards, but we’ve been so busy that it hasn’t even crossed my mind until I saw the Christmas in July sale from Ellen Hutson and thought maybe I should take a look at the (many) holiday stamp sets I purchased during the after Christmas sales last year haha! I had forgotten about this absolutely gorgeous ornament set from Birch Press Designs, and I knew that I needed to make a card with it to celebrate Christmas in July!

I started by die cutting the pretty Classic Ornament set from plain white card stock, then heat embossed the pretty decorative ornament stamps from the coordinating Beaded Ornament stamp set using silver embossing powder. I then used my foam blending tools to blend Caribbean Sky, Puffy Heart, and Lavender Fields ink on the edges of the ornaments. (For some reason, my holiday cards before October always are in pastel shades. My brain can’t seem to leave summer behind until then!)

I then cut the beautiful Winter Floral cover plate die from Papertrey Ink using some hunter green card stock. I trimmed off the solid edge and smaller floral cluster, leaving just the larger floral cluster intact. I arranged the ornaments beneath the floral cluster to create the illusion that they were hanging on the branches of a Christmas tree, then blended the same ink colors (Caribbean Sky, Puffy Heart, and Lavender Fields) lightly on the corner of the card base. I was trying to give the impression of lights in the Christmas tree bouncing off of the shimmery glass ornaments… I hope that came across!

For the greeting, I used the lovely Believe die from Ellen Hutson’s holiday release last year. I die cut it first from some pink glitter paper, then twice more from regular white card stock and adhered them all together to create a dimensional die cut. The final step was to add some sequins here and there and under the foliage of the Christmas tree branches to add some sparkle.

I hope you enjoyed this project! I have far too many holiday stamp sets that have been untouched… I think I should try to set a goal of one holiday card a week for awhile. What do you think? Have you started on your holiday cards yet?

Hope you have a marvelous day, friends!

Filed Under: altenew, birch press design, Ellen Hutson, Papertrey Ink, simon says stamp Tagged With: christmas card, christmas in july, holiday card, ink blending

Primary Sidebar

  • Facebook
  • Instagram
  • Pinterest
  • YouTube

Favorite Shops

Secondary Sidebar

Subscribe

Enter your email address to subscribe to this blog and receive notifications of new posts by email.

Instagram
Something is wrong.
Instagram token error.
Follow
Load More

Archives

Tags

3D embossing folder alcohol markers better press birthday birthday card blog hop card kit christmas christmas card christmas tag colored pencil copic copic coloring Daniel Smith die cutting embossing folder embroidery felt giveaway holiday holiday card hot foil ink blending karin brushmarker pro layered stencil masculine my monthly hero new release no line coloring no line watercolor OLO marker olo markers original illustration pawsitively saturated rainbow shaker card slimline stamping stamptember stencil thank you thinking of you valentine's day video watercolor

Popular Posts

Simon Says Stamp Joy For You Blog Hop- Day 1!
Simon Says Stamp Joy For You Release-Now Available!
Frozen Fractals All Around with New Simon Says Stamp Joy For You Release!
Shaped Holiday Shaker Card with New Simon Says Stamp Jolly Season Card Kit of the Month!
Holiday Postage with New Simon Says Stamp!
Simon Says Stamp Glory to the Newborn King Holiday Kit-Part II!
Pinkfresh Studio 5th Birthday!
Altenew Build A Flower: Fuchsia Blog Hop+Giveway!
Holiday Joy in Pink and Green with New Simon Says Stamp DieCember!
Honey Bee Stamps September Release Blog Hop!

Disclosure

Some affiliate links are used in my posts. This means that, should you click on one of my links and purchase something from that company, I will receive a small portion of the sale at no extra cost to you. I use the money earned from these sales to help maintain my blog. I so appreciate you visiting and, if you do choose to use one of my affiliate links, thank you so much for your support!
Copyright © 2026 ·Brunch Pro Theme · Genesis Framework by StudioPress · WordPress · Log in
Loading Comments...