• Skip to main content
  • Skip to primary sidebar
  • Skip to secondary sidebar

Sixth Street Sundries

Emily Midgett

  • Home
  • About Me
  • Contact
  • OLO Marker Color Swatch Chart
  • Shop

all about mom

Mother’s Day Gift Bag with New Simon Says Stamp!

February 22, 2024

This post was sponsored by Simon Says Stamp. Thanks, Simon!

Hi friends! I have some super cute inspiration to share with you today featuring the marvelous new Gift Bag die from the Simon Says Stamp Splendor release! This Gift Bag die creates the most adorable little gift bag, just the perfect size to fit a gift card, some jewelry, some lip gloss… perfect for all of those tiny gifts that don’t need a huge gift bag but still want to look a little special! The Gift Bag die requires just one sheet of 8.5″ x 11″ cardstock, so it’s a super economical and fun way to make your gifts extra exciting. Let’s get started on my Mother’s Day gift bag!!

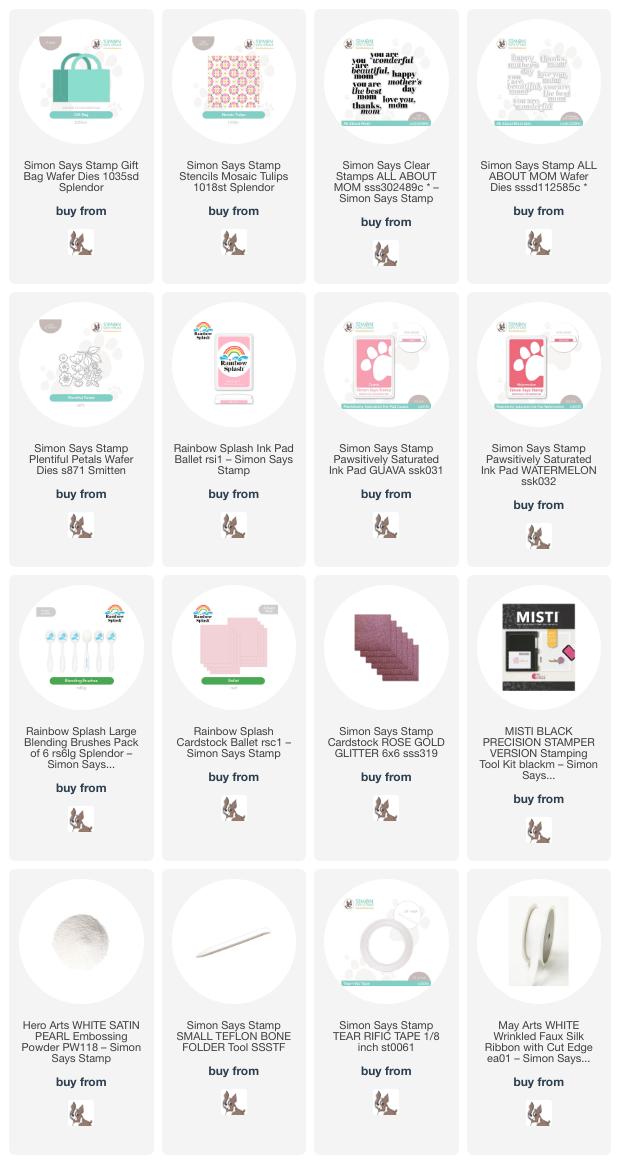
I started my project by die cutting the Gift Bag die twice from Rainbow Splash Ballet cardstock. To create the pretty pattern on each of the large, flat spaces on the gift bag, I first used Post-It Notes to mask off the sides and bottom while the bag was still a flat die cut. I then blended the pattern from the the layered Mosaic Tulips stencil set using Rainbow Splash blending brushes with Rainbow Splash Ballet ink and Pawsitively Saturated Guava & Watermelon inks to create this feminine tone-on-tone patterned bag. This layered stencil set is fast becoming one of my all-time favorites!!

In keeping with the monochromatic pink color scheme in my head, I used the All About Mom + coordinating die to create a greeting to use on the outside of the gift bag. I wanted to heat emboss my greeting, but since I did not have a shade of embossing powder that was exactly the right shade of pink, I decided to create my own custom “embossing powder” by putting my MISTI to good use! I first stamped the sentiment from All About Mom onto some more Ballet cardstock using Watermelon ink, then without moving the stamp, stamped the sentiment again using embossing ink and sprinkled it with White Satin Pearl embossing powder. The result was a lovely pearlescent pink sentiment, the contrast of which was enhanced by the addition of the pearlescent embossing powder! I used the coordinating die to die cut the finished sentiment, creating a polished, crisp effect.

After I had stenciled my gift bag and created my greeting, it was time to start assembling. I used my bone folder and strong double sided tape to assemble my bag, which went *so* quickly. 3D projects always intimidate me, and this project was incredibly simple to assemble! Score! To adorn my gift bag and Mother’s Day sentiment, I used some floral die cuts from the Plentiful Petals floral dies, cut using both Rose Gold Glitter Cardstock and Ballet cardstock. I also used an alcohol marker to add color to some white faux silk ribbon, tying it in a pretty bow and adhering it to the front of the gift bag. A little pink tissue paper et voilá!

Isn’t this new Gift Bag die just the cutest? I can’t wait to make more bags for different occasions! I’m definitely going to be using this one for teacher gifts at the end of the school year! Thanks so much for stopping by today, and have a marvelous day!
Filed Under: simon says stamp Tagged With: all about mom, gift bag, ink blending, layered stencil, mother's day, packaging, plentiful petals, rainbow splash

Simon Says Stamp Hello Gorgeous Release-Introducing Mother’s Day Tulips!

March 21, 2022

Hi there! I’m super excited to help Simon Says Stamp introduce their fantastic new Hello Gorgeous release for March 2022. This release features a huge variety of products, many Mother’s Day themed, as well as beautiful sentiments and lovely spring florals. I am also pleased as punch to introduce a new set that I’ve designed for Simon Says Stamp, called Mother’s Day Tulips! This large 6×8 stamp set features a large and beautiful tulip corner, sized to fit a slimline card front, but also could be adapted to fit other sizes as well! I have a few cards to share with you today, so let’s get started with the details!

My first project features my new Mother’s Day Tulips. I stamped the large image on a mini slimline card base using Hero Arts Intens-ified Black ink. I love the wide variety of colors that you can find with tulips, and I find the the deep purple tulips to be enchanting. I colored the image using Copic markers V09, V17, V15, V12, and V01 to add lots of intensity and shadows to the large images. I love coloring large images like this; the extra space allows you to really get down into the tiny areas and add lots of contrast and depth.

Once I had finished coloring the image, I blended some Blue Violet and Deep Purple inks around the edge opposite the floral arrangement using the new Flat Blending Brush. The blending brush does a beautiful job of blending these intense colors softly on the card base, leaving a halo around the flowers themselves and helping them to shine!

For the greeting, I used the new Reverse Foundations preprinted sentiment strips. I trimmed the sentiment down to three separate pieces using my trimmer, then popped them up on the colored panel using foam adhesive. The final touch was to add some shimmering purple gems for a touch of sparkle!

My next cards features the beautiful new Delicate Floral Frames stamps and dies. I contemplated going light and bright with these, but the pretty frames were just begging to be made into some chalkboard style projects! I stamped both of the frame images onto some Pitch Black cardstock using white pigment ink, then used Karin Decobrush Pigment markers to add some bright color to the black cardstock! Because these images are not terribly detailed, these opaque pigment markers made it super simple to add some quick pops of color to the images. This is the first time that I’ve tried this technique, and I absolutely love how they turned out.

To back this arched frame image from the Delicate Floral Frames stamps and dies, I die cut one of the beautiful new Detail Mandala Cover Plate dies from some more Pitch Black cardstock. The subtle pierced detail on this cover plate die is stunning; it’s surely going to become a staple in my craft room!

To accent the greenery on the arched frame, I die cut a few leaves from some Glossy Black cardstock using the new Olive Leaves dies. I popped up the frame with some foam tape, then added the shiny black leaves with some liquid adhesive. I added a greeting from the marvelous new All About Mom sentiment stamp and die set. I love the bold, chunky font on this set! These sentiments are large enough to make a really big impact on your card front. I added a few iridescent gems for a touch of sparkle.

My second card features the same technique, but places the die cuts on a plain black card front. I adhered the oval Delicate Floral Frames stamped and colored die cut to an A2 black card front using foam adhesive, then added more glossy black leaves behind the floral swag to add another element of texture to the card front.

I popped up the white embossed greeting from All About Mom. When I’m working with limited color palettes and tone-on-tone textures, I like to use tons of foam tape to add as much dimension and interest as possible, so these black and white projects have lots of height and variations in texture! I added a few more sparkling gems for an additional textural element as well as adding some sparkle.

Well, that’s all for my projects today! I hope you’ll check out the rest of the products from the Hello Gorgeous release. So many beautiful new pieces. I’m so excited that my Mother’s Day Tulips illustration is a part of it! Thanks so much for stopping by, and have a marvelous day!

Filed Under: karin, original illustrations, simon says stamp Tagged With: all about mom, chalkboard, delicate floral frames, karin pigment markers, mother's day card, mother's day tulips

Primary Sidebar

  • Facebook
  • Instagram
  • Pinterest
  • YouTube

Favorite Shops

Secondary Sidebar

Subscribe

Enter your email address to subscribe to this blog and receive notifications of new posts by email.

Instagram
Something is wrong.
Instagram token error.
Follow
Load More

Archives

Tags

3D embossing folder alcohol markers better press birthday birthday card blog hop card kit christmas christmas card christmas tag colored pencil copic copic coloring Daniel Smith die cutting embossing folder embroidery felt giveaway holiday holiday card hot foil ink blending karin brushmarker pro layered stencil masculine my monthly hero new release no line coloring no line watercolor OLO marker olo markers original illustration pawsitively saturated rainbow shaker card slimline stamping stamptember stencil thank you thinking of you valentine's day video watercolor

Popular Posts

Simon Says Stamp Joy For You Blog Hop- Day 1!
Simon Says Stamp Joy For You Release-Now Available!
Frozen Fractals All Around with New Simon Says Stamp Joy For You Release!
Shaped Holiday Shaker Card with New Simon Says Stamp Jolly Season Card Kit of the Month!
Holiday Postage with New Simon Says Stamp!
Simon Says Stamp Glory to the Newborn King Holiday Kit-Part II!
Pinkfresh Studio 5th Birthday!
Altenew Build A Flower: Fuchsia Blog Hop+Giveway!
Holiday Joy in Pink and Green with New Simon Says Stamp DieCember!
July My Monthly Hero Blog Hop+Giveaway!

Disclosure

Some affiliate links are used in my posts. This means that, should you click on one of my links and purchase something from that company, I will receive a small portion of the sale at no extra cost to you. I use the money earned from these sales to help maintain my blog. I so appreciate you visiting and, if you do choose to use one of my affiliate links, thank you so much for your support!
Copyright © 2026 ·Brunch Pro Theme · Genesis Framework by StudioPress · WordPress · Log in
Loading Comments...