• Skip to main content
  • Skip to primary sidebar
  • Skip to secondary sidebar

Sixth Street Sundries

Emily Midgett

  • Home
  • About Me
  • Contact
  • OLO Marker Color Swatch Chart
  • Shop

banner greetings

Aqua Thinking of You with Simon Says Stamp!

February 20, 2026

This post was sponsored by Simon Says Stamp. Thanks, Simon! *I have gathered links to all of the products used at the bottom of the post for your convenience, using affiliate links at no extra cost to you. Thank you for shopping with my links! I truly appreciate your support for my work!*

Hi friends! I am back today with a monochromatic sympathy card that takes advantage of the detailed textures from the new Fancy Rose Bouquet embossing folder from the Heart to Heart Release  from Simon Says Stamp (click HERE to check out the entire release!). Whenever I am creating a monochromatic project, my secret to keeping things interesting is to add as much texture and visual interest as possible to ensure that the details of the individual elements do not get lost in the single color palette. There are several ways to achieve this, especially with embossing folders, but one of my favorite ways to add interest and texture is to add shading to embossed images while still maintaining the monochromatic color palette. Let’s get started with the details on my project!

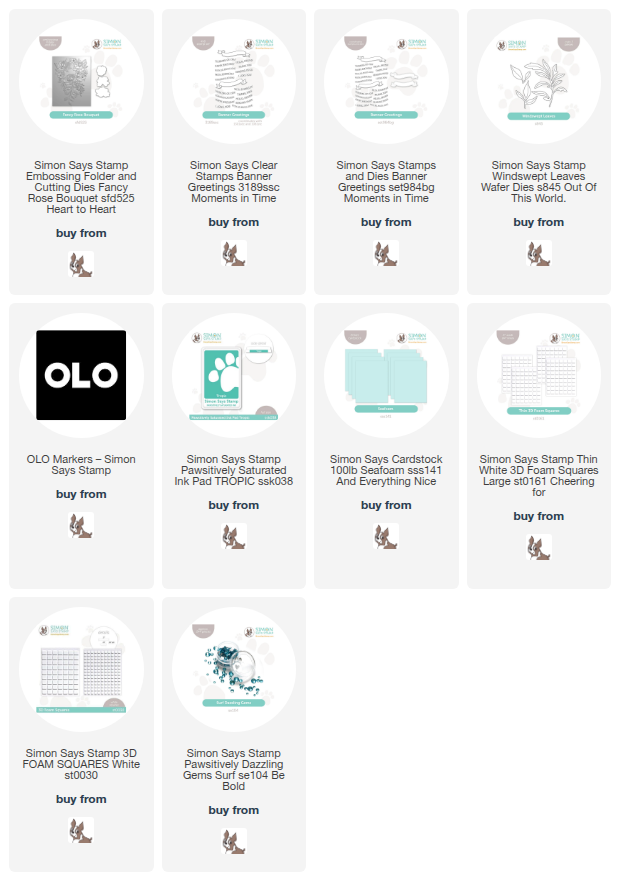
I began my project by embossing the new Fancy Rose Bouquet onto an A2 panel of Simon Says Stamp Seafoam cardstock. This soft aqua blue cardstock is absolutely dreamy; definitely one of my favorite cardstock colors from Simon Says Stamp! I selected some coordinating pale aqua markers from my OLO Marker stash, as well as the Zero marker (similar to a colorless blender) and used these markers to add some shading and details to the embossed images. I also die cut and embossed a few individual roses from the Fancy Rose Bouquet, as well as some standalone greenery using the Windswept Leaves die set, also using Seafoam cardstock, to which I added marker shading. The Zero marker helps to soften the edges of those harsh lines and still allows the color of the cardstock to show through.

For the greeting, I kept things simple, stamping a delicate banner from the Banner Greetings stamp set using Tropic Pawsitively Saturated Ink and a versatile “thinking of you” sentiment from that set. I selected an ink color that was quite a bit darker than the alcohol marker shadows that I added to the embossed flowers to ensure that it would pop from the Seafoam background.

Once I had all of the components stamped, colored, and die cut, I used thin and thick foam adhesive squares to add all of the die cuts to the embossed and colored card front, arranging the standalone flowers and greenery around the banner, tucking some behind the banner while others were spilling over the top. For a final touch, I added some Surf Pawsitively Dazzling Gems to add a bit of sparkle!

Well, that’s all for my project today. I never tire of monochromatic projects; they’re so luxurious and the details are so fun to put together!! Thanks so much for stopping by today, and have a marvelous day!
Filed Under: simon says stamp, Uncategorized Tagged With: banner greetings, die cutting, fancy rose bouquet, no line coloring, olo markers, sympathy card, thinking of you, windswept leaves

Chinoiserie Inspiration with New Simon Says Stamp!

June 18, 2025

This post was sponsored by Simon Says Stamp. Thanks, Simon!

Hi friends! I recently watched a video on Instagram showcasing an ancient enameling technique in which the artisan bent copper strips to create an incredibly ornate design on a porcelain vase, then crushed colorful enamel into powder and carefully placed it inside each element of the pattern, firing the finished product to melt the enamel and create an exquisite enameled vase! I found the finished product enchanting, and so I decided to try to recreate it with my cardmaking products, adding some watercoloring and die cutting into the mix. Let’s get started with the details!

*I have gathered links to all of the products used at the bottom of the post for your convenience, using affiliate links. Thank you for shopping with my links! I truly appreciate your support for my work!*

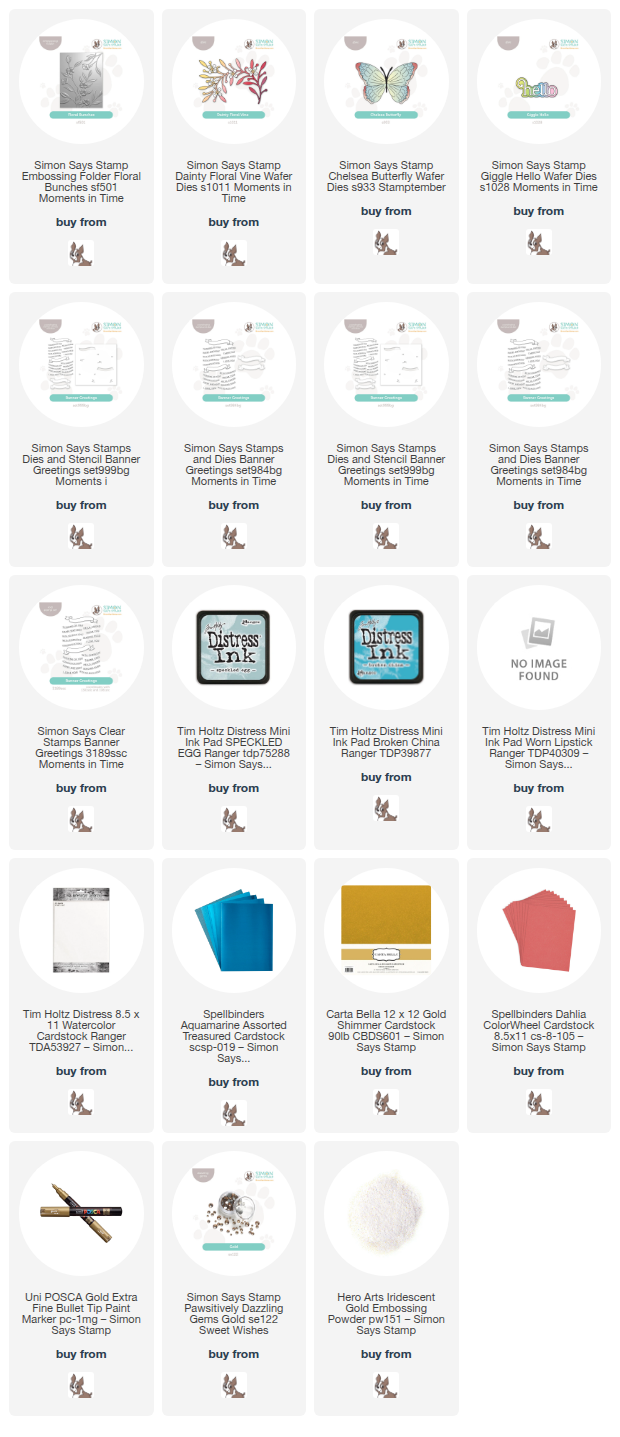
I began by running an A2 panel of Tim Holtz Distress Watercolor Cardstock through my die cutting machine using the new Floral Bunches Embossing Folder. I then used Speckled Egg, Broken China, Worn Lipstick Distress Ink Cubes to do some watercoloring on this pretty floral background, tapping the color out on my glass mat and picking up the diluted color with my damp paintbrush. I always forget how fun it is to watercolor with my Distress Inks… I need to do it more often! I used Broken China to create a hazy blue background, then used Speckled Egg for the foliage and Worn Lipstick for the blooms, creating a colorful floral background. To take it to the next level, I used a gold acrylic paint pen around the edges of the embossed images. It’s so hard to photograph the shine, but it’s amazing in real life!

To add to the detailed background, I die cut the Chelsea Butterfly from pearlescent white cardstock and the details from teal mirror cardstock, coordinating with the lovely teal watercolored background. I also die cut the new Giggle Hello die from pearlescent gold and vellum cardstocks, layering the two together with liquid adhesive. To complement the simple hello greeting, I used the fabulous new Banner Greetings product suite, which includes stamps, stencils, and coordinating dies! I heat embossed the sentiment using Iridescent Gold embossing powder, then blended Speckled Egg ink with the stencils to add some extra dimension and color to the image, finally cutting it out with the coordinating die.

Before adhering my die cuts and sentiment pieces, I decided to add one final die cut element, cutting the foliage from the Dainty Floral Vine from pearlescent gold cardstock and the blooms from Spellbinders Dahlia cardstock. I adhered the die cuts in a cluster on the patterned card front using a combination of liquid and foam adhesive, creating lots of dimension and layers on this card. Finally, I added a few Gold Pawsitively Dazzling Gems for one last sparkling touch!

Well, that’s all for my projects today! It’s amazing how inspiration can strike from the most random videos that pop up in your social media feed, right? I’m so glad that I saw that video about the enameled vase, not only because it inspired this card, but it showed me that art can be timeless and a worthwhile skill to hone! Thanks so much for stopping by today, and have a marvelous day!

Filed Under: simon says stamp Tagged With: banner greetings, chelsea butterfly, chinoiserie, dainty floral vine, die cutting, distress ink, distress watercolor, embossing folder, floral bunches, giggle hello, watercolor

Bluebird of Happiness with New Simon Says Stamp!

June 2, 2025

This post was sponsored by Simon Says Stamp. Thanks, Simon!

Hi friends! I am bursting with inspiration to share with you using products from the brand new Simon Says Stamp Moments in Time release that went live last week! We celebrated over the weekend with a blog hop (which you can check out HERE) with tons of inspiration, prizes, and a freebie, and today I am back with a sweet little bluebird of happiness created using some new and some old goodies from Simon Says Stamp and some good old fashioned white cardstock and ink. Let’s get started with the details on my project!

*I have gathered links to all of the products used at the bottom of the post for your convenience, using affiliate links. Thank you for shopping with my links! I truly appreciate your support for my work!*

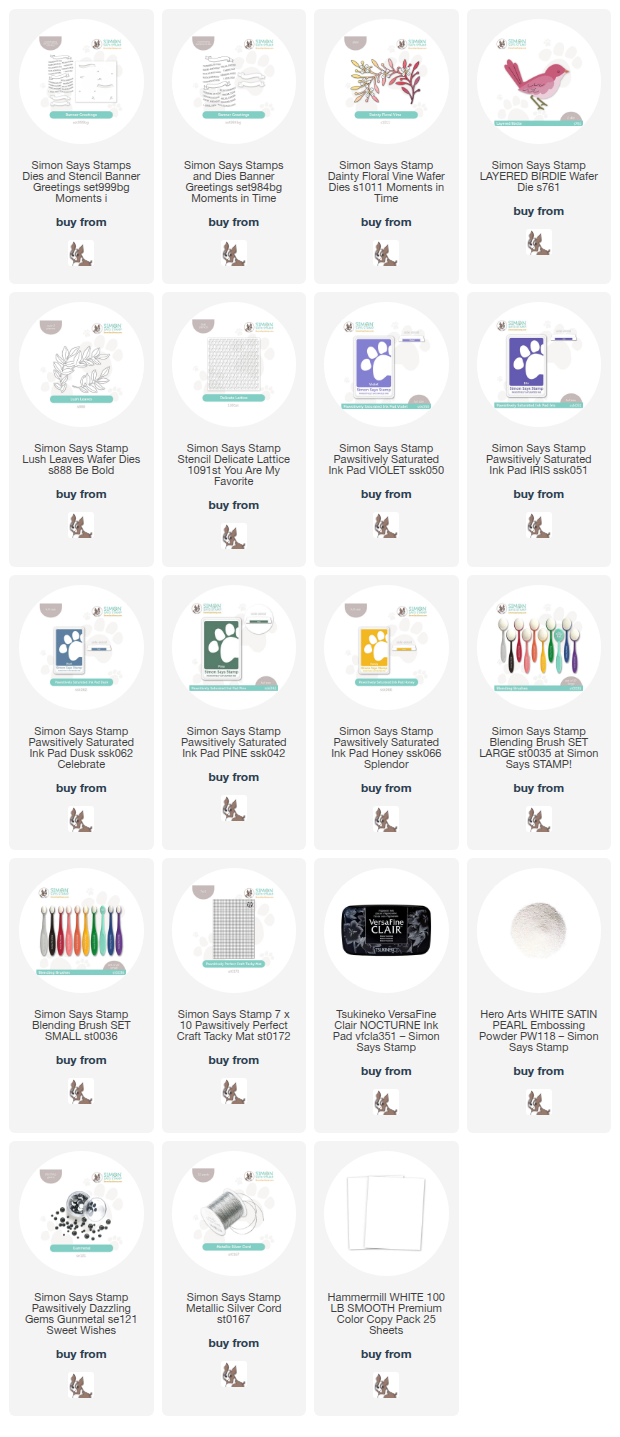
Ink blending is such a user-friendly way to add custom colors to your white card stock, proving that you don’t have to be an expert colorist or have all of the coloring mediums (ahem, not that I have ALL of the coloring mediums, just a lot of them, ha!) to create beautifully detailed and vibrant cards! This card was created entirely with white cardstock and colorful inks! I began by die cutting the Dainty Floral Vine, Layered Birdie, and Lush Leaves dies from white cardstock, then took advantage of the super tacky surface of the Simon Says Stamp Craft Tacky Mat to hold my die cuts securely while I did some detailed ink blending on each individual die cut piece. I used Pawsitively Saturated Inks in shades of Violet, Iris, Dusk, Pine, and Honey with the coordinating Simon Says Stamp blending brushes to add gorgeous color to the die cuts, creating a custom bluebird by mixing the purple inks with Dusk ink. Once all of the blending had been completed, I assembled each die cut with liquid adhesive.

For the background, I first lightly blended some Violet Pawsitively Saturated Ink in the center of my white A2 card front, then placed the Delicate Lattice Stencil over the top of the blended area and lightly blended Iris ink over the top to create a subtly patterned background with a hint of a blurple glow. I arranged all of the die cuts on the stenciled background, tucking the birdie amongst the blooms and foliage and adhering the die cuts with a combination of liquid and foam adhesive in both thin and thick depths, creating tons of dimension on this card front!

After I had created the majority of the card front, I used the new Banner Greetings product suite to create this pretty and simplistic sentiment die cut, stamping the banner and sentiment with Simon Says Stamp Nocturne Pigment Ink and adding white satin pearl embossing powder over the top to create a pearlescent gunmetal embossed sentiment. I used the coordinating stencils to add some beautiful color to the banner with some residual blurple ink left over on my blending brush, then tucked the die cut beneath the birdie with some foam adhesive. For some sparkle, I added tiny Gunmetal Pawsitively Dazzling Gems to the center of each flower and to the birdie’s eye, then finished the card off with a Simon Says Stamp Silver Cord bow!

Well, that’s all for my project today! This was definitely one of my more involved projects, but sometimes all of that attention to detail and meticulous die cut placement really pays off. If you haven’t tried creating custom colors with your stamping inks and blending brushes, I highly encourage you to try it out. It’s such fun to see plain white die cuts come to life! Thanks so much for stopping by today, and have a marvelous day!

Filed Under: simon says stamp Tagged With: banner greetings, craft tacky mat, delicate lattice stencil, die cutting, ink blending, layered birdie, lush leaves, thinking of you, with sympathy

Primary Sidebar

  • Facebook
  • Instagram
  • Pinterest
  • YouTube

Favorite Shops

Secondary Sidebar

Subscribe

Enter your email address to subscribe to this blog and receive notifications of new posts by email.

Instagram
Something is wrong.
Instagram token error.
Follow
Load More

Archives

Tags

3D embossing folder alcohol markers better press birthday birthday card blog hop card kit christmas christmas card christmas tag colored pencil copic copic coloring Daniel Smith die cutting embossing folder embroidery felt giveaway holiday holiday card hot foil ink blending karin brushmarker pro layered stencil masculine my monthly hero new release no line coloring no line watercolor OLO marker olo markers original illustration pawsitively saturated rainbow shaker card slimline stamping stamptember stencil thank you thinking of you valentine's day video watercolor

Popular Posts

Simon Says Stamp October 2026 Card Kit of the Month: Homespun Gratitude!
Honey Bee Stamps Cheerful Love Blog Hop!
Altenew Craft A Flower: Poppy Blog Hop+Giveaway!
Autumn Legs with Colorado Craft Company and Catherine Pooler!
Simon Says Stamp Cozy & Bright Inspiration, Part Two!
February 2018 My Monthly Hero Blog Hop!
The Ton Anniversary Release- Day 2
Sunflower Home Decor with Simon Says Stamp!
Simon Says Stamp STAMPtember Surprise: Boo Bundle Halloween Card Kit!
Hero Arts Spring 2020 Catalog Release Blog Hop+Giveaway!

Disclosure

Some affiliate links are used in my posts. This means that, should you click on one of my links and purchase something from that company, I will receive a small portion of the sale at no extra cost to you. I use the money earned from these sales to help maintain my blog. I so appreciate you visiting and, if you do choose to use one of my affiliate links, thank you so much for your support!
Copyright © 2026 ·Brunch Pro Theme · Genesis Framework by StudioPress · WordPress · Log in
Loading Comments...