This post was sponsored by Simon Says Stamp. Thanks, Simon!

Hi friends! Welcome to Day 1 of the Simon Says Stamp Celebrate Blog Hop! You should have arrived here from Cathy Zielske, and your next stop is Mindy Eggen. You can also start back at the beginning at the Simon Says Stamp Blog in case you get lost! The Celebrate Release features a huge variety of styles and themes, some whimsy, some elegance, and just about everything in between. I have a pair of cards today that would work perfectly for wedding season and could be easily customized to fit the color scheme for the wedding party. Let’s get started with the details!

Aqua is one of those colors that works beautifully as a neutral and as a main element for your color palette. My first home with my husband was painted in varying shades of aqua (the painters called it “the Easter egg house,” ha); such is my love for this color! And I think that Simon Says Stamp’s Sea Glass cardstock is the most perfect shade of aqua: not too intense, but also enough to add a beautiful pop of color to your card, and works beautifully as a neutral. I used it as the jumping off point to create a pair of wedding cards using the new To the Happy Couple and Daisy Oval Frame from the Celebrate Release.

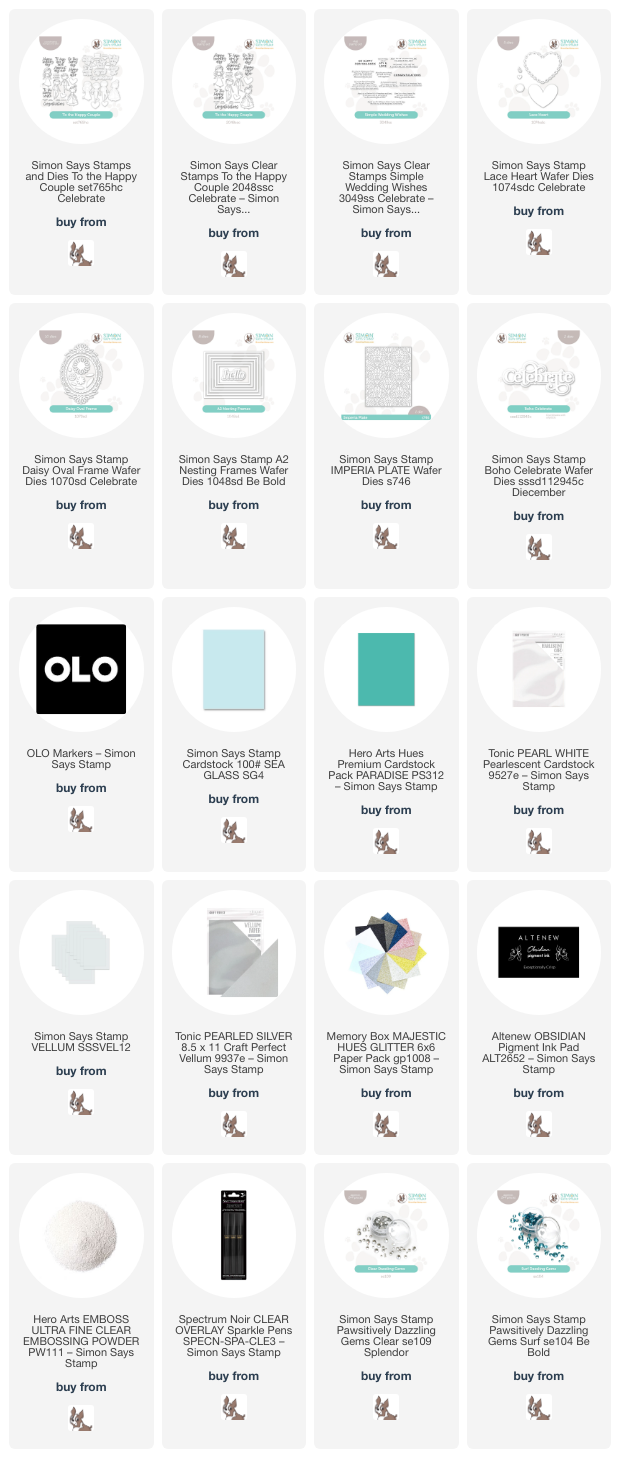
For my first card, I started by stamping images from the new To the Happy Couple set: a bride and groom with one of the lovely scripty sentiments included in the set. I stamped the images using black pigment ink and embossed them with clear embossing powder to make the black lines even more crisp. I used OLO markers to color the images, keeping the bride’s dress “white” by adding some pale BV shadows and softening the lines with the colorless marker. I also used a clear glitter Sparkle Pen to add some extra shimmer to the overlay on the bridal gown, making it that much more special! I die cut the finished images with the coordinating dies, also heat embossing a greeting from Simple Wedding Wishes onto a strip of white cardstock to add to the card.

For the background, I die cut the Lace Heart die from some silver pearl vellum, adding another element of shimmer to the card. (Wedding cards and shimmer go hand in hand in my book!) I offset the heart on my Sea Glass A2 card front, trimming off the edge and adhering it with some foam adhesive in the center of the vellum die cut. The vellum is semi-transparent, but I knew that I would be adding the happy couple over the top of the adhesive, effectively hiding it. I added the bride and groom and sentiment pieces over the vellum heart with more foam adhesive, creating a double layer of foam tape to give the different elements plenty of height.

The simplicity of the bride’s gown makes me think that she would have a simple bouquet of daisies, so I thought that some of the standalone daisy die cuts from the Daisy Oval Frame set would work perfectly to help accent the focal point and provide a little extra interest and sparkle! I die cut the large daisy image from white pearlescent cardstock, as well as some of the smaller florals from white glitter cardstock and foliage from darker aqua cardstock. I arranged the flowers around the focal points, accenting the centers with some Clear Pawsitively Dazzling Gems. Wouldn’t this be such a special card to include with a wedding gift?

My second card features the rest of the totally gorgeous new Daisy Oval Frame. I die cut the frame from some white pearlescent cardstock, reserving the center oval die cut. I ran that oval through my die cut machine with the Imperia Plate die, which adds pierced texture to the image without cutting any shapes. I also die cut the standalone daisy die cuts from some more white pearlescent cardstock. The Daisy Oval Frame has a partial version of this shape at the top and bottom of the frame, so I adhered the standalone pieces to their respective spots with liquid glue, then adhered the overlapping spots to the textured oval piece from the center. This created one cohesive die cut piece to which I could add thin strips of foam adhesive!

For the greeting, I die cut the Boho Celebrate die twice from some medium aqua cardstock and adhering both pieces together with liquid adhesive, backing this dimensional die cut with a vellum shadow layer. I also die cut some iridescent white mirror cardstock from my stash with the A2 Nesting Frames, layering the largest frame around the outside edge of my Sea Glass A2 card front. I popped up the embellished frame in the center of my card front with some foam adhesive, then added the greeting in the center of the frame with some small dots of liquid adhesive behind the solid die cut. Finally, I added a few Surf Pawsitively Dazzling Gems for added sparkle! This card would work well for a bridal shower, wedding, or other celebratory event. It’s neutral enough that it could fit lots of occasions!
Well, that’s all for my projects today. Now for some fun giveaway information!
Simon Says Stamp is giving away a $25 coupon to every stop on the hop, with winners selected from the blog comment section. Winners will be posted on the Simon Says Stamp blog on Wednesday the 24th of April and can email Simon Says Stamp to claim their prize!
Simon Says Stamp is also offering a fun Gift-With-Purchase opportunity to celebrate the new release! Simply follow the instructions in the graphic and enter code GHBD to receive the Groovy Happy Birthday die FREE with any purchase. (This gift with purchase will expire 4/21 at 11:59 pm EDT. While supplies last.)
Your next stop on today’s hop is Mindy Eggen. Don’t forget to check the Simon Says Stamp blog again tomorrow for Day 2 of the Celebrate Release Blog Hop. Lots more inspiration and prizes to be had tomorrow! Thanks so much for stopping by today, and happy hopping!