This post was sponsored by Simon Says Stamp. Thanks, Simon!
Hi friends! I am back with another special occasion card featuring new products from the Simon Says Stamp Celebrate release! I absolutely adored the new Daisy Oval Frame die; something about the tremendous impact of these intricate dies always makes them irresistible to me. I love that you not only get the intricate daisy frame itself, but also an additional delicate scalloped frame and extra individual detail dies to customize this fun frame in tons of different ways! I created a celebratory shaker card today using some of my favorite specialty papers, so let’s get started with the details!

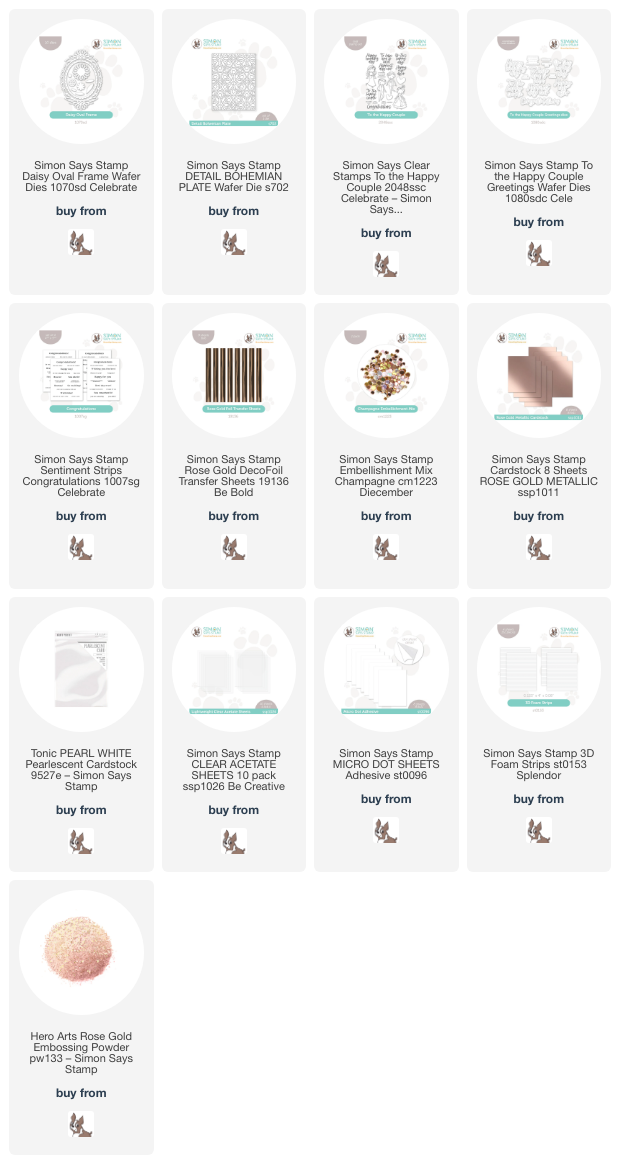
I started my card by die cutting the Daisy Oval Frame die a few times, first from Rose Gold Metallic foil cardstock, then from the center of an A2 panel of pearlescent white cardstock. I reserved that pearlescent white die cut for another project and used the negative frame for this project. I backed that open window on the pearlescent white cardstock piece with some acetate, which will become my shaker window. Because the Daisy Oval Frame die cut is so very delicate, and because I was working with super shiny metallic mirror cardstock and shiny clear acetate, I wanted to keep everything as clean as possible, so I pulled out the Micro Dot Adhesive Sheets from Simon Says Stamp. To use these tiny dots of adhesive, simply remove the release paper from part of your adhesive sheet, place the die cut with the back side touching the adhesive dots, then replace your release paper over the top. I like to flip the entire thing over and then use my bone folder to burnish the back of the die cut to make sure that the adhesive is really stuck on my intricate die cut. Then I flip it back over, remove the release paper, and pull off my new “sticker” die cut. It is so much easier and cleaner to add adhesive to delicate, detailed die cuts than trying to manage globs of glue, especially when dealing with super shiny cardstock!

After I had added adhesive to the back of my daisy frame die cut, I nestled it into the open window of my shaker card front. I flipped the window over and added a long line of continuous foam adhesive around my window using Foam Strips from Simon Says Stamp. To add a bit of texture behind my open shaker window, I ran a panel of white cardstock through my die cut machine using the Detail Bohemian Plate die, which adds a lovely pierced pattern onto your cardstock without actually cutting any shapes. These pierced plates are some of my favorite ways to add texture to my cards! I filled my shaker with some Champagne Sequins, which have lovely shades of metallic sequins that coordinate beautifully with the Rose Gold Metallic foil cardstock.

For the greeting, I heat embossed the Congratulations sentiment from the To the Happy Couple stamps with rose gold embossing powder onto some more white cardstock, then used the coordinating sentiment dies to cut it out. (I love having the option to use dies to cut out sentiments; it makes the stamp set so much more versatile to have dies to cut each piece!) I used some Simon Says Stamp Rose Gold DecoFoil with my Minc machine to add some coordinating shiny rose gold foil to one of the greetings included in the Congratulations toner foil cards. These cards are great on their own, but pairing them with foil just kicks them up a notch and raises the elegance level of the card! I popped up the greeting pieces in the center of the shaker window, leaving plenty of space around the sentiment to see the festive sequins floating about.
Well, that’s all for my project today! This card would work beautifully for a wedding shower or wedding, or even just a congratulatory card for a special occasion! I love multi-purpose sentiments. Thanks so much for stopping by today, and have a marvelous day!