• Skip to main content
  • Skip to primary sidebar
  • Skip to secondary sidebar

Sixth Street Sundries

Emily Midgett

  • Home
  • About Me
  • Contact
  • OLO Marker Color Swatch Chart
  • Shop

congratulations sentiment strips

A Special Shaker for a Special Occasion with New Simon Says Stamp!

April 28, 2024

This post was sponsored by Simon Says Stamp. Thanks, Simon!

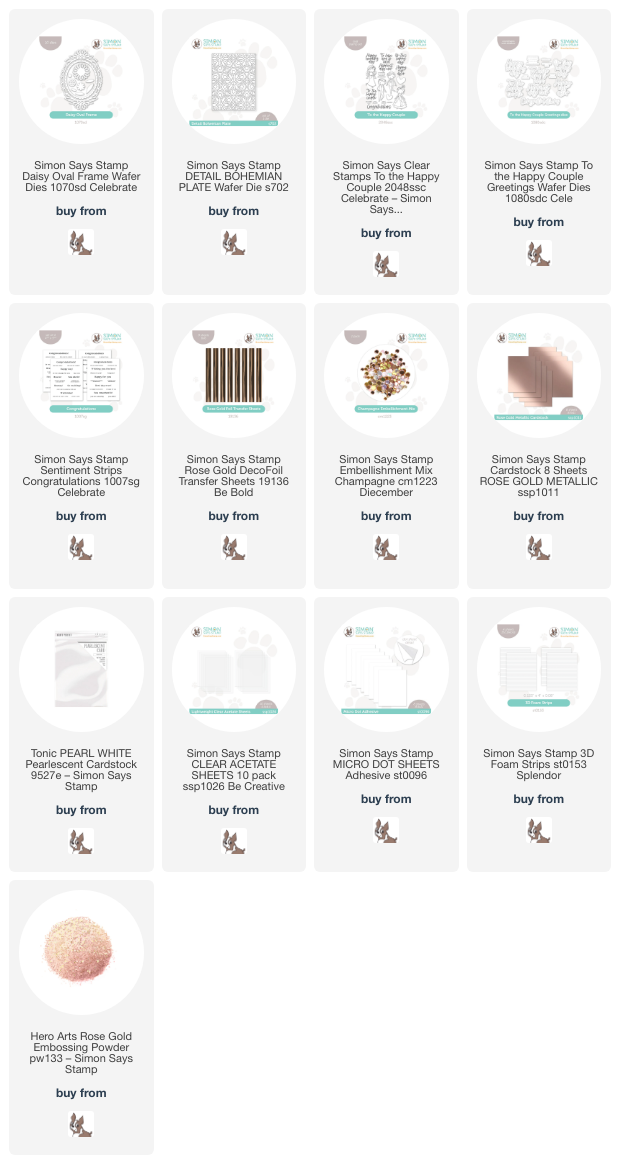
Hi friends! I am back with another special occasion card featuring new products from the Simon Says Stamp Celebrate release! I absolutely adored the new Daisy Oval Frame die; something about the tremendous impact of these intricate dies always makes them irresistible to me. I love that you not only get the intricate daisy frame itself, but also an additional delicate scalloped frame and extra individual detail dies to customize this fun frame in tons of different ways! I created a celebratory shaker card today using some of my favorite specialty papers, so let’s get started with the details!

I started my card by die cutting the Daisy Oval Frame die a few times, first from Rose Gold Metallic foil cardstock, then from the center of an A2 panel of pearlescent white cardstock. I reserved that pearlescent white die cut for another project and used the negative frame for this project. I backed that open window on the pearlescent white cardstock piece with some acetate, which will become my shaker window. Because the Daisy Oval Frame die cut is so very delicate, and because I was working with super shiny metallic mirror cardstock and shiny clear acetate, I wanted to keep everything as clean as possible, so I pulled out the Micro Dot Adhesive Sheets from Simon Says Stamp. To use these tiny dots of adhesive, simply remove the release paper from part of your adhesive sheet, place the die cut with the back side touching the adhesive dots, then replace your release paper over the top. I like to flip the entire thing over and then use my bone folder to burnish the back of the die cut to make sure that the adhesive is really stuck on my intricate die cut. Then I flip it back over, remove the release paper, and pull off my new “sticker” die cut. It is so much easier and cleaner to add adhesive to delicate, detailed die cuts than trying to manage globs of glue, especially when dealing with super shiny cardstock!

After I had added adhesive to the back of my daisy frame die cut, I nestled it into the open window of my shaker card front. I flipped the window over and added a long line of continuous foam adhesive around my window using Foam Strips from Simon Says Stamp. To add a bit of texture behind my open shaker window, I ran a panel of white cardstock through my die cut machine using the Detail Bohemian Plate die, which adds a lovely pierced pattern onto your cardstock without actually cutting any shapes. These pierced plates are some of my favorite ways to add texture to my cards! I filled my shaker with some Champagne Sequins, which have lovely shades of metallic sequins that coordinate beautifully with the Rose Gold Metallic foil cardstock.

For the greeting, I heat embossed the Congratulations sentiment from the To the Happy Couple stamps with rose gold embossing powder onto some more white cardstock, then used the coordinating sentiment dies to cut it out. (I love having the option to use dies to cut out sentiments; it makes the stamp set so much more versatile to have dies to cut each piece!) I used some Simon Says Stamp Rose Gold DecoFoil with my Minc machine to add some coordinating shiny rose gold foil to one of the greetings included in the Congratulations toner foil cards. These cards are great on their own, but pairing them with foil just kicks them up a notch and raises the elegance level of the card! I popped up the greeting pieces in the center of the shaker window, leaving plenty of space around the sentiment to see the festive sequins floating about.

Well, that’s all for my project today! This card would work beautifully for a wedding shower or wedding, or even just a congratulatory card for a special occasion! I love multi-purpose sentiments. Thanks so much for stopping by today, and have a marvelous day!
Filed Under: simon says stamp Tagged With: congratulations, congratulations sentiment strips, daisy oval frame, decofoil, detail bohemian plate, sentiment strips, shaker card, to the happy couple, wedding card

Revolutionary New Tools to Up Your Cardmaking Results!

April 24, 2024

This post was sponsored by Simon Says Stamp. Thanks, Simon!

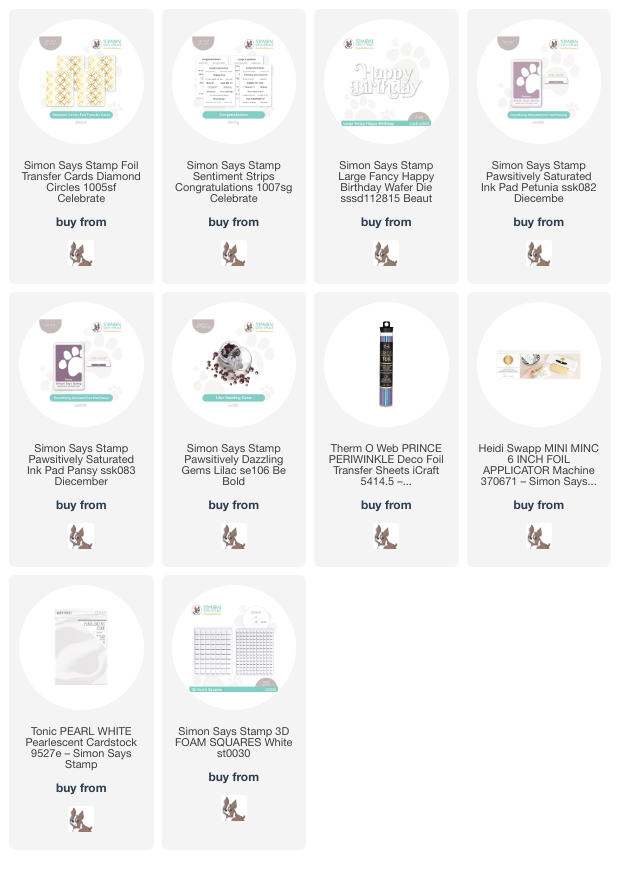
Hi friends! I was recently thinking about how long I’ve been papercrafting, nearly 15 years at this point, and I remarked to my husband how many more fun tools we now have to use to create unique and professional-looking projects. Hot foil, letter press, toner foil, and of course, the MISTI… there are so many interesting new (ish) innovations to take our cardmaking from fantastic to spectacular! When I started stamping, it was just acrylic blocks and some flash-in-the-pan newfangled tools that didn’t really stand the test of time, but I feel like over the last five or so years, the quality of the new tools has increased exponentially, and the quality of our cards has increased with them! Case in point: the Minc machine. This fantastic machine is not exactly new, but companies have recently stated giving us marvelous options to use with it. Simon Says Stamp has been building their collection of Toner Hot Foil prints lately, and the new Diamond Circles Foil Transfer Cards is amongst my favorite. The print is so classy and neutral, perfect for use with tons of different focal points and subjects. Let’s get started with the details on my card!

I got hooked on foiling the CZ Design sentiment cards from Simon Says Stamp several months ago, and so scoured the website for toner foil in unique shades beyond the typical metallics. I found that DecoFoil has some utterly divine foil colors, including the Prince Periwinkle DecoFoil. This metallic periwinkle foil is iridescent, so can be paired with a number of different color palettes. I paired Prince Periwinkle DecoFoil with the new Diamond Circles Foil Transfer Cards, running the card through my Minc machine with some Prince Periwinkle foil. When I peeled the foil away, it was like magic, with that gorgeous background print beautifully foiled and a perfect canvas to do some ink blending. I also foiled some sentiments from the new Congratulations toner foil cards set to create some coordinating elements for my card.

After foiling my background, I trimmed down the foiled panel so that I could mat it with an A2-sized panel of deep eggplant cardstock. I then used blending brushes to blend Petunia & Pansy Pawsitively Saturated Inks around the edges of the foiled panel to pick up the pretty purple tones in the iridescent foiled image. I mounted the finished blended background on an A2 eggplant card front, creating a crisp frame around the edges of the panel.

For the greeting, I die cut the Large Fancy Happy Birthday from some pearlescent white cardstock. (Coated and specialty cardstocks in a multitude of colors are another newer innovation that make cardmaking so much more fun and make the results so much more professional looking!) I trimmed down one of my coordinating foiled greeting strips from the Congratulations toner foil card set and popped both greeting components up in the center of my foiled and blended panel using foam squares. Finally, I added a bit more shine with some Lilac Pawsitively Dazzling Gems, which are made of glass and are delightfully sparkly!

Well, that’s all for my project today. You can check out all of the new toner foil cards from the Celebrate release HERE; there are so many marvelous options to see! What cardmaking innovation has taken your cardmaking to the next level? Are there any products that you purchased that you thought you would use more than you do? I want to know!

Thanks so much for stopping by today, and have a marvelous day!

Filed Under: simon says stamp Tagged With: congratulations sentiment strips, foil transfer cards, ink blending, large fancy happy birthday, minc, pawsitively saturated, toner foil

Primary Sidebar

  • Facebook
  • Instagram
  • Pinterest
  • YouTube

Favorite Shops

Secondary Sidebar

Subscribe

Enter your email address to subscribe to this blog and receive notifications of new posts by email.

Instagram
Something is wrong.
Instagram token error.
Follow
Load More

Archives

Tags

3D embossing folder alcohol markers better press birthday birthday card blog hop card kit christmas christmas card christmas tag colored pencil copic copic coloring Daniel Smith die cutting embossing folder embroidery felt giveaway holiday holiday card hot foil ink blending karin brushmarker pro layered stencil masculine my monthly hero new release no line coloring no line watercolor OLO marker olo markers original illustration pawsitively saturated rainbow shaker card slimline stamping stamptember stencil thank you thinking of you valentine's day video watercolor

Popular Posts

Simon Says Stamp Joy For You Blog Hop- Day 1!
Simon Says Stamp Joy For You Release-Now Available!
Frozen Fractals All Around with New Simon Says Stamp Joy For You Release!
Shaped Holiday Shaker Card with New Simon Says Stamp Jolly Season Card Kit of the Month!
Holiday Postage with New Simon Says Stamp!
Simon Says Stamp Glory to the Newborn King Holiday Kit-Part II!
Altenew Build A Flower: Fuchsia Blog Hop+Giveway!
Holiday Joy in Pink and Green with New Simon Says Stamp DieCember!
Pinkfresh Studio 5th Birthday!
Honey Bee Stamps September Release Blog Hop!

Disclosure

Some affiliate links are used in my posts. This means that, should you click on one of my links and purchase something from that company, I will receive a small portion of the sale at no extra cost to you. I use the money earned from these sales to help maintain my blog. I so appreciate you visiting and, if you do choose to use one of my affiliate links, thank you so much for your support!
Copyright © 2026 ·Brunch Pro Theme · Genesis Framework by StudioPress · WordPress · Log in
Loading Comments...