This post was sponsored by Simon Says Stamp. Thanks, Simon!

Hi friends! Today, I am hopping along with Simon Says Stamp for Day 1 of the Splendor Release Blog Hop. You should have arrived here from Lisa Addesa and your next stop is Cheiron Brandon. You can find the full hop list over at the Simon Says Stamp Blog in case you get lost! I have been embracing all things spring with the new Splendor release, using the beautifully buttery new Pawsitively Saturated Ink Trio 27 as my excuse to keep things light and sunny. I have some springy Easter cards to share with you today using some of the new stencils and the gorgeous new Trio 27 inks, so let’s get started with the details!

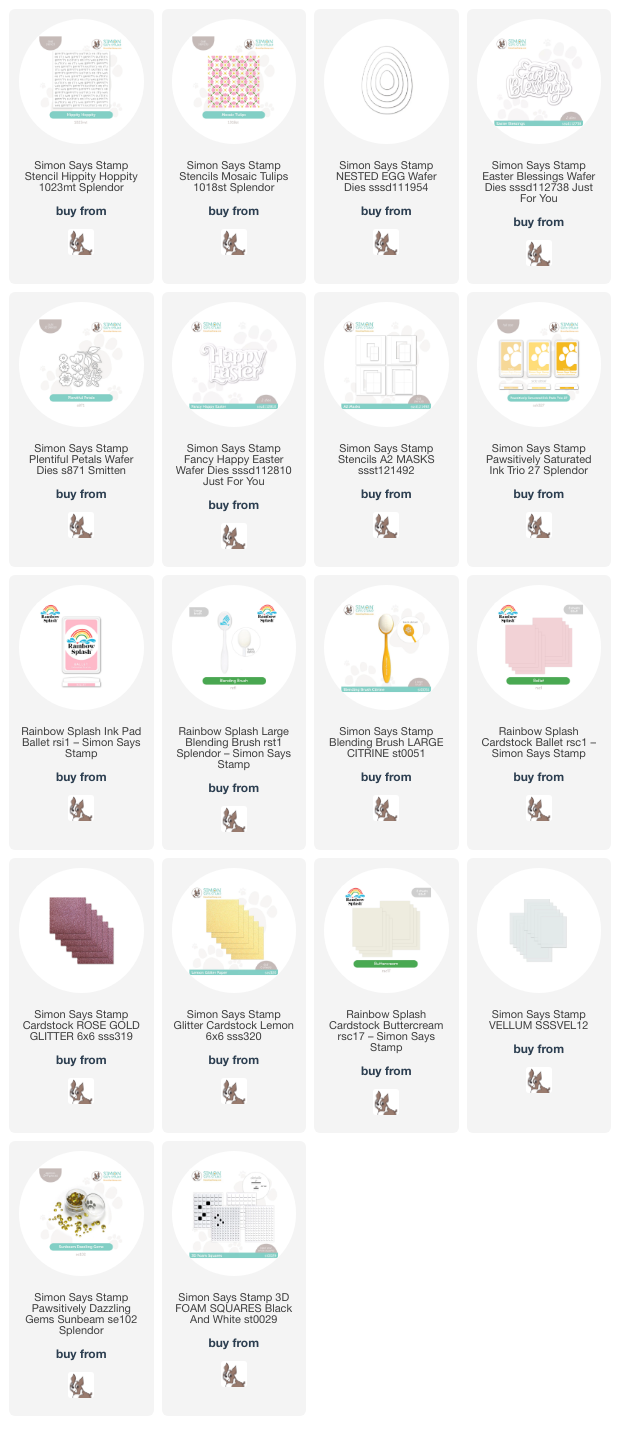
To start, I die cut several Easter eggs in three different sizes from Hammermill cardstock using the Nested Eggs dies. Using blending brushes, I blended several of the die cut eggs using the new lemon meringue inks from the Pawsitively Saturated Ink Trio 27, as well as a few eggs using Rainbow Splash Ballet Ink (using one of the new Rainbow Splash blending brushes). Concentrating the color around the edges of the eggs is lovely on its own, lending plenty of dimension and shape to these simple die cuts, but I wanted to make some of them extra special, and so used the new Hippity Hoppity stencil and Mosaic Tulips layering stencil set to add some fun patterns to a few of the eggs.

When selecting patterns to mix & match, I like to find completely contrasting patterns so that the eye does not get overwhelmed by too much busyness on the card front, instead being able to focus on each individual pattern. The close, somewhat repetitive pattern on the Hippity Hoppity stencil contrasted nicely with the open floral pattern on the Mosaic Tulips layering stencil. I also broke up the different patterned eggs by leaving some of the eggs solid, with only some ink blending around the edges.

Before arranging the eggs on my slimline card front, I used blending brushes to blend Butter ink from the Pawsitively Saturated Ink Trio 27 and Rainbow Splash Ballet Ink on the top and bottom of the card front, leaving the center white to provide some relief to the eye and to avoid creating a third color on my card by mixing the colors. I arranged the eggs on my card front, adhering the largest eggs in the background with liquid adhesive and the smaller eggs with foam squares. To accent the eggs and keep things extra springy, I die cut the Plentiful Petals dies from white, Ballet, and Rose Gold Glitter cardstock, mixing and matching the three colors to create little floral clusters with a variety of sizes, tucking the flowers and foliage amongst the egg die cuts. For the greeting, I die cut the Easter Blessings die from some more Ballet cardstock and layered it atop the egg lineup. Finally, I accented the card using some sparkling iridescent yellow gems from my stash!

After I had used the utterly gorgeous new Mosaic Tulips layering stencil on my egg die cuts, I knew that I needed to use it on a larger canvas and allow it to shine. For my next project, I paired the beautiful layering stencil with the older A2 Stencil and Masks set and the new Ink Trio 27 to create a focal point for some springy die cuts. I started by centering my A2 Stencil and Mask over my white A2 panel and lightly blending Butter ink from Ink Trio 27 around the edges, keeping the color concentrated around the edge of the rectangle. Keeping the mask in place, I placed the first layer of the Mosaic Tulips layering stencil over the open area and blended it with Butter ink, as well. I replaced each stencil layer and blended with the next darkest shade of ink from the trio until I had created this pretty background with a crisp white frame.

To accent the floral pattern, I found that the tulips in the Plentiful Petals dies perfectly match the shape of the flowers from the Mosaic Tulips stencil set. I die cut the flowers three times, once from Lemon Glitter Cardstock, once from Rainbow Splash Buttercream cardstock, and once from a panel of cardstock that I blended with residual yellow ink leftover from blending the stenciled background. I created little swags in the corners of my blended panel, mixing and matching the different textures and colors to create interesting bouquets.

For the greeting, I used some more Lemon Glitter Cardstock to die cut the detail layer of the Fancy Happy Easter die, cutting the shadow layer from vellum and adhering the two together. I popped up the greeting in the center of the stenciled area using foam squares, then added a smattering of Sunbeam Pawsitively Dazzling Gems for some sparkle!
Well, that’s all for my projects today! To celebrate the Splendor Release, Simon Says Stamp is offering a free gift with purchase: simply follow the instructions on the graphic at the top of the post to find the freebie, then enter code MRGT at checkout so that you can receive the Margot Embossing Folder free with purchase!
Simon Says Stamp is also generously sponsoring a $25 coupon for each blog to be chosen from comments left along the hop! Simply leave a comment on each blog hop stop to be entered to win! The winners will be posted on the Simon Says Stamp blog on Wednesday, February 21. Winners can email Simon Says Stamp to claim his/her prize 🙂
Your next stop on the hop is Cheiron Brandon. Thanks so much for stopping by today, and happy hopping!