• Skip to main content
  • Skip to primary sidebar
  • Skip to secondary sidebar

Sixth Street Sundries

Emily Midgett

  • Home
  • About Me
  • Contact
  • OLO Marker Color Swatch Chart
  • Shop

mother's day

Simon Says Stamp Beautiful Days Release + New Illustration-Mother’s Day Dogwood!

April 5, 2023

Hi there! Simon Says Stamp is releasing a beautiful new collection of products tonight, called the Beautiful Days! This collection features so many beautiful, unique products that are perfect for creating springy cards, and I am thrilled that I have illustrated a stamp set included in this release, called Mother’s Day Dogwood! This stamp set features two large dogwood illustrations: one dogwood heart filled with sweet filler flowers and foliage, and one more simplistic illustration of a dogwood branch, as well as lots of sentiments to be used to build meaningful greetings for your Mother’s Day cards (or even non-Mother’s Day cards!). I have two projects to share with you today using my new Mother’s Day Dogwood stamp set and lots of beautiful colored cardstock, so let’s get started with the details!

Vivid colored cardstock is one of my favorite ways to make a huge impact on a card front. Figuring out how to add all of the different elements on my card while also keeping the intense color of the cardstock true (that is, not using white cardstock!) is like a puzzle for me. I love monochromatic cards, as you’ve seen if you have looked at my blog before, and my cards today feature monochromatic jewel-toned color scheme with bright pops of pink flowers and some pretty metallic accents!

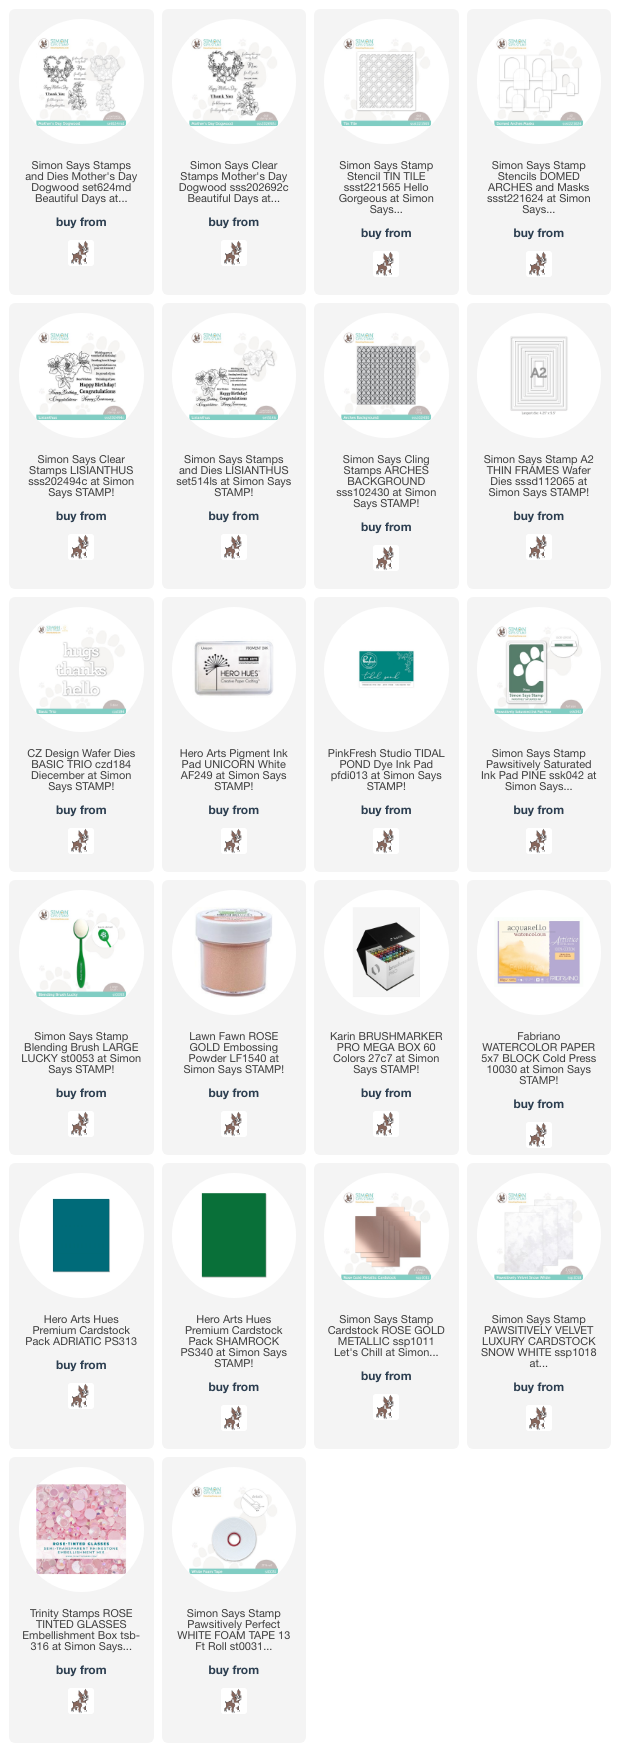
For my first project, I paired the simple Mother’s Day Dogwood branch with my colored pencils and Hero Arts Adriatic cardstock. When coloring with pencils on colored cardstock, I like to use Hero Arts Unicorn White pigment ink. I think that, because this thick ink sits on top of the cardstock rather than sinking down into it, it melds nicely with the colored pencils, which also sit atop the cardstock, preventing unsightly lines from being visible beneath the colored pencils. When using super intense colored cardstock like this deep teal cardstock, I like to lay down a base layer of my lightest colored pencil, which in this case was a cool pale blush color. I covered the entirety of each petal with that pale blush, then went back and added my darker colors, blending them together with the same pale blush color. I die cut the finished colored piece with the coordinating dies.

To accent the pink flowers, I used a blending brush to blend Pinkfresh Studio Tidal Pond ink with the Simon Says Stamp Domed Arches Stencils and Masks. I love the boldness of the dark teal ink on the intense teal cardstock. After I’d blended the arch shape, I kept my stencil in place, then placed the Simon Says Stamp Tin Tile Stencil directly over the top of the cardstock and attached dome stencil, blending with the same Tidal Pond ink. This creates a super subtle monochromatic pattern within the arch shape. I removed the patterned stencil and, while the arch stencil was still in place, splattered some handmade rose gold metallic watercolor in the background. The pale rose gold juxtaposes beautifully with the vivid teal. I finally removed the arch stencil, leaving me with a lovely patterned background that is entirely one layer! So much dimension and interest when you layer multiple stencils together.

I trimmed down the stenciled panel so that it was slightly smaller than a standard A2, then mounted it on a full size A2 panel of the same Adriatic cardstock with some foam tape. I heat embossed one of the greetings from Mother’s Day Dogwood onto some more teal cardstock using rose gold embossing powder, which contrasts beautifully with the jewel-toned cardstock, then trimmed the sentiment out with sharp scissors. I popped up the die cut with more foam tape, then added a double layer of foam tape to the sentiment, which creates a triple layer of foam tape on this card… so much dimension! But I find that with monochromatic cards like this, dimension and varying heights are important elements in keeping things interesting.

My second card features some older products, but uses a couple of the sentiment builder stamps from my new Mother’s Day Dogwood stamps. I designed the sentiments so that they would work together or you could mix and match with sentiment dies, as I’ve done here. In some “free” time that I had a few weeks ago (a unicorn if ever there was one!), I decided to do some therapeutic watercoloring with the previously-released Lisianthus stamp set that I illustrated last year. I heat embossed the main image on some Fabriano Artistico watercolor paper using more rose gold embossing powder. I used Karin Brushmarker Pro markers to watercolor some pretty pinks, hunter green, and plum to this large image. I added a dark green halo around the edge, as well, so that after die cutting, I could have a dark green cardstock background without worrying about that pesky white edge!

For the background, I trimmed down an A2 panel of Hero Arts Shamrock cardstock and stamped the Simon Says Stamp Arches Background using Pine ink. I used a blending brush to blend more Pine ink around the edge. I love the halo effect this creates! I splattered some more sparkling metallic rose gold watercolor on the background to add a bit more textural interest, but I love the subtly-patterned monochromatic look on this beautiful green cardstock!

I had originally painted this image on a 4″x6″ panel of cardstock, so the die cut was just a tiny bit too narrow to fill out the full A2 card front. To compensate for this, I die cut an A2 Thin Frames die from Simon Says Stamp using the gorgeous Rose Gold Metallic cardstock, also from Simon Says Stamp, and added my Lisianthus die cut to the back of it, creating a delicate, coordinating metallic frame around my large floral die cut.

For the greeting, I die cut the “thanks” from the Basic Trio dies, cutting it twice from plain white cardstock and once from white velvet cardstock to add some extra texture to the card front. I layered all of the die cut sentiment pieces together, creating a dimensional die cut greeting. Using some of the sentiment builder stamps included in the Mother’s Day Dogwood stamp set, I heat embossed “Mom” and “for all you do” on some scraps of Shamrock cardstock, again with the rose gold embossing powder. It stands out beautifully from the jewel-bright cardstock. I arranged them all on my card front, creating a custom sentiment for my colorful card. I love mixing and matching different products to create one cohesive project! The trick is to keep the colors cohesive so that each component looks intentional. Finally, I added a smattering of pink Rose Tinted Glasses gems for one last bit of sparkle and shine.

Well, that’s all for my projects for today! The release blog hop will be later this week, so be sure to be on the lookout for that. Thanks so much for stopping by today, and have a marvelous day!
Filed Under: simon says stamp Tagged With: A2 thin frames, arches background, basic trio, colored pencil, domed arches, karin markers, lisianthus, mother's day, mother's day dogwood, stencil, tin tile, watercolor

Hero Arts My Monthly Hero April 2023 Release Blog Hop + Giveaway!

April 3, 2023

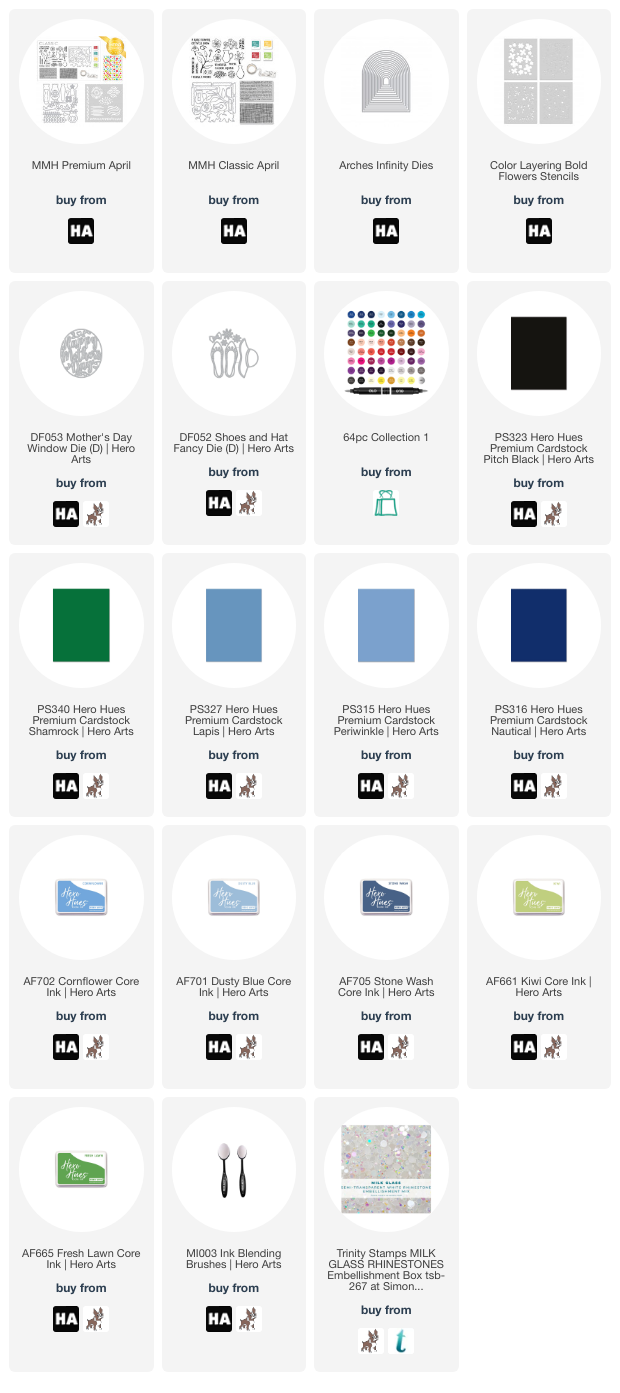
Hi there! The first Monday of the month means a new My Monthly Hero release from Hero Arts, and this month we are introducing a gorgeous new collection with super fun graphic flowers, patterns, and textures to create cards in a variety of styles, including mixed media! You should have arrived here from Dana Joy, and your next stop is Ilina Crouse. Here’s a peek at this month’s Classic Kit:

The contents of the Classic Kit (shown above) retail individually for over $75, but is available for only $36.99! Such a great bargain. And, if you want even more value and incredible products with which to play, you can purchase the Premium Kit, shown below:

The contents of the Premium Kit retail individually for $107, but are available as a kit for a great value of $49.99. You receive all of the elements of the Classic Kit, plus a huge set of amazing standalone dies, stencil, and colorful enamel dots. I have two projects, featuring elements from both kits, to share with you today, so let’s get started with the details!

I kept things crisp with black and white for these cards, adding some fresh pops of blue and minty green to complement the crisp black and white.

This card uses only elements from the Classic Kit. I stamped the flowers and foliage with Intens-ified Black Ink using stamps from the large 6×8 stamp set, then used my OLO markers to color them in a beautiful shade of periwinkle blue with some minty green foliage. I die cut them with the coordinating Frame Cuts, which are included in the Classic Kit.

To create the accent strip, I used the little decorative flourish stamp (which I think is intended to decorate the pitcher stamp) to stamp a pretty black and white pattern. I trimmed the strip down and backed it with a slightly wider strip of Pitch Black cardstock (which is currently in stock-hooray! This is hands down the best black cardstock I’ve used.) I popped up the strip on my white A2 card front with some foam tape, then arranged my flowers in a graceful swag and adhered them with some more foam adhesive. I heat embossed a greeting from the Classic Kit onto some vellum using black embossing powder, then die cut it with the coordinating die (love that the sentiments are included with the frame cuts!) and added it to the card front with some more foam tape. A few iridescent gems finished it off.

My second card features the fabulous standalone dies found in the Premium Kit. We all know how expensive dies are, and there are a *ton* of standalone dies included with the set in the Premium Kit. I used them to create this sweet floral bouquet, cutting the foliage from some Shamrock cardstock and the blue flowers from Lapis and Periwinkle cardstocks. I die cut a vase from some more Pitch Black cardstock and arranged a bouquet inside this super tall vase. The Premium Kit die set includes vases in a wide variety of sizes and shapes, as well as several different sizes and styles of flowers and foliage to give you so many options for layouts and combinations!

To accent the vase, I stamped one of the textured background stamps included with both kits. I inked up the linen textured background with Cornflower ink and stamped it on an A2 card front. I popped up the floral bouquet with some foam tape, then added a simple black and white stamped and die cut greeting. A few iridescent white gems finished off the card!

Not to be outdone by this beautiful kit, the April Add-Ons are absolutely marvelous. I used the brand new Arches Infinity Dies to create this framed, shaped card. To start, I inked up the beautiful new Color Layering Bold Flowers Stencils with Dusty Blue, Stone Wash, Nautical, Kiwi, and Fresh Lawn inks using the super soft Blending Brushes from Hero Arts. I used the largest of the new Arches Infinity Dies to cut a large patterned arch die cut background panel.

I thought the pretty blue and white patterned background would be perfect for a Mother’s Day card, so I die cut the Mother’s Day Window Fancy Die from some white cardstock, trimming the die cut sentiment out from the oval window to create a standalone sentiment die cut. I also die cut a few flowers using the Shoes and Hat Fancy Die set to accent the flowers in the background.

To create my shaped card base, I created a regular A2 card with a side fold, then placed the largest Arches Infinity Dies on the card front, making sure to offset the die so that the card’s fold was within the die itself, keeping the fold intact. I ran the entire thing through my die cut machine, which created a shaped card! I adhered the patterned arch background to the shaped card base, then die cut a coordinating navy blue frame using the Arches Infinity Dies and some Nautical cardstock. I popped up all of the die cut elements on the patterned background using foam tape to create lots of dimension on this project. I added a few iridescent gems to the flower centers for some sparkle!

Well, that’s all for my projects today. Now for some fun giveaway information!

Hero Arts will give away a $50 gift card, drawn from the comments left across the hop. Enter by Sunday, April 9th at 11:59pm Pacific, and the winner will be announced on the Hero Arts blog the following week.

Your next stop is Ilina Crouse, or you can start at the beginning at the Hero Arts Blog. Thanks so much for stopping by today, and happy hopping!

Filed Under: Hero Arts, OLO markers Tagged With: layering stencils, mother's day, mother's day window, my monthly hero, olo markers, shaped card, shoes and hat

Primary Sidebar

  • Facebook
  • Instagram
  • Pinterest
  • YouTube

Favorite Shops

Secondary Sidebar

Subscribe

Enter your email address to subscribe to this blog and receive notifications of new posts by email.

Instagram
Something is wrong.
Instagram token error.
Follow
Load More

Archives

Tags

3D embossing folder alcohol markers better press birthday birthday card blog hop card kit christmas christmas card christmas tag colored pencil copic copic coloring Daniel Smith die cutting embossing folder embroidery felt giveaway holiday holiday card hot foil ink blending karin brushmarker pro layered stencil masculine my monthly hero new release no line coloring no line watercolor OLO marker olo markers original illustration pawsitively saturated rainbow shaker card slimline stamping stamptember stencil thank you thinking of you valentine's day video watercolor

Popular Posts

Simon Says Stamp October 2026 Card Kit of the Month: Homespun Gratitude!
February 2018 My Monthly Hero Blog Hop!
Altenew Craft A Flower: Poppy Blog Hop+Giveaway!
Felted Gourd Wall Hanging with Simon Says Stamp!
Sunflower Home Decor with Simon Says Stamp!
Craft Your Life Project Kit: Feathered Lilies Blog Hop+Giveaway!
Simon Says Stamp October 2025 Card Kit of the Month!
Altenew Standalone Die Blog Hop+Giveaway!
The Ton Anniversary Release- Day 2
Honey Bee Stamps Cheerful Love Blog Hop!

Disclosure

Some affiliate links are used in my posts. This means that, should you click on one of my links and purchase something from that company, I will receive a small portion of the sale at no extra cost to you. I use the money earned from these sales to help maintain my blog. I so appreciate you visiting and, if you do choose to use one of my affiliate links, thank you so much for your support!
Copyright © 2026 ·Brunch Pro Theme · Genesis Framework by StudioPress · WordPress · Log in
Loading Comments...