• Skip to main content
  • Skip to primary sidebar
  • Skip to secondary sidebar

Sixth Street Sundries

Emily Midgett

  • Home
  • About Me
  • Contact
  • OLO Marker Color Swatch Chart
  • Shop

old fashioned christmas

Video: Coloring Cocktails and Decanters with OLO Markers and Simon Says Stamp!

December 16, 2024

This post was sponsored by Simon Says Stamp. Thanks, Simon!

Hi friends! I have some inspiration to share with you using one of my favorite sets that I’ve ever illustrated: Old Fashioned Christmas. This set was inspired by my husband’s love of bourbon (and his extensive collection). I went to make him a birthday card and couldn’t find anything that would suit him perfectly, so I knew that this would fill an empty niche in my stamping collection! I find myself a bit intimidated when it comes to coloring things that are not flowers, so I thought it might be helpful to show you how I colored the cocktail and whiskey decanter from this new set. Watch the video below or HERE on YouTube:


*I have gathered links to all of the products used at the bottom of the post for your convenience, using affiliate links. Thank you for shopping with my links! I truly appreciate your support for my work!*

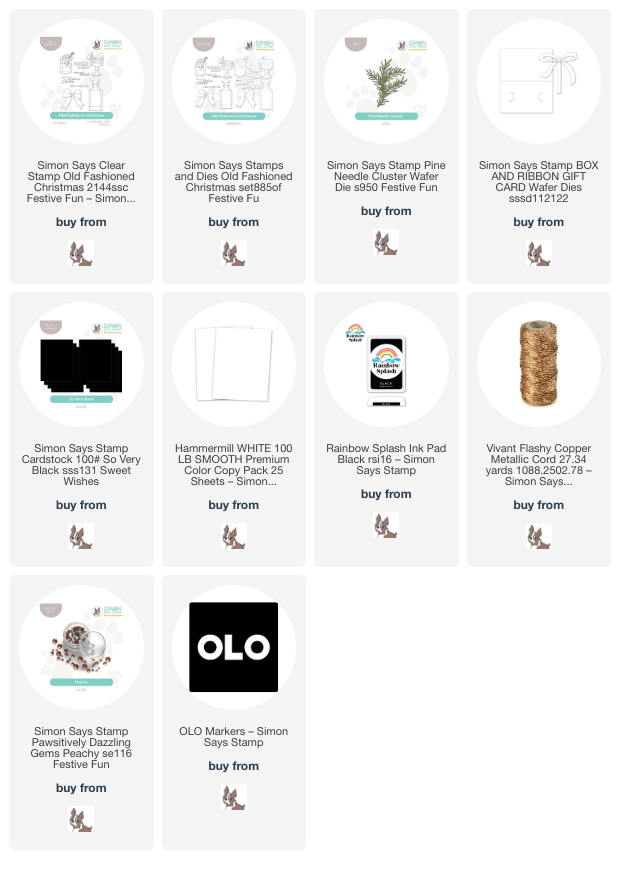
In case you can’t watch the video, I’ll give a quick rundown of my process for creating this gift card holder. I began by stamping the images from Old Fashioned Christmas onto some Hammermill cardstock using Simon Says Stamp’s Rainbow Splash Black Ink, which is alcohol marker-compatible! I then used OLO Markers to color the images, using very pale gray-blue markers with my colorless blender marker to create the glass and highlights, then adding warm burnt orange and coppery brown to create the whiskey inside the decanter. The cocktail was created using similar shades of coppery brown, this time with a pale pink “glaze” over the top to add some pink undertones, mimicking the cherry juice added to an old-fashioned cocktail! After I had finished coloring the images, I used the coordinating dies to cut the images out. I also used a black OLO Marker to color around the edges of the die cuts, making sure that there was no annoying white edge to detract from my crisp black background envisioned in my head.

For the base, I used the older-but-still-amazing Box & Ribbon Gift Card die, which is perfect for holiday gift giving! It cuts the notches out for you to quickly and easily slide a gift card inside. I die cut the Box & Ribbon Gift Card die from some Simon Says Stamp So Very Black cardstock. I also die cut a few white Pine Needle Cluster to place die cuts behind the whiskey die cuts to add some holiday festiveness to the card. I adhered the pine boughs to the black gift card with liquid adhesive and placed the whiskey die cuts over the top with foam adhesive.

After I had adhered my die cut pieces to the card, I created a sentiment from the Old Fashioned Christmas stamp set. When designing these sentiments for this set, I set aside my normal rule of “no puns” and created some adult-friendly puns that worked with the whiskey images in the set. I stamped the “making spirits bright” onto some more black cardstock using Simon Says Stamp White Pigment Ink, then added white embossing powder to create a super crisp and bright white sentiment! I used the coordinating die to cut the sentiment out and popped it up on the gift card holder using a double layer of foam tape. To close the gift card holder, I threaded some sparkling copper twine beneath the sentiment and tied it in a fluffy bow. Finally, I added a few Peachy Pawsitively Dazzling Gems for added sparkle, which I think perfectly complements the warm coppery whiskey and cocktail!

Well, that’s all for my project today. I can’t believe that Christmas is only 9 days away! Are you ready? I am ready in some ways, but I’m not ready for the creativity that holiday supplies brings out in me to be gone yet! So many different styles and color palettes and sparkles still to use. Thanks so much for stopping by today, and have a marvelous day!
Filed Under: simon says stamp Tagged With: box and ribbon gift card, christmas card, copic coloring, gift card holder, holiday card, old fashioned christmas, olo markers, original illustration, pine needle cluster

Christmas Card for Guys with Old Fashioned Christmas from Simon Says Stamp!

November 17, 2024

This post was sponsored by Simon Says Stamp. Thanks, Simon!

Hi friends! I am back with another project using one of my illustrations from the Festive Fun release from Simon Says Stamp: Old Fashioned Christmas. I designed this set with my husband in mind; he loves bourbon, and so I wanted to create something that I could use for birthday, anniversary, or Father’s Day cards for him. This set doesn’t have to just be for Christmas, though the sentiments are just too cute for Christmas! I decided to make a super simple and elegant card that would be perfect for that elusive masculine holiday card. What guy wouldn’t love getting a bottle of craft bourbon with a big bow on top as a Christmas gift? Let’s get started with the details on my project!

I began by stamping only the decanter and the bow from my Old Fashioned Christmas set onto some white cardstock using Permanent Gray Mist no-line coloring ink. I then used OLO Markers to color the images, using my colorless blender marker liberally to create the highlights in the shiny glass. For the bow, I saturated the image with red markers and then added some black colored pencil to the areas with the deepest shadows, creating an almost velvety visual texture. If you haven’t tried adding colored pencil to your alcohol marker-colored images, I highly encourage you to try it. I am a recent convert, and that simple step of adding very minimal touch ups with colored pencil makes an immense difference!

After die cutting the finished colored images, I layered them together with some liquid adhesive, placing the festive red bow over the neck of the bottle to make it perfect for gift-giving! I wanted to add another festive holiday accent to the card, so I die cut the A7 Nesting Frame dies from some shimmering Crimson glitter cardstock. I centered one of the frames on my white A2 card front, adhering it with some liquid adhesive, then popped up the finished decanter with some adhesive foam squares for a bit of extra height.

For the greeting, I used one of the sentiments from the Old Fashioned Christmas set, stamping the simple “Cheers to the New Year” sentiment with Simon Says Stamp’s Nocturne black pigment ink and clear embossing over the top to make the sentiment even more crisp. I die cut the greeting with its coordinating die, then popped it up with some more foam adhesive squares and bookended it with a couple of small Black Pawsitively Dazzling Gems for added sparkle.

Well, that’s all for my project today! The simplicity (and subject matter) of this card make it perfect for a masculine holiday card, don’t you think? I think that the detailed coloring take the card up a notch, despite it’s simplicity, making it even more special. This set makes perfect cards for those bourbon- and cocktail-lovers in your life! Thanks so much for stopping by today, and have a marvelous day!

Filed Under: simon says stamp Tagged With: A7 nesting frames, bourbon, christmas card, copic coloring, die cutting, holiday card, no line coloring, old fashioned christmas, olo markers, original illustration

Creating a Baby Card with Old Fashioned Christmas from Simon Says Stamp!

November 9, 2024

This post was sponsored by Simon Says Stamp. Thanks, Simon!

Hi friends! I have another card to share with you using one of my newest illustrations for Simon Says Stamp: Old Fashioned Christmas featured in the Festive Fun release! When I was illustrating this set, I wanted to make sure to include a big, fluffy bow. I love a good multipurpose stamp, and this large bow works so nicely with lots of different themes. I have seen tons of images lately of watercolored bow backgrounds for wallpaper, and so I thought that I would create my own custom patterned paper using only the pretty bow stamp and some Tombow markers. Let’s get started with the details!

*I have linked all of the products used at the bottom of the post using affiliate links for your convenience. Thank you for shopping with my links! I truly appreciate your support for my work!*

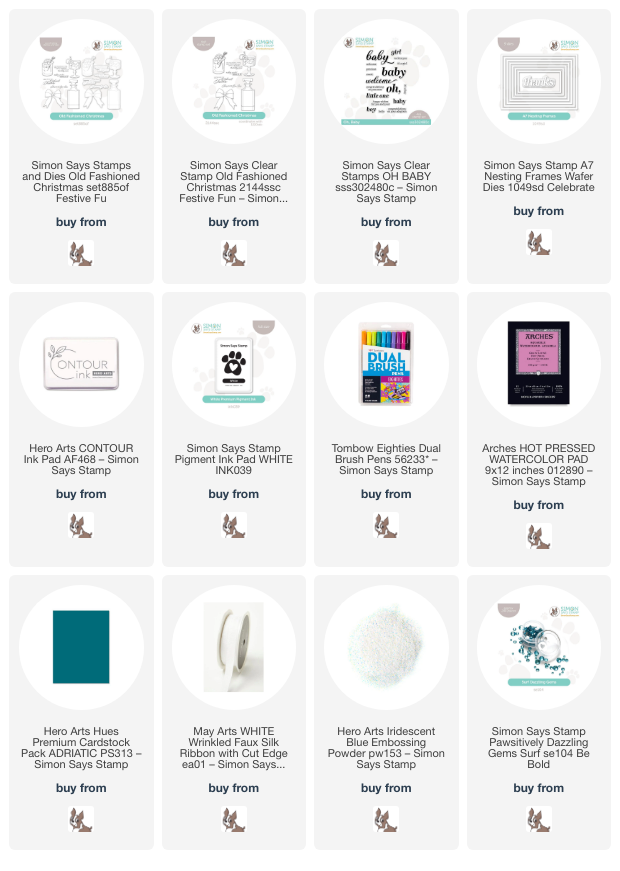
I started by stamping the large bow from Old Fashioned Christmas repeatedly on a panel of Arches Hot Press Paper using Hero Arts Contour Ink. After I had stamped the pattern over the entire panel, I used Tombow watercolor markers to paint the bows. I used two different shades of teal, beginning with one layer of a lighter turquoise and plenty of water to allow for distinct contrast between highlights and shading, then adding a second layer of a darker teal to intensify the shadows. When working with watercolor markers like this, I like to scribble the color out onto my glass work surface and pick it up with a damp paintbrush, apply the color to the image, then clean my brush and use that clean brush to move the color. This allows me more control over the intensity of the color and therefore greater control over the contrasting highlights and shadows.

After I had finished watercoloring, I used the older Oh, Baby stamps and coordinating dies to create the perfect sentiment for my bow patterned paper. I stamped the greetings on deep teal cardstock using white pigment ink from Simon Says Stamp, then added some Iridescent Blue embossing powder from Hero Arts to make it stand out a bit more and add some beautiful shimmer. I die cut the sentiment with the coordinating dies. I love how beautifully they stand out on the patterned background with that dark teal cardstock!

For the card base, I trimmed down the bow panel 1/4″ on each side, then mounted it in the center of a full size A7 panel of the same deep teal cardstock that I used for the sentiment, creating a teal border mat. I used an iridescent white frame cut using the A7 Nesting Frame Dies to frame my offset sentiment, then created a custom super pale aqua bow using some May Arts faux silk ribbon and an alcohol marker. Such fun to create custom colored ribbons that perfectly coordinate with the color palette of the card! A few Surf Pawsitively Dazzling Gems was the final touch of sparkle for this sweet baby card.

Well, that’s all for my project today! I love when I can get tons of different and unexpected uses out of a stamp set, and the bow in my new Old Fashioned Christmas set is sure to become a staple on my desk. I want to pair it with some flowers, for sure! Also-FYI: if you haven’t checked out the Simon Says Stamp blog hop celebrating the new Festive Fun release, you’re missing out. Go to the Simon Says Stamp Blog to see both days or click HERE to see my post from yesterday’s Day 1 hop! Thanks so much for stopping by today, and have a marvelous day!

Filed Under: simon says stamp Tagged With: A7 nesting frames, baby card, contour ink, no line coloring, oh baby, old fashioned christmas, tombow markers, watercolor

Simon Says Stamp Festive Fun Release-NEW Old Fashioned Christmas!

November 6, 2024

This post was sponsored by Simon Says Stamp. Thanks, Simon!

Hi friends! I am so excited to share some inspiration using the brand new Festive Fun release from Simon Says Stamp. I am extra thrilled to have designed two new stamp sets included in the release: Old Fashioned Christmas and Poinsettia Swag. Old Fashioned Christmas is a set on which I have been ruminating for quite a while; my husband is a bourbon guy (in fact, he’s headed to a bourbon trip this weekend with his buddies for their 40th birthdays!), and so when I was trying to design a Father’s Day card for him, I was disappointed to discover that I had nothing bourbon-themed. I am (slowly) growing more fond of “punny” sentiments, and the sentiments that I included with the Old Fashioned Christmas set are cute while still being elegant and a bit more mature. This was my first non-floral illustration, and I am so thrilled at how it came out!

The Old Fashioned Christmas set features a generously-sized whiskey decanter, along with a decorative bow and two scrumptious-looking cocktails. My redhead’s favorite drink is an old-fashioned, and I’ve had to get better at making them for him. We usually use bourbon, a couple drops of bitters, Woodford Reserve Old Fashioned Cocktail Syrup (if you love old fashioned cocktails, you need to try this), with some Luxardo cherries and a piece of candied orange peel, muddled together. The candied fruit takes the bitter edge off of the bourbon (double oaked Woodford Reserve is his favorite for cocktails), and they are a delicious little treat at the end of the cocktail when all of the flavors have melded together!

For my first projects using the images from Old Fashioned Christmas, I decided to create a festive card and pillow gift box for a cocktail-loving friend. Let’s get started with the details on my projects!

*I have linked all of the products used at the bottom of the post using affiliate links for your convenience. Thank you for shopping with my links! I truly appreciate your support for my work!*

Coloring is one of my most favorite things to do; a stress reliever on difficult days, something in which I can lose myself and be totally consumed on getting the shading just right. The images from Old Fashioned Christmas are very generously sized, making them great fun to color with your choice of medium. I focused mostly on OLO markers with my first several projects, but I can’t wait to do some watercoloring! I stamped the images multiple times on some Hammermill white cardstock using Altenew’s Permanent Mist Gray ink, which is great for no-line alcohol marker coloring. I used my colorless blending marker copiously when coloring the glass, creating lots of shine and attempting transparency with each image. I used a “glazing” technique on the cocktail accompaniments to make them look as though they were submerged in the cocktails, using the lightest marker from the cocktail to cover the areas submerged in the liquid after coloring them with their base layer of color, so that they would take on some of the same undertones as the cocktail!

After I had colored all of the images from Old Fashioned Christmas using OLO markers, I used the coordinating dies to die cut each image. I also heat embossed a greeting from Old Fashioned Christmas using Platinum Sparkle embossing powder, then die cut it with the coordinating die. Don’t you just love sentiment die cuts, as well? So clean and polished-looking. Any bourbon lover would absolutely love to receive a card with this sentiment on it, I think!

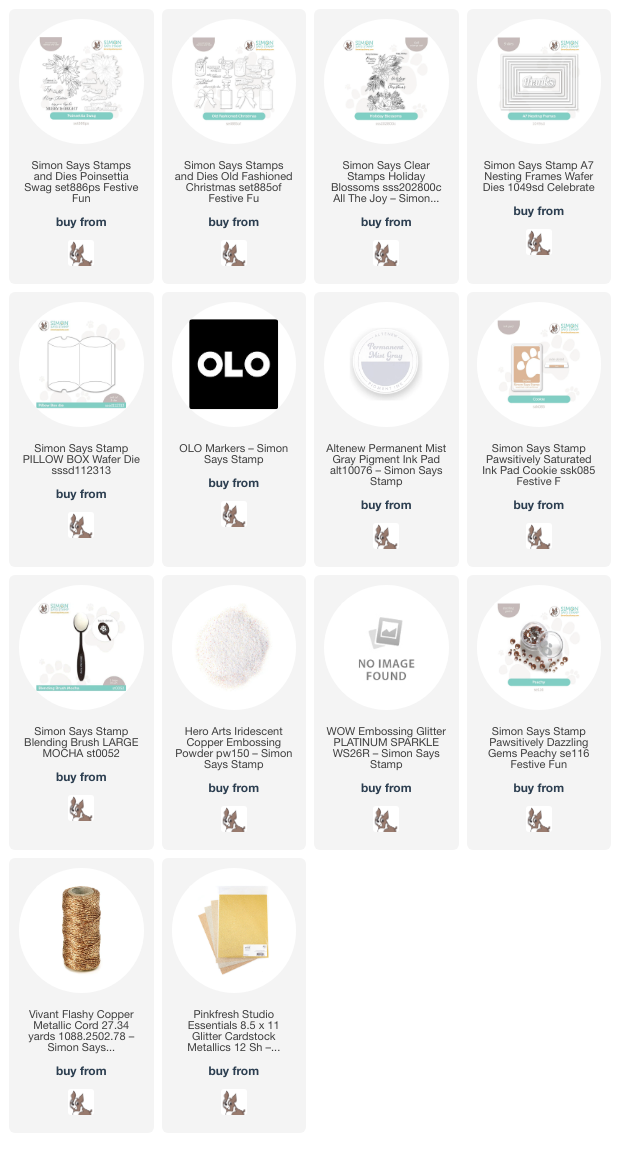
You know that I can’t not have flowers on my projects, so I used my Holiday Blossoms stamp set that was released last Christmas to add some botanical adornments to the A7 card front, stamping the poinsettia bouquet in the corners of the white card front using the same Permanent Mist Gray ink to create a very subtle pattern in the background. I used some champagne glitter cardstock to die cut the A7 Nesting Frame dies, adhering two to the patterned background with liquid adhesive and creating a “ground” for my little cocktail hour. I adhered the die cut and colored images to the background using a mixture of liquid and foam adhesive, doubling the foam adhesive for the sentiment to give it a bit more height from the rest of the die cuts. Finally, I added a few Peachy Pawsitively Dazzling Gems, which worked beautifully with the orange tones in the cocktails and the whiskey in the decanter.

For my second project, I used the cocktail from Old Fashioned Christmas in the shorter highball glass to adorn a Pillow Box die cut. I used the same no-line coloring technique listed above, adding some dimples to the candied orange and highlights to the glass with my white gel pen. Before folding the Pillow Box die cut, I stamped the magnolia image from Holiday Blossoms onto one side using the new Cookie Pawsitively Saturated Ink, matching the warm peachy-brown tones in the cocktail. I embossed a greeting from Old Fashioned Christmas using Iridescent Copper embossing powder, then die cut the sentiment using the coordinating die and added it to the front of the pillow box. Finally, I wrapped some shiny copper twine around the pillow box, tucking the tail beneath the cocktail and the bow behind the sentiment die cut. Wouldn’t this be a great way to give a gift card to your favorite spirits retailer for Christmas?

Well, that’s all for my projects today! I hope you’ll check out the new Festive Fun release from Simon Says Stamp; there truly are some absolutely wonderful new goodies that will bring much joy and fun to your holiday crafty time. I focused a lot of attention on the two sets that I illustrated, but the entire release is absolutely scrumptious. Thanks so much for stopping by, and don’t forget to come back later this week for tons more inspiration on the two-day blog hop celebrating the Festive Fun release! Have a marvelous day!

Filed Under: simon says stamp Tagged With: alcohol markers, christmas card, cocktails, die cutting, gift box, holiday blossoms, holiday card, no line coloring, old fashioned christmas, olo markers, original illustration, pillow box

Primary Sidebar

  • Facebook
  • Instagram
  • Pinterest
  • YouTube

Favorite Shops

Secondary Sidebar

Subscribe

Enter your email address to subscribe to this blog and receive notifications of new posts by email.

Instagram
Something is wrong.
Instagram token error.
Follow
Load More

Archives

Tags

3D embossing folder alcohol markers better press birthday birthday card blog hop card kit christmas christmas card christmas tag colored pencil copic copic coloring Daniel Smith die cutting embossing folder embroidery felt giveaway holiday holiday card hot foil ink blending karin brushmarker pro layered stencil masculine my monthly hero new release no line coloring no line watercolor OLO marker olo markers original illustration pawsitively saturated rainbow shaker card slimline stamping stamptember stencil thank you thinking of you valentine's day video watercolor

Popular Posts

Simon Says Stamp October 2026 Card Kit of the Month: Homespun Gratitude!
Altenew Craft A Flower: Poppy Blog Hop+Giveaway!
Honey Bee Stamps Cheerful Love Blog Hop!
Autumn Legs with Colorado Craft Company and Catherine Pooler!
Simon Says Stamp Cozy & Bright Inspiration, Part Two!
February 2018 My Monthly Hero Blog Hop!
The Ton Anniversary Release- Day 2
Sunflower Home Decor with Simon Says Stamp!
Simon Says Stamp STAMPtember Surprise: Boo Bundle Halloween Card Kit!
Hero Arts Spring 2020 Catalog Release Blog Hop+Giveaway!

Disclosure

Some affiliate links are used in my posts. This means that, should you click on one of my links and purchase something from that company, I will receive a small portion of the sale at no extra cost to you. I use the money earned from these sales to help maintain my blog. I so appreciate you visiting and, if you do choose to use one of my affiliate links, thank you so much for your support!
Copyright © 2026 ·Brunch Pro Theme · Genesis Framework by StudioPress · WordPress · Log in
Loading Comments...