This post was sponsored by Simon Says Stamp. Thanks, Simon!
Hi friends! It’s Christmas In July week here on my blog, and I have some super fun holiday projects to share with you that are perfect for jumpstarting your holiday crafting! I know, it’s maybe a little early, but my holiday projects from earlier this month started the holiday wheels turning in my head and I couldn’t resist pulling out some favorite supplies. It also gave me an opportunity to use some products that I didn’t have a chance to play with last year! I thought I would start with some vibrant jewel tones that are a bridge between summer colors and holiday imagery. I also have been itching to paint the gorgeous poinsettia bouquet from my Holiday Blossoms stamp set that was released a few years ago. It’s one of my favorite holiday sets that I’ve illustrated, and I always love a chance to work with my own illustrations in a new way. I have a two-fer for you today that would make the prettiest gift set, so let’s get started with the details!
*I have gathered links to all of the products used at the bottom of the post for your convenience, using affiliate links. Thank you for shopping with my links! I truly appreciate your support for my work!*

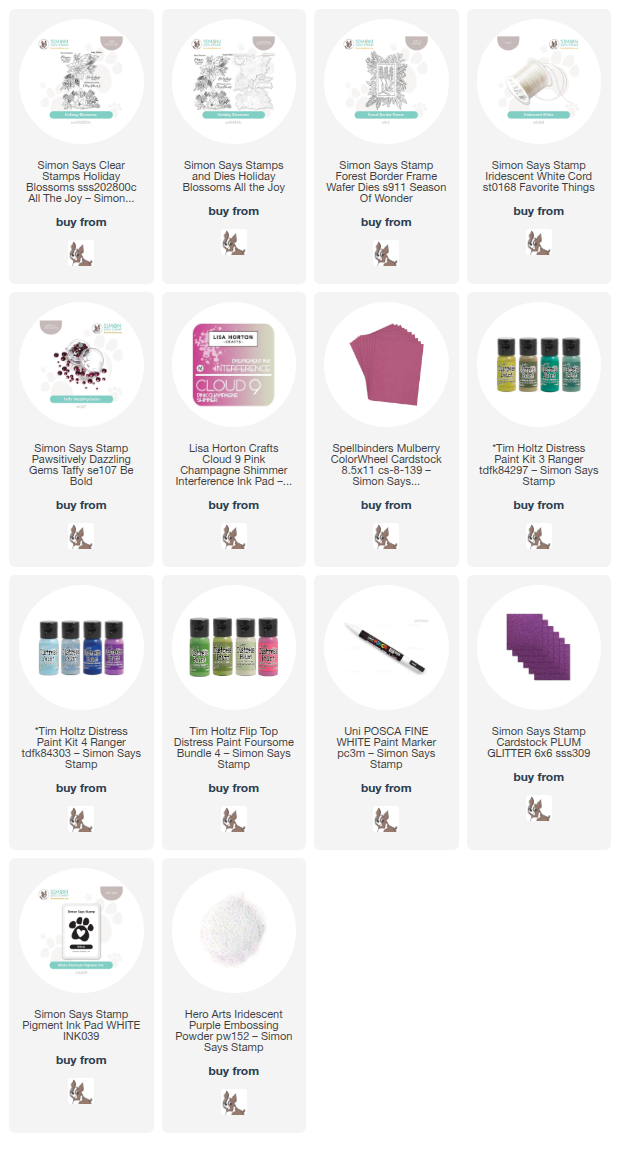
Poinsettias come in such a wide variety of colors, so I jumped at the opportunity to use some incredibly vibrant colors as my initial holiday project. I selected some vibrant magenta cardstock, pretty Plum Glitter Cardstock, Lisa Horton Pink Champagne Shimmer, and Taffy Pawsitively Dazzling Gems, along with some fun coordinating acrylic paint colors to create a sweet miniature canvas art piece!

To begin my gift set, I stamped the poinsettia bouquet from Holiday Blossoms onto my mini canvas using gold pigment ink, the color of which worked nicely to keep the ink lines subtle, while the pigment ink formulation also stamps cleanly on the canvas. I found this little mini canvas and easel at my local dollar store and thought it was perfect to practice my acrylic painting! I have not worked with acrylic paints very much, so this was a fun practice exercise. I just love how it turned out! After I had completed the painting, I knew that I needed to make a coordinating card to go along with it using the same vibrant fuchsia color palette.

To create my card, I stamped the same poinsettia bouquet image from Holiday Blossoms onto some deep magenta cardstock using Lisa Horton Pink Champagne Shimmer, which creates a subtle tone-on-tone effect while also adding exquisite shimmer to the card front. I rotated the stamp on the card front, allowing it to spill off of the sides to keep the pattern continuous throughout the card front.

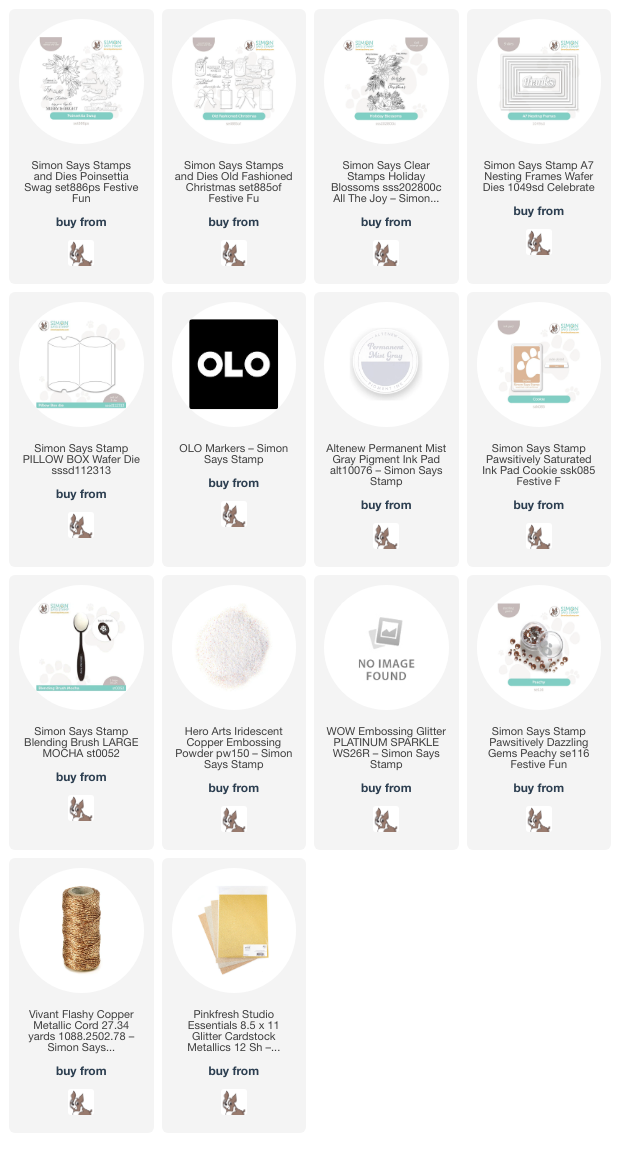
After I had finished creating the subtly shimmering background, I die cut the Forest Border Frame from some Simon Says Stamp Plum Glitter Cardstock, which worked beautifully with the magenta cardstock to create a monochromatic effect. I adhered the frame to the bottom right of the card front with foam adhesive squares, trimming off the excess with sharp scissors. I created a greeting from Holiday Blossoms using white pigment ink and Hero Arts Iridescent Purple Embossing Powder and die cutting it with the coordinating die. I popped the sentiment up with a double layer of foam adhesive, then tucked a bow tied with Simon Says Stamp Iridescent White Cord beneath the sentiment, finally finishing the project off with some Taffy Pawsitively Dazzling Gems for added sparkle.
Well, that’s all for my first post for Christmas In July Week! I hope you’re as ready for some elegant and festive projects as I am! Happy Christmas In July, and have a marvelous day!