• Skip to main content
  • Skip to primary sidebar
  • Skip to secondary sidebar

Sixth Street Sundries

Emily Midgett

  • Home
  • About Me
  • Contact
  • OLO Marker Color Swatch Chart
  • Shop

painting

Simon Says Stamp STAMPtember Tim Holtz Collaboration: Festive Holidays!

September 5, 2025

Hi friends! Exciting STAMPtember news hot off the presses: the perennially amazing Tim Holtz has partnered with Simon Says Stamp to not only release exceptional STAMPtember collaboration goodies, but they are part of the kit that will be used in an exclusive Tim Holtz STAMPtember workshop! Click HERE to see all of the details!

If you are new to STAMPtember from Simon Says Stamp, throughout the month of September, Simon Says Stamp will have exclusive collaborations with some of our favorite stamping companies, releasing a limited edition stamp set designed in collaboration with a different company nearly every day! (Click HERE to see the Collaboration Sets page, and be sure to bookmark it!) 

I have created several projects using these gorgeous new Festive Holidays products, so let’s get started with a quick rundown on each!

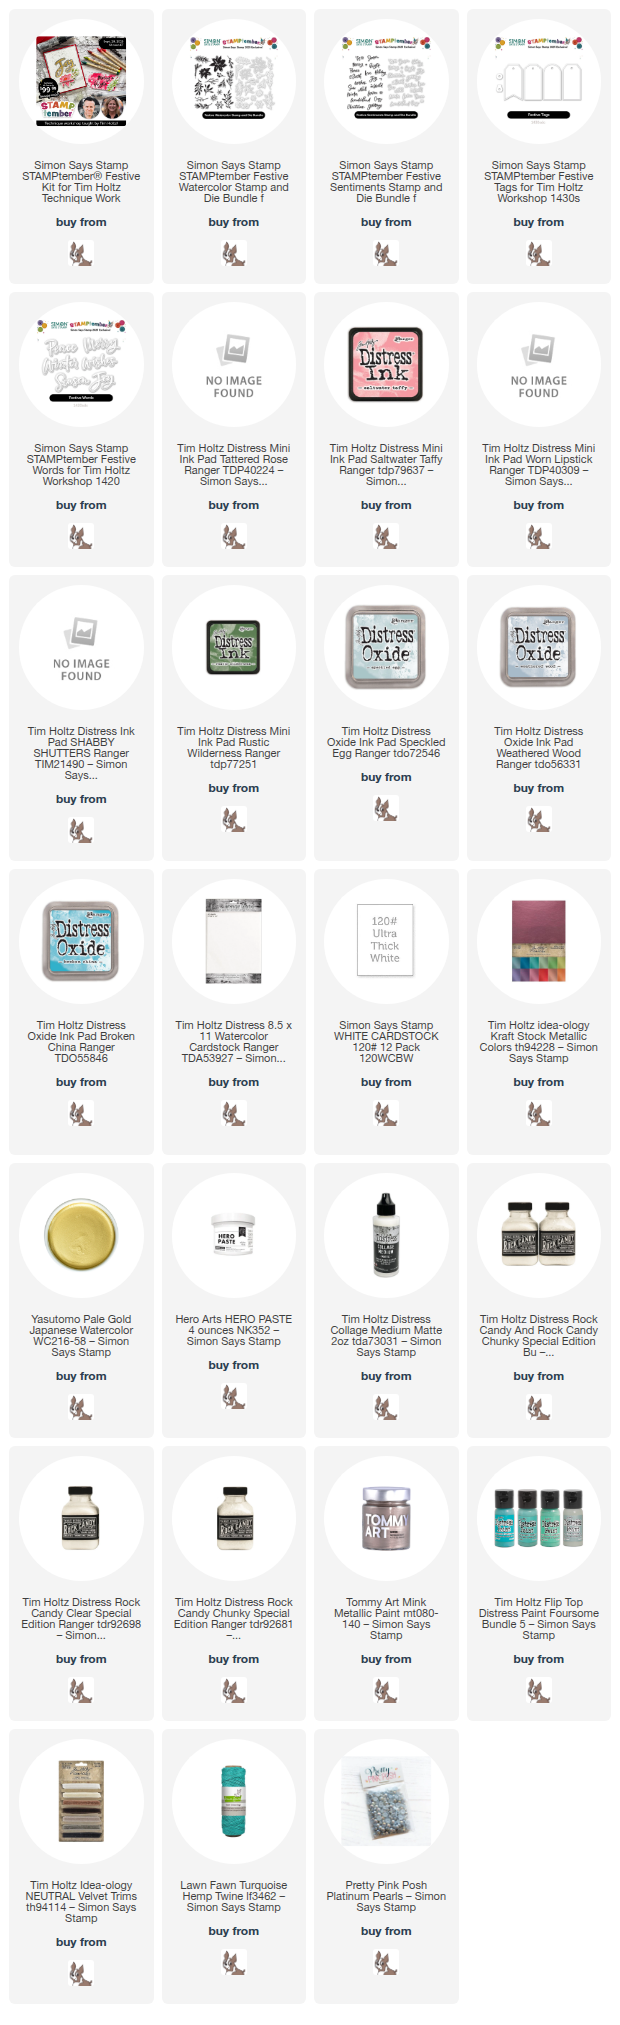
For my first projects, I decided to create a watercolored card and coordinating tag set using the new Festive Watercolor images, Festive Tags, Festive Words, and Festive Sentiments from the kit with some of my favorite Distress Ink pinks: Tattered Rose, Saltwater Taffy, and Worn Lipstick.

I stamped the floral images from Festive Watercolor onto some Tim Holtz Distress Watercolor Paper using Distress Tattered Rose. I then tapped Tattered Rose, Saltwater Taffy, and Worn Lipstick out onto my glass craft mat and picked up the color with my damp paintbrush, taking advantage of the water-based inks to create several beautiful watercolored blooms. I also stamped the greenery with Shabby Shutters, enhancing the images with some shadows painted on with Rustic Wildnerness Distress Ink. After I had finished painting, I die cut each image with it’s coordinating die.

I created a background with one of my new favorite techniques: ink swiping! I simply swiped the same pink Distress Inks on a panel of white cardstock, using a circular motion to blend the colors seamlessly. I splattered the background with gold shimmer watercolors as a nod to the mixed media king himself, then arranged all of the die cuts in a bouquet with foam adhesive, adding a gold and vellum die cut “Joy” greeting from the new Festive Words dies. I added some shimmering gems and topped everything off with a coordinating blush twine bow!

Using Tattered Rose Distress Ink as my main color, I created a coordinating gift tag, this time using gold embossing powder to add some truly luxurious gold shimmer to the project. I die cut a Festive Tags die from some Simon Says Stamp 120 lb Ultra Thick Card Stock, then swiped my Tattered Rose ink pad directly on the die cut tag, enhancing the gorgeous debossed lines around the edges of the die cut with a gold paint pen to create an elegant gilded frame around the edges. I splattered some more gold glitter watercolors on the delicate pink tag.

To adorn the pretty pink tag, I stamped some flowers and foliage using embossing ink, then added some gold embossing powder. Once I had melted the embossing powder, I die cut the finished images, and to add a little color, I swiped the Tattered Rose ink directly on the die cuts. Due to the resistant nature of the embossing, the color adhered to the white edges of the die cuts, creating solid, colorful images. I repeated the process with a couple of the sentiment stamps from the Festive Words, swiping Saltwater Taffy over the finished die cut. A glittery die cut hole reinforcer and some beautiful pink twine finished the tag off!

I couldn’t resist some gorgeous decor with the large scale images and Festive Words, so I die cut the gorgeous Peace word die from some Tim Holtz Metallic Kraft Stock, backing it with the die cut shadow cut from some pearlescent vellum. To create some fabulous, icy inspiration, I used Speckled Egg, Weathered Wood, and Broken China Distress Oxide Inks (so vibrant, but also so soft and velvety stamped on white cardstock!) to create a gorgeous floral background.

I also stamped some individual images from Festive Watercolor using the same ink colors, die cutting the images with their coordinating dies. I splattered the background with some sparkling watercolors (more hat tip to Tim the Mixed Media Master!), then arranged the die cuts on the 4×6 panel. I adhered the 4×6 panel to an inexpensive little easel frame that I purchased at the dollar store. Such a great way to create some pretty home decor using lots of the supplies that you already have! Finally, I added a few coordinating pearls, as well as twine and velvet bows.

One last project using the Festive Watercolor set! I customized this tiny wooden birdhouse that I found at my local dollar store, first by painting the entire birdhouse with some crisp white chalk paint. To make it pretty, I used some metallic pigment ink to stamp the images all over the birdhouse; the pigment ink stamps beautifully on the chalk paint. Stamping isn’t just for paper!!

I used some acrylic paints to enhance the stamped Festive Watercolor images, painting directly over the floral stamped images with metallic rose gold acrylic paint and some muted sage green for the foliage. I am obsessed with how beautifully this turned out!

Once my painted birdhouse had completely dried, I used a palette knife to add some chunky texture paste “snow drifts”, sprinkling the new Tim Holtz Chunky Rock Candy Glitter on the wet texture paste. I also applied some Collage Medium around the edges of the texture paste, adding some of the Fine Rock Candy Glitter, creating icy snow drifts and encrusting this pretty bird house with sparkling, icy glitter.

If you haven’t seen the LIVE, (click HERE to see!) Tim Holtz has shared a ton of different pieces of inspiration using the images that I used above. There is an unbelievable kit available filled with every single stamp and die set, as well as tons of other goodies, that is going to be used during the upcoming Technique Class on 9/28/25, shared on YouTube. The stamps and dies are going to also be available individually if you would prefer one or the other, and I’ll have them linked below, but the value of the kit (priced at $99.99) is more than two times than the purchase price. Incredible, incredible value!!!

However, just like all STAMPtember collaboration sets…. it’s limited edition. Don’t wait. Seriously… don’t wait. This is going to sell out ASAP.

Thanks so much for stopping by today, and happy STAMPtember!!
Filed Under: simon says stamp, tim holtz, Uncategorized Tagged With: birdhouse, distress, distress ink, distress oxide, festive sentiments, festive tags, festive watercolor, festive words, mixed media, painting, stamptember, tim holtz, watercolor

Christmas In July with Simon Says Stamp!

July 21, 2025

This post was sponsored by Simon Says Stamp. Thanks, Simon!

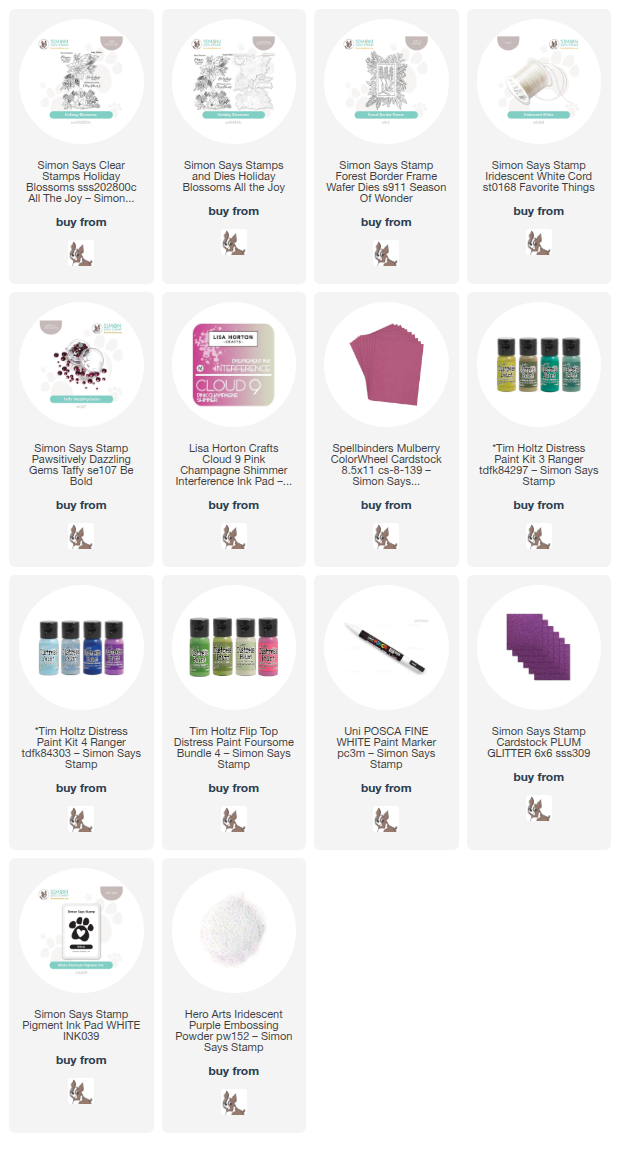
Hi friends! It’s Christmas In July week here on my blog, and I have some super fun holiday projects to share with you that are perfect for jumpstarting your holiday crafting! I know, it’s maybe a little early, but my holiday projects from earlier this month started the holiday wheels turning in my head and I couldn’t resist pulling out some favorite supplies. It also gave me an opportunity to use some products that I didn’t have a chance to play with last year! I thought I would start with some vibrant jewel tones that are a bridge between summer colors and holiday imagery. I also have been itching to paint the gorgeous poinsettia bouquet from my Holiday Blossoms stamp set that was released a few years ago. It’s one of my favorite holiday sets that I’ve illustrated, and I always love a chance to work with my own illustrations in a new way. I have a two-fer for you today that would make the prettiest gift set, so let’s get started with the details!

*I have gathered links to all of the products used at the bottom of the post for your convenience, using affiliate links. Thank you for shopping with my links! I truly appreciate your support for my work!*

Poinsettias come in such a wide variety of colors, so I jumped at the opportunity to use some incredibly vibrant colors as my initial holiday project. I selected some vibrant magenta cardstock, pretty Plum Glitter Cardstock, Lisa Horton Pink Champagne Shimmer, and Taffy Pawsitively Dazzling Gems, along with some fun coordinating acrylic paint colors to create a sweet miniature canvas art piece!

To begin my gift set, I stamped the poinsettia bouquet from Holiday Blossoms onto my mini canvas using gold pigment ink, the color of which worked nicely to keep the ink lines subtle, while the pigment ink formulation also stamps cleanly on the canvas. I found this little mini canvas and easel at my local dollar store and thought it was perfect to practice my acrylic painting! I have not worked with acrylic paints very much, so this was a fun practice exercise. I just love how it turned out! After I had completed the painting, I knew that I needed to make a coordinating card to go along with it using the same vibrant fuchsia color palette.

To create my card, I stamped the same poinsettia bouquet image from Holiday Blossoms onto some deep magenta cardstock using Lisa Horton Pink Champagne Shimmer, which creates a subtle tone-on-tone effect while also adding exquisite shimmer to the card front. I rotated the stamp on the card front, allowing it to spill off of the sides to keep the pattern continuous throughout the card front.

After I had finished creating the subtly shimmering background, I die cut the Forest Border Frame from some Simon Says Stamp Plum Glitter Cardstock, which worked beautifully with the magenta cardstock to create a monochromatic effect. I adhered the frame to the bottom right of the card front with foam adhesive squares, trimming off the excess with sharp scissors. I created a greeting from Holiday Blossoms using white pigment ink and Hero Arts Iridescent Purple Embossing Powder and die cutting it with the coordinating die. I popped the sentiment up with a double layer of foam adhesive, then tucked a bow tied with Simon Says Stamp Iridescent White Cord beneath the sentiment, finally finishing the project off with some Taffy Pawsitively Dazzling Gems for added sparkle.

Well, that’s all for my first post for Christmas In July Week! I hope you’re as ready for some elegant and festive projects as I am! Happy Christmas In July, and have a marvelous day!

Filed Under: simon says stamp Tagged With: acrylic paint, christmas card, christmas in july, forest border frame, gift set, holiday blossoms, holiday card, iridescent white cord, lisa horton pink champagne, painting

Fun with Felt-Gift Bag and Tag!

February 7, 2025

This post was sponsored by Simon Says Stamp. Thanks, Simon!

Hi friends! I am starting a new series here on my blog: Fun with Felt! Once a month, I am planning to share projects created using all of the gorgeous felt that I’ve acquired over the last few months. I have been practicing embroidery after long contemplation (the struggle is real on picking up new hobbies, friends. I seem to enjoy the supply-purchasing portion of the new hobby, but not actually implementing them!), and now my goal is to incorporate these new techniques and supplies into my stamping! I started out my crafting journey a long time ago as a general non-discriminatory crafter, creating everything from jewelry to home decor, then eventually found my way into cards, but after 11~ years of focusing on cardmaking, I am starting to get, well, bored. So to keep things interesting and fun, I am going to try new ways to integrate all of my hobbies and interests and hope that you won’t mind my sharing them here!

For Christmas, I received a large set of acrylic paint markers, and I’ve been itching to try them out. I have also been collecting small fabric items that I could customize with my stamping and felt supplies, including this canvas bag that I found while shopping, perfect for filling with treats or gifts. To customize the bag, I pulled some stamps and dies from my Simon Says Stamp bins that would work to create this little gift set, so let’s get started with the details!

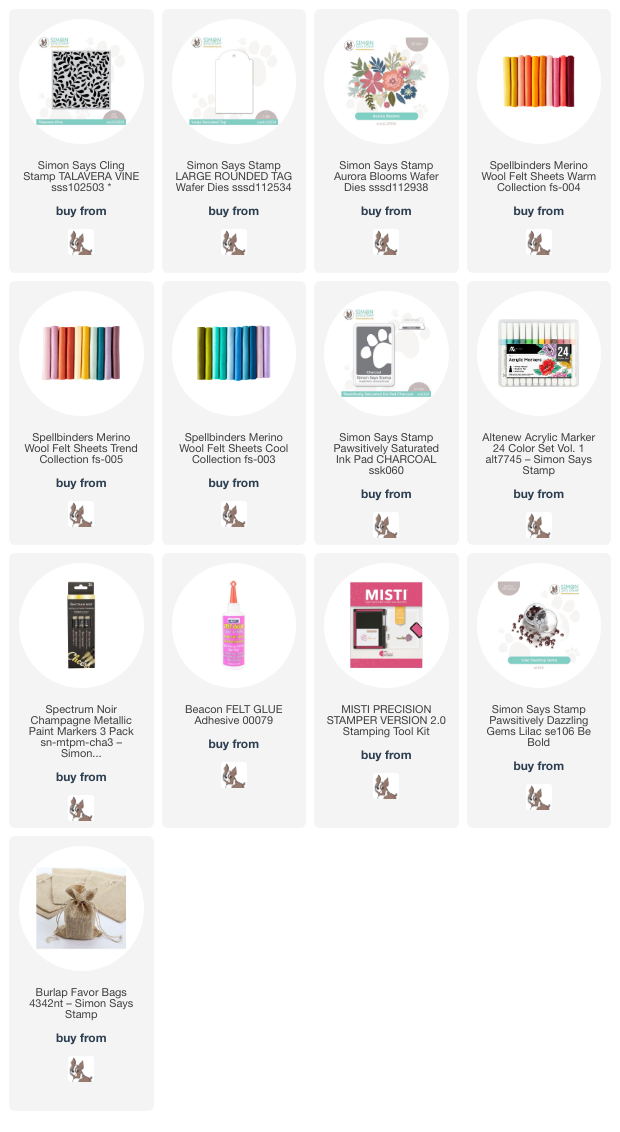
*I have gathered links to all of the products used at the bottom of the post for your convenience, using affiliate links. Thank you for shopping with my links! I truly appreciate your support for my work!*

I love to take solid stamped images and customize them, typically using white pigment ink or no-line coloring ink to stamp them, then using either watercolors or colored pencils to add lots of details and definition to these solid images. The Talvera Vine cling stamp is a lovely neutral pattern, excellent for use as a backdrop for detailed floral images or as a focal point, as I’ve done here.

To create the pretty pattern on the canvas bag, I stamped the Talvera Vine cling stamp onto the inexpensive canvas bag, keeping everything in place with my MISTI. As you can see in the photo, perfect stamping was not necessary for this project and not very attainable due to the texture on the canvas bag; the end goal was to make sure that there was more of a “guide” for my paint markers to create the pattern! The magnets on the MISTI were very helpful in holding the bag in place and to ensure that my pattern was straight.

After stamping the image on the bag, I used a single deep green acrylic paint marker (the Altenew Acrylic Paint Markers are excellent and I have hopes that they will release more colors to the collection soon!) to color over the stamped images. This deep green had excellent coverage over the Charcoal Pawsitively Saturated Ink image. After I had colored all of the leaves and outlined the vines themselves, I added a few swipes of a champagne paint marker to create the vines on the leaves, adding a touch more definition and shape to the images. I also dotted some berries on the bare spots, creating a pretty, simple patterned bag that is neutral enough to work with lots of different floral additions!

I’ve really been enjoying creating projects that have a bit more “longevity” to them than typical cards; I have fears that the cards on which I work for hours will simply get tossed in the trash without a care as to how meticulously they were crafted, so I have been enjoying adding felt to my repertoire of mediums over the last few months. I created this decorative “tag” to add to my painted gift bag that can be repurposed as a tag on a backpack, purse, or even as a bookmark if one left off the gems! Because the Talvera Vine stamp is such a neutral botanical background, I thought it would look lovely with some vibrant flowers. I die cut the Large Rounded Tag die from some ivory felt, then created a few mauve and maroon blooms using the Aurora Blooms dies. I arranged the blooms and some foliage on the felt tag die cut, adhering everything with felt glue, then added some champagne glitter felt centers and Lilac Pawsitively Dazzling Gems for sparkle!

Well, that’s all for my projects today. I am so enjoying stepping outside of my papercrafting zone and creating projects that are a bit more long-lasting. Thanks so much for stopping by today, and have a marvelous day!

Filed Under: simon says stamp Tagged With: altenew acrylic markers, aurora blooms, canvas bag, embroidery, felt, fun with felt, gift bag, large rounded tag, merino felt, painting, sewing, talavera vine

Primary Sidebar

  • Facebook
  • Instagram
  • Pinterest
  • YouTube

Favorite Shops

Secondary Sidebar

Subscribe

Enter your email address to subscribe to this blog and receive notifications of new posts by email.

Instagram
Something is wrong.
Instagram token error.
Follow
Load More

Archives

Tags

3D embossing folder alcohol markers better press birthday birthday card blog hop card kit christmas christmas card christmas tag colored pencil copic copic coloring Daniel Smith die cutting embossing folder embroidery felt giveaway holiday holiday card hot foil ink blending karin brushmarker pro layered stencil masculine my monthly hero new release no line coloring no line watercolor OLO marker olo markers original illustration pawsitively saturated rainbow shaker card slimline stamping stamptember stencil thank you thinking of you valentine's day video watercolor

Popular Posts

Simon Says Stamp Joy For You Blog Hop- Day 1!
Simon Says Stamp Joy For You Release-Now Available!
Frozen Fractals All Around with New Simon Says Stamp Joy For You Release!
Shaped Holiday Shaker Card with New Simon Says Stamp Jolly Season Card Kit of the Month!
Holiday Postage with New Simon Says Stamp!
Simon Says Stamp Glory to the Newborn King Holiday Kit-Part II!
Pinkfresh Studio 5th Birthday!
Altenew Build A Flower: Fuchsia Blog Hop+Giveway!
Holiday Joy in Pink and Green with New Simon Says Stamp DieCember!
Honey Bee Stamps September Release Blog Hop!

Disclosure

Some affiliate links are used in my posts. This means that, should you click on one of my links and purchase something from that company, I will receive a small portion of the sale at no extra cost to you. I use the money earned from these sales to help maintain my blog. I so appreciate you visiting and, if you do choose to use one of my affiliate links, thank you so much for your support!
Copyright © 2026 ·Brunch Pro Theme · Genesis Framework by StudioPress · WordPress · Log in
Loading Comments...