• Skip to main content
  • Skip to primary sidebar
  • Skip to secondary sidebar

Sixth Street Sundries

Emily Midgett

  • Home
  • About Me
  • Contact
  • OLO Marker Color Swatch Chart
  • Shop

altenew acrylic markers

You’re So Sharp Teacher Gift Set with Simon Says Stamp!

February 10, 2025

This post was sponsored by Simon Says Stamp. Thanks, Simon!

Hi friends! I have been experimenting with lots of different mediums and supplies lately, and I decided to pair one of the zippered canvas bags that I have in my stash with some simple acrylic marker painting to create a fun teacher gift set. My older son’s primary teacher is a man for the first time since he began school, and so coming up with a teacher gift for Christmas was a little more challenging for this super girly mom than it has typically been. With that in mind, I kept this gift set simple in both color palette and design, pairing the Just Write stamp set with the Altenew Acrylic Markers to create a chunky and graphic gift set that is definitely gender-neutral. Let’s get started with the details on my projects!

*I have gathered links to all of the products used at the bottom of the post for your convenience, using affiliate links. Thank you for shopping with my links! I truly appreciate your support for my work!*

One of the great things about the Just Write stamp set is it’s simplicity. The large, simply drawn images lend themselves very well to use with simpler coloring techniques, making them a great companion to the Just Write stamp set. I used the single pencil image for the gift bag and the multi-pencil background stamp for the gift card holder. How fun would this be with some nice mechanical pencils and pens along with a coffee shop gift card?

For the bag, I stamped the large pencil image from Just Write onto the zippered canvas bag using Nocturne Ink from Simon Says Stamp. This black pigment ink creates a super crisp image on the canvas bag. Such a great multi-purpose ink! After I had stamped the pencil image and the coordinating sentiment, I used Altenew Acrylic Paint Markers to do some simple coloring, adding a few details with Silver Spectrum Noir Markers and a black pigment pen to sharpen up some of the areas. Note: I did find that the acrylic paint bled colors into each other if I tried to color two adjacent areas too quickly, so be sure to treat this just like regular no-line watercolor if you try this technique for yourself! I also added a few dots with the black pigment pen to add some interest to the background, but I think dots are a gender-neutral addition.

For the gift card, I began by die cutting the Gift Card Pocket Envelope Die from some So Very Black cardstock, then stamped the background stamp from the Just Write Stamps onto just the center section using white pigment ink, then used the same colors from the Altenew Acrylic Paint Marker palette to do some chunky, graphic coloring on the images. After I had finished coloring all of the pencils, I stamped the simple “thank you” using Nocturne ink, which stamped perfectly atop the acrylic-painted pencil, though it did require a bit of dry time to ensure that it didn’t smudge.

Well, that’s all for my projects today! I love being able to use stamps from my stash to customize gifts for teachers. It definitely helps to justify the purchases when you get so much bang for your buck! Thanks so much for stopping by today, and have a marvelous day!

Filed Under: simon says stamp Tagged With: altenew acrylic markers, gift bag, gift card pocket envelope, just write, teacher gift, zippered bag

Fun with Felt-Gift Bag and Tag!

February 7, 2025

This post was sponsored by Simon Says Stamp. Thanks, Simon!

Hi friends! I am starting a new series here on my blog: Fun with Felt! Once a month, I am planning to share projects created using all of the gorgeous felt that I’ve acquired over the last few months. I have been practicing embroidery after long contemplation (the struggle is real on picking up new hobbies, friends. I seem to enjoy the supply-purchasing portion of the new hobby, but not actually implementing them!), and now my goal is to incorporate these new techniques and supplies into my stamping! I started out my crafting journey a long time ago as a general non-discriminatory crafter, creating everything from jewelry to home decor, then eventually found my way into cards, but after 11~ years of focusing on cardmaking, I am starting to get, well, bored. So to keep things interesting and fun, I am going to try new ways to integrate all of my hobbies and interests and hope that you won’t mind my sharing them here!

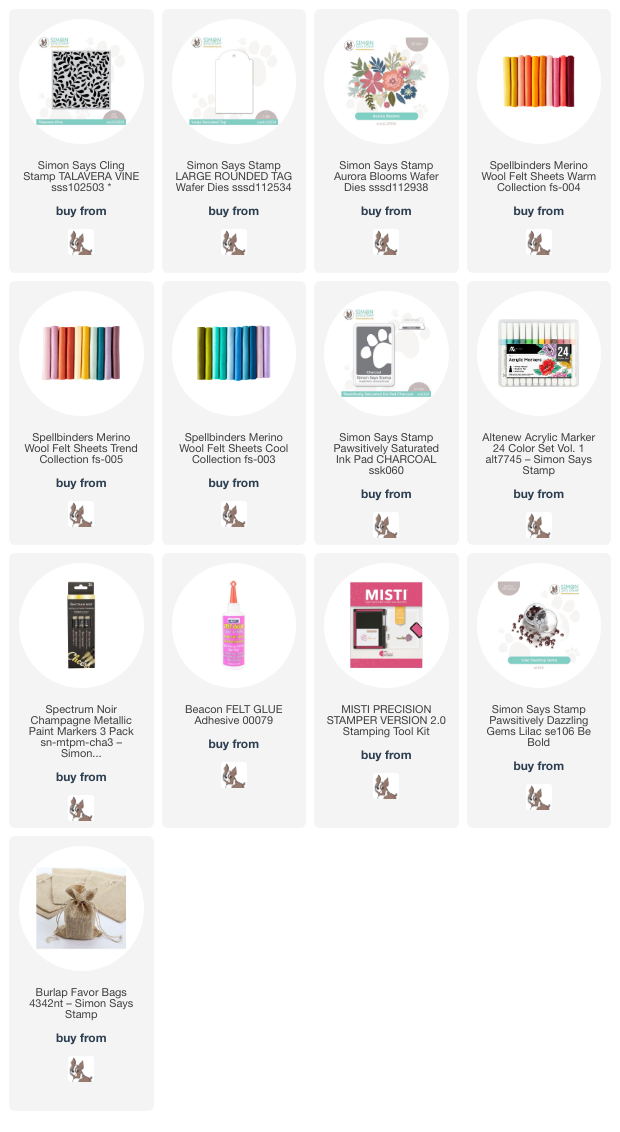
For Christmas, I received a large set of acrylic paint markers, and I’ve been itching to try them out. I have also been collecting small fabric items that I could customize with my stamping and felt supplies, including this canvas bag that I found while shopping, perfect for filling with treats or gifts. To customize the bag, I pulled some stamps and dies from my Simon Says Stamp bins that would work to create this little gift set, so let’s get started with the details!

*I have gathered links to all of the products used at the bottom of the post for your convenience, using affiliate links. Thank you for shopping with my links! I truly appreciate your support for my work!*

I love to take solid stamped images and customize them, typically using white pigment ink or no-line coloring ink to stamp them, then using either watercolors or colored pencils to add lots of details and definition to these solid images. The Talvera Vine cling stamp is a lovely neutral pattern, excellent for use as a backdrop for detailed floral images or as a focal point, as I’ve done here.

To create the pretty pattern on the canvas bag, I stamped the Talvera Vine cling stamp onto the inexpensive canvas bag, keeping everything in place with my MISTI. As you can see in the photo, perfect stamping was not necessary for this project and not very attainable due to the texture on the canvas bag; the end goal was to make sure that there was more of a “guide” for my paint markers to create the pattern! The magnets on the MISTI were very helpful in holding the bag in place and to ensure that my pattern was straight.

After stamping the image on the bag, I used a single deep green acrylic paint marker (the Altenew Acrylic Paint Markers are excellent and I have hopes that they will release more colors to the collection soon!) to color over the stamped images. This deep green had excellent coverage over the Charcoal Pawsitively Saturated Ink image. After I had colored all of the leaves and outlined the vines themselves, I added a few swipes of a champagne paint marker to create the vines on the leaves, adding a touch more definition and shape to the images. I also dotted some berries on the bare spots, creating a pretty, simple patterned bag that is neutral enough to work with lots of different floral additions!

I’ve really been enjoying creating projects that have a bit more “longevity” to them than typical cards; I have fears that the cards on which I work for hours will simply get tossed in the trash without a care as to how meticulously they were crafted, so I have been enjoying adding felt to my repertoire of mediums over the last few months. I created this decorative “tag” to add to my painted gift bag that can be repurposed as a tag on a backpack, purse, or even as a bookmark if one left off the gems! Because the Talvera Vine stamp is such a neutral botanical background, I thought it would look lovely with some vibrant flowers. I die cut the Large Rounded Tag die from some ivory felt, then created a few mauve and maroon blooms using the Aurora Blooms dies. I arranged the blooms and some foliage on the felt tag die cut, adhering everything with felt glue, then added some champagne glitter felt centers and Lilac Pawsitively Dazzling Gems for sparkle!

Well, that’s all for my projects today. I am so enjoying stepping outside of my papercrafting zone and creating projects that are a bit more long-lasting. Thanks so much for stopping by today, and have a marvelous day!

Filed Under: simon says stamp Tagged With: altenew acrylic markers, aurora blooms, canvas bag, embroidery, felt, fun with felt, gift bag, large rounded tag, merino felt, painting, sewing, talavera vine

Simple Leaves with Acrylic Markers and Simon Says Stamp!

June 17, 2024

This post was sponsored by Simon Says Stamp. Thanks, Simon!

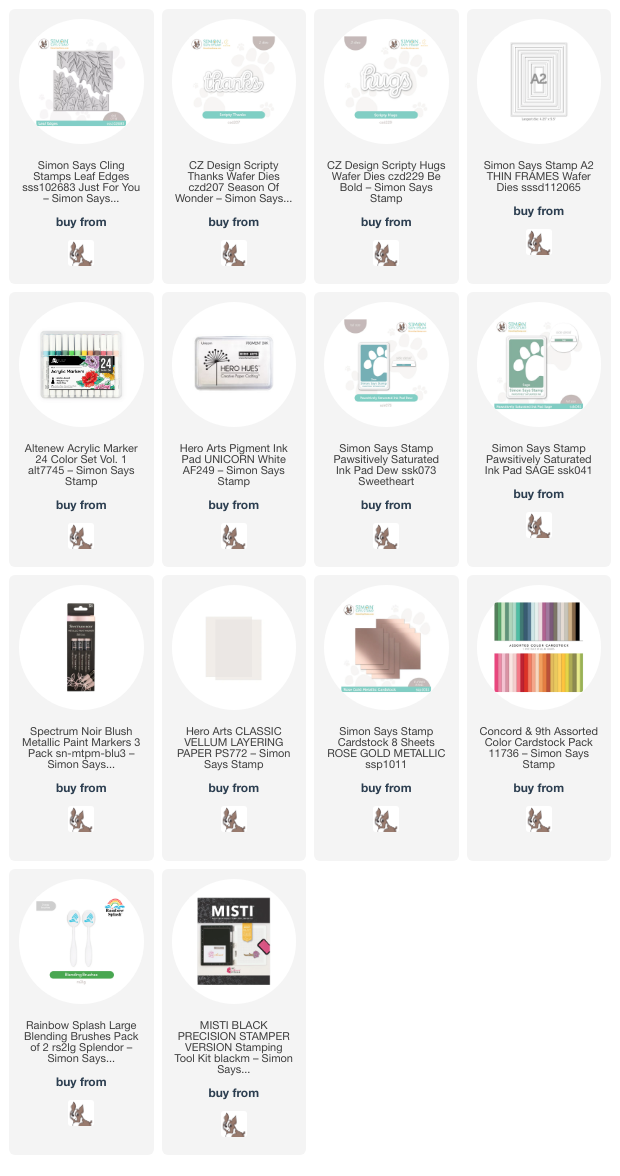
Hi friends! I have a pair of somewhat simple projects to share with you today, featuring some very basic coloring using the two different leaf images from the Leaf Edges cling stamp from Simon Says Stamp. I know that sometimes my colored images can be somewhat over the top for a non-colorist, but these basic leaf images paired with the Altenew Acrylic Markers make for some simple backgrounds, perfect for those who are not as confident with their coloring skills or who just want to create a simple, more graphic background. Let’s get started with the details!

For both of my projects today, I used the Leaf Edges cling stamp as the inspiration point for my backgrounds. I was on a roll with the acrylic markers last week and so searched through my stash for some simpler images that would work well with the acrylic markers. The markers have a bullet point with a medium tip and don’t really mix very well together, so they work better with images that are a bit less involved and detailed. The simple, graphic leaves on both sides of the Leaf Edges cling stamp set were perfect for this technique! I stamped the images using white pigment ink onto aqua and sage green colored cardstock. The white ink blends really nicely into the acrylic paint and provides a crisp, easily visible image.

For my first project, I used the simpler of the two leaf edge options on the Leaf Edges cling stamp set, stamping it with white pigment ink onto the bottom edge of some pale aqua cardstock, oriented portrait-style. I then used the aqua markers in the Altenew Acrylic Markers set, coloring all of the leaves the lighter of the two colors, then adding some very simple shadows in the center of the leaves and the stems to add a bit of definition and interest to the images. I thought that this image would make a perfect field of wildflowers, so I used two different shades of pink acrylic marker to add some very simple and dainty pink flowers in the open spaces between the leaves. I also added a few little metallic accents with the Blush metallic markers and some glittery rose gold watercolor splatters. On the opposite corner, I used a blending brush to blend some Dew Pawsitively Saturated Ink to add a bit of “sky.”

For the greeting, I die cut the detail layer of the Scripty Thanks die from Metallic Rose Gold cardstock and the shadow layer from some heavyweight vellum. Because the colored background is a bit busy with all of the leaves and flowers, I decided to use a rose gold frame cut using the A2 Thin Frames dies and some more Metallic Rose Gold cardstock. (I am able to get these super thin frames by leaving the dies together as one piece and running it through my die cut machine as one piece rather than individual frames. Not only does this give me a ton of frames in a wide variety of sizes with one pass through my machine, it also gives me two different widths so that I can mix and match as befits the project!) I adhered the delicate metallic foil frame in the center of the colored leaves using liquid adhesive, then popped up the greeting with some clear dimensional adhesive to help the sentiment pop even more. Finally, I added a few sparkling gems for added shine!

For my second card, I used the same basic formula, this time for a portrait orientation and the more detailed of the stamps from the Leaf Edges cling set. I stamped the leaf image with the same white pigment ink, then used the coordinating sage green acrylic marker from the Altenew Acrylic Markers set to color the leaves. Instead of using a slightly lighter acrylic marker to add some highlights and definition to the individual leaf images, I decided instead to create some veins with the super fine Blush metallic marker, following the curve of each leaf for the center vein. These beautiful metallic markers glide so smoothly over the acrylic colored images. I blended some Sage Pawsitively Saturated Ink on the opposite corner, giving the leaves a bit of a glow. I also splattered some more glittering rose gold watercolors for extra texture and sparkle.

For the greeting, I die cut the detail layer of the Scripty Hugs from more Metallic Rose Gold cardstock and the shadow layer from vellum. I used another super delicate frame from the A2 Thin Frames dies to help draw the eye to the shiny greeting, then added a few shimmering gems for even more sparkle and shine.

Well, that’s all for my projects today! I have really enjoyed playing with the different opaque mediums and hope that they inspired you to go outside of your typical coloring box. Thanks so much for stopping by today, and be sure to check back later this week for some fabulous summery projects for the upcoming release! Have a marvelous day!

Filed Under: simon says stamp Tagged With: A2 thin frames, altenew acrylic markers, cling, leaf edges, metallic paint markers, scripty hugs

Acrylic Flower Garden with Simon Says Stamp!

June 14, 2024

This post was sponsored by Simon Says Stamp. Thanks, Simon!

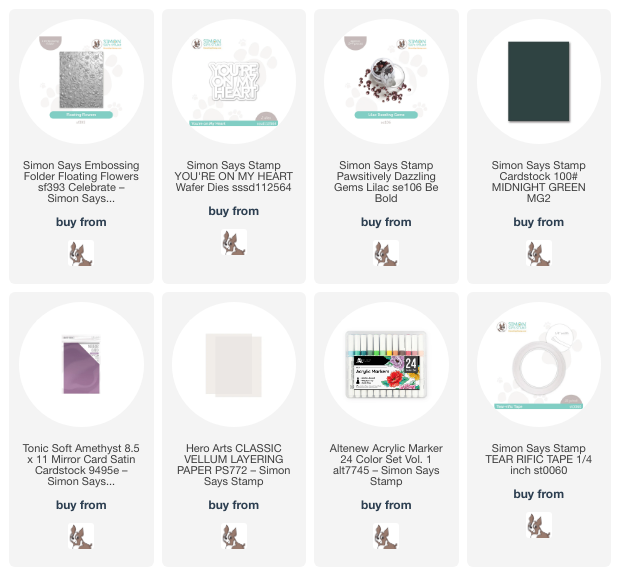
Hi friends! I have one last card to share with you for “purple week,” again featuring the super fun Altenew Acrylic Markers, this time paired with the Floating Flowers Embossing Folder from Simon Says Stamp! These Altenew Acrylic Markers are great for smaller images that require very simple coloring, while at the same time adding incredibly brilliant color to dark cardstock. I normally am quite fastidious about coloring, taking quite a bit of time to add shadows and highlights, but sometimes the images are small enough that there simply isn’t room to fuss with too many shadows, which make the bullet point on the acrylic markers a perfect pairing for this pretty embossing folder. Let’s get started with the details!

This card was inspired by the Opel sisters’ use of colored pencils with colored cardstock for embossed images. I love colored pencils so much, especially when paired with colored cardstock, and the look is so unique and interesting… but my wrists do not enjoy the detailed colored pencil work. These Altenew Acrylic Markers are the next best thing for smaller images! I ran a 3.5″ x 4.75″ panel of Midnight Green cardstock through my die cutting machine with the Floating Flowers Embossing Folder, then selected the beautiful pinks, purples, aqua, and a couple of shades of blue from the Altenew Acrylic Markers package. The bullet point on the markers is not super fine, but if you use a light hand on some of the more delicate images, you can easily create those fine lines! To try to keep things organized in my head, I assigned each flower shape it’s own color. I think these opaque markers are so beautiful on this super deep green cardstock!

Because I had only embossed a smaller Midnight Green cardstock, I trimmed a full-sized A2 panel of the same Midnight Green cardstock and adhered the embossed panel in the center of the panel using 1/4″ Tear-rific Tape. This tape is super strong and works beautifully with the uneven back of the embossed panel! I love the subtle, tone-on-tone frame that this technique creates.

For the greeting. I die cut the detail layer of the You’re On My Heart die from some lovely coordinating Amethyst Satin foil cardstock, then cut the detail layer from some heavyweight vellum. I adhered the two die cut pieces together using liquid adhesive, then added some foam adhesive behind the solid die cut and added it to the colored, embossed panel, embellishing it with a sparkly pink twine bow! Finally, because the acrylic markers are completely matte, I added a trio of Lilac Pawsitively Dazzling Gems for a bit of extra sparkle.

Well, that’s all for my project today! I hope you’ve enjoyed “purple week” on my blog. What started as a coincidence turned into something really fun. I love purple and had lots of fun trying to figure out interesting ways to add it to my cards! Thanks so much for stopping by today, and have a marvelous day!

Filed Under: simon says stamp Tagged With: 3D embossing folder, altenew acrylic markers, embossing folder, floating flowers

Primary Sidebar

  • Facebook
  • Instagram
  • Pinterest
  • YouTube

Favorite Shops

Secondary Sidebar

Subscribe

Enter your email address to subscribe to this blog and receive notifications of new posts by email.

Instagram
Something is wrong.
Instagram token error.
Follow
Load More

Archives

Tags

3D embossing folder alcohol markers better press birthday birthday card blog hop card kit christmas christmas card christmas tag colored pencil copic copic coloring Daniel Smith die cutting embossing folder embroidery felt giveaway holiday holiday card hot foil ink blending karin brushmarker pro layered stencil masculine my monthly hero new release no line coloring no line watercolor OLO marker olo markers original illustration pawsitively saturated rainbow shaker card slimline stamping stamptember stencil thank you thinking of you valentine's day video watercolor

Popular Posts

Simon Says Stamp Joy For You Blog Hop- Day 1!
Simon Says Stamp Joy For You Release-Now Available!
Frozen Fractals All Around with New Simon Says Stamp Joy For You Release!
Shaped Holiday Shaker Card with New Simon Says Stamp Jolly Season Card Kit of the Month!
Holiday Postage with New Simon Says Stamp!
Simon Says Stamp Glory to the Newborn King Holiday Kit-Part II!
Pinkfresh Studio 5th Birthday!
Altenew Build A Flower: Fuchsia Blog Hop+Giveway!
Holiday Joy in Pink and Green with New Simon Says Stamp DieCember!
Honey Bee Stamps September Release Blog Hop!

Disclosure

Some affiliate links are used in my posts. This means that, should you click on one of my links and purchase something from that company, I will receive a small portion of the sale at no extra cost to you. I use the money earned from these sales to help maintain my blog. I so appreciate you visiting and, if you do choose to use one of my affiliate links, thank you so much for your support!
Copyright © 2026 ·Brunch Pro Theme · Genesis Framework by StudioPress · WordPress · Log in
Loading Comments...