• Skip to main content
  • Skip to primary sidebar
  • Skip to secondary sidebar

Sixth Street Sundries

Emily Midgett

  • Home
  • About Me
  • Contact
  • OLO Marker Color Swatch Chart
  • Shop

ombré emboss/resist

Blended Dahlia Thank You and Iridescent Embossing with Simon Says Stamp + SALE!

May 8, 2026

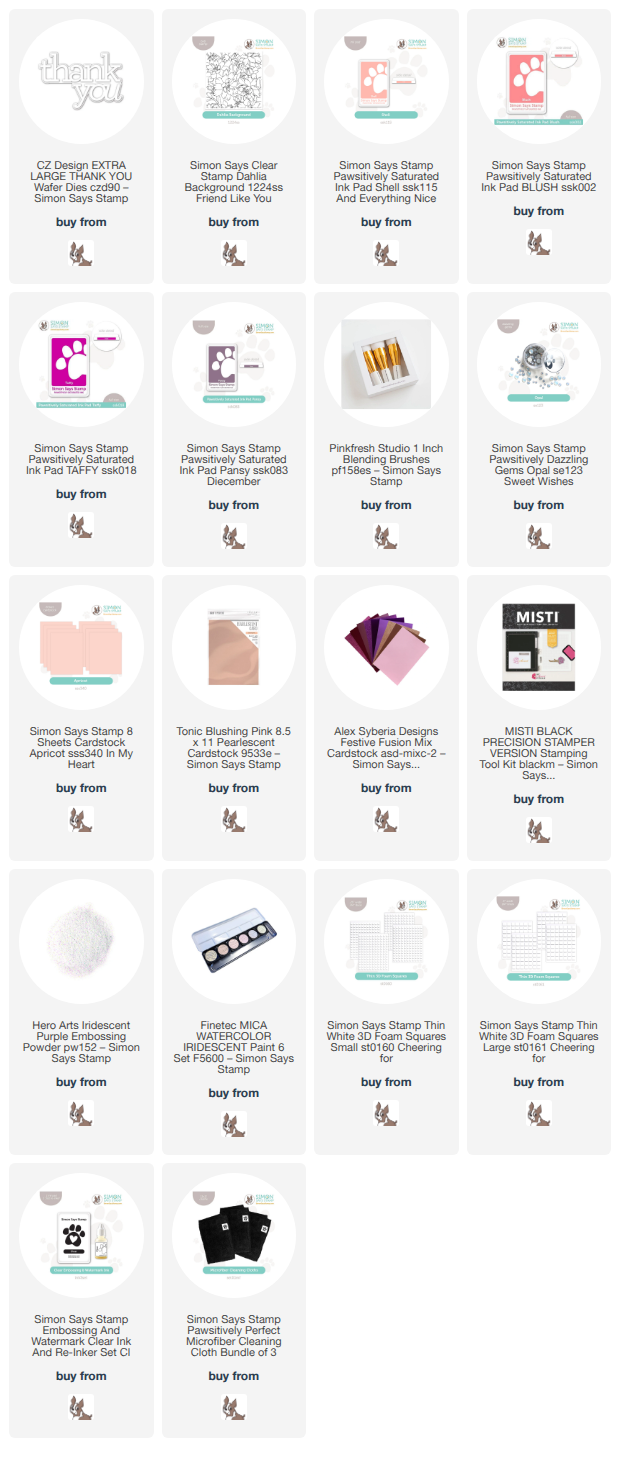
This post was sponsored by Simon Says Stamp. Thanks, Simon! *I have gathered links to all of the products used at the bottom of the post for your convenience, using affiliate links at no extra cost to you. Thank you for shopping with my links! I truly appreciate your support for my work!*

Hi friends! When I find a color palette that speaks to me, I tend to get a bit of tunnel vision and create lots of different projects using similar shades, pulling out similar colors of cardstock, inks, embellishments, and specialty cardstock. The color palette for the striped background from THIS post inspired me so much that I couldn’t resist creating an ink blended background using a similar color palette. My Dahlia Background stamp is super detailed, making it great for an intense coloring session or to use as a background. I chose to do some fun ombré stamping, embossing, and blending to create this pretty sunset-inspired background. Let’s get started with the details on my project!

To begin, I placed my Dahlia Background in my MISTI to do my stamping. This project is unique, because it layers the ombré stamped and embossed background with ink blending directly over the embossed images. The MISTI is very important for this technique; not only is it indispensable for creating the stamped ombré image, but it also allows you to stamp the image again with embossing ink so as to create the perfect background for emboss/resist! To create the ombré stamped image, I used Pawsitively Saturated Inks in shades of Shell, Blush, Taffy, and Pansy, first applying the Shell ink to the top of the stamp, softening the inked edge with a microfiber cloth, then closing the lid of my MISTI, repeating the process to ensure good coverage. I repeated the process with the second color on the section of stamp below the first, softening the edges of the top and bottom of the inked area with the cloth. Softening the edges of the inked area helps to create a smooth transition between colors!

Once I had finished stamping the background with the colorful inks, I stamped it once more with sticky embossing ink and added some sheer iridescent embossing powder over the top to protect the colorful stamped background for some emboss/resist blending. Once my embossing powder had been heated, I blended the same ink shades over the top in a smooth ombré, creating a tone-on-tone effect. I also splattered some iridescent glittering watercolors for more sparkle and texture.

After I had created the background, I trimmed the edges off and placed it in the center of an Apricot A2 card front, adding some thin rose gold foil strips at the edges of the blended panel to add some additional contrast between the different pieces of cardstock. I also die cut the generously-sized Thank You XL detail layer from some pearlescent blush cardstock and popped it up at the bottom of the card front with thin strips of foam adhesive. Finally, I added some Opal Pawsitively Dazzling Gems for additional sparkle!

Well, that’s all for my project today. I think the multiple layers of tone-on-tone color is so pretty with the addition of the sparkling accents!

Now for some fun sale information! Simon Says Stamp is showering moms with love with $15 off your $100 purchase! Simply fill your cart and add code MOM at checkout to receive your discount!

Thanks so much for stopping by today, and have a marvelous day!
Filed Under: simon says stamp Tagged With: dahlia background, extra large thank you, ink blending, misti, ombré emboss/resist, thank you XL

Rainbow Splash Inks for Back-To-School!

September 14, 2023

This post was sponsored by Simon Says Stamp. Thanks, Simon!

Hi friends! I know that it’s a little late in the year for back-to-school cards, but the new Rainbow Splash inks had me in “rainbow mode” and I couldn’t stop myself from creating bunches of projects with rainbow themes. I have been having fun experimenting with ombré stamping and embossing over the top to create a suitable canvas for emboss/resist technique, and I wanted to try it out with this new rainbow of ink colors in the Rainbow Splash line. I have four young kids, and primary color rainbows are just a part of life. I thought the fabulous School Supplies background stamp would be a perfect candidate to try out the ombré emboss/resist technique with which I’ve been playing, and I created this super fun and colorful shaker card to celebrate the start of another school year! Let’s get started with the details.

This ombré emboss/resist technique is one with which I’ve been playing a lot lately. I started experimenting with this technique earlier this year, and each time I use it, I find it more and more magical! Using my MISTI, I stamped the School Supplies background stamp with Scarlet, Pumpkin, Canary, Lime, and Sea Rainbow Splash inks. To create a smooth transition between each ink color, I tap my stamp with the first ink color, then use a microfiber cloth or blending brush on the edge of the line of ink. This extra step helps to make the ink color fade away without creating a harsh line. I close the door to my MISTI, then wipe the ink away with the microfiber cloth and stamp the next ink color, this time tapping the top and bottom lines to create a smooth fade into the previous and following colors. I repeat this process with each color of ink until I have an ombré stamped image!

While the stamp and paper are still in place in my MISTI, I stamp the image again using sticky embossing ink and cover it with clear embossing powder. This clear embossing layer “seals” the stamped image, and I think it helps to smooth some of the ink lines that I didn’t get quite perfect, as well. The added embossing also helps to maintain the vibrance of the ink color, so that I can ink blend over the top in any color that I want! I also used this technique on a greeting from XL Student Greetings, using the same ink colors and technique as the background.

Once I had finished my rainbow stamping for the background and the sentiment, I used Blending Brushes to lightly blend the same shades of ink around the edge of the stamped card front, creating a lovely rainbow glow on my background. I created a thin white frame using my Fiskars trimmer, backing it with a panel of clear acetate and adding foam tape all around the edge to create a shaker card. I filled the shaker with a ton of coordinating rainbow sequins and star confetti from my stash. (I found my huge box of sequins that has been neglected in favor of gems lately, and have decided that I need to keep making shakers to put the sparkly sequins to use!!) I added the rainbow sentiment to the center of the shaker window, creating a super colorful and fun card, perfect for a student or a teacher!

Well, that’s all for my project today! I promise, I will be back to the regularly scheduled flowers soon, but the beautiful inks and colored cardstock from the Rainbow Splash collection have been so inspiring that I just couldn’t move on to anything else until I got my rainbow fill! Thanks so much for stopping by today, and have a marvelous day!

Filed Under: simon says stamp Tagged With: back to school, ombré emboss/resist, ombre stamping, rainbow, rainbow splash, school supplies, shaker card, XL student greetings

Primary Sidebar

  • Facebook
  • Instagram
  • Pinterest
  • YouTube

Favorite Shops

Secondary Sidebar

Subscribe

Enter your email address to subscribe to this blog and receive notifications of new posts by email.

Instagram
Something is wrong.
Instagram token error.
Follow
Load More

Archives

Tags

3D embossing folder alcohol markers better press birthday birthday card blog hop card kit christmas christmas card christmas tag colored pencil copic copic coloring Daniel Smith die cutting embossing folder embroidery felt giveaway holiday holiday card hot foil ink blending karin brushmarker pro layered stencil masculine my monthly hero new release no line coloring no line watercolor OLO marker olo markers original illustration pawsitively saturated rainbow shaker card slimline stamping stamptember stencil thank you thinking of you valentine's day video watercolor

Popular Posts

Simon Says Stamp Joy For You Blog Hop- Day 1!
Simon Says Stamp Joy For You Release-Now Available!
Frozen Fractals All Around with New Simon Says Stamp Joy For You Release!
Shaped Holiday Shaker Card with New Simon Says Stamp Jolly Season Card Kit of the Month!
Holiday Postage with New Simon Says Stamp!
Simon Says Stamp Glory to the Newborn King Holiday Kit-Part II!
Altenew Build A Flower: Fuchsia Blog Hop+Giveway!
Holiday Joy in Pink and Green with New Simon Says Stamp DieCember!
Pinkfresh Studio 5th Birthday!
Honey Bee Stamps September Release Blog Hop!

Disclosure

Some affiliate links are used in my posts. This means that, should you click on one of my links and purchase something from that company, I will receive a small portion of the sale at no extra cost to you. I use the money earned from these sales to help maintain my blog. I so appreciate you visiting and, if you do choose to use one of my affiliate links, thank you so much for your support!
Copyright © 2026 ·Brunch Pro Theme · Genesis Framework by StudioPress · WordPress · Log in
Loading Comments...