• Skip to main content
  • Skip to primary sidebar
  • Skip to secondary sidebar

Sixth Street Sundries

Emily Midgett

  • Home
  • About Me
  • Contact
  • OLO Marker Color Swatch Chart
  • Shop

Archives for March 2022

Pinkfresh Studio March 2022 Washi, Stamp, Die, Stencil, and Hot Foil Release!

March 28, 2022

Hi there! I’m super excited to be a part of the Pinkfresh Studio March 2022 release blog hop today! You can find the full hop list at the bottom of this post. It’s always exciting to me when I am helping to introduce product that I designed, and in today’s release, I have a new washi tape product suite being released, with Hibiscus stamps, dies, washi tape, and stencils! I shared a video on the Pinkfresh Studio YouTube channel last week sharing a sneak peek of the stamps and dies, which you can watch here in HD or below:

For my project today, I am using the washi tape and coordinating die. I love that the Hibiscus stamps, washi tape, and stencils all coordinate with the dies, so that you can use the products interchangeably. Such an incredibly clever concept! The Hibiscus washi tape and Sunflowers washi tape are my first foray into creating washi tape, and it was so exciting for me personally as an artist and such an honor to have Pinkfresh use some of my original artwork for washi tape. (Reminder: if you purchase the Sunflowers stamps and stencils before 3/31, the generous folks at Pinkfresh are donating all of the profits of the sale of this suite during the month of March to Save the Children, which is providing direct humanitarian aid to children in Ukraine!) You can see some inspiration on how I used the stamps alone in this blog post.

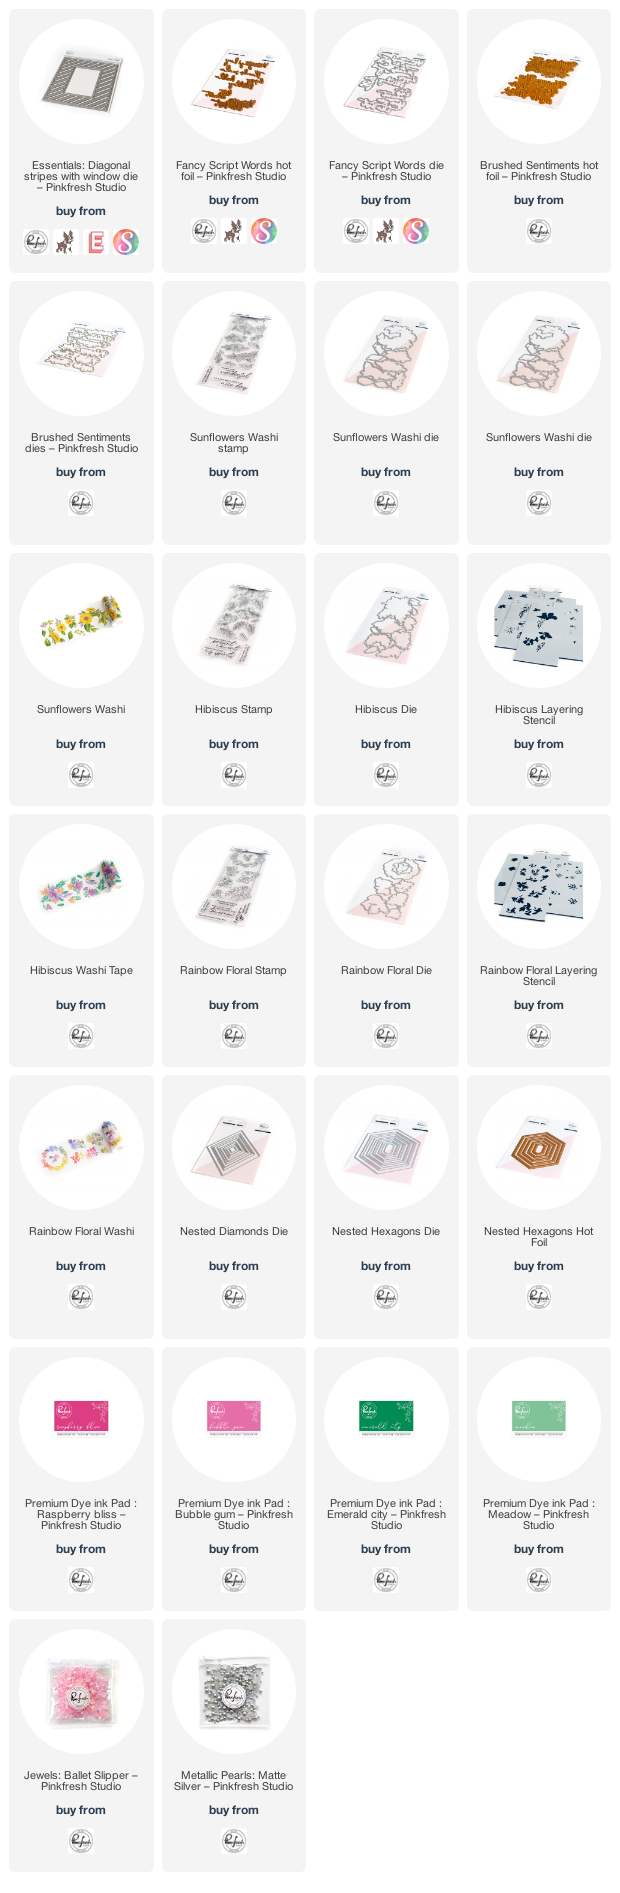
For this first project, I used the Hibiscus washi tape and dies to create this clean card with a pop of bright tropical color! I began by adhering the Hibiscus washi tape to clean white cardstock, then die cut the images with the coordinating dies. I love the washi tape/die concept; it’s like having an almost-endless supply of stickers!

For the card base, I wanted to create something that was simple and clean that provided a bit of texture but still allowed the vibrant tropical flowers to be the star of the show, so I die cut the Diagonal Stripes with Window die from some crisp white cardstock and adhered it to a white A2 card base. The subtle texture of the white on white creates a great backdrop for the bright flowers! I layered the large Hibiscus bouquet with some of the smaller elements to create a huge floral swag, then adhered them to the side of the window using both foam and liquid adhesive for lots of dimension.

For the greeting, I used one of the Fancy Script Words hot foil plate and coordinating dies that I’d previously created using white cardstock and shiny graphite colored foil. I adhered it to the card front with a double layer of foam adhesive to give it tons of height, then added some Matte Silver Pearls for a touch of shine and to coordinate with the charcoal foil!

For my second card, I used the graceful and lovely new Rainbow Floral Stamps, layering stencils, and dies. I began by heat embossing the Rainbow Floral Stamps on some super pale pink cardstock using white embossing powder. I then used the Rainbow Floral layering stencils with some pretty pinks and greens to create the lovely roses. The pink of the cardstock is so pale that it doesn’t interfere with the green ink blending! I die cut the finished images with the coordinating dies.

Next, I did some hot foiling using the fantastic new Nested Hexagons Hot Foil Plates and coordinating dies. This new group of nested dies is going to become a staple in my craft room; the frames that the hot foil creates is so incredibly classy and are the perfect foil for the beautiful floral images from Pinkfresh! I used the same shade of blush pink with some beautifully shiny rose gold foil to create this tone-on-tone effect. Hot foil+colored cardstock is a winning recipe in my book!

I layered the foiled Nested Hexagons frame on an A2 card base of the same blush pink cardstock using foam adhesive, then arranged my stenciled floral die cut images. I did some selective trimming and arranging to create a cascade down the one side of my card. “Waste not, want not” is my philosophy in my craft room. The little pieces that I trim off of the edge are almost always used somewhere else on my card peeking out from behind a die cut or dripping off of the edge of the card base. I adhered the die cut pieces using liquid and foam adhesive, then added a coordinating rose gold foil/blush cardstock greeting that I’d created using the Brushed Sentiments Hot Foil Plates and Coordinating Dies. Finally, I added a few shining Ballet Slipper gems to add just a touch more sparkle to this pretty-in-pink card.

Well, that’s all for my projects today! Now, for some fun giveaway information:

The folks at Pinkfresh Studio will be giving away the full release on the Pinkfresh blog & YouTube channel, so be sure to check those out!  They will also be giving away ten $25 gift cards along the hop. The winners will be selected from the comments, so the more comments you leave along the hop, the more chances you have to win. The winners will be posted on April 5, 2022 on the Pinkfresh GIVEAWAY PAGE. Winners must check that page & claim your prize within 2 weeks.

Here’s the full hop list:

You are invited to the Inlinkz link party!

Click here to enter

Thanks so much for stopping by, and happy hopping!
Filed Under: original illustrations, pinkfresh studio Tagged With: hibiscus washi tape, hot foil, layering stencil, rainbow floral, sunflowers, video, washi tape

Colorado Craft Company-March 2022 Anita Jeram Release+Giveaway!

March 28, 2022

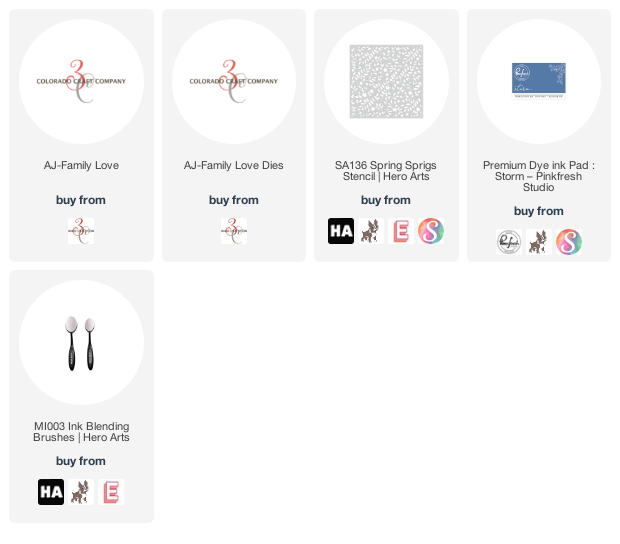
Hi friends! I am happy to be helping my friends over at Colorado Craft Company share their new Anita Jeram release for March 2022. This release is full of the darling little critters that we love, and as I was creating my project, I kept thinking how utterly relatable all of these little scenes are. They don’t just show a cute critter up to some silly antics, but rather they are little vignettes of real life-whether that’s parenthood, kiddos, holidays, friends, marriage… The scene that I watercolored for today’s card comes from the new Family Love stamp set. My husband and I have two sets of twins, ages 8 and almost 2, and while we don’t have quite as many kiddos as the family seated on the couch, sometimes it really feels like that with all of them crawling all over us haha! Let’s get started with the details.

I began by stamping the main image from Family Love onto some watercolor paper using black pigment ink, to which I added clear embossing powder and heat set to make the lines super crisp and stark. I used my Holbein watercolors to add blues, purple, and gray to the couch and critters, creating a dark background so that the light gray mice could pop with minimal shading necessary. I die cut the finished image using the coordinating die.

Next, I wanted to create a kind of “wallpaper” in the background, so I began with a panel of medium blue cardstock, then lightly blended some darker blue ink in the center. Over the top of the ink blending, I placed a botanical stencil and added a subtle touch of tone-on-tone blending to create a bit of interest to the background.

I stamped the greeting from Family Love onto another rectangle of the same blue cardstock used for the card base and heat embossed the greeting using black pigment ink and clear embossing powder. I popped both the image and the sentiment up using foam adhesive. I love how you don’t have to do a ton of stamping to create a sweet little scene-the Anita Jeram stamps do most of the stamping work for you!

Well, that’s all for my project today! To celebrate their newest Anita Jeram release for March 2022, Colorado Craft Company is giving away one stamp set to commenters on each stop on the blog hop. Simply leave a comment on this post by midnight on 3/31/2022 to be entered to win! You can stop by the Colorado Craft Company blog for more information on the hop.

Thanks so much for stopping by today, and have a marvelous day!

Filed Under: colorado craft company

Altenew March 2022 Whimsical Fairy Tale Collection Release Blog Hop + Giveaway ($300 in total prizes)

March 25, 2022

Hi there! Today, Altenew is releasing another beautiful collection of embossing folders, called the Whimsical Fairy Tale collection, and we’re celebrating with a blog hop! You should have arrived here from Hussena Calcuttawala, and your next stop is LauraJane. You can also start back at the beginning at the Altenew Blog in case you get lost! This beautiful new collection features a variety of themes, but as usual, I gravitated towards the bold floral folders, particularly the Peony Sunshine folder. It’s massive, it’s super detailed, and I absolutely adore it. I’ve taken the “3D” portion of the title to a new level with some watercoloring today, so let’s get started with the details!

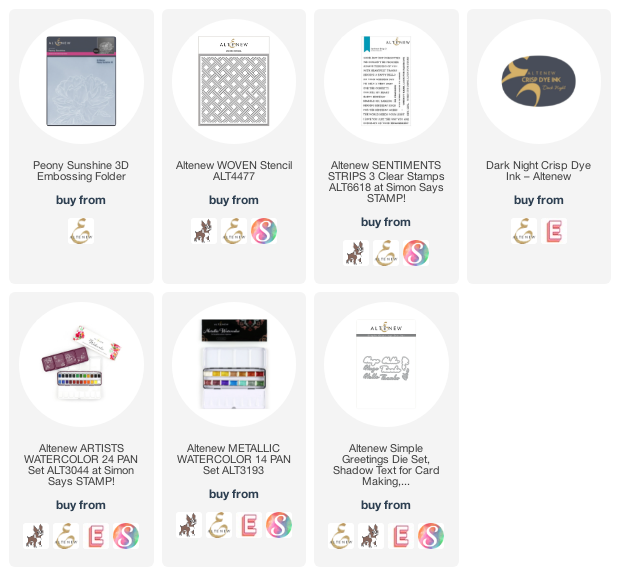
I began by running the Peony Sunshine embossing folder through my die cut machine with a panel of Arches Cold Press watercolor paper. I find that this super heavy duty paper is perfect for use with these embossing folders; the embossing is nice and crisp, and it holds up beautifully to watercoloring. Once I’d embossed my watercolor panel, I used the Artists’ Watercolor 24 Pan Set to add lots of beautiful reds and corals to the image. The 3D embossing creates little wells, but the watercolor can still bleed even with those dimensional hills and valleys, so it’s best to treat this as you would with no-line watercoloring: work in sections, and allow the initial wet areas to dry before moving to the sections next to it to avoid bleeding. Once the panel was dry, I fussy cut around the edge with my sharp scissors.

Next, I used a blending brush with the the Woven stencil to lightly blend some Dark Night ink on a navy blue A2 cardstock base. This pattern is super subtle, but adds just a touch of interest to the area behind the peony! I wanted to keep this color scheme very springy and almost nautical feeling, so I kept things simple with a coral and navy color palette. To help coordinate with those coral tones in the peony, I splattered some rose gold metallic paint from the  metallic watercolor  pan set over the top of the stenciled background.

For the greeting, I die cut the Simple Greeting dies, cutting the background from some more navy cardstock and the detailed top layer from some matte rose gold cardstock to coordinate with the metallic rose gold splatters. I also heat embossed a greeting from Sentiment Strips 3 using rose gold embossing powder onto a strip of the same navy blue cardstock. I popped up the watercolored peony, sentiment strip, and sentiment die cuts using Instant Dimension Foam Tape, finally adding some shimmering gems for some more sparkle.

Well, that’s all for my project today! Now, for some fun giveaway information:

$300 in total prizes! To celebrate this release, Altenew is giving away a $50 gift certificate to 2 lucky winners and a $25 gift certificate to 8 winners! Please leave a comment on the Altenew Card Blog and/or each designer’s blog post on the blog hop list below by 03/31/2022 for a chance to win. Altenew will draw 10 random winners from the comments left on each stop of this blog hop and announce the winners on the Altenew Winners Page on 04/02/2022.

Your next stop on the hop is LauraJane. Thanks so much for stopping by today, and happy hopping!

Filed Under: altenew Tagged With: 3D embossing folder, embossing folder, peony sunshine, watercolor

Simon Says Stamp Hello Gorgeous Blog Hop, Day 2!

March 24, 2022

Hi there! I’m thrilled to be part of the Simon Says Stamp Hello Gorgeous blog hop on Day 2 of the hop! You should have arrived here from Tina Smith, and your next stop is Jennifer Kotas. You can also start back at the beginning at the Simon Says Stamp Blog. This new Hello Gorgeous release is chock full of fantastic new products perfect for springtime crafting, and I am so excited to have designed a new stamp set for this release: Mother’s Day Tulips. I shared a Copic colored project in this blog post using the new Mother’s Day Tulips set, but today I thought I’d share some inspiration doing some no-line watercoloring, as well as another watercolored project using the Mom’s Spring Flowers set. Let’s get started with the details!

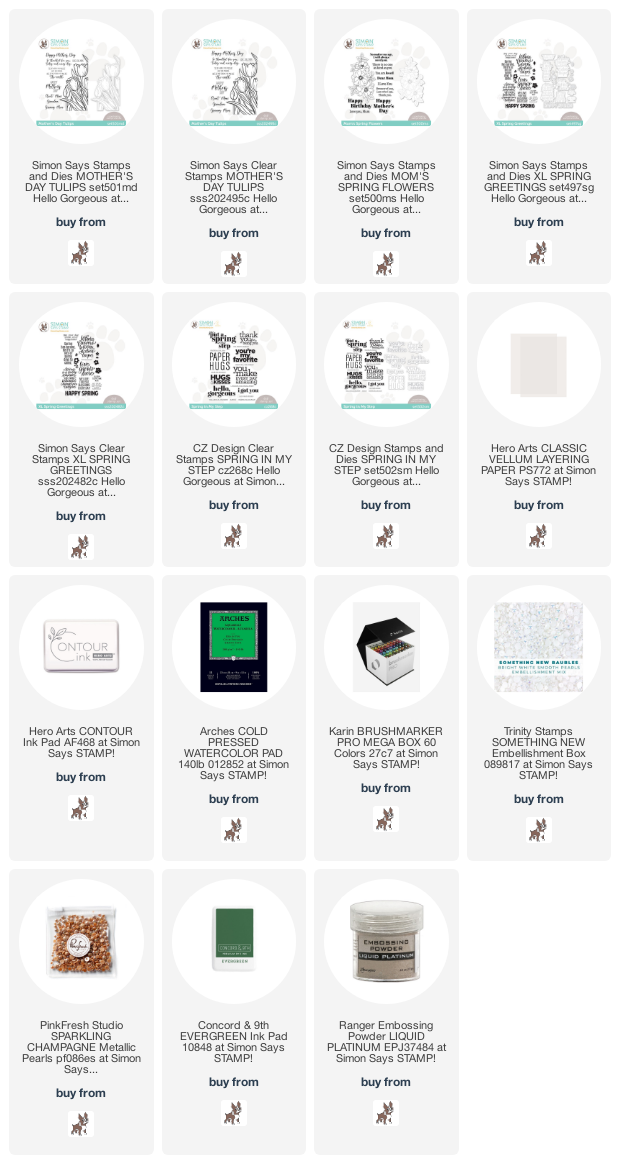
I designed the main floral image in the Mother’s Day Tulips set to cover most of a slimline card front. In my book, the bigger the flowers, the more fun they are to color! These huge tulips are great for really digging down into the nooks and crannies of the image. I began by trimming a panel of Arches cold press watercolor paper down to slimline size, then stamped the Mother’s Day Tulips image using Contour Ink from Hero Arts.

Next, I used the Altenew Artists’ Watercolor 24 Pan Set to paint the tulips a beautiful coral-y red. I love adding lots of touches of contrasting color around the edges of the petals of large images like this, hoping to convey reflections of surrounding colors and add some variation to the images. After I’d painted the flowers their main shades of coral, with touches of lavender shadows, I added some very diluted glazes of bright yellow to the edges of the petals. I also added a wash of cerulean blue behind the flowers, just in the opposite corner and allowing it to fade out completely so that the flowers had a white halo around them.

Once it was dry, I trimmed and mounted the watercolored panel onto a navy blue full size slimline card base. I added a greeting from XL Spring Greetings, which I embossed in silver on some heavyweight vellum and die cut with the coordinating die. The final touch was to add a few Something New iridescent white pearls from Trinity Stamps.

My second project features another new floral: Mom’s Spring Flowers. I thought these looked like wild roses, so I decided to color them in shades of vivid fuchsia and plum using Karin Brushmarker Pro watercolor markers. I began by heat embossing the beautiful floral swag image onto the back of a panel of Arches cold press. I used the slightly less textured “backside” of the super textured cold press paper so that the detail in the flower image would be nice and smooth!

I used some super vibrant shades of purple and pink Karin markers to add tons of intense color to these flowers. With the Karin markers, I like to keep a ceramic palette nearby, so that I can scribble the color onto the palette and pick the color up with a damp paintbrush, then apply it to my watercolor paper. I find that I can get better control over the color and intensity by starting out with the first layers in this way, then going directly to paper with the marker for any areas that I want to make super intense and vibrant, like the petals tucked behind and underneath. I trimmed the watercolored image with my sharp scissors, but there are coordinating dies available!

For the card base, I wanted those beautiful, intense blooms to really pop, so I embossed the floral bouquet a couple of times on a a hunter green card base using platinum embossing powder, the same embossing powder that I used to emboss the flowers themselves, so that they were peeking out from behind my watercolored bouquet. I then used a blending brush to blend Concord and 9th’s Evergreen ink over the embossed corner, adding a touch of extra contrast between the embossed image and the deep green card base. I adhered the flowers to the card front using foam adhesive, then added a greeting from Spring In My Step, which I heat embossed using some more platinum embossing powder onto vellum. The final touch was to add a few Sparkling Champagne Metallic pearls for some shine!

Well, that’s all for my projects today! Now, for some fun giveaway information:

To celebrate the new Hello Gorgeous release, Simon Says Stamp is giving away a $25 coupon to every stop on the hop. The winners are selected from the comments section, then announced on the on Simon Says Stamp blog on Wednesday, the 30th of March. Be sure to check back on the Simon Says Stamp blog and email them if you’re the winner! The more comments you leave, the more chances you have to win!

Your next stop is Jennifer Kotas. You can also check out the Simon Says Stamp Blog for all of the hop stops, as well as the Day 1 Blog Hop! Thanks so much for stopping by today, and happy hopping!

Filed Under: original illustrations, simon says stamp

Simon Says Stamp Hello Gorgeous Release-Introducing Mother’s Day Tulips!

March 21, 2022

Hi there! I’m super excited to help Simon Says Stamp introduce their fantastic new Hello Gorgeous release for March 2022. This release features a huge variety of products, many Mother’s Day themed, as well as beautiful sentiments and lovely spring florals. I am also pleased as punch to introduce a new set that I’ve designed for Simon Says Stamp, called Mother’s Day Tulips! This large 6×8 stamp set features a large and beautiful tulip corner, sized to fit a slimline card front, but also could be adapted to fit other sizes as well! I have a few cards to share with you today, so let’s get started with the details!

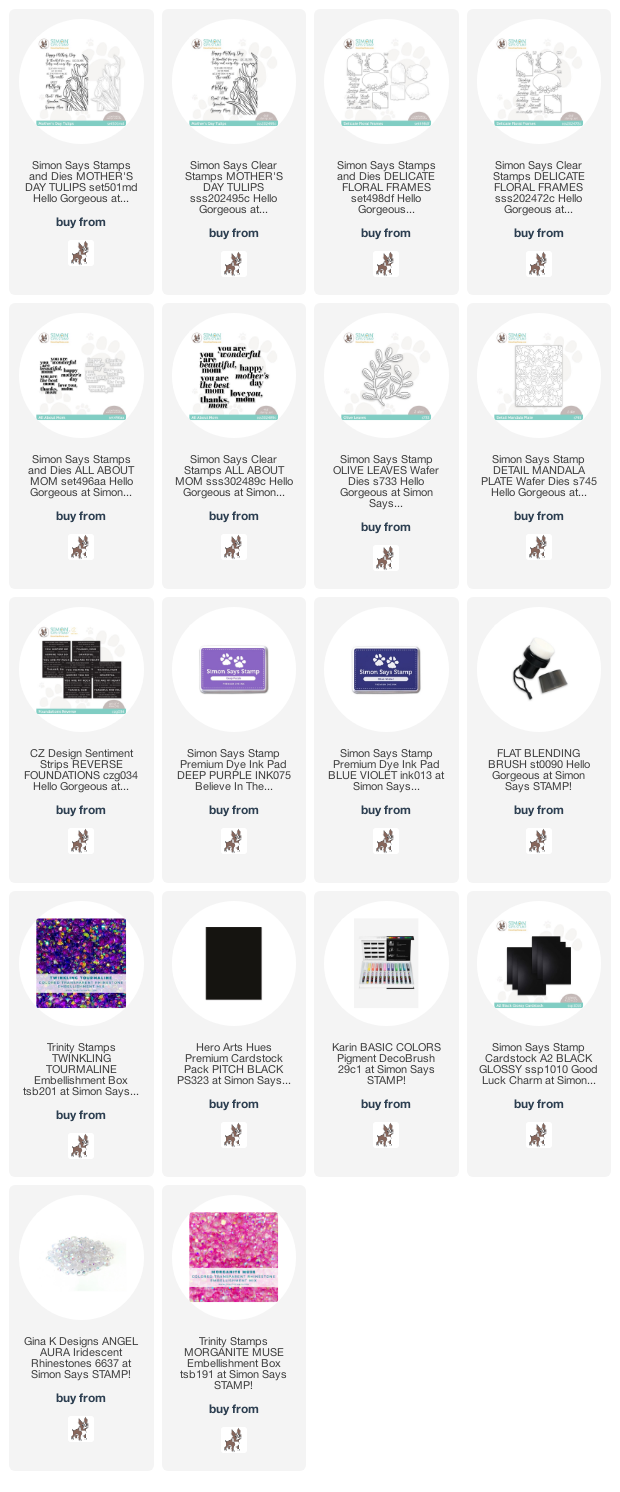
My first project features my new Mother’s Day Tulips. I stamped the large image on a mini slimline card base using Hero Arts Intens-ified Black ink. I love the wide variety of colors that you can find with tulips, and I find the the deep purple tulips to be enchanting. I colored the image using Copic markers V09, V17, V15, V12, and V01 to add lots of intensity and shadows to the large images. I love coloring large images like this; the extra space allows you to really get down into the tiny areas and add lots of contrast and depth.

Once I had finished coloring the image, I blended some Blue Violet and Deep Purple inks around the edge opposite the floral arrangement using the new Flat Blending Brush. The blending brush does a beautiful job of blending these intense colors softly on the card base, leaving a halo around the flowers themselves and helping them to shine!

For the greeting, I used the new Reverse Foundations preprinted sentiment strips. I trimmed the sentiment down to three separate pieces using my trimmer, then popped them up on the colored panel using foam adhesive. The final touch was to add some shimmering purple gems for a touch of sparkle!

My next cards features the beautiful new Delicate Floral Frames stamps and dies. I contemplated going light and bright with these, but the pretty frames were just begging to be made into some chalkboard style projects! I stamped both of the frame images onto some Pitch Black cardstock using white pigment ink, then used Karin Decobrush Pigment markers to add some bright color to the black cardstock! Because these images are not terribly detailed, these opaque pigment markers made it super simple to add some quick pops of color to the images. This is the first time that I’ve tried this technique, and I absolutely love how they turned out.

To back this arched frame image from the Delicate Floral Frames stamps and dies, I die cut one of the beautiful new Detail Mandala Cover Plate dies from some more Pitch Black cardstock. The subtle pierced detail on this cover plate die is stunning; it’s surely going to become a staple in my craft room!

To accent the greenery on the arched frame, I die cut a few leaves from some Glossy Black cardstock using the new Olive Leaves dies. I popped up the frame with some foam tape, then added the shiny black leaves with some liquid adhesive. I added a greeting from the marvelous new All About Mom sentiment stamp and die set. I love the bold, chunky font on this set! These sentiments are large enough to make a really big impact on your card front. I added a few iridescent gems for a touch of sparkle.

My second card features the same technique, but places the die cuts on a plain black card front. I adhered the oval Delicate Floral Frames stamped and colored die cut to an A2 black card front using foam adhesive, then added more glossy black leaves behind the floral swag to add another element of texture to the card front.

I popped up the white embossed greeting from All About Mom. When I’m working with limited color palettes and tone-on-tone textures, I like to use tons of foam tape to add as much dimension and interest as possible, so these black and white projects have lots of height and variations in texture! I added a few more sparkling gems for an additional textural element as well as adding some sparkle.

Well, that’s all for my projects today! I hope you’ll check out the rest of the products from the Hello Gorgeous release. So many beautiful new pieces. I’m so excited that my Mother’s Day Tulips illustration is a part of it! Thanks so much for stopping by, and have a marvelous day!

Filed Under: karin, original illustrations, simon says stamp Tagged With: all about mom, chalkboard, delicate floral frames, karin pigment markers, mother's day card, mother's day tulips

  • Page 1
  • Page 2
  • Page 3
  • Go to Next Page »

Primary Sidebar

  • Facebook
  • Instagram
  • Pinterest
  • YouTube

Favorite Shops

Secondary Sidebar

Subscribe

Enter your email address to subscribe to this blog and receive notifications of new posts by email.

Instagram
Something is wrong.
Instagram token error.
Follow
Load More

Archives

Tags

3D embossing folder alcohol markers better press birthday birthday card blog hop card kit christmas christmas card christmas tag colored pencil copic copic coloring Daniel Smith die cutting embossing folder embroidery felt giveaway holiday holiday card hot foil ink blending karin brushmarker pro layered stencil masculine my monthly hero new release no line coloring no line watercolor OLO marker olo markers original illustration pawsitively saturated rainbow shaker card slimline stamping stamptember stencil thank you thinking of you valentine's day video watercolor

Popular Posts

Simon Says Stamp Joy For You Blog Hop- Day 1!
Simon Says Stamp Joy For You Release-Now Available!
Frozen Fractals All Around with New Simon Says Stamp Joy For You Release!
Shaped Holiday Shaker Card with New Simon Says Stamp Jolly Season Card Kit of the Month!
Holiday Postage with New Simon Says Stamp!
Simon Says Stamp Glory to the Newborn King Holiday Kit-Part II!
Holiday Joy in Pink and Green with New Simon Says Stamp DieCember!
Pinkfresh Studio 5th Birthday!
Altenew Build A Flower: Fuchsia Blog Hop+Giveway!
July My Monthly Hero Blog Hop+Giveaway!

Disclosure

Some affiliate links are used in my posts. This means that, should you click on one of my links and purchase something from that company, I will receive a small portion of the sale at no extra cost to you. I use the money earned from these sales to help maintain my blog. I so appreciate you visiting and, if you do choose to use one of my affiliate links, thank you so much for your support!
Copyright © 2026 ·Brunch Pro Theme · Genesis Framework by StudioPress · WordPress · Log in
Loading Comments...