• Skip to main content
  • Skip to primary sidebar
  • Skip to secondary sidebar

Sixth Street Sundries

Emily Midgett

  • Home
  • About Me
  • Contact
  • OLO Marker Color Swatch Chart
  • Shop

Archives for November 2022

Monochromatic Sympathy Card Using Pinkfresh Studio November Release + Instagram Hop!

November 22, 2022

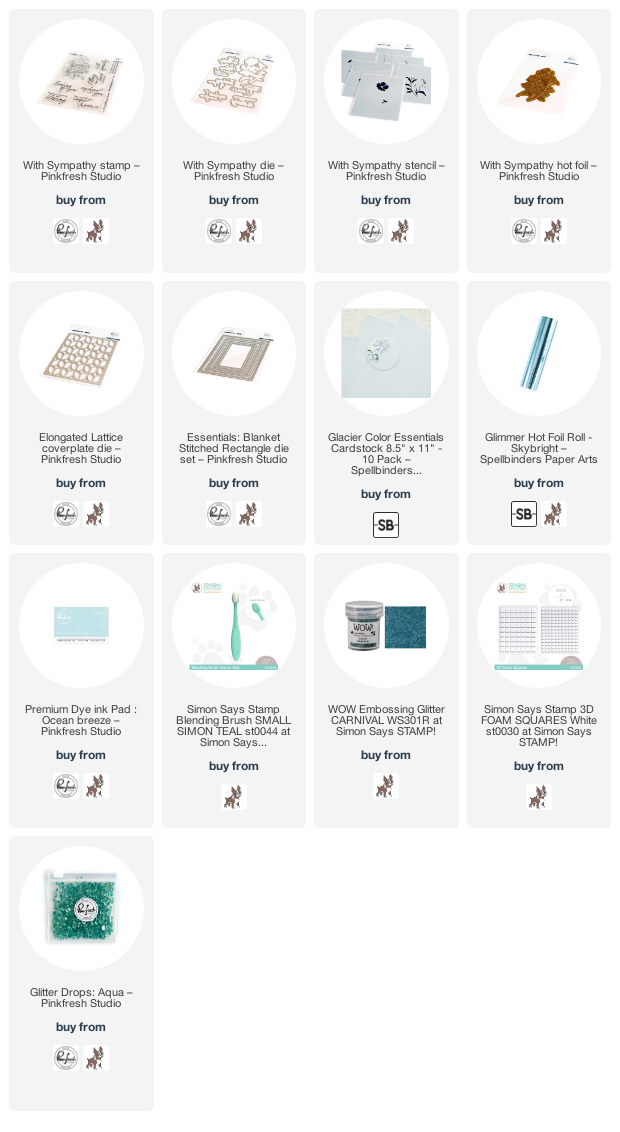
Hi there! Today, Pinkfresh Studio is continuing the celebration of their new November Release with an Instagram Hop. I have this soft monochromatic project up as my stop on the hop, so be sure to check out my post over on Instagram as @eamidgett. I have found that with sympathy cards, less is more, and so keeping the color palette super simple while still muted helps to be respectful to the seriousness of the purpose of the card while also keeping things a little lighter for the eye. The new With Sympathy Stamps, Dies, Stencils, and Hot Foil Plate are, in my opinion, one of the best product suites in the release, as it contains a beautiful variety of products that work seamlessly together while also containing poignant and, sadly, incredibly useful sentiments for sympathy cards. Let’s get started with the details on my project!

I began by hot foiling the new With Sympathy Hot Foil Plate a couple of times on a panel of icy blue Glacier cardstock from Spellbinders using Skybright foil, a lovely light aqua that works beautifully with the Glacier cardstock. If you haven’t tried tone-on-tone hot foiling yet, I highly encourage you to take a look at your colored foils and colored cardstock stash and try it out! (Enabling hint: the Spellbinders cardstock is all marvelously smooth and perfect for hot foiling!) It’s one of my favorite ways to use hot foil; it provides such incredibly elegant results!

Next, I used a blending brush to lightly blend some Ocean Breeze ink using the With Sympathy Stencils over the foiled images. This simple stenciling helps subtly emphasize the beautiful details in the floral image without overpowering the monochromatic color scheme! I arranged a Blanket Stitched Rectangle Die over my hot foiled panel so that the foiled flowers were nestled in the corners.

Next, I die cut the Elongated Lattice Cover Plate die from some more Glacier cardstock, then layered it on a matching solid A2 panel of Glacier cardstock. I love the super subtle texture that this provides the background!

To continue the monochromatic continuity of my card, I heat embossed the greeting from the With Sympathy Stamps onto a scrap of Glacier cardstock using some sparkling aqua glitter embossing powder, then die cut the sentiment with the coordinating sentiment die. Those sentiment dies create such a clean, polished effect on your finished card! I arranged the hot foiled rectangle on my card front using some thin foam tape so that it had just a touch of extra height from the textured background, then added the greeting with a double layer of foam tape to make it pop better from the card front. The final touch was to add a few Aqua Glitter Drops for a bit more sparkle.

Well, that’s all for today’s project. I hope you’ll check out the Instagram Hop; Pinkfresh Studio is giving away the entire release, and there are masses of $25 gift cards up for grabs! Thanks so much for stopping by today, and have a marvelous day!
Filed Under: pinkfresh studio Tagged With: hot foil, monochromatic, stencil, with sympathy

Pinkfresh Studio November 2022 Stamp and Die Release Blog Hop + Giveaway!

November 21, 2022

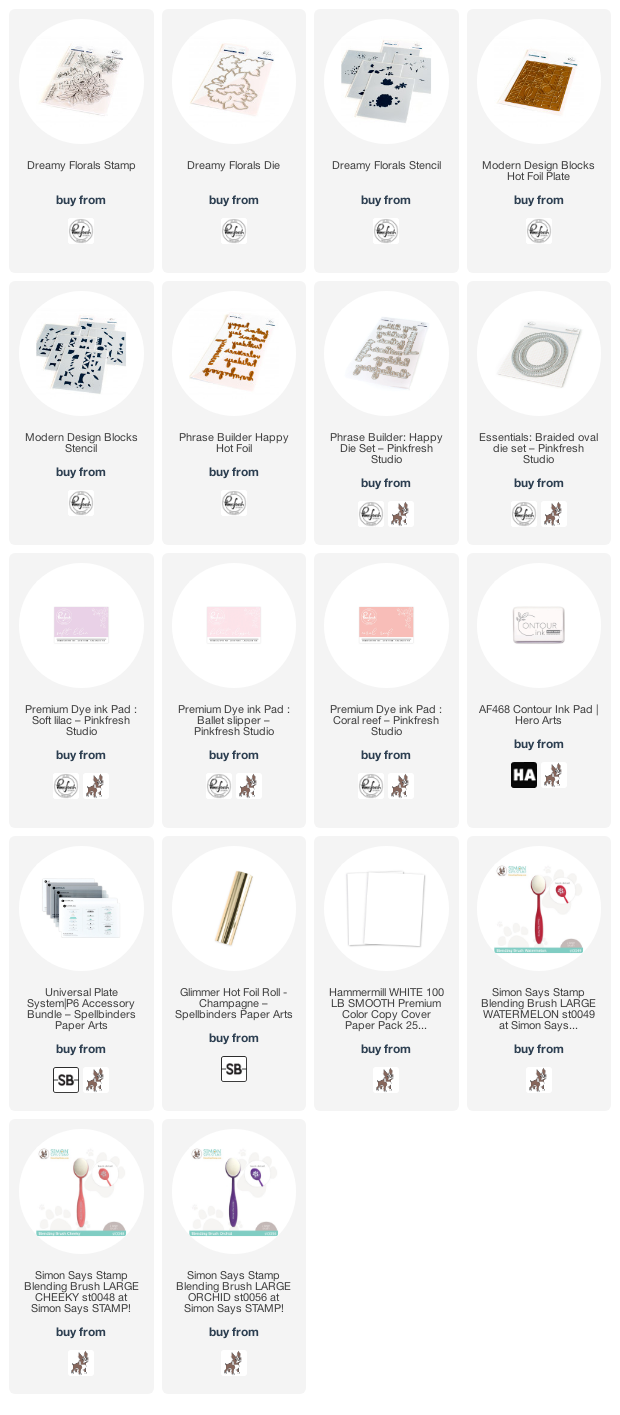
Hi there! Today, Pinkfresh Studio is releasing their latest round of stamps, dies, hot foil plates, and stencils for the November 2022 Release, and let me tell you, it’s yet another stunner! So many gorgeous new products that all work fluidly with each other or can easily stand alone as individual products! I love that these product suites work so interchangeably with each other. It creates such versatility and gives you really great bang for your buck. I have focused on several new products today, particularly the beautiful new Dreamy Florals Stamps and Dies. So many of these new images this month set my watercolor-loving heart a-flutter with excitement, but I think this one was most exciting of all for me. Let’s get started with the details on my project!

I began by stamping the images from Dreamy Florals onto some Arches Cold Press Watercolor Paper using Hero Arts Contour Ink. I wanted to do some no-line watercoloring with these beautiful florals, so I pulled out my Holbein watercolor palette and added some soft, springy pinks and lavender, finishing the images off with some lovely intense green. These images are a lovely size, not too small to be super fiddly for watercoloring, but not too large that they take a long time to watercolor. As Goldilocks said, they’re just right! I die cut the images with the coordinating one piece die.

For the background, I wanted to utilize one of the super fun and graphic new hot foil plates and coordinating stencils, but at this point I had already put my hot foiling machine away, so I decided to dry emboss the new Modern Design Blocks Hot Foil Plate using my Spellbinders Platinum 6 with the rubber embossing mat that comes with the new Universal Plate System. This dry embossing creates a beautifully subtle pattern that looks great alone or with the coordinating stencils, as I’ve done here! I used the Modern Design Blocks Layering Stencils to very softly blend Soft Lilac, Ballet Slipper, and Coral Reef inks, pulling in all of the colors of my watercolored images without overpowering them. I also splattered some handmade metallic watercolors over the blended background to add a little extra shine!

For the greeting, I used the new Phrase Builder Happy Hot Foil , which coordinates with the previously-released Phrase Builder Happy Dies. I love the clean, unbelievably shiny look that this adds to the card front! I hot foiled the “happy birthday” on some Hammermill cardstock using Champagne foil from Spellbinders, then cut the foiled words out with the coordinating outline dies. To ground the greeting, I die cut a Braided Oval die from some heavyweight vellum, then arranged all of my floral die cuts and foiled die cut greeting around the edge, allowing some pieces to be tucked behind while others were overlapping the oval. Overlapping on the front allowed me a spot to hide my adhesive foam tape!

Well, that’s all for my project today! Now, to celebrate this release, Pinkfresh is hosting some awesome giveaways!

Pinkfresh Studio will be giving away the full release on the Pinkfresh blog & YouTube channel, so be sure to check those out! They’re linked on the Pinkfresh Blog down below. They will also be giving away a total of TEN $25  gift cards along the hop. The winners will be selected from the comments and announced on November 29, 2022 on our GIVEAWAY PAGE. Winners must check that page & claim your prize within 2 weeks.

The full hop list is below! Thanks so much for stopping by today, and happy hopping!

You are invited to the Inlinkz link party!

Click here to enter

Filed Under: pinkfresh studio Tagged With: braided oval, dreamy florals, holbein, hot foil, no line watercolor, phrase builder happy

Destash Boxes Available!

November 19, 2022

Hi there! Anybody else feel like the walls of their craft rooms are closing in on them recently? I have run out of room in my Kallax units to the point that I have (literally) had to “store” new product in boxes on the floor of my office. It’s not pretty, and it kind of inhibits my creativity.

To that end, I have been doing some purging to try to create more room, and I have 5 Medium Flat Rate boxes available that are absolutely stuffed with brand new or very gently used stamps and dies and some ink pads! When I say stuffed, I mean stuffed…. so much product.

Cost: $150 + $15 shipping.

Value: Well over $300.

To claim one: email me at eamidgett (at) gmail.com

I am working on a fun post to help with your Christmas Art Supply Wish Lists, as well as some Black Friday/Small Business Saturday/Cyber Monday information, so be on the lookout for that, as well!

Have a wonderful weekend, friends!

Filed Under: Uncategorized Tagged With: destash boxes, for sale

More Simon Says Stamp Holiday Sparkle!

November 17, 2022

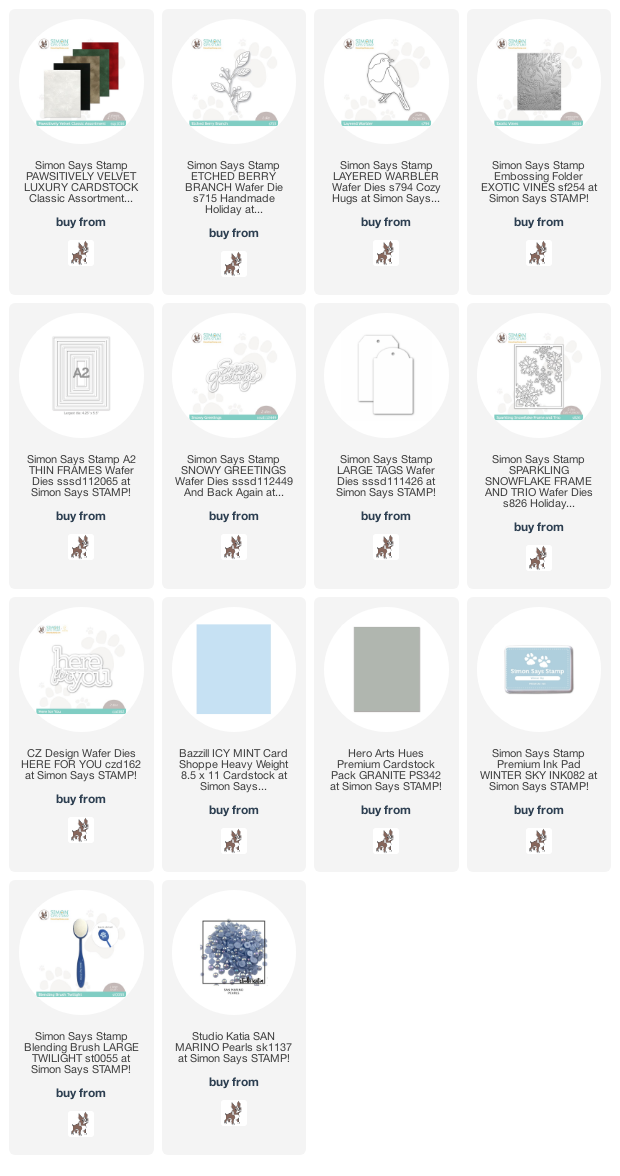
Hi there! Today, I have a couple more projects using the new Holiday Sparkle release from Simon Says Stamp, both featuring tons of texture and layers. I may have started as a stamper, but die cutting is one of my most favorite ways to create these days. Standalone dies just have so many ways to that you can customize them to make them truly unique from project to project! One of my favorite ways to make dies extra exciting is to add lots of texture using different types of fancy papers. The new Pawsitively Velvet cardstock from Simon Says Stamp is the perfect way to add some luxurious texture to your card front without adding a ton of extra bulk! I have two projects to share with you today using these new papers, so let’s get started with the details!

Both of my projects feature an icy color palette using some beautiful Bazzill Icy Mint cardstock as the starting point. I love super pale colored cardstock; it’s just a hair off of white cardstock, but adds that hint of color to a crisp card or tag project!

For my first project, I used the green Pawsitively Velvet cardstock to die cut the Etched Berry Branch die. Because this die cut is very delicate, I also die cut the same branch from some black cardstock and adhered it to the velvet die cut to add some stability while I determined the rest of my card front. I used the white Pawsitively Velvet cardstock to die cut the base layer for the Layered Warbler bird die, adding some details with Icy Mint and Granite cardstock.

For the background, I trimmed a panel of white cardstock down to A2 size, then ran it through my die cut machine using the Exotic Vines embossing folder. I love how classy and elegant this folder is. The vines and berries help to give it a bit of a botanical feel to work well with my bird and berries!

To ground my bird and branch, I die cut the A2 Thin Frames dies from some white glitter cardstock. (Tip: keep your rectangle dies together in order to have double the amount of frames from one pass through your die cut machine!) I selected a very thin frame and smaller, but thicker, frame, then saved the rest for another project. I backed the smaller frame with some vellum to soften the area behind it a bit. This provides a clean canvas for my bird, branch, and sentiment.

I die cut the detail layer of the Snowy Greetings die set from some more Granite cardstock. I also heat embossed a greeting from a set that seems to be retired (whoops!), just to flesh out the greeting a bit. I adhered the thin frame around the edge of the embossed panel, then arranged the remaining die cuts on the vellum rectangle. The final touch was to add a few coordinating blue pearls as “berries” for the foliage die cut.

My second project is a simple tag to adorn a holiday gift! I die cut one of the Large Tag Dies from some more Icy Mint cardstock , then lightly blended some Winter Sky ink around the edge using a blending brush. I splattered the blended tag using some pearlescent watercolors to create some wintry shimmer.

I die cut a few individual snowflakes from the new Sparkling Snowflake Frame and Trio die set using the white velvet from the Pawsitively Velvet cardstock pack. I arranged them on the blended tag, snipping off the overhanging edges. I love the texture that this creates on this simple tag! I added a “for you” greeting, customized by snipping off the “here” from the CZ Design Here For You die. I popped up the glittery greeting using some very thin strips of foam adheisve and added a simple white raffia loop to make for easy attachment to a gift!

Well, that’s all for my projects today! The Pawsitively Velvet cardstock adds such a luxurious textural element to your holiday projects, and so inexpensively. Love that! Thanks so much for stopping by today, and have a marvelous day!

Filed Under: simon says stamp Tagged With: christmas, christmas tag, etched berry branch, holiday, holiday tag, layered warbler, snowy greetings, sparkling snowflake frame and trio, warbler

Metallic Hot Foils with Crisp White!

November 15, 2022

Hi there! I have been playing with my Glimmer Hot Foil machine from Spellbinders, along with some of the new hot foil products from Spellbinders. I truly can’t decide which I love more: intense, vibrant color or bright, crisp white. I seem to go from one extreme to the other! Today’s projects feature plenty of clean white space, with lots of texture and shining, sparkling metallic accents.

When working with white on white, I like to create tons of layers of cardstock, with lots of different types of texture and several layers of foam tape. Limited color palettes can be very interesting and super elegant, as long as you are intentional with your layers and accents!

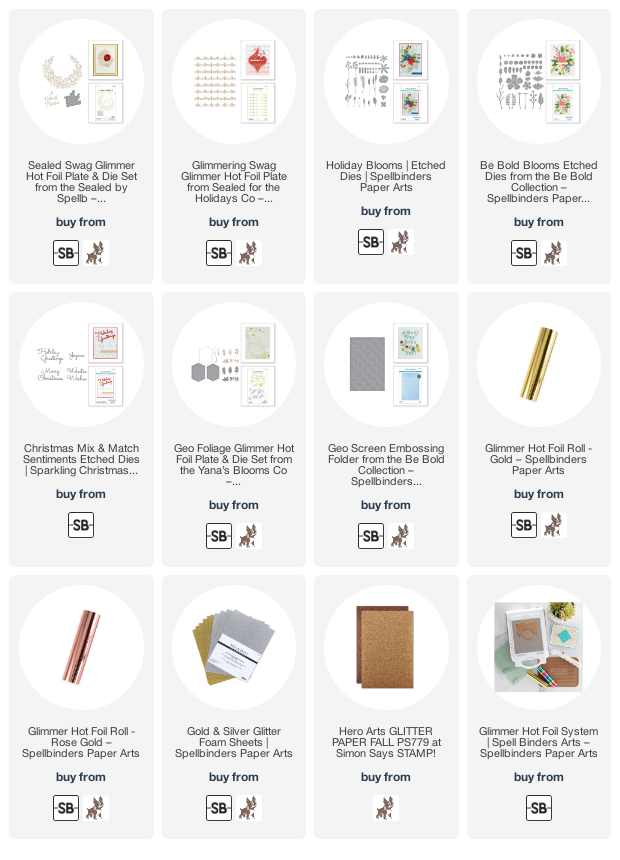
My first project features the Glimmering Swag Hot Foil Plate. I began by hot foiling this beautiful pattern on a crisp white panel of white cardstock using gold foil. This pattern is super elegant and works with so many different occasions!

While I had my hot foil machine out and hot, I hot foiled the Geo Foliage Hot Foil Plate set, creating an elegant thin hexagonal frame. I backed the frame with some heavyweight vellum to help mute the foiled pattern, to create a softer area for my sentiment. One of my favorite things about hot foil is that you can mix and match different products and make them all feel cohesive by using the same shade of metallic foil! The foliage from the Geo Foliage set looks like it was meant to go with the Glimmering Swag Hot Foil Plate because I used the same gold foil for both.

I paired the foiled foliage with some Holiday Blooms die cuts, cut from both white cardstock and some gold glitter foam to add another element of texture. Adding different textures in the same color help to add even more interest to the limited color palette. I arranged the white poinsettia and foliage in a swag at the top of my hot foiled vellum hexagon, then popped the entire piece up on the hot foiled card front using foam adhesive for extra height.

For the greeting, I die cut Christmas Mix & Match Sentiments dies from some more gold glitter foam. I adhered it to the center of my hot foiled hexagon using liquid adhesive. The gold and white color combination is so luxurious and elegant with multiple types of metallic gold. Definitely one of my favorite holiday cards that I’ve made this year!

My next card features the Sealed Swag Hot Foil set from the new Sealed By Spellbinders collection. As soon as I saw this wreath image, I knew that it would be a perfect ground for some pretty die cut blooms. I hot foiled the swag and greeting on some white cardstock using Rose Gold Foil from Spellbinders. I die cut the greeting using the included coordinating die, then used my scissors to fussy cut the hot foiled swag.

To keep the color palette simple and elegant as I did with the first card, I die cut some white flowers using the Be Bold Blooms die set, cutting some from crisp white cardstock and some from some coordinating rose gold glitter cardstock. I created a little arrangement using the die cut flowers and the hot foiled wreath, adhering the different die cuts using both liquid and foam adhesive for extra height.

To create some more texture on this project, I ran a panel of white cardstock through my Platinum 6 machine using the Geo Screen Embossing Folder. This classy pattern adds such beautiful texture to the background of my card front! I trimmed it down slightly and adhered it in the center of an A2 card base, allowing the plain edges to peek out on either side of the textured panel. I adhered the floral swag and hot foiled greeting on the card front using foam adhesive.

Well, that’s all for this project! I love challenging myself with these limited color palette projects. It’s such fun to see how I can incorporate multiple elements of texture, height, and dimension without adding any other colors to the card! Thanks so much for reading, and have a marvelous day!

Filed Under: spellbinders Tagged With: be bold blooms, christmas, christmas mix & match sentiments, geo foliage, geo screen, glimmering swag, holiday blooms, holiday card, hot foil, sealed swag

  • « Go to Previous Page
  • Page 1
  • Page 2
  • Page 3
  • Page 4
  • Go to Next Page »

Primary Sidebar

  • Facebook
  • Instagram
  • Pinterest
  • YouTube

Favorite Shops

Secondary Sidebar

Subscribe

Enter your email address to subscribe to this blog and receive notifications of new posts by email.

Instagram
Something is wrong.
Instagram token error.
Follow
Load More

Archives

Tags

3D embossing folder alcohol markers better press birthday birthday card blog hop card kit christmas christmas card christmas tag colored pencil copic copic coloring Daniel Smith die cutting embossing folder embroidery felt giveaway holiday holiday card hot foil ink blending karin brushmarker pro layered stencil masculine my monthly hero new release no line coloring no line watercolor OLO marker olo markers original illustration pawsitively saturated rainbow shaker card slimline stamping stamptember stencil thank you thinking of you valentine's day video watercolor

Popular Posts

Simon Says Stamp Joy For You Blog Hop- Day 1!
Simon Says Stamp Joy For You Release-Now Available!
Frozen Fractals All Around with New Simon Says Stamp Joy For You Release!
Shaped Holiday Shaker Card with New Simon Says Stamp Jolly Season Card Kit of the Month!
Holiday Postage with New Simon Says Stamp!
Simon Says Stamp Glory to the Newborn King Holiday Kit-Part II!
Holiday Joy in Pink and Green with New Simon Says Stamp DieCember!
Pinkfresh Studio 5th Birthday!
Altenew Build A Flower: Fuchsia Blog Hop+Giveway!
July My Monthly Hero Blog Hop+Giveaway!

Disclosure

Some affiliate links are used in my posts. This means that, should you click on one of my links and purchase something from that company, I will receive a small portion of the sale at no extra cost to you. I use the money earned from these sales to help maintain my blog. I so appreciate you visiting and, if you do choose to use one of my affiliate links, thank you so much for your support!
Copyright © 2026 ·Brunch Pro Theme · Genesis Framework by StudioPress · WordPress · Log in
Loading Comments...