• Skip to main content
  • Skip to primary sidebar
  • Skip to secondary sidebar

Sixth Street Sundries

Emily Midgett

  • Home
  • About Me
  • Contact
  • OLO Marker Color Swatch Chart
  • Shop

Man Card Monday

Man Card Monday: Sassy Hawaiian Shirt Edition!

August 14, 2023

I’m back with this month’s edition of Man Card Monday! Each month, I put my decidedly feminine style to the side and push myself to come up with a card that has less flowers and more masculine imagery. Masculine cards are much more challenging for me, a girly girl who loves all things pink and flowery, and it’s been such fun to try to come up with new ways to incorporate my favorite things into these manly cards! I have three sons, so I figure it doesn’t hurt me to have some masculine cards in my back pocket. This month, I channeled my inner Opels (that is, sisters Susan and Beth from Simon Says Stamp) and used tons of bold color, some metallic shine, and a little sass to create this vivid birthday card… perfect for a guy. Let’s get started with the details!

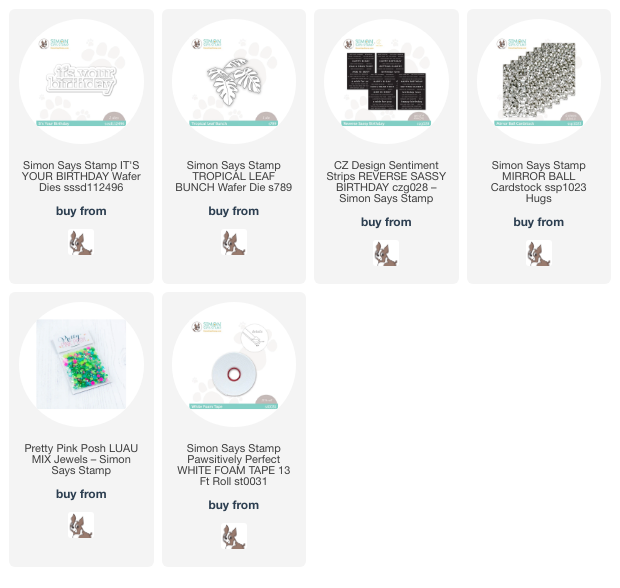
I love creating custom backgrounds with stamps. As I was looking through my die stash, I thought what is something that is botanical would create a fun background, but that still gives off a masculine vibe? Enter: the Tropical Leaf Bunch die. Leafy and detailed, it has a very masculine look by itself, and it definitely reminded me of a Hawaiian shirt! I die cut several of these standalone dies using two different shades of super bright green cardstock. I arranged them on my black card front to create a patterned background, twisting them as I would a stamp in order to create a unique pattern and trimming off the bits hanging over the edges. I adhered them with liquid adhesive to create a bold background that was also easily mailed.

For the greeting, I thought the deadpan sentiment from the It’s Your Birthday die was perfect for a guy! I die cut the detailed part of the sentiment three times from black cardstock and adhered them together to add a little extra height, then cut the outline from some Mirror Ball cardstock. I love the texture on this cardstock… so fun and also adds some metallic shine to this otherwise-matte card front.

Most guys like a little bit of snark and humor, and the sentiment card sets from CZ Design have soooo many fun, smart-alecky sentiments that are incredibly unique. I pulled out the CZ Design Reverse Sentiment Strips- Sassy Birthday card set and selected two different sentiments that work perfectly together: “dance like no one is watching” and “just don’t throw your back out.” So funny! I trimmed the sentiment strips down, then adhered both the die cut sentiment and the strips using foam adhesive. Finally, I couldn’t resist adding a little green sparkle to the card (I know, I know, guys don’t like jewels-I can’t help myself) for one tiny bit of shimmer.

Well, what do you think? Do you think a guy would approve of my sassy Hawaiian shirt birthday card? I kinda love it!! That’s all for this month’s round of Man Card Monday. I hope you’re enjoying the series…. I know that I can always use a little masculine inspiration! Thanks so much for stopping by today, and have a marvelous day!
Filed Under: Man Card Monday, simon says stamp Tagged With: birthday, hawaiian shirt, it's your birthday, man card monday, masculine, reverse sassy birthday, tropical leaf bunch

Man Card Monday with Simon Says Stamp!

July 10, 2023

This post was sponsored by Simon Says Stamp. Thanks, Simon!

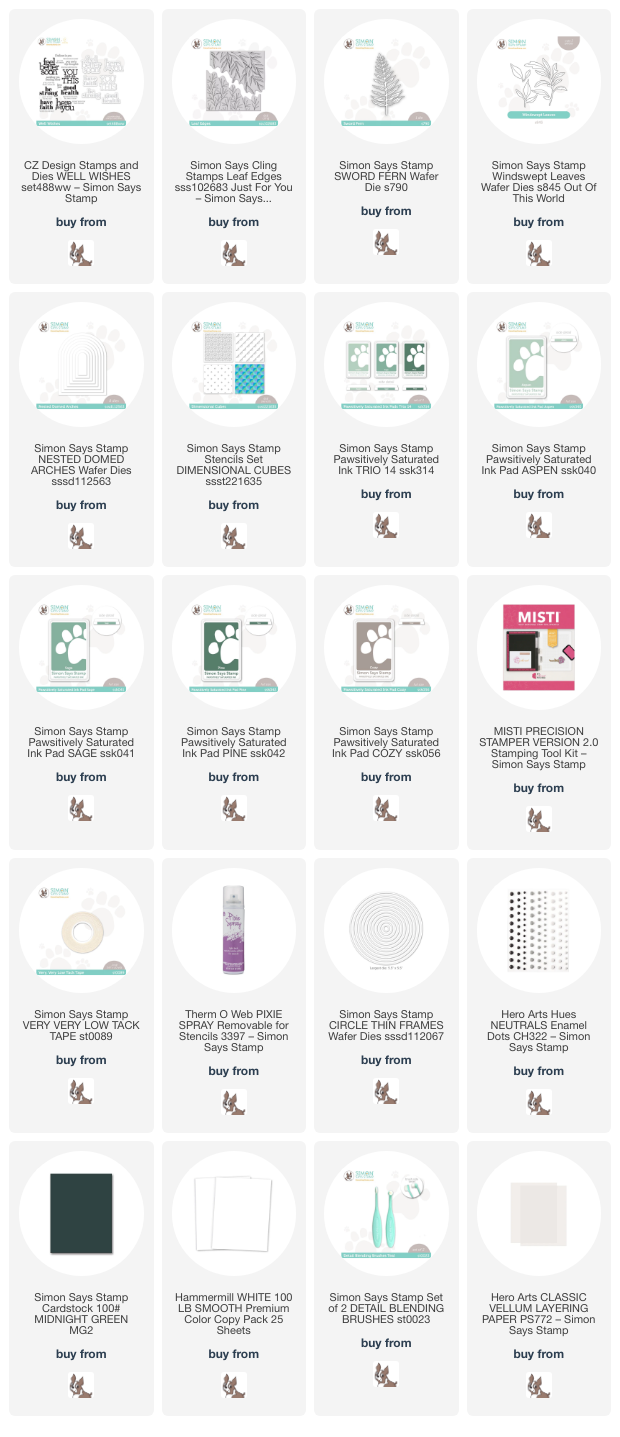
Hi there! How about another project (or two) for Man Card Monday? I love flowers, and I don’t deny that my blog is lots of flowers lots of the time, but at least once a month, I post a card with decidedly masculine overtones. This helps jumpstart my creativity a little by making me think outside of my normal floral, super feminine box as well as hopefully provide you with a little inspiration for that elusive man card! Last month, I shared some super graphic inspiration, featuring bold cool colors, lots of texture, and a few metallic elements. This month, I have changed things up with these subtle cards that feature a serene color palette and lots of greenery. I think greenery on it’s own is a perfect “neutral” that can be used for both men and women alike. Let’s get started with the details!

I kept my color palette very muted this month, with some warm gray/platinum and lovely greens created with Pine, Sage, and Aspen Pawsitively Saturated Inks from Simon Says Stamp. I have had the unfortunate need for sympathy and “thinking of you” cards for men recently, and so I wanted to offer encouraging sentiments without going over the top. The Well Wishes stamps and dies by CZ Design from Simon Says Stamp provide poignant sentiments with bold, graphic fonts that work perfectly for these gender neutral projects.

For my first card, I used the Pine, Sage, and Aspen inks to stamp the Leaf Edges in an ombré on my white A2 card front. Using my MISTI stamping tool, I stamped the top with the lightest ink, dabbing the edge of the ink line with my microfiber cloth to let it fade away a bit, which helps the ink colors blend into each other more seamlessly without adding harsh lines. I stamped the middle of the stamp with the middle color, again dabbing the edges with the cloth, then the darkest color at the bottom.

Once I had added all three ink colors to the stamp, I stamped the entire image again with embossing ink and covered it with clear embossing powder, giving me the ability to blend over the top without compromising the crispness of the stamped image. I also blended lightly in the corner using Aspen ink and a blending tool. Such a lovely, serene background!

Next, I die cut two Sword Fern die cuts from white cardstock, leaving them in place in the negative die cut space. I flipped them over and added a few pieces of Simon’s Very Very Low Tack Tape to the back to hold these delicate die cuts in place while I blended Pine ink in the center and Aspen ink on the edges. Despite a plethora of options for colored cardstock amongst my stash, I did not have an exact match for these unique shades of green, so creating my own custom colored cardstock was super easy with some ink pads and blending tools! I die cut a Nested Domed Arches die cut from some heavyweight vellum to soften the area behind the die cuts and sentiment. I popped up the blended ferns and embossed greeting from Well Wishes on top of the vellum arch. I used some neutral twine to add a a fun textural element to the card, as well.

For my second card of the set, I began by blending the detailed stencil from the Dimensional Cubes Stencils using Cozy ink. I did spray the super delicate stencil with some Pixie spray first to make sure that the stenciled lines stayed nice and crisp. I trimmed the stenciled background panel down slightly and matted with some Midnight Green cardstock from Simon Says Stamp to create a thin, super dark green frame around the edge. I also die cut some Windswept Leaves foliage dies, again from white cardstock, then blended Pine ink in the center and Aspen ink on the edges, keeping these delicate die cuts in place with Very Very Low Tack Tape on the back of the negative die cut piece.

Next, I die cut the Circle Thin Frames dies from some white cardstock. I like to leave these frame dies together, though they can be snipped apart, so that I can run them all through my machine at once and have tons of leftover frames to use for future projects! I backed one of the white frames with a vellum die cut circle, again to soften the busy background pattern, and adhered it to the patterned background with liquid adhesive dots on the solid portion of the frame. I arranged the leaf die cuts around the embossed sentiment die cuts from Well Wishes and adhered them to the card front. To avoid adding feminine “sparkle” to the card front, I added a few white enamel dots for a bit of extra textural interest.

Well, that’s all for my Man Card Monday project today! Thanks so much for stopping by today, and have a marvelous day!

Filed Under: Man Card Monday, simon says stamp Tagged With: circle thin frames, dimensional cubes stencil, foliage, gender neutral, leaf edges, man card monday, masculine, nested domed arches, stencil, sword fern, vellum, well wishes

Oh Happy Day with New Simon Says Stamp Ink Cubes!

June 28, 2023

This post was sponsored by Simon Says Stamp. Thanks, Simon!

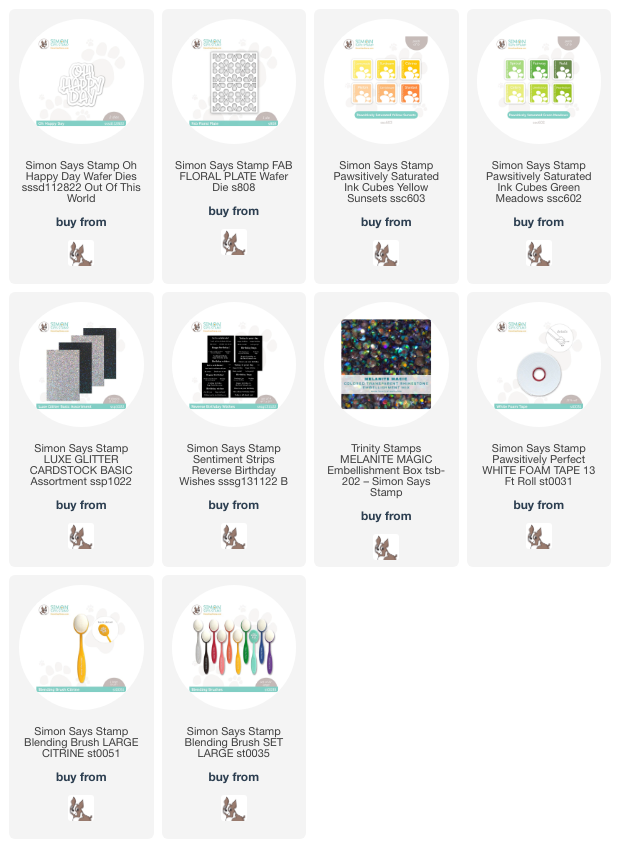
Hi friends! I am back again with another project using some new goodies from the Simon Says Stamp Out Of This World release! Have you tried the Pawsitively Saturated ink line from Simon Says Stamp? Let me tell you, I thought that I had enough ink to last me until my fingers gave out, but I absolutely adore the Pawsitively Saturated inks. The super springy foam pad makes them extra juicy, perfect for stamping, ink blending, and a whole host of other techniques! They come in a full range of full size pads, and now they’ve started adding ink cubes, as well, so as to make sure that you can try these wonderful inks out even if you are low on storage space. They released two new ink cube sets during the Out Of This World release: Yellow Sunsets and Green Meadows. I’ve created a totally gender-neutral project using the Yellow Sunsets ink cubes and the new Oh Happy Day sentiment die. Let’s get started with the details!

I began by blending an orange gradient on two A2-sized panels of white cardstock using the Sherbet, Cantaloupe, and Melon inks from the Yellow Sunsets and some blending brushes. I then used the Fab Floral Plate cover plate die to die cut one of the blended panels, popping it up on the second blended panel using some thin strips of foam adhesive. I love using this technique to create a monochromatic textured background; it’s so simple (you might get an arm workout from blending two full panels though, ha) but I think it creates such an impact! You could also easily turn this into a shaker card by adding some acetate and sequins.

For the greeting, I die cut the Oh Happy Day sentiment die once from Simon Says Stamp’s Luxe Glitter Basics cardstock and twice from plain white cardstock scraps, layering them together to create a dimensional die cut greeting. I also trimmed down a greeting from the Reverse Birthday Wishes sentiment card set, which I think works perfectly with the die cut greeting.

After I adhered the two sentiment components, the only thing left was to add one last bit of sparkle. I added some Melanite Magic gems, which are a translucent dark gray with iridescent coating. The dark gray isn’t quite black to complete the “rule of three” with the black accent elements, but I think it’s close!

Well, that’s all for my project today. Even though the cover plate is technically a floral background, the overall pattern is so chunky and graphic that I think this card definitely would have worked for Man Card Monday. Thanks so much for stopping by today, and have a marvelous day!

Filed Under: Man Card Monday, simon says stamp Tagged With: fab floral plate, gender neutral, ink blending, masculine, oh happy day, pawsitively saturated

The Return of Man Card Monday!

June 5, 2023

This post was sponsored by Simon Says Stamp. Thanks, Simon!

At some point, long ago, before having my second set of twins (feels like a lifetime ago!), I planned to do a monthly feature called “Man Card Monday.” Then my little boys appeared, and I kind of forgot about it. Whoops! I spend the majority of my crafting time working with beautiful floral stamps and dies, but I think we all find ourselves needing the occasional masculine card! They are not the easiest theme for me, admittedly, but I have a few tricks and techniques that I like to reserve specifically for masculine cards. My philosophy when it comes to masculine cards is simple: keep things graphic and colorful, with lots of texture, some metallic elements, and if possible, some sass! (What guy doesn’t love a sassy, funny card?) Let’s get started with the details!

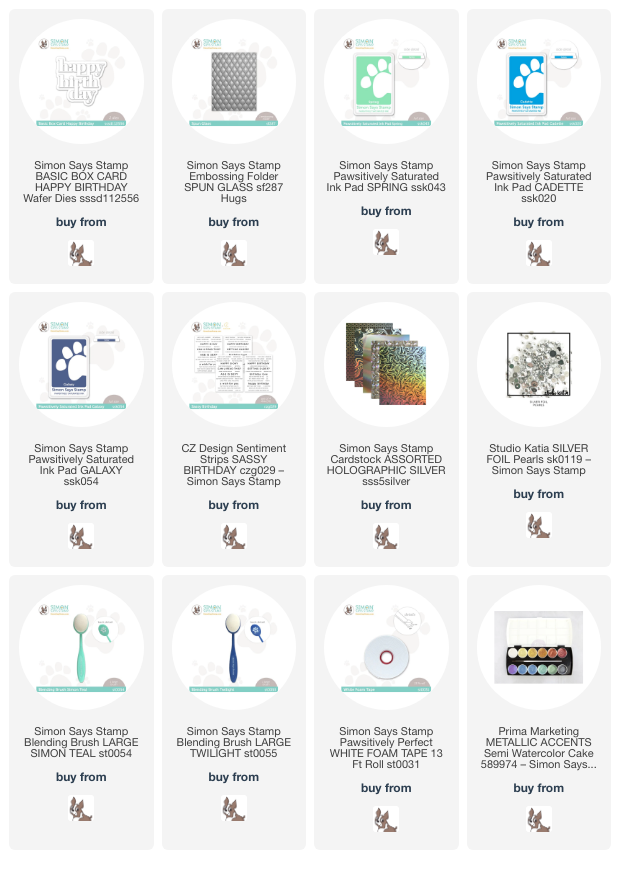
I began my card by blending Spring, Cadette, Galaxy Pawsitively Saturated inks from Simon Says Stamp on a panel of plain white cardstock, making sure to saturate the cardstock and achieve a smooth blend with these quintissentially masculine colors. Once I had finished blending, I ran the colorful panel through my die cutting machine with the Spun Glass Embossing Folder. I also added some silver watercolor splatters for good measure using Metallic Watercolor. Color and texture: check!

Next, I die cut a chunky sentiment using the Basic Box Card Happy Birthday dies and some holographic foil cardstock, backing the detailed sentiment die cut with a heavyweight vellum. I trimmed some of the Sassy Birthday sentiment cards down to smaller sentiment strips. (What guy doesn’t enjoy being a smart aleck?) Graphic sentiment: check!

Before I assembled the card, I trimmed a 1/4″ strip from one side of the blended, embossed panel and backed it with some more holographic foil cardstock. Metallic accents are always a good idea for masculine cards! I popped up the two sides of the blended panels with Foam Tape, creating some height and texture on the card front, and adhered the sentiment pieces with some more foam tape. To complete the “rule of three” for accent colors, I added some Silver Pearls. They remind me of drops of molten silver! Metallic accents: check!

Well, I hope you enjoyed this first installment of Man Card Monday! Hopefully this series will help you create those elusive masculine cards. I am excited for the challenge outside of my regular, unabashedly feminine cardmaking rotation! Thanks so much for stopping by, and have a marvelous day!

Filed Under: Man Card Monday, simon says stamp Tagged With: basic box card happy birthday, ink blending, man card monday, masculine, sassy birthday, spun glass embossing folder

Man Card… Thursday?

May 30, 2019

Hi there! Man Card Monday is a few days late this month… sorry about that. The holiday and our travels on Monday threw my entire week off, then my kiddos and I have been under the weather (again… UGH!), so MCM is a little late this week. I have a super cute little baby boy card for you for this month using some of the old/new products from the Hero Arts 45th Anniversary Catalog release, so let’s get started with the details!

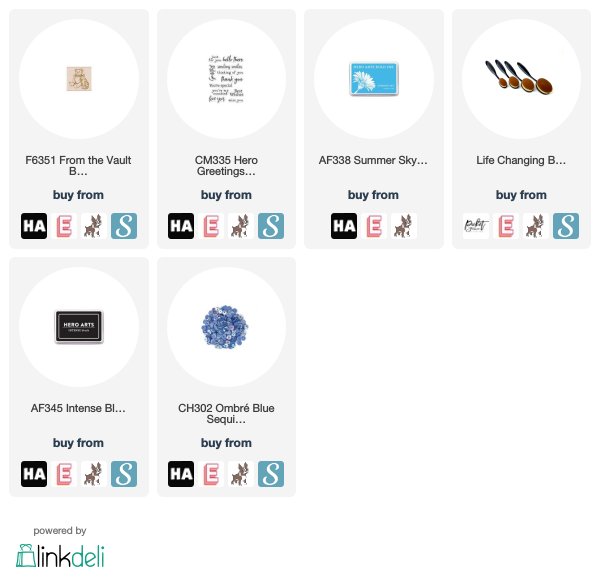
For this sweet little card, I kept things clean and simple, using lots of white card stock with a pop of bright blue! I started by stamping the From the Vault Bear and Kitty woodblock stamp on some white card stock using Intense Black Ink. I then colored the image with my Copic markers in a gray and blue color scheme (teddy bears are so cute in gray, don’t you think?). I also stamped the sweet greeting (that could be used for so many occasions!) from Hero Greetings Sending Smiles on a strip of white card stock.

I blended a small blue halo on a white card base using Summer Sky ink and a blender brush to create a super soft lightly blended effect. I adhered the stamped images to the blended panel using dimensional foam adhesive, then added a few sequins for a bit of sparkle and texture.

Well, that’s all for me today! I really enjoy doing the Man Card Monday projects…. pushes me out of my (floral and pink) comfort zone. I hope you’re enjoying them, too! Thanks so much for stopping by, and have a marvelous day!

Filed Under: Hero Arts, Man Card Monday Tagged With: copic coloring, life changing blender brushes, man card monday

  • Page 1
  • Page 2
  • Page 3
  • Go to Next Page »

Primary Sidebar

  • Facebook
  • Instagram
  • Pinterest
  • YouTube

Favorite Shops

Secondary Sidebar

Subscribe

Enter your email address to subscribe to this blog and receive notifications of new posts by email.

Instagram
Something is wrong.
Instagram token error.
Follow
Load More

Archives

Tags

3D embossing folder alcohol markers better press birthday birthday card blog hop card kit christmas christmas card christmas tag colored pencil copic copic coloring Daniel Smith die cutting embossing folder embroidery felt giveaway holiday holiday card hot foil ink blending karin brushmarker pro layered stencil masculine my monthly hero new release no line coloring no line watercolor OLO marker olo markers original illustration pawsitively saturated rainbow shaker card slimline stamping stamptember stencil thank you thinking of you valentine's day video watercolor

Popular Posts

Simon Says Stamp Sending Cheer Blog Hop- Day 2 + Freebie + Giveaway!
Joyful Snowman with New Simon Says Stamp Sending Cheer Release!
Simon Says Stamp Sending Cheer Release: Now Available!
Altenew October 2026 Release Blog Hop + Giveaway!
Special Release: Simon Says Stamp Limited Edition STAMPtember Christmas Card Kit!
February 2018 My Monthly Hero Blog Hop!
Altenew March 2020 Release Blog Hop+Giveaway!
Simon Says Stamp Cozy & Bright Inspiration, Part Two!
Essentials By Ellen September Blog Hop!
Waffleflower December Release Blog Hop!

Disclosure

Some affiliate links are used in my posts. This means that, should you click on one of my links and purchase something from that company, I will receive a small portion of the sale at no extra cost to you. I use the money earned from these sales to help maintain my blog. I so appreciate you visiting and, if you do choose to use one of my affiliate links, thank you so much for your support!
Copyright © 2026 ·Brunch Pro Theme · Genesis Framework by StudioPress · WordPress · Log in
Loading Comments...